How to Secure Windows 11 Privacy Settings

Windows 11 privacy settings control what data Microsoft and third-party apps collect from your PC. That includes your location, contacts, typing history and diagnostic data. A fresh install turns on many of these switches by default, so it is worth going through them once.
The whole pass takes about five minutes. Almost everything is in the Settings app, under Settings Privacy & security. Each change is a toggle you can switch back later, so nothing here is permanent.
The steps are written for current Windows 11 (23H2 and 24H2). Labels can differ slightly on older builds. I note where Home and Pro behave differently.
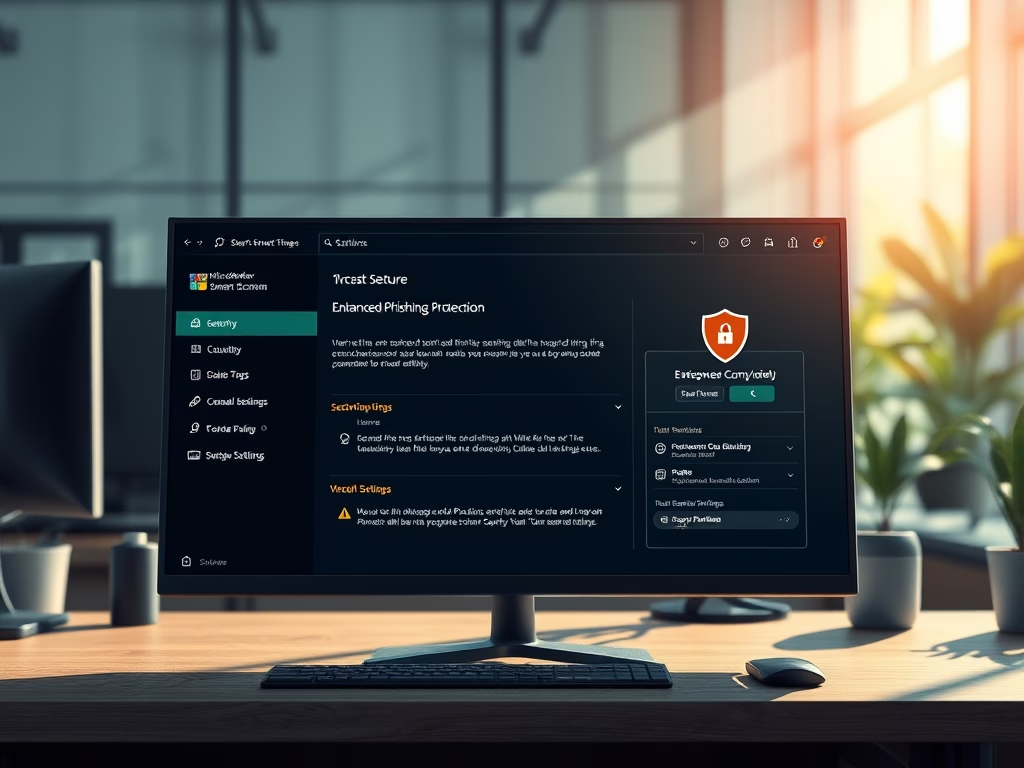
To protect your Windows 11 PC, adjust security and privacy settings in the Settings app. Ensure Microsoft Defender Antivirus is on and review real-time protection and firewall settings. Limit app permissions and location tracking to safeguard personal information. SmartScreen also warns you about risky websites and downloads.
Get Started with Basic Protection
Start with the core protections that cover the whole machine. These are the baseline, and the more specialized tweaks later in this guide assume they are in place.
Before changing anything else, check these four things:
- Open Start, type Windows Security, and press Enter. The app opens on a Security at a glance page.
- Look at each tile: Virus & threat protection, Firewall & network protection, App & browser control and Device security. A green check means that area is fine.
- If a tile shows a yellow warning or red cross, select it and follow the button it offers, usually Turn on or Restart now.
- Open Settings Windows Update and select Check for updates . Install anything pending and restart if asked.
Fixing these first matters because privacy settings do not help much if the system itself is out of date or unprotected.
Manage Your Data and Access
Privacy controls decide what data Windows collects and which apps can reach your personal information. If you want tighter limits on data sharing, this is where to make the granular changes.
Work through the main pages like this:
- Open Settings Privacy & security You will see two groups: Windows permissions and App permissions.
- Select General. Turn off Let apps show me personalized ads by using my advertising ID. Turn off the options for suggested content and for tracking app launches if you do not want Windows to personalize Start and Search results. The toggles should now read Off.
- Go back and select Diagnostics & feedback. Turn off Send optional diagnostic data. Also turn off Tailored experiences, and set Feedback frequency to Never if you do not want feedback prompts.
- In the same page, expand Delete diagnostic data and select Delete to clear what Windows has already stored about your device.
- Go back and open Inking & typing personalization (on some builds it is named Inking & typing). Turn it off if it is on, so Windows stops building a custom dictionary from what you type.
- Open Activity history and clear the option that stores your activity on this device, then select Clear history if you want to remove what exists.
One limit to know about: you cannot turn off required diagnostic data on Windows 11 Home or Pro. It is the minimum Windows needs to stay secure and up to date. Only Enterprise and Education editions can reduce it further, through Group Policy. Turning off the optional data is the most a Home or Pro user can do from Settings.
No restart is needed for any of these. To undo a change, return to the same page and flip the toggle back.
Fine-Tune Advanced Security Features
The advanced configurations are for developers and power users with specific environment needs. The tools in this group are less common, and most people can skip them. Only change them if you know why you need to, and note the original value before you do, so you can revert it.
If a setting here is greyed out or missing, the usual causes are the edition (some tools are Pro, Enterprise and Education only) or a policy set by your organization. A work or school PC may show the message Some settings are managed by your organization. In that case ask your IT team before trying to override it.
Keep Your Security Tools Running Smoothly
The built-in protection tools need regular upkeep so they keep catching new threats. If Microsoft Defender is not behaving as it should, work through these checks in order:
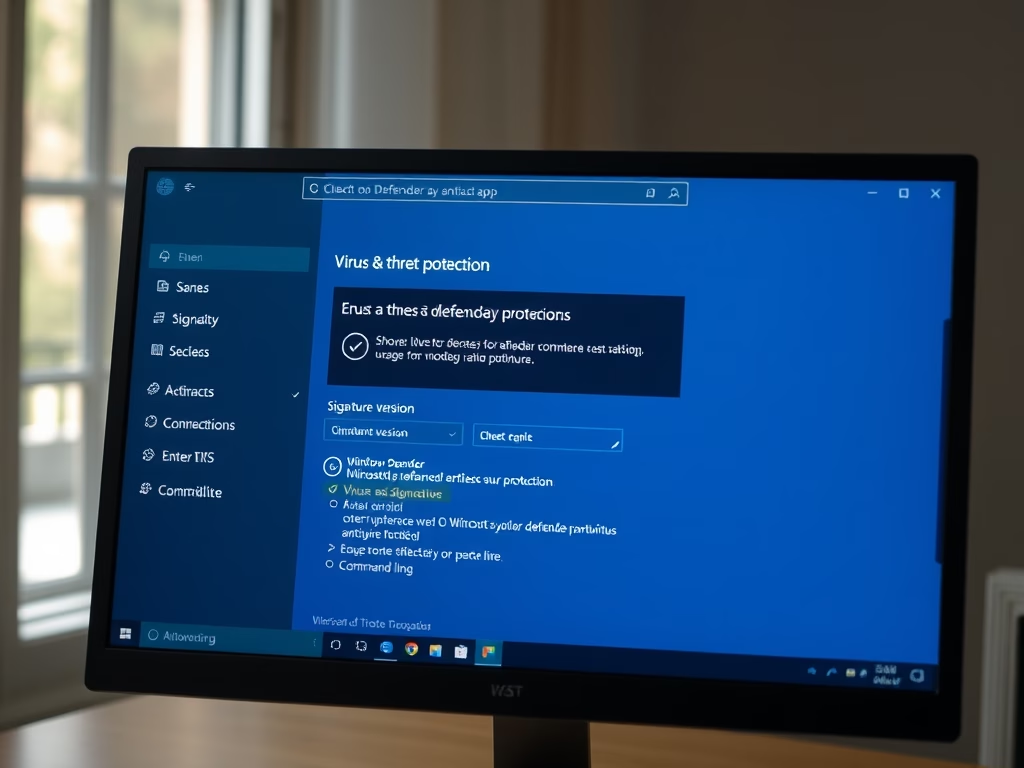
- Open Windows Security and select Virus & threat protection.
- Under Virus & threat protection updates, select Protection updates, then Check for updates. Wait for the page to show that your definitions are up to date.
- Go back, select Manage settings under Virus & threat protection settings, and make sure Real-time protection is On.
- If you still see a problem, select Quick scan to run a scan now. For a deeper check, choose Scan options and pick Full scan.
- Restart the PC and open Windows Security again to see if the warning has cleared.
If Defender looks switched off and you cannot turn it back on, check for another antivirus program. Windows hands over to a third-party antivirus automatically and turns Defender's real-time protection off while it is installed. Uninstalling the other product usually returns control to Defender. Also check that Tamper protection is on in the same settings page, since it stops other software from quietly disabling Defender.
Protect Your PC When You're Away
Dynamic lock secures the PC the moment you walk away, which stops anyone from using it while you are gone. It relies on a Bluetooth-paired phone: when the phone moves out of range, Windows locks the screen. It is available on Home and Pro.
- Pair your phone first. On the phone, turn on Bluetooth. On the PC, open Settings Bluetooth & devices and select Add device.
- Choose Bluetooth, select your phone from the list, and confirm the pairing code on both devices. The phone should appear as Paired or Connected.
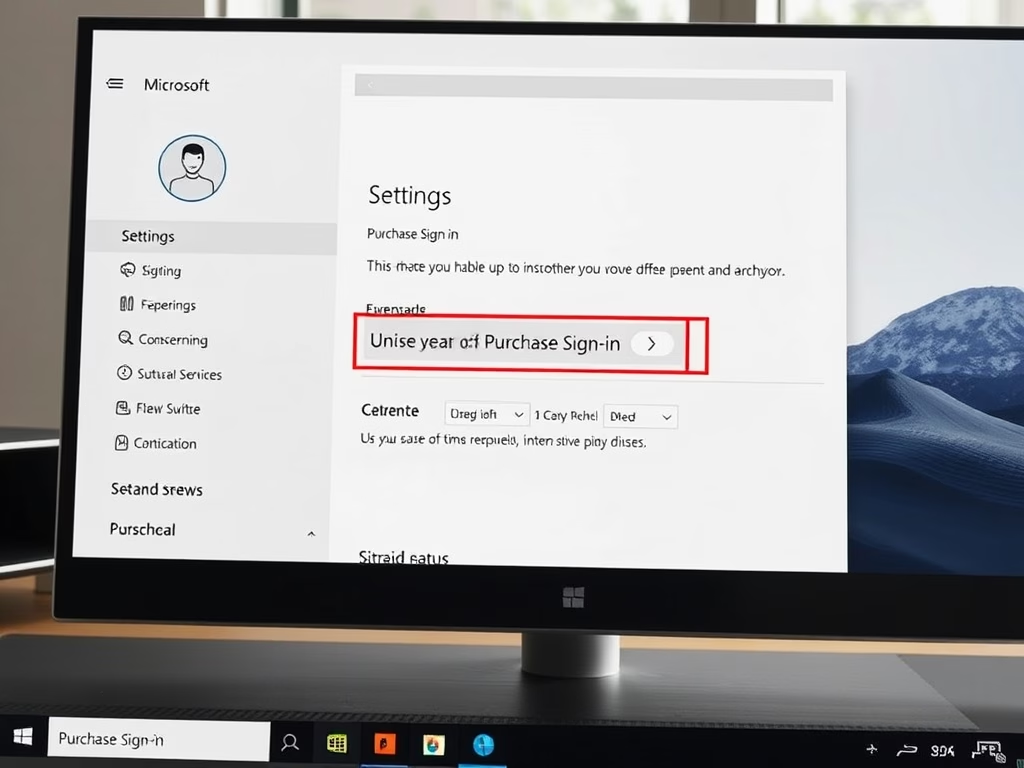
- Open Settings Accounts Sign-in options
- Expand Dynamic lock and tick Allow Windows to automatically lock your device when you're away.
Windows locks the PC about a minute after the phone goes out of Bluetooth range. It is not instant, so for a short trip away from your desk you should still press the Windows key plus L. To undo it, clear the same checkbox.
Common questions
What is Microsoft Defender Antivirus?
Microsoft Defender Antivirus is the security program built into Windows 11. It runs in the background all the time. It scans files as you open or download them and watches for suspicious behavior, so it can catch viruses, malware and other active threats before they cause damage.
For most home users it is enough on its own, as long as it stays on and up to date. It turns itself off only if you install a different antivirus, as covered earlier.
How do I know if my PC is secure?
You can check the state of your protection in the Windows Security app. A quick audit every month or so is enough:
- Open Windows Security from the Start menu.
- On the home page, confirm that Virus & threat protection and Firewall & network protection show a green check. Select either tile to see details.
- In Virus & threat protection, check that Real-time protection is on and that the last scan date is recent.
- In Firewall & network protection, check that the firewall is on for the domain, private and public networks. The active network is marked.
- Open Settings Windows Update and confirm that no updates are waiting.
Windows Security shows a notification and a badge on its taskbar icon when something needs your attention, so do not ignore those.
What is SmartScreen?
SmartScreen is a filter that blocks malicious websites and risky downloads. It checks the file or site against Microsoft's lists of known threats and warns you before you run something harmful.
- Open Windows Security and select App & browser control.
- Under Reputation-based protection, select Reputation-based protection settings.
- Make sure Check apps and files is On. Do the same for SmartScreen for Microsoft Edge, Potentially unwanted app blocking and SmartScreen for Microsoft Store apps.
If a toggle is greyed out, your organization manages it through policy. Turning SmartScreen off is not recommended. If a warning blocks a file you know is safe, think twice before you choose to run it anyway.
How can I protect my privacy on 🪟 Windows 11?
App permissions, location access and the diagnostic data sent to Microsoft are all controlled from the Settings app. Limiting background access stops apps from collecting more than they need.
- Open Settings Privacy & security Location
- To turn location off for the whole PC, switch off Location services. To keep it on but limit it, leave it on and turn off Let apps access your location. The toggles should now read Off.
- If you leave location on, scroll down the list of apps and switch off the ones that do not need it.
- Under Location history, select Clear to remove locations stored on the device.
- Go back to Privacy & security and review Camera, Microphone, Contacts and the other pages under App permissions. Switch off any app that has no reason to use them.
Turning an app's permission off can break features. A mapping or weather app, for example, may stop showing local results. If that happens, switch that one app back on.
What is a BitLocker Recovery Key?
A BitLocker recovery key is a 48-digit numerical password that unlocks an encrypted drive when Windows cannot verify the hardware. This can happen after a motherboard swap, a firmware update or certain BIOS changes. Without the key, the data on the drive is lost for good.
Back it up now, not after a problem. Windows usually saves the key to your Microsoft account automatically when you sign in with one and encryption turns on. Check that it is there:
- Sign in to your Microsoft account in a web browser and open the page that lists your devices' BitLocker recovery keys.
- Find your PC in the list and confirm that a key is shown for it.
- Copy the key down and keep it somewhere safe, away from the PC, such as a password manager or a printed copy in a secure place.
If the key is not in your account, open Settings Privacy & security Device encryption on a supported PC, or BitLocker Drive Encryption in Control Panel on Windows 11 Pro, and choose the option to back up your recovery key. Home edition uses Device encryption and may not offer the full BitLocker controls. Without a saved key you cannot recover your files if the drive locks you out.
Was this guide helpful?

About the Author
Richard
Tech Writer, IT Professional
Richard is a writer at Geek Rewind who turns complex IT tasks into clear, step-by-step guides. He draws on years of hands-on experience in system administration and enterprise IT operations, focusing on Windows, Linux and WordPress: the problems people actually run into, and the fixes that work. His server and WordPress guides come from systems he runs himself. Richard builds and maintains the platform behind Geek Rewind, from its Ubuntu servers and Nginx configuration to its custom WordPress plugins. Many new tutorials start with readers' questions, and he's always glad to answer them in the comments.
No comments yet — be the first to share your thoughts!