How to Enable On-Device Encryption in Google Chrome

On-device encryption in Google Chrome protects your saved passwords by using your computer or phone to unlock them.
This security feature scrambles your login details before they are saved to your Google account. Only your specific device can then unscramble and show your passwords.
This is available in Chrome version 119 and newer, making your stored passwords much safer.
It means that even if someone accesses your Google account, they cannot see your passwords without your device’s approval.
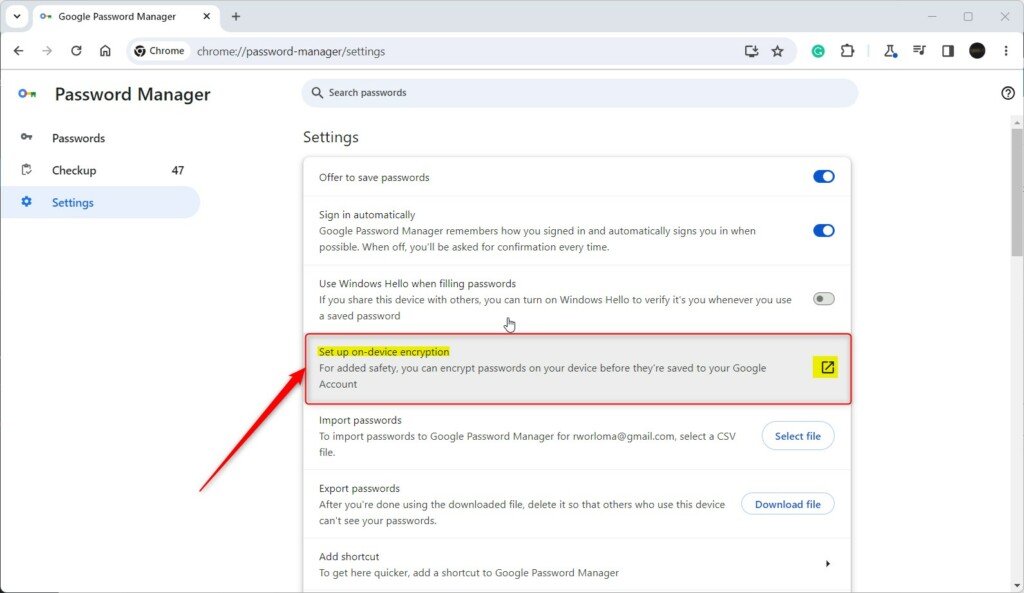
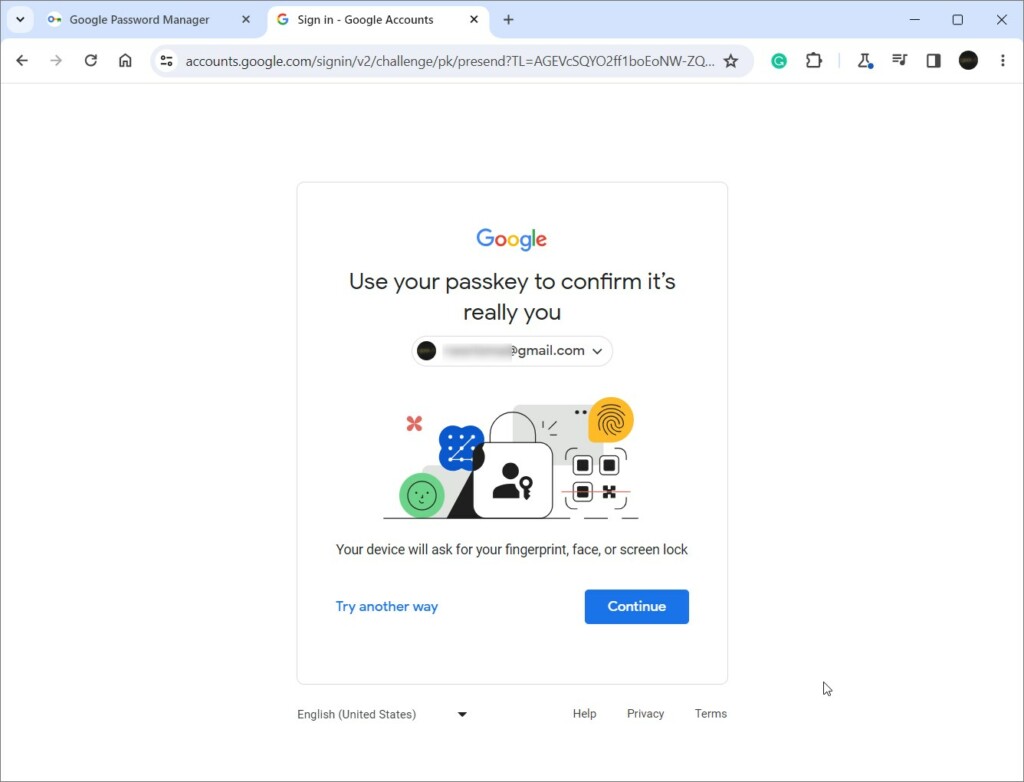
Go to Chrome Settings > Autofill and passwords > Google Password Manager. Click Set up on-device encryption, then Next, and Set up. Confirm your identity using your device’s screen lock or passkey to complete the process.
How to enable on-device encryption
On-device encryption in Chrome protects your saved passwords and payment details directly on your computer, adding a strong security boost.
- Open the Google Chrome browser.
- Click the Customize and Control button (the 3 vertical dots) in the top right corner.
- Select Settings.

- On the left panel, click Autofill and passwords.

- Click the Google Password Manager tile on the right.

Alternatively, type this address into your browser bar:
chrome://password-manager/passwords
- Select Settings on the left menu.
- Click the Set up on-device encryption link.
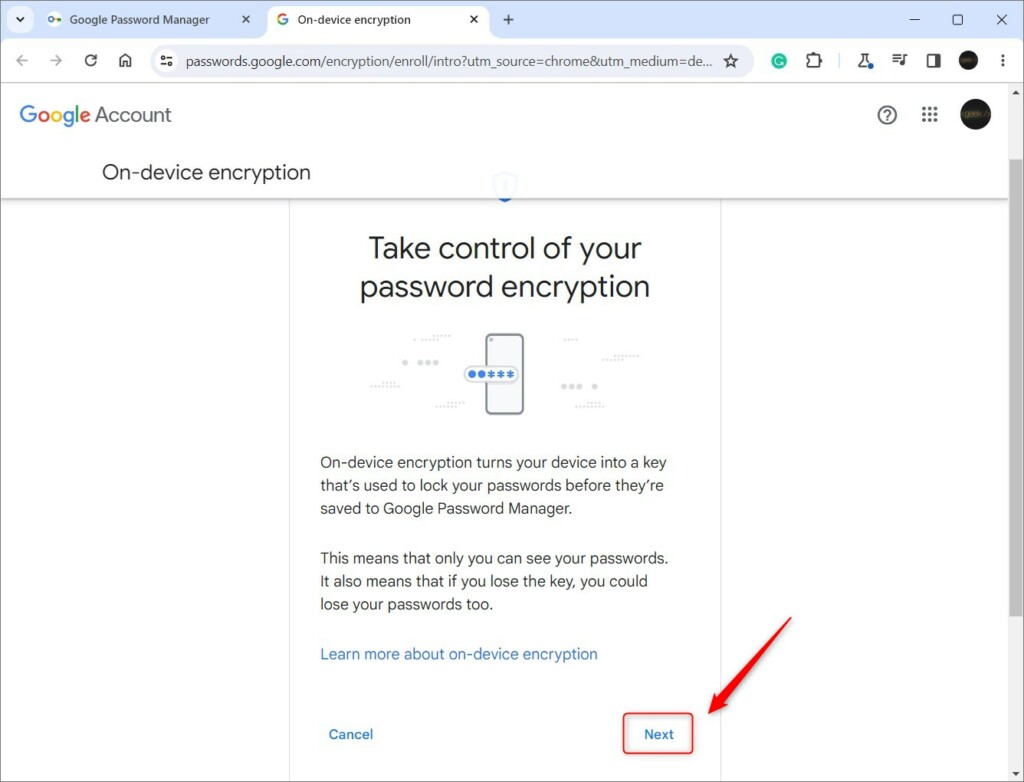
- Click Next to continue.
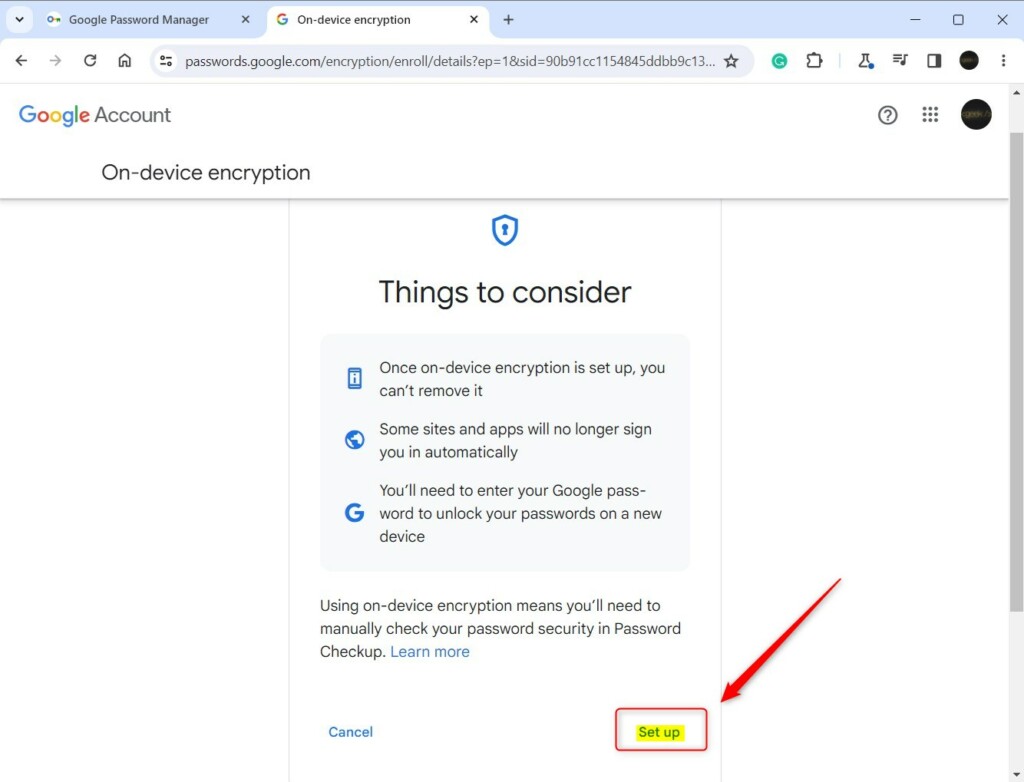
- Read the “Things to consider” list and click Set up.
- If your device supports it, you can use a passkey. Windows Hello authentication will help verify your identity.
- You can use your phone or tablet as your unique key.

- A prompt will appear on your device. Confirm your identity using a fingerprint, PIN, or your screen lock.
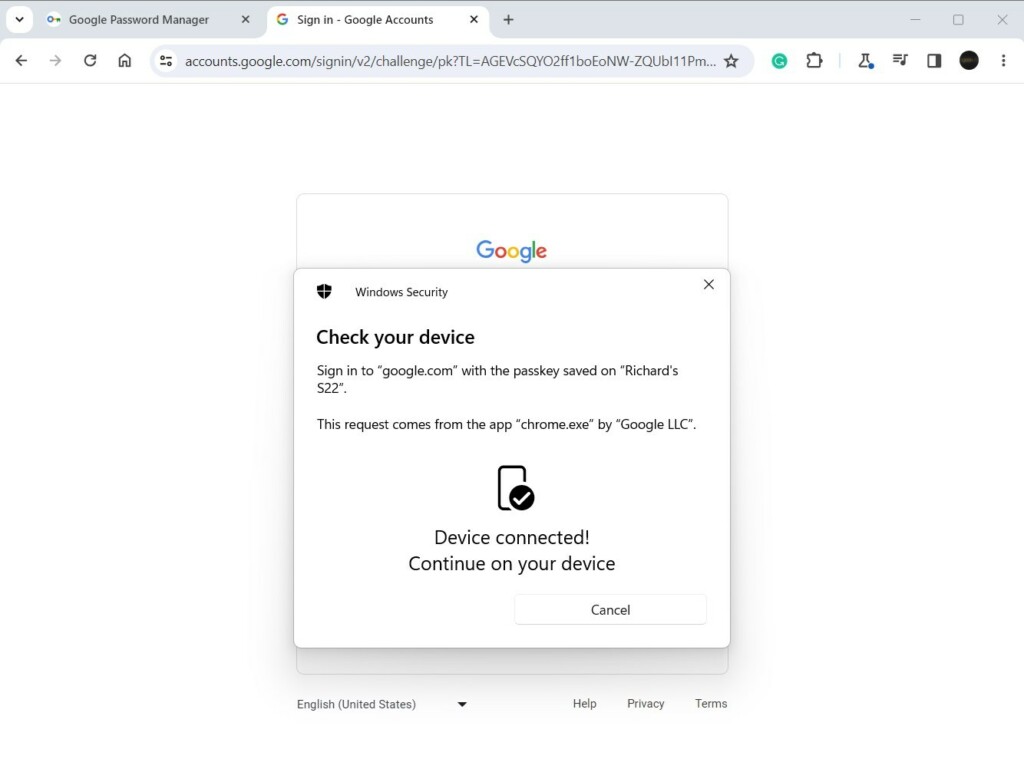
- Once verified, click Continue to create your passkey.
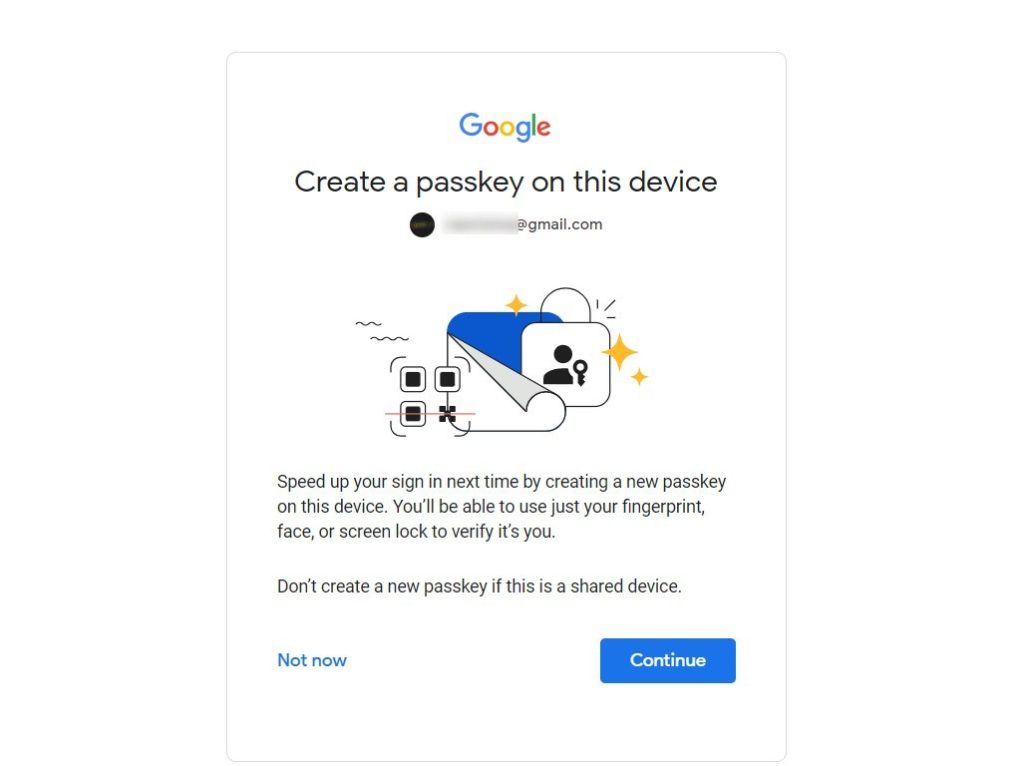
- Click Done to finish.
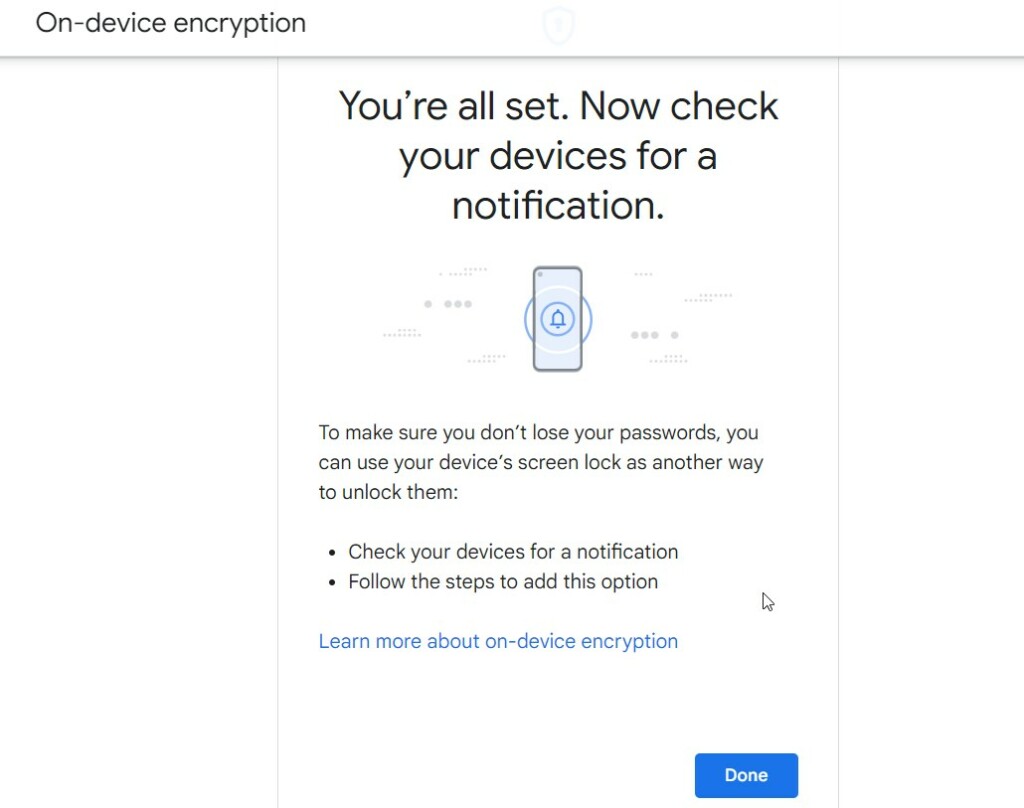
Your passwords are now encrypted on your device.
Summary
On-device encryption adds a strong layer of security to your browser. Turning your device into a physical key ensures that only you can access your saved passwords. This is a vital step for anyone who wants to keep their private information safe from hackers.
Reference: Google Support
Should I turn on Google on device encryption?
Users must manually enable ‘On-device encryption’ for their password manager to be truly end-to-end encrypted. Otherwise Google has access to your unencrypted passwords. This poses a significant security risk, and most users aren’t even aware.
What does turning on device encryption do?
Device encryption helps protect your data, and it’s available on a wide range of Windows devices. If you turn on device encryption, the data on your device can only be accessed by people who’ve been authorized.
Was this guide helpful?

About the Author
Richard
Tech Writer, IT Professional
Richard, a writer for Geek Rewind, is a tech enthusiast who loves breaking down complex IT topics into simple, easy-to-understand ideas. With years of hands-on experience in system administration and enterprise IT operations, he’s developed a knack for offering practical tips and solutions. Richard aims to make technology more accessible and actionable. He's deeply committed to the Geek Rewind community, always ready to answer questions and engage in discussions.

No comments yet — be the first to share your thoughts!