How to Use Windows 11 Accessibility Features

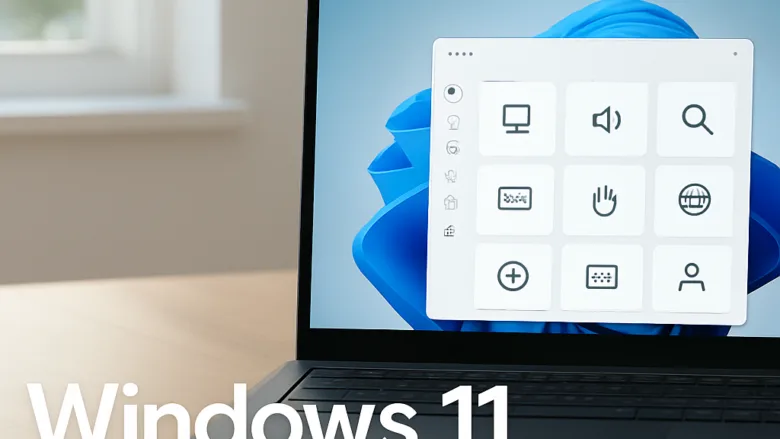
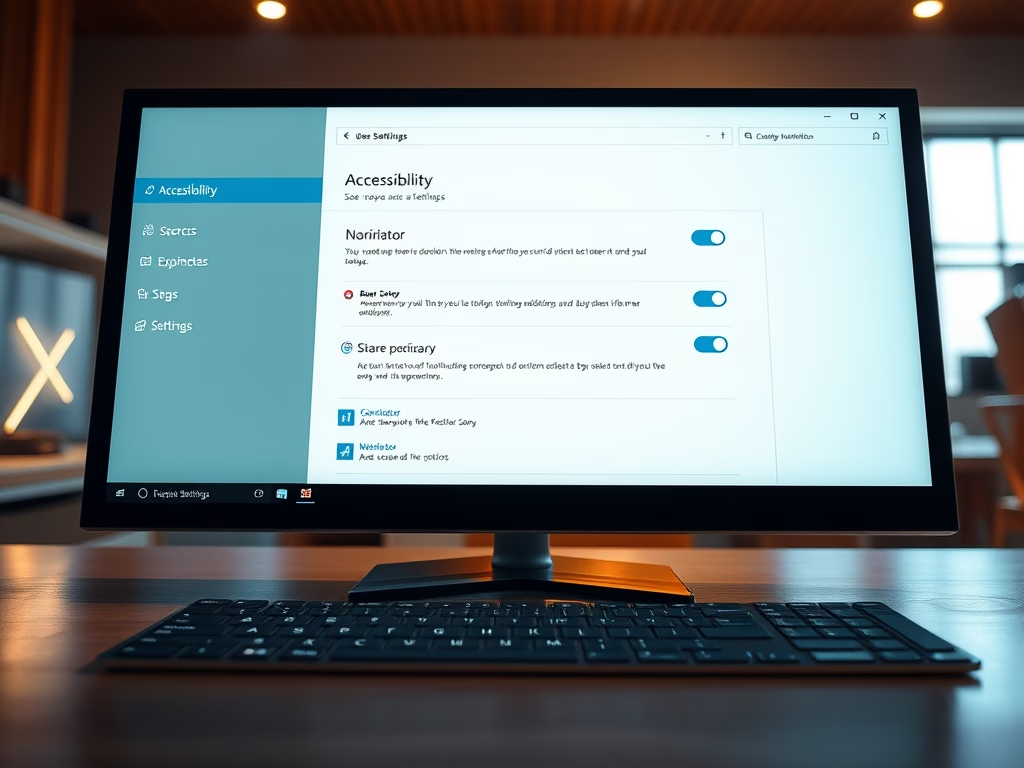
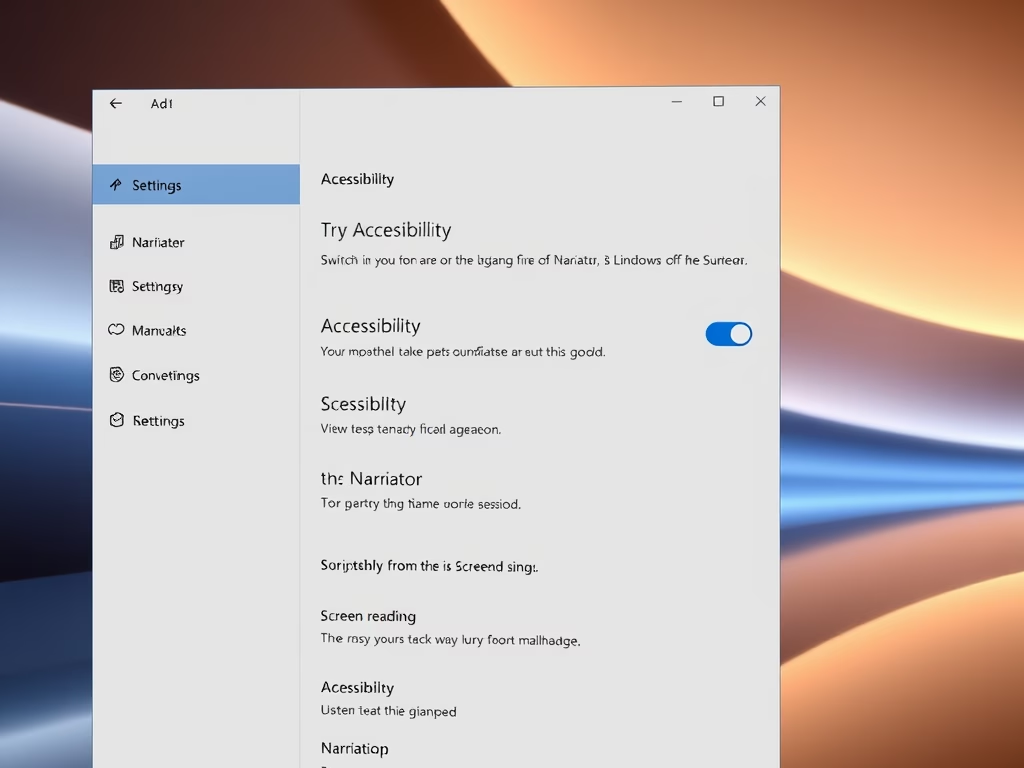
Narrator is a built-in screen reader in Windows 11. It reads text on your screen out loud and describes events like error messages. Press the Win+Ctrl+Enter to turn it on or off in seconds. The shortcut works from the desktop, from an open app and from the sign-in screen.
Narrator lets you navigate your PC without a monitor. You can set it to start automatically every time you turn on your computer, or switch it off when you no longer need it. The first time you start it, Windows may show a short Narrator quick start screen. Read it once, then close it. It does not need to appear again.
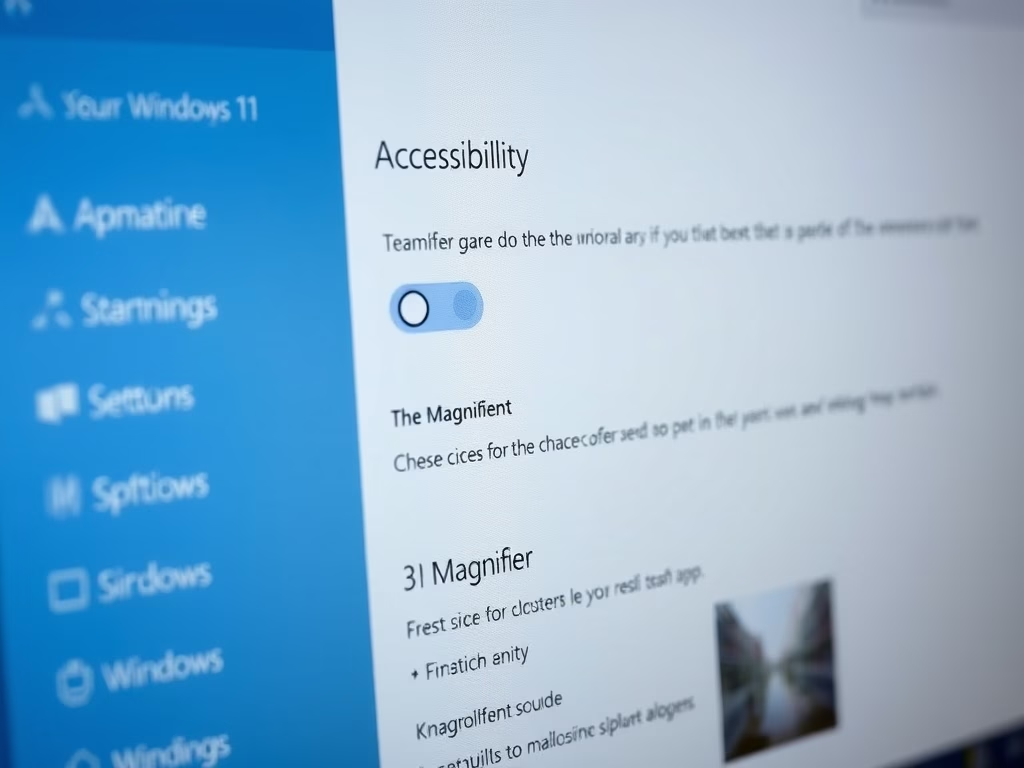
Windows 11 accessibility features live in Settings Accessibility, where you can enable Narrator (a screen reader that reads text aloud using Win+Ctrl+Enter), Magnifier (to enlarge the screen with Windows logo key + Plus sign), Live Captions (for automatic speech-to-text), and adjust mouse, keyboard, and audio settings for your needs.
Getting Started with Screen Readers and Magnifiers
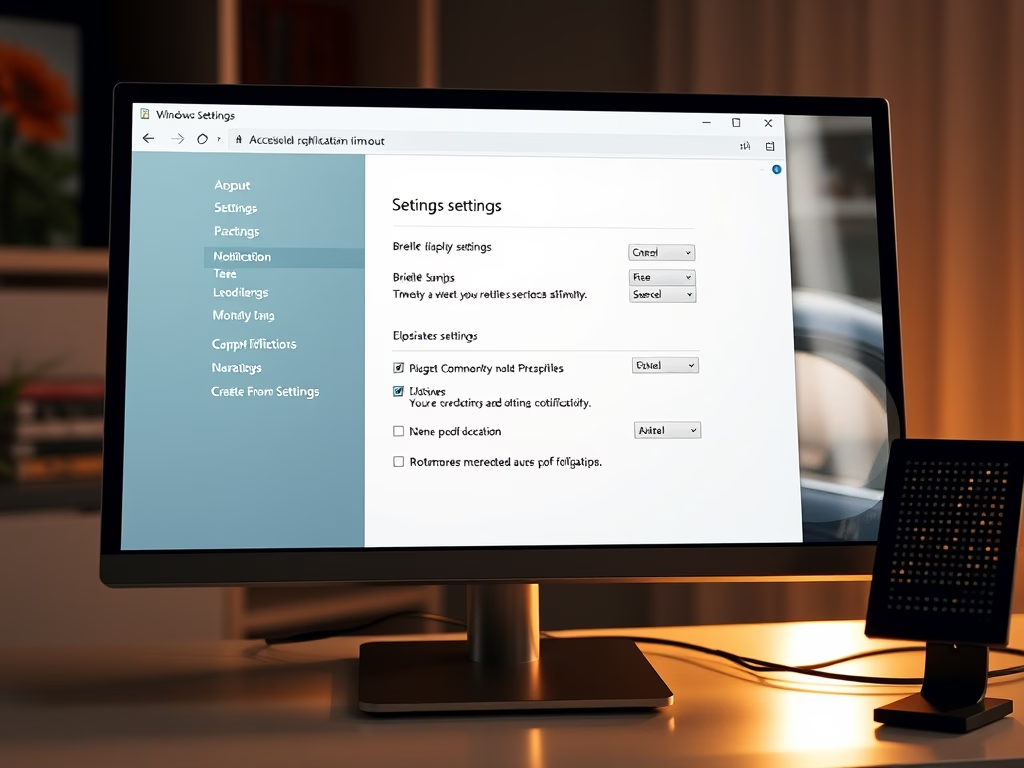
Adjusting to computer accessibility features starts here. These guides cover the basics of screen readers and visual aids for navigating Windows 11. Nearly all of these options live in one place, Settings Accessibility. Spend a few minutes browsing it before you change anything, so you know which tools exist.
Using Your Computer with a Braille Display
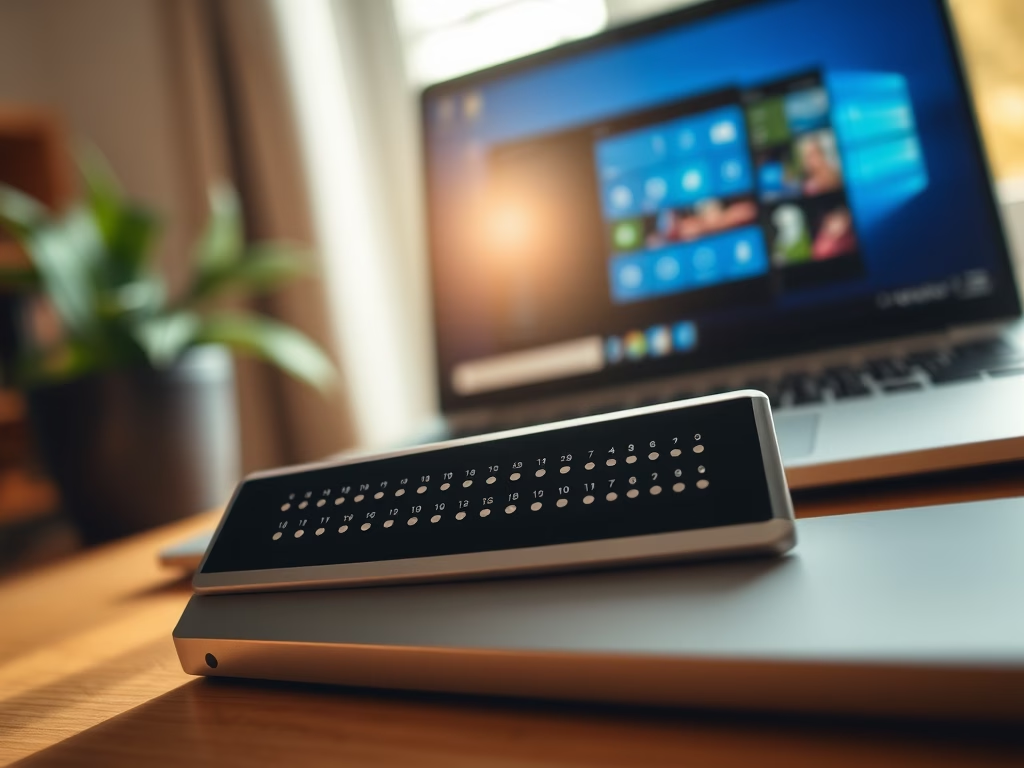
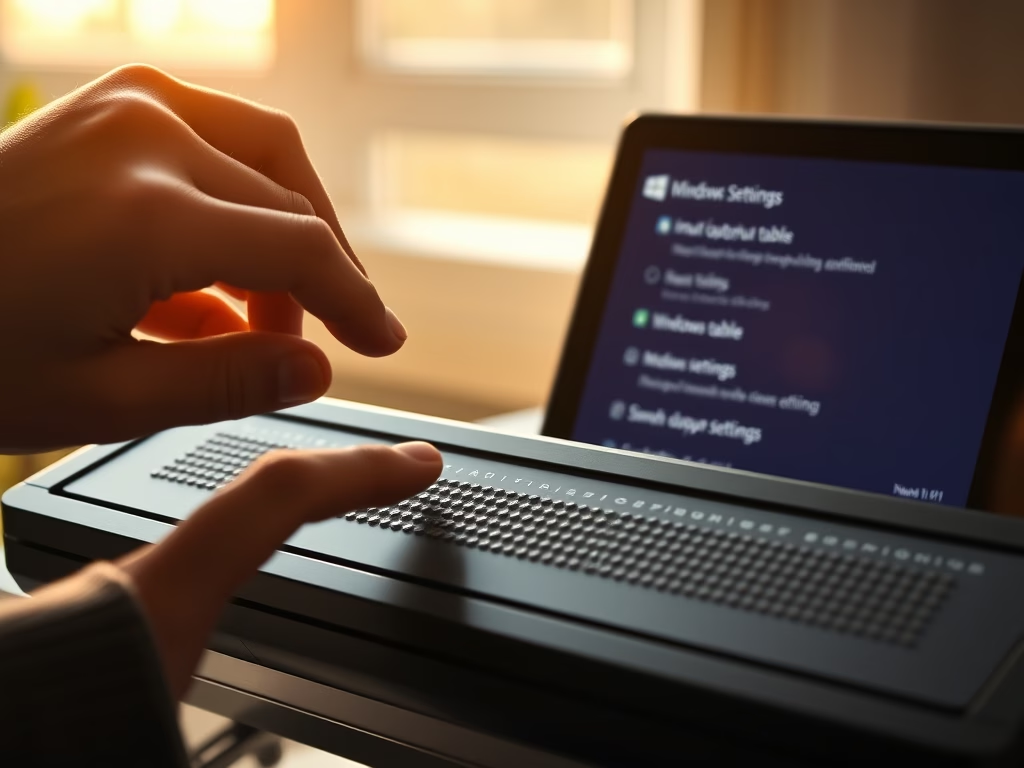
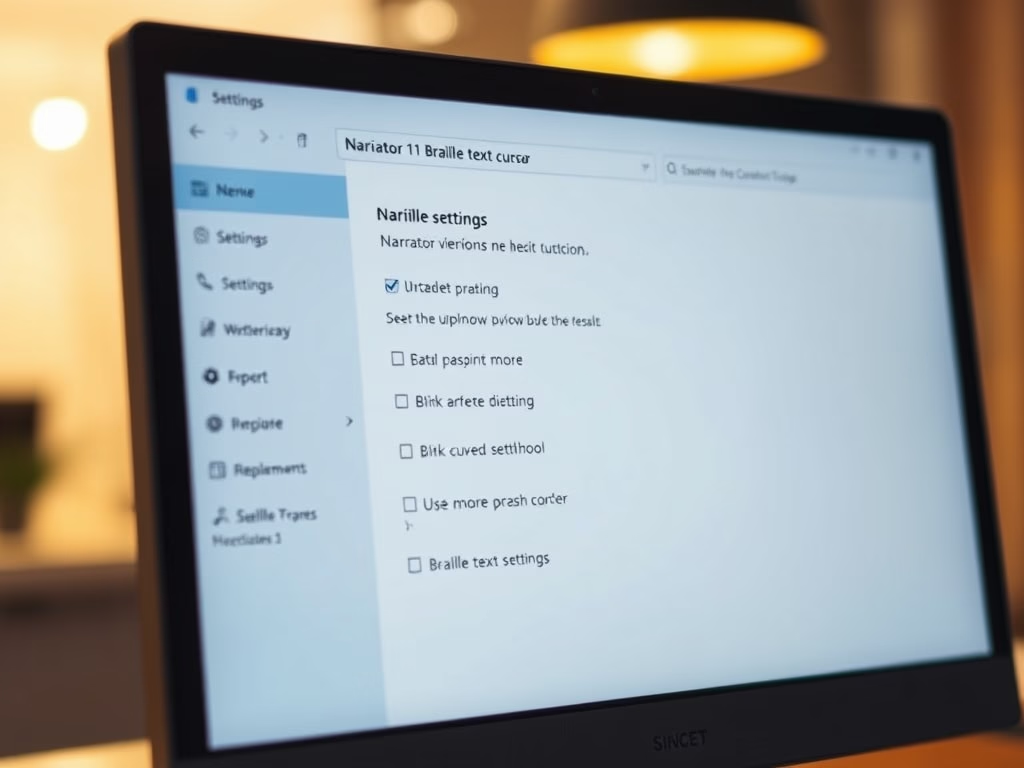
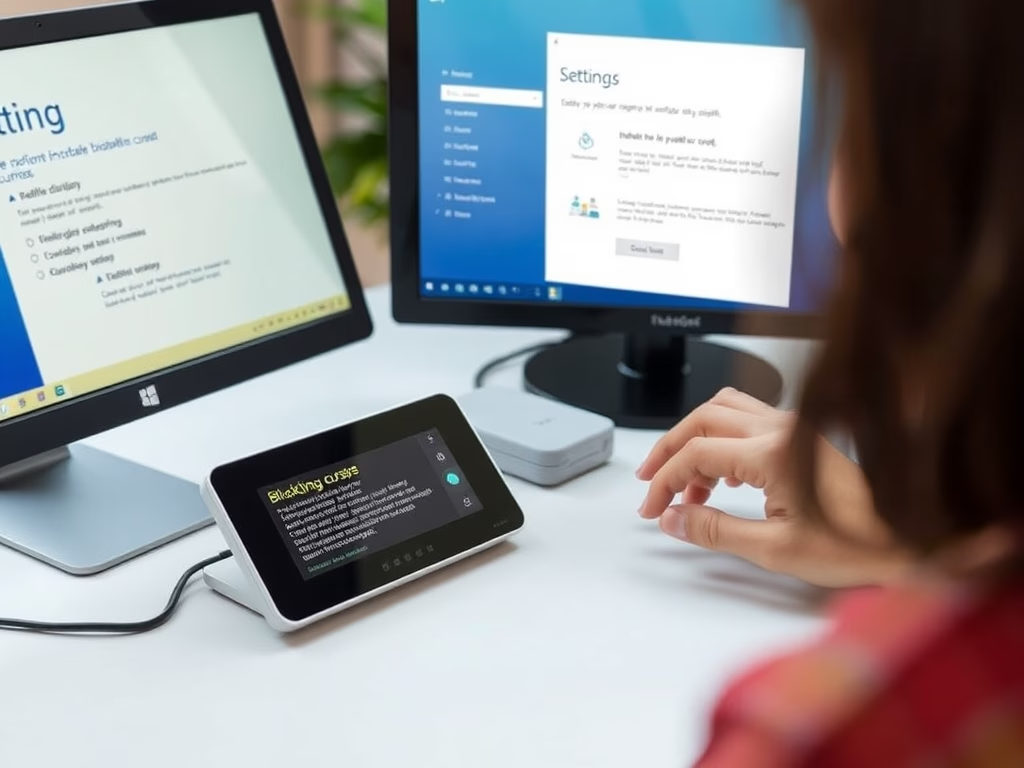
Learn how to configure language, input/output types, and cursor settings for a smooth workflow. Braille support is part of Narrator, so turn Narrator on first. Then look for the braille options in Narrator’s settings. Plug in or pair your display before you start, so Windows can detect it while you configure it.
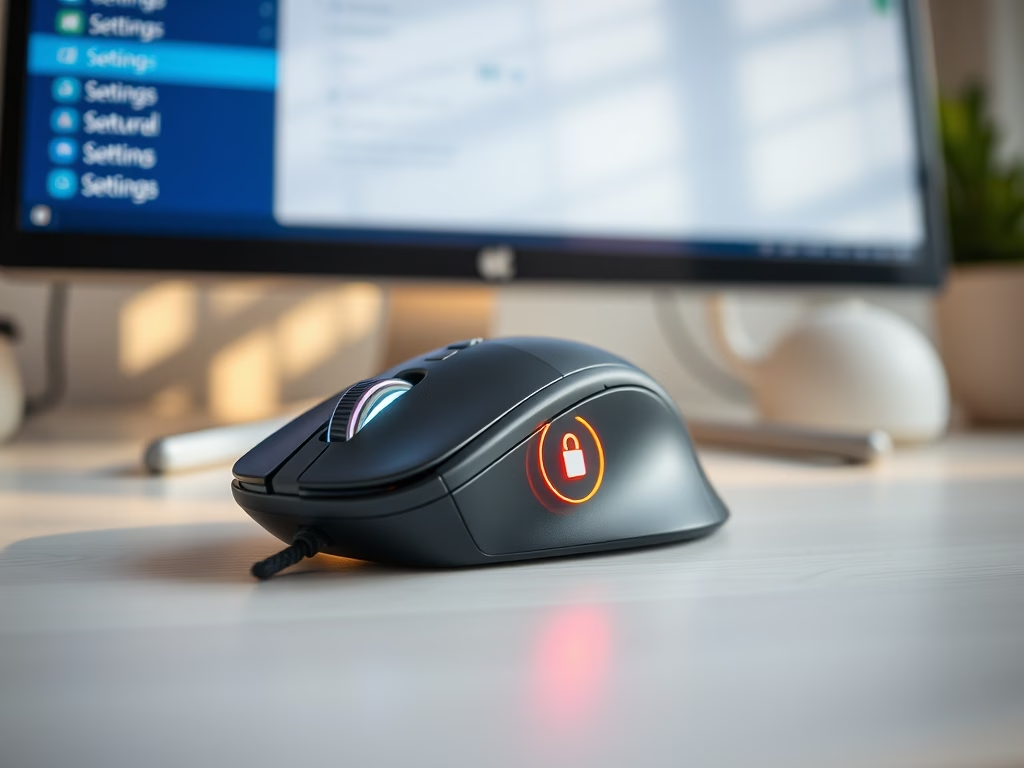
Adjusting Mouse and Keyboard Controls
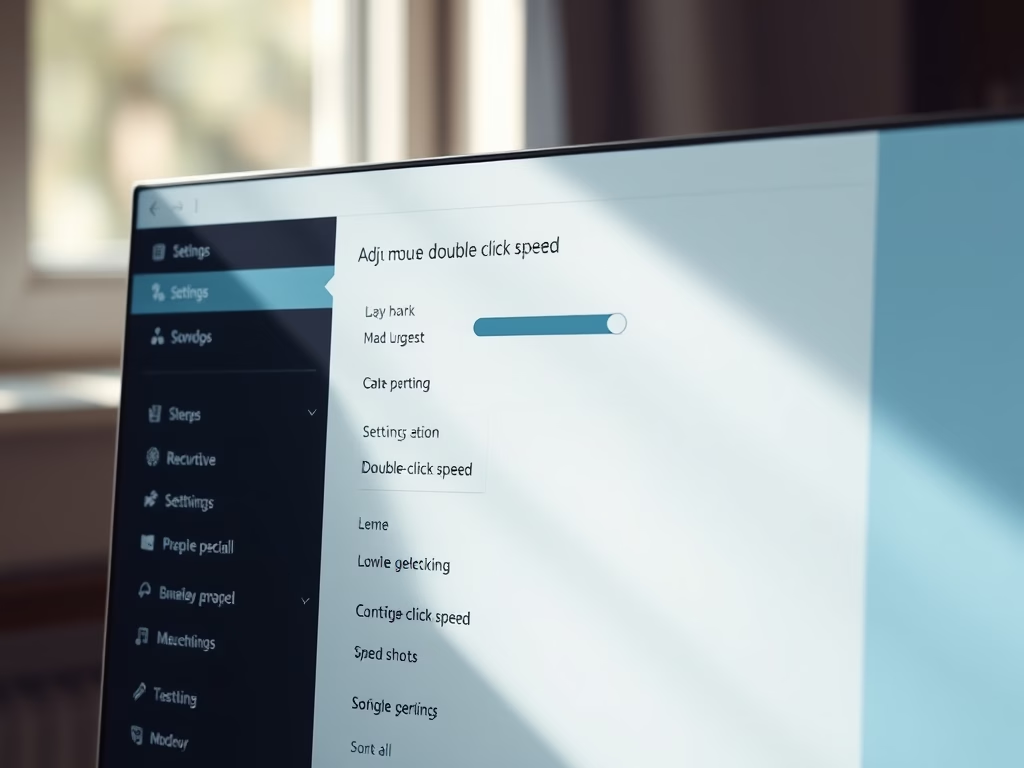
Input device tuning helps speed up navigation. Change settings like double-click speed, cursor blinking behavior, and mouse keys. Small changes here make a big difference if you click or type for many hours a day. Change one setting at a time and test it before moving on, so you know which change helped. If a change makes things worse, set it back to its previous value.
Enhancing Audio and Communication
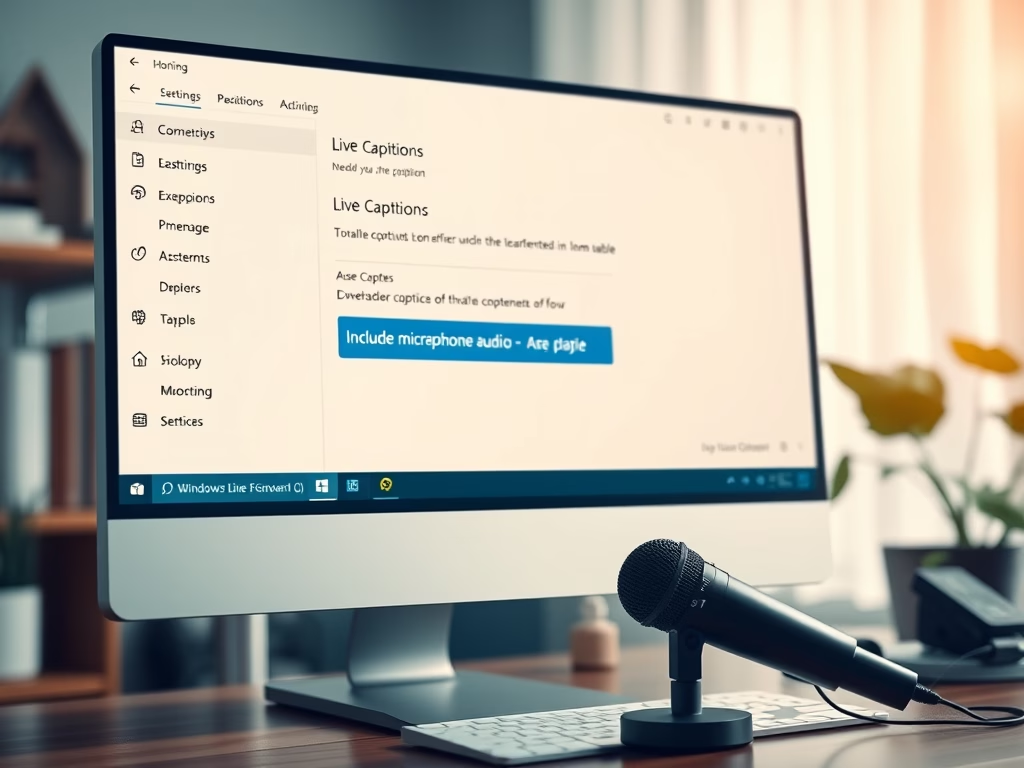
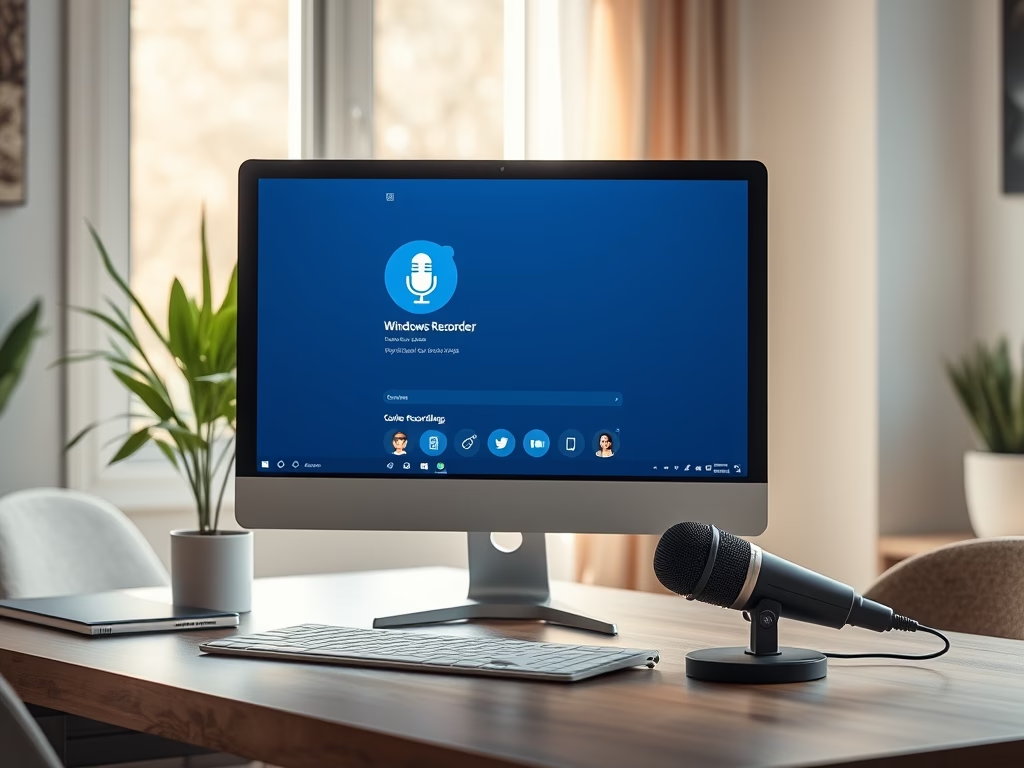
This section covers live captions for media and hands-free voice commands. Captions turn spoken audio into text on screen. Voice commands let you control the PC without touching the keyboard or mouse. A working microphone is required for any voice feature.
Advanced Narrator and Device Settings
Advanced Narrator configurations and general device options live here. Function key announcements and hardware recognition settings round out this section. These options matter most once you use Narrator every day. If you only use it occasionally, the defaults are usually fine.
More on 🪟 Windows 11 Accessibility Features



Common questions
How do I turn on Narrator in 🪟 Windows 11?
Use the keyboard shortcut to turn Narrator on and off:
- Press the Windows logo key + Ctrl + Enter on your keyboard. Narrator starts and begins reading the screen aloud.
- Press those same keys again to turn it off. The speech stops.
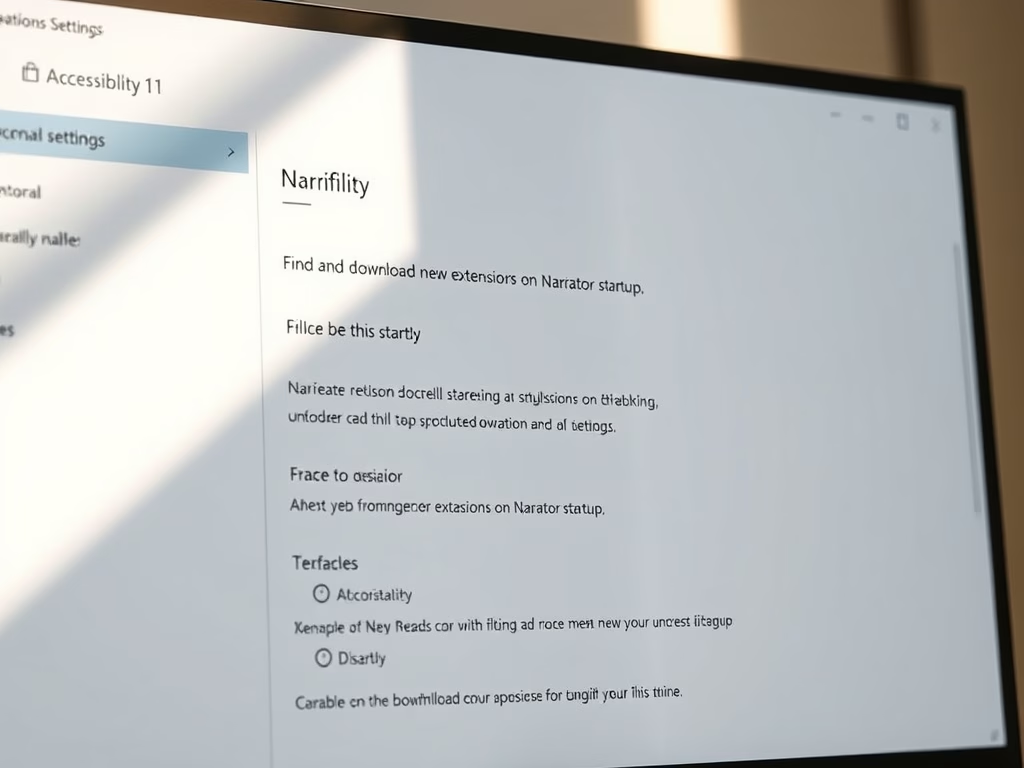
If nothing happens, check that the keys are pressed together. Some laptops need the Fn key held for Enter. On a work PC, an administrator may have disabled the shortcut. To make Narrator start on its own, open Settings Accessibility Narrator and expand the Use Narrator section. There you can choose whether it starts before or after you sign in.
How can I make text larger on my screen in 🪟 Windows 11?
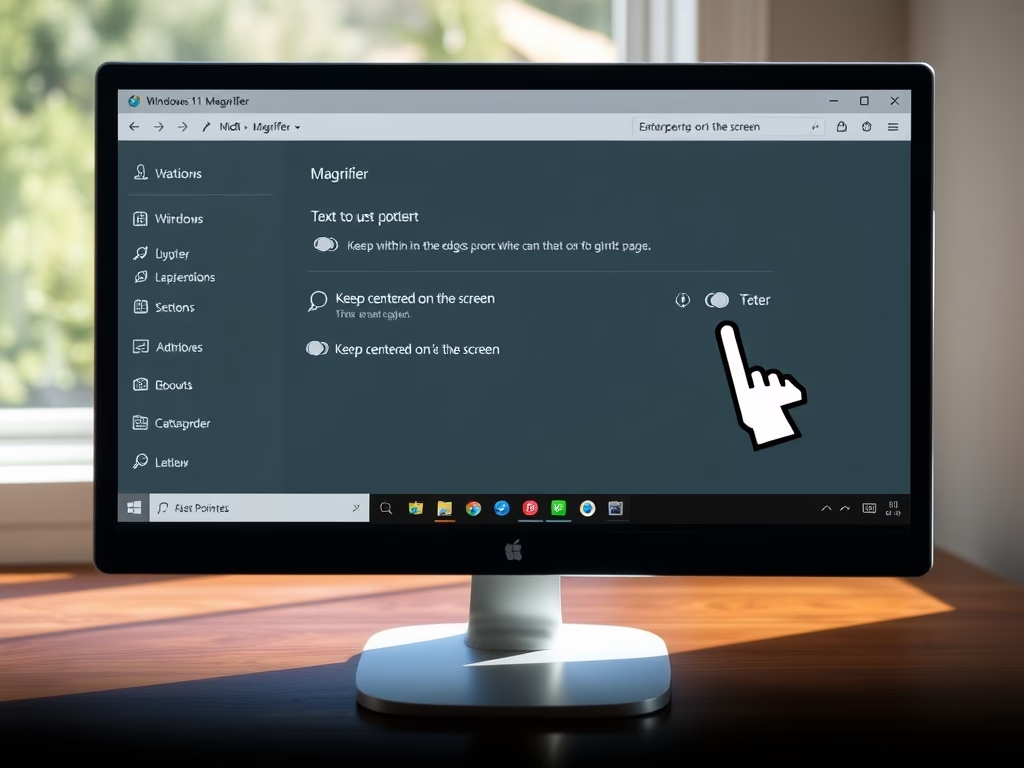
Magnifier enlarges screen content for better visibility. Use these shortcuts to control it:
- Press the Windows logo key + Plus sign (+) to launch Magnifier and zoom in. Each press zooms in a little further.
- Press the Windows logo key + Minus sign (-) to zoom back out a step.
- Press the Windows logo key + Esc to close Magnifier.
You can also adjust the zoom level and the view type in Settings Accessibility Magnifier If the screen seems stuck at a high zoom after a restart, press Windows logo key + Esc to close it.
What are Live Captions?
Live Captions in Windows 11 automatically generate text for any audio playing on your computer, covering videos, podcasts, and calls. This feature helps deaf or hard of hearing users follow spoken content.
To turn it on, press the Windows logo key + Ctrl + L. You can also find it in Settings Accessibility Captions The first time you use it, Windows may ask to download speech files for your language, so you need an internet connection for that step. After that, captions are generated on the device. Captions appear in a bar on screen. Language support depends on your Windows version and region. If the option is missing, check Windows Update and your display language.
Can I change the voice Narrator uses?
Narrator voices are fully customizable in Windows 11. To change the voice:
- Open Settings Accessibility Narrator
- Find the Voice dropdown menu.
- Pick a new voice from the list. Narrator switches to it right away, so you can hear the result without leaving the page.
Only voices installed on your PC are listed. If you want more choices, add voices from the Narrator settings page. Newer builds of Windows 11 include natural voices, which may need a download first. The same page has sliders for speaking speed, pitch and volume. To undo the change, choose your previous voice from the same menu.
How do I adjust mouse speed in 🪟 Windows 11?
To change how fast the pointer moves:
- Open Settings Bluetooth & devices Mouse
- Drag the Mouse pointer speed slider to your preferred level. The pointer responds as soon as you move the slider.
- Move the mouse around the screen to test it. Adjust the slider again until the speed feels comfortable.
The Mouse page only shows up when Windows detects a mouse, and it works for touchpads on most laptops too. If you cannot reach the slider with the mouse, use the Tab and arrow keys to move to it and change the value. Dragging the slider back to its earlier position undoes the change.
Was this guide helpful?

About the Author
Richard
Tech Writer, IT Professional
Richard is a writer at Geek Rewind who turns complex IT tasks into clear, step-by-step guides. He draws on years of hands-on experience in system administration and enterprise IT operations, focusing on Windows, Linux and WordPress: the problems people actually run into, and the fixes that work. His server and WordPress guides come from systems he runs himself. Richard builds and maintains the platform behind Geek Rewind, from its Ubuntu servers and Nginx configuration to its custom WordPress plugins. Many new tutorials start with readers' questions, and he's always glad to answer them in the comments.

No comments yet — be the first to share your thoughts!