How to Enable or Disable Magnifier in Windows 11
Magnifier in Windows 11 acts like a digital magnifying glass to enlarge parts of your screen.
This built-in accessibility tool helps you see small text and images more clearly, which is useful if you have vision trouble or just need a closer look at something on your display.
You can quickly turn Magnifier on using the Windows logo key + Plus sign (+). To turn it off, press the Windows logo key + Esc.
Press Windows logo key + Plus sign (+) to turn on Magnifier and Windows logo key + Esc to turn it off. You can also enable or disable it in Settings under Accessibility Magnifier
Prerequisites
Quick Keyboard Shortcuts
The fastest way to control this feature is with your keyboard:
- Turn on Magnifier: Windows logo key + Plus sign (+).
- Turn off Magnifier: Windows logo key + Esc.
- Zoom In: Windows logo key + Plus sign (+).
- Zoom Out: Windows logo key + Minus sign (-).
- Read text aloud: Ctrl+Alt+← Click.
How to Enable or Disable Magnifier via Settings
You can easily turn the Windows 11 Magnifier on or off using the Settings app. Simply open Settings by pressing Windows key + I, then go to Accessibility and select Magnifier to find the switch you need.
- Open the Settings app by pressing Windows key + I on your keyboard, or by clicking Start and selecting Settings.

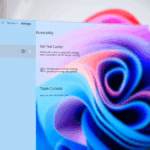
windows 11 start settings - In the Settings menu, click on Accessibility on the left side of the window.
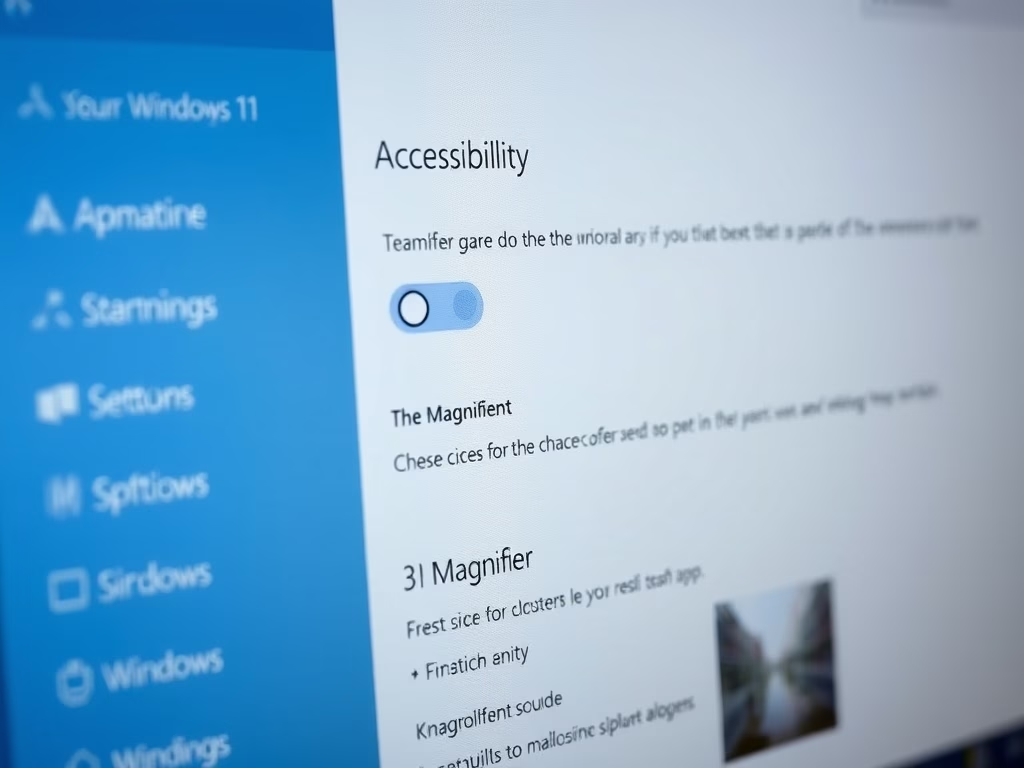
- Select Magnifier on the right side of the screen.

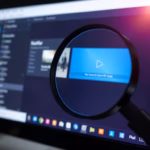
Windows 11 Magnifier tool icon displayed on the computer screen - Find the Magnifier switch and toggle it to On or Off.

enable magnifier in windows 11
Customizing Magnifier Views
Windows 11 Magnifier gives you three different ways to zoom in, so you can pick the one that feels most comfortable. You can use Full Screen to zoom everything, Lens to magnify just around your mouse, or Docked to show a magnified part in a separate window.
- Full Screen: The entire screen zooms in. This is the default mode.
- Lens: Only the area around your mouse pointer is magnified, acting like a physical magnifying glass.
- Docked: A separate window appears at the top of your screen, showing a magnified view of your mouse area while the rest of the screen stays normal.
Advanced Configuration
You can adjust how Windows 11 Magnifier works with several advanced settings to make it more useful. These include changing how much it zooms with Zoom Increments, inverting colors for easier reading, and setting up Focus Tracking so it follows your cursor.
- Zoom Increments: Adjust how much the screen zooms each time you press the plus or minus keys.
- Color Inversion: Enable this to make the screen easier to read if you have light sensitivity.
- Focus Tracking: Ensure Magnifier follows your keyboard cursor or text insertion point automatically.
- Smoothing: Use edge smoothing to keep text readable even at high zoom levels.
Summary
Windows 11 Magnifier is a great tool to make your screen easier to see, whether you turn it on with a quick shortcut or through the Settings menu. You can also change its zoom levels, views, and tracking to fit exactly what you need.
Can Magnifier start automatically when I sign in?
Yes. In the Magnifier settings menu, look for the option labeled "Start Magnifier after sign-in." Simply toggle this switch to the On position. This ensures that your accessibility settings are active the moment you reach your desktop, providing a consistent experience every time you use your computer.
How do I make the mouse pointer easier to see with Magnifier?
You can adjust the mouse pointer and text cursor settings within the Accessibility menu. By increasing the pointer size and changing its color to a high-contrast option, you make it much easier to track your movement across the screen while the Magnifier is active.
Was this guide helpful?

About the Author
Richard
Tech Writer, IT Professional
Richard, a writer for Geek Rewind, is a tech enthusiast who loves breaking down complex IT topics into simple, easy-to-understand ideas. With years of hands-on experience in system administration and enterprise IT operations, he’s developed a knack for offering practical tips and solutions. Richard aims to make technology more accessible and actionable. He's deeply committed to the Geek Rewind community, always ready to answer questions and engage in discussions.

No comments yet — be the first to share your thoughts!