How to Manage OneDrive Files on Windows 11

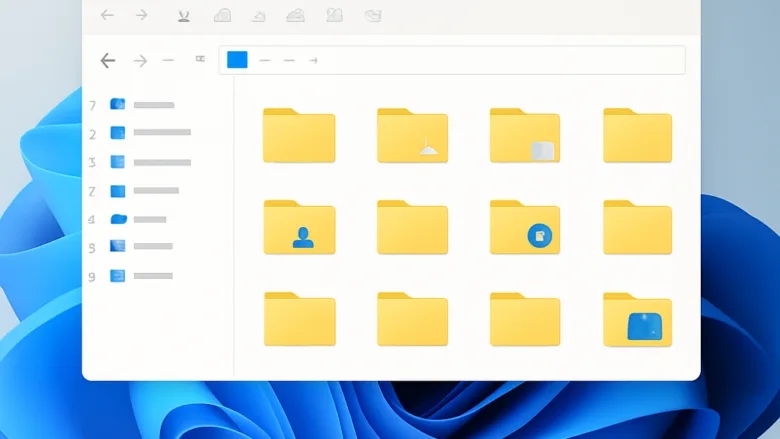
OneDrive is built into Windows 11. It backs up your files online and keeps them in sync across your devices. Managing your files mostly comes down to three things: choosing which folders stay on your hard drive, freeing up storage space, and controlling how files sync. You need to be signed in to OneDrive with a Microsoft account. Look for the cloud icon in the taskbar notification area , and if it’s missing, check the hidden icons arrow.
You can do most of this from File Explorer without opening a web browser. The steps below work the same on Windows 11 Home and Pro.
- Open File Explorer and select your OneDrive folder in the left pane. You should see your files, each with a status icon beside it.
- Right-click a file or folder. You should see the OneDrive options in the context menu . On Windows 11, you may need to select Show more options first to see everything.
- Choose Always keep on this device to store a local copy that is available offline, or choose Free up space to keep the file online only.
The status icons tell you where each file lives. A cloud outline means the file is online only. A hollow green check means it was downloaded when you opened it, and Windows can remove it later if space runs low. A solid green check means it is always kept on this device.
Open File Explorer , right-click your OneDrive folder, and select Always keep on this device to store files locally, or Free up space to keep them online only. Status icons show where each file lives: a cloud outline means online only, a hollow green check means cached, and a solid green check means always stored locally.
Getting Started with OneDrive Basics
A new installation needs a few first steps. Doing them early makes your files easy to find and keeps your folders organized from the start.
- Sign in with your Microsoft account when OneDrive prompts you, or select the cloud icon in the taskbar notification area if no prompt appears.
- Confirm the OneDrive folder location. By default it sits inside your user profile folder.
- Choose which folders to back up, such as Desktop, Documents and Pictures, when asked.
- Open File Explorer and check that the OneDrive folder appears in the left pane.
If a folder you want is not backing up, you can change this later in the OneDrive settings. Select the cloud icon, then choose the Help & Settings gear and Settings. Backup options are on the Sync and backup tab.
Moving and Organizing Your Files
You can import existing documents to bring files and records from other cloud storage accounts into OneDrive. Keeping everything in one place makes it easier to search, back up and share.
- Sign in to OneDrive online with the same Microsoft account.
- Start the import from the provider you want to bring files from.
- Sign in to that provider when prompted and approve access.
- Select the files or folders to bring across and confirm.
Check that your OneDrive has enough free space before you start, because the import may stop partway if it fills up.
Securing Your Personal Vault
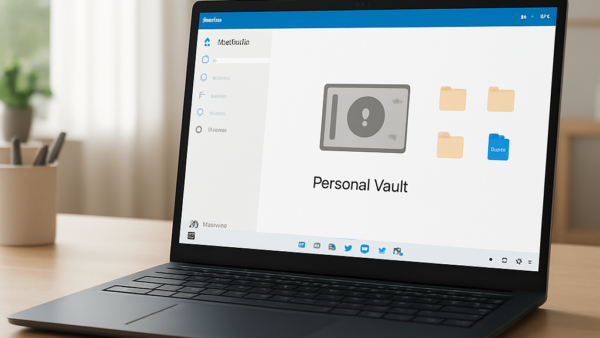
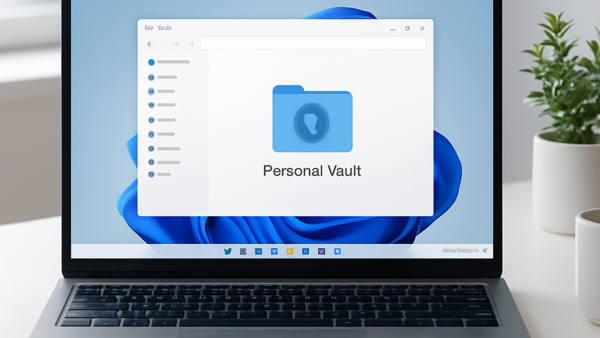
Personal Vault adds an extra layer of authentication for sensitive documents. Access controls keep confidential records locked down, even if someone is using your signed-in PC.
- Open your OneDrive folder in File Explorer.
- Select Personal Vault. You should see a prompt to set it up the first time.
- Follow the prompts to verify your identity. You may need to use a code, an authenticator app or Windows Hello.
- Move your sensitive files into the vault once it is unlocked.
Free personal accounts can store only a small number of files in the vault (three at the time of writing). A Microsoft 365 subscription removes that limit. The vault is not available on work or school accounts.
Managing Files on Your Computer
Synchronization links your local files directly to online storage. The goal is to balance local drive capacity against cloud availability so you don't run out of space.
- Right-click the folders you rarely use offline.
- Choose Free up space. The files stay in OneDrive and show a cloud icon.
- Right-click the folders you need without internet access.
- Choose Always keep on this device. The files download and show a solid green check.
If an option is missing from the menu, check that OneDrive is running and signed in. Online-only files need an internet connection to open. You can pause syncing from the cloud icon in the notification area if you're on a slow or metered connection.
Common questions
How do I change how my files look in OneDrive?
View options change how files appear in the interface. On the OneDrive website, you can pick a layout such as List, Grid or Compact. The exact names can vary slightly between versions.
- Open OneDrive online and go to the folder you want to view.
- Select the view menu in the top right of the file list.
- Choose the layout you prefer. The files should rearrange straight away.
The compact layout fits more files on screen, while a grid view is easier to scan when you're looking for photos. To change how folders look in File Explorer, use the View menu there instead.
Can I move my files from Google Drive to OneDrive?
You can consolidate your cloud storage by importing files and photos from Google Drive and Google Photos directly into OneDrive. This leaves your original Google files in place, so you can check the copy before deleting anything from the old account.
- Sign in to OneDrive online.
- Start the import for Google Drive or Google Photos.
- Sign in to your Google account and grant permission when asked.
- Choose what to import and confirm.
Check that your OneDrive storage quota is big enough before you begin.
How do I make sure my OneDrive files are safe?
Personal Vault gives strict protection to sensitive documents. It locks automatically after a period of inactivity, which adds protection on top of two-factor authentication.
- Open the OneDrive folder in File Explorer.
- Right-click Personal Vault and select the lock option if you want to lock it right away.
- Confirm that the vault shows as locked before you step away from the PC.
To get back in, you'll need to verify your identity again. Don't leave the vault unlocked on a shared computer.
What happens if I delete a file from my PC but it's in OneDrive?
Be careful when you delete files inside your OneDrive folder. Deleting a synced file from your computer also removes it from OneDrive online, because the two locations stay in step. Offline availability does not prevent this. It only decides whether a copy is stored on your drive.
- If you only want to reclaim drive space, right-click the file and choose Free up space, rather than deleting it.
- If you deleted something by mistake, open the Recycle Bin on your PC first.
- If it's not there, check the OneDrive Recycle Bin online, where deleted items are kept for a limited time.
This behavior is why managing local storage depends on using Free up space rather than deleting files.
How do I add a folder that someone shared with me to my OneDrive?
You can add shortcuts to shared folders directly inside your own OneDrive. This gives you quick access without duplicating data.
- Open OneDrive online and go to the Shared section.
- Select the shared folder you want.
- Choose Add shortcut to My files.
- Open File Explorer and check your OneDrive folder. The shortcut should appear and sync like any other folder.
The folder stays in its original location, so the owner's permissions still apply. To remove the shortcut later, delete it from your OneDrive. This removes only your shortcut, not the shared folder itself.
Have a question about this guide?
Answered by AI from this guide. Good questions may be added to this page — please don't include personal details.
Did this guide fix your problem?

About the Author
Richard
Tech Writer, IT Professional
Richard is a writer at Geek Rewind who turns complex IT tasks into clear, step-by-step guides. He draws on years of hands-on experience in system administration and enterprise IT operations, focusing on Windows, Linux and WordPress: the problems people actually run into, and the fixes that work. His server and WordPress guides come from systems he runs himself. Richard builds and maintains the platform behind Geek Rewind, from its Ubuntu servers and Nginx configuration to its custom WordPress plugins. Many new tutorials start with readers' questions, and he's always glad to answer them in the comments.
No comments yet — be the first to share your thoughts!