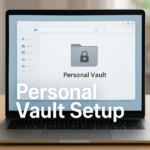
Uploading Files or Folders to your OneDrive Personal Vault
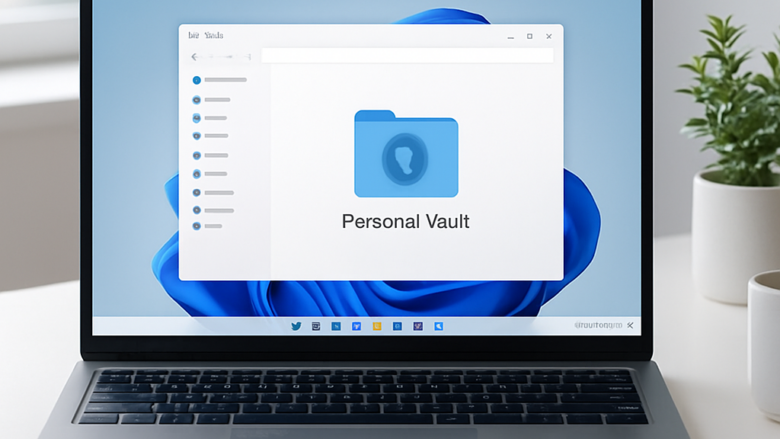
OneDrive Personal Vault protects your most sensitive files with an extra layer of security.
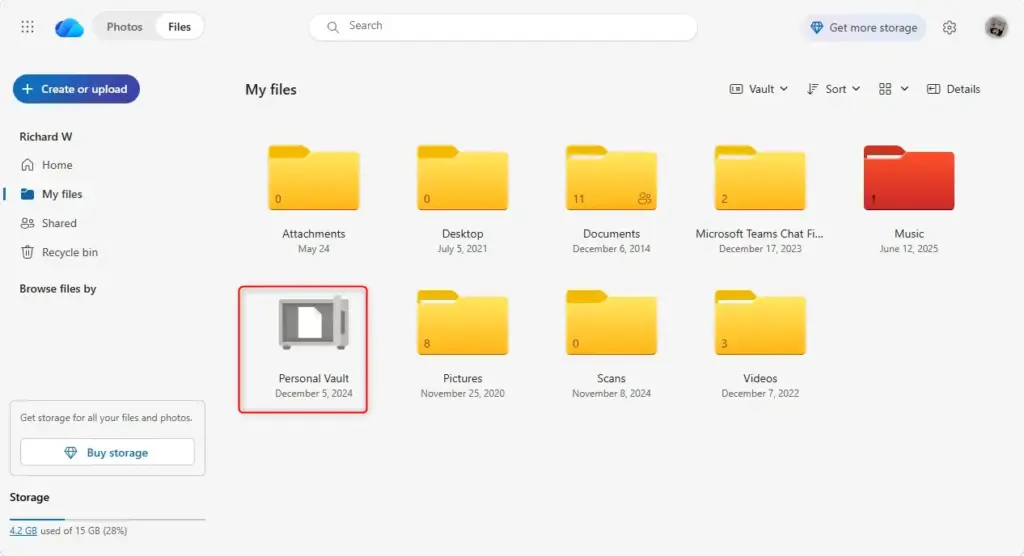
OneDrive Personal Vault functions as a special folder within OneDrive cloud storage, requiring extra identity checks before you can access its contents. This added protection is available for personal OneDrive accounts, safeguarding your documents, photos, and other important items.
To upload files to your Personal Vault, you’ll go through a slightly different process than a regular OneDrive upload. This ensures your data remains well-protected.
To upload files or folders, open your Personal Vault in OneDrive, prove your identity, and click “Upload” or drag and drop your items into the vault. You can also move existing files by selecting them and choosing “Move to” Personal Vault.
Uploading Files or Folders to Personal Vault
Uploading to your OneDrive Personal Vault keeps your most important files safe and secure. You can upload to OneDrive Personal Vault by moving files already in your OneDrive or by adding new ones directly, as long as you don’t go over your total OneDrive storage limit.
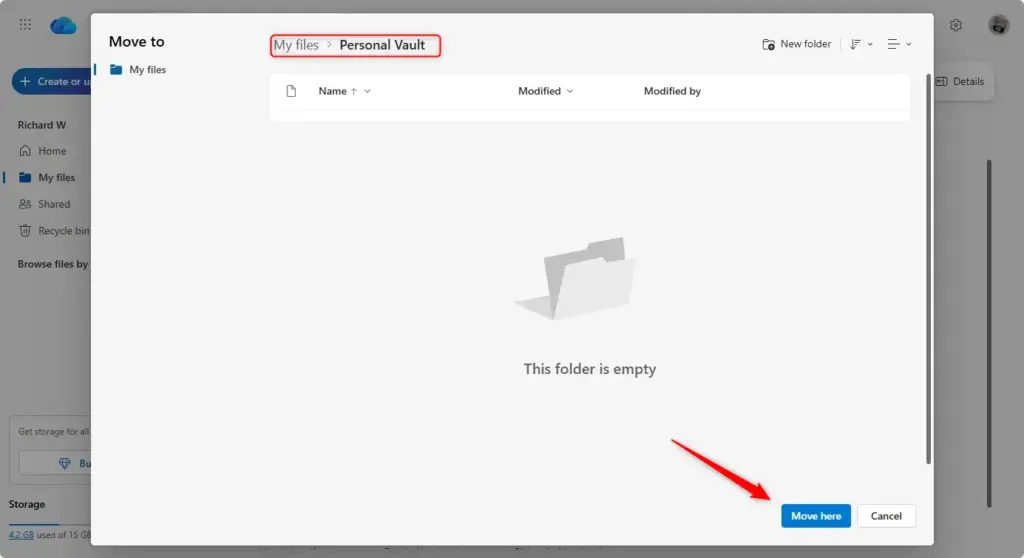
Moving Existing Files and Folders
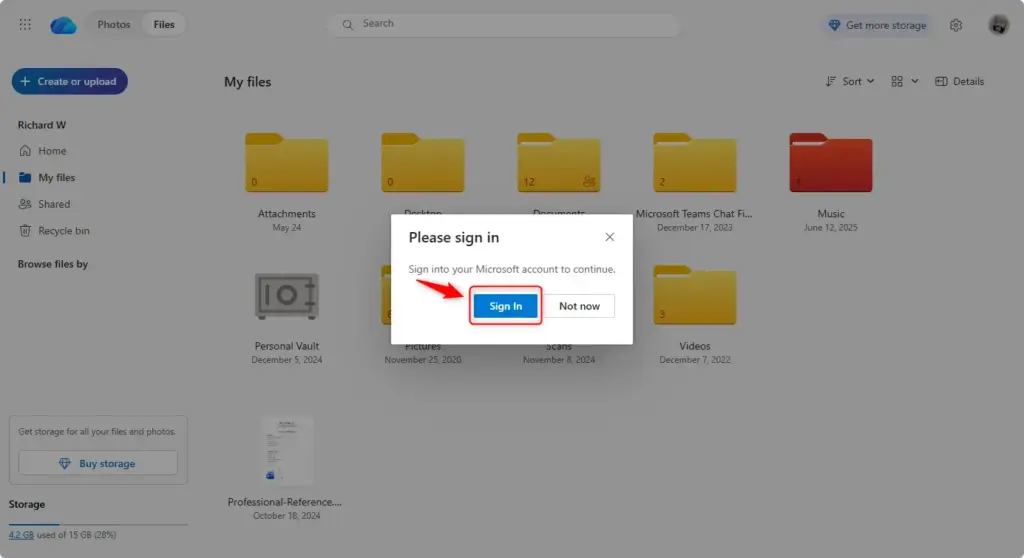
You can move files and folders from your regular OneDrive into your Personal Vault. Open your OneDrive, find the 'Personal Vault' folder, and select the items you want to move. You may need to prove your identity before moving the selected items into the Personal Vault.
- Go to your OneDrive and find the “Personal Vault” folder.
- If asked, sign in using your chosen way to verify your identity (like entering a code sent by text or email).
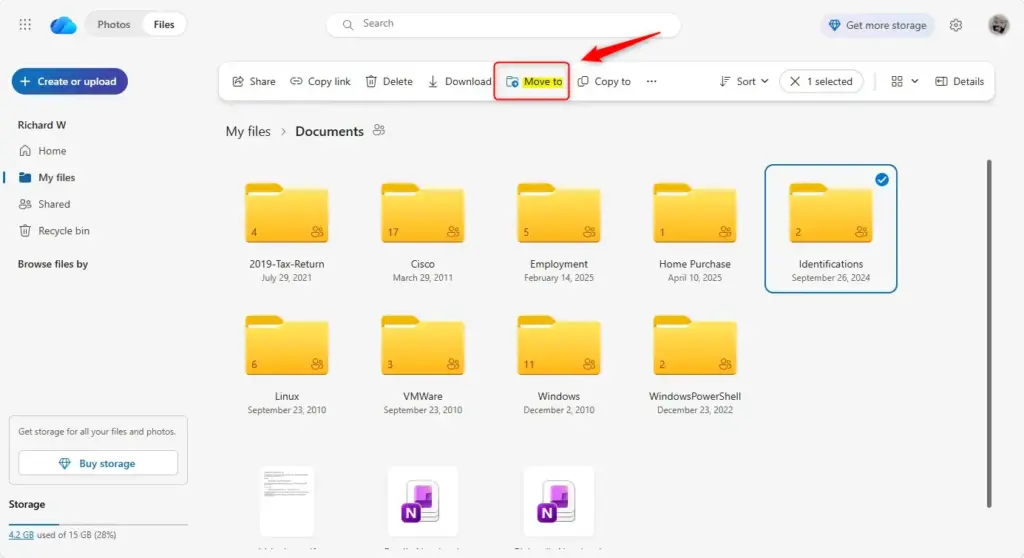
- Now, pick the files or folders you want to move. You can click the checkbox next to them or click and drag to select more than one item.
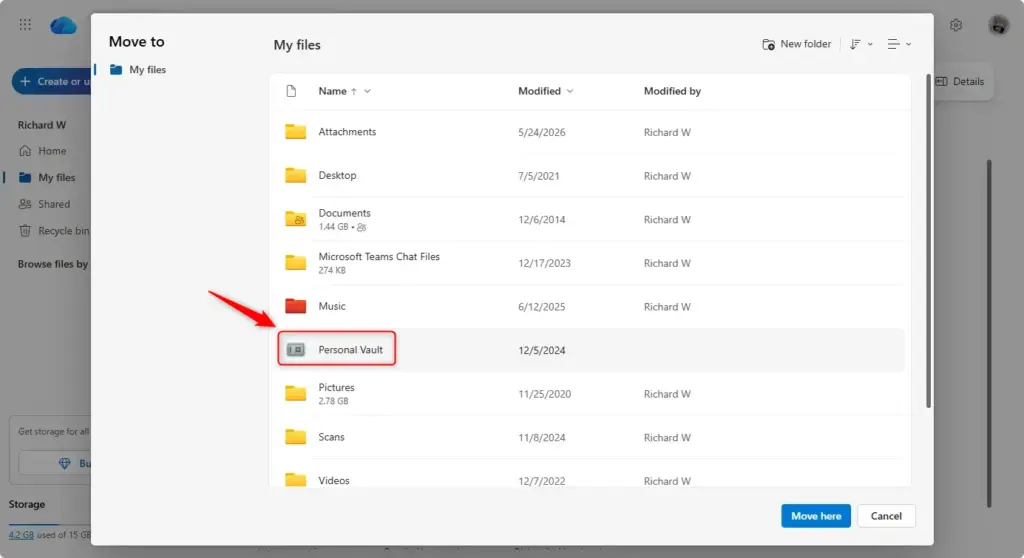
- Look for the “Move to” option. Click it, then choose “Personal Vault” as where you want to put them.
- You can also usually drag and drop the files or folders you selected right into the Personal Vault folder.
Uploading New Files and Folders
Uploading new files or folders directly into your OneDrive Personal Vault is simple. Open the Personal Vault folder in your OneDrive, then click the ‘Upload’ button. You can choose to upload individual files or an entire folder after proving your identity.
- Open your Personal Vault folder in OneDrive.
- If asked, prove your identity.
- Click the “Upload” button. You will usually see options to upload “Files” or “Folders.”
- Choose “Folders” if you want to upload a whole folder and everything inside it. Your web browser might ask you to pick the folder from your computer.
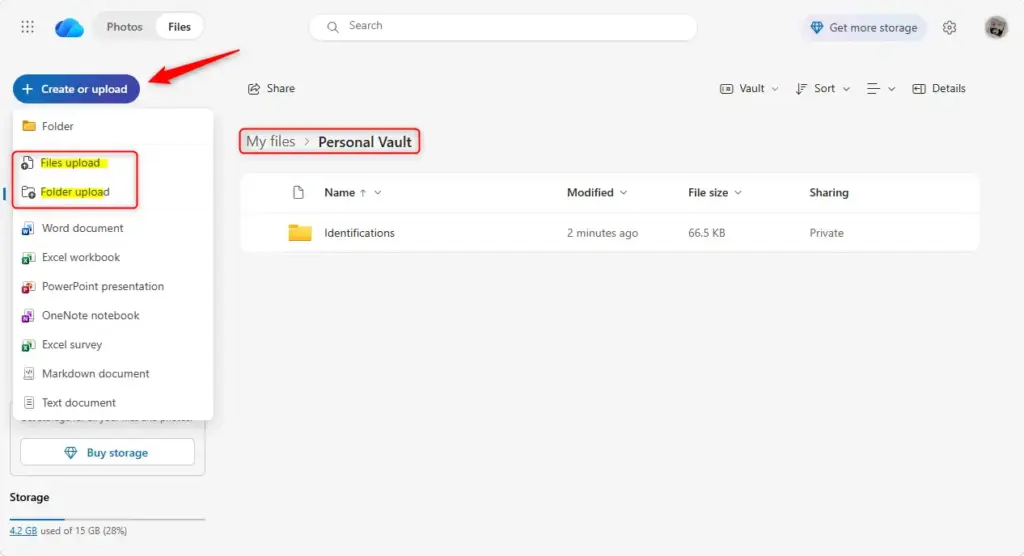
If you are using web browsers like Google Chrome or Microsoft Edge, you can often upload folders directly from the “Folder” option in the Upload menu, or by dragging the folder from your computer onto the OneDrive website.
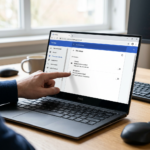
Unlocking and Locking Your Personal Vault
Your Personal Vault automatically locks itself after a period of inactivity for your safety. You’ll need to unlock it again to access your files.
Unlocking for Access
Your OneDrive Personal Vault requires unlocking if the Personal Vault is locked to view your files. Select the Personal Vault folder within OneDrive and prove your identity. This proof typically involves entering a code sent to your phone or email, or using your authenticator app.
- Select the Personal Vault folder in OneDrive.
- You will be asked to prove your identity. Pick your preferred way to verify (text, email, Authenticator app) and follow the steps to enter the code or approve the sign-in.
Locking Your Personal Vault
You can manually lock your OneDrive Personal Vault anytime for extra security. Find the Personal Vault folder in your OneDrive and click the 'Lock' option or button. Locking your OneDrive Personal Vault hides your files from regular OneDrive searches, keeping your files more secure.
- Go to your Personal Vault folder.
- Look for a “Lock” option or button and click it.
Files in OneDrive Personal Vault remain hidden from regular OneDrive searches. This privacy feature stops unauthorized access by preventing them from appearing in standard search results. You must unlock the Personal Vault and open its contents to see or access your files.
Reference:
https://support.microsoft.com/en-US/onedrive/protect-your-onedrive-files-in-personal-vault
Summary
OneDrive Personal Vault offers extra protection for your most important digital files, giving you peace of mind that your sensitive information is secure in the cloud.
Was this guide helpful?

About the Author
Richard
Tech Writer, IT Professional
Richard, a writer for Geek Rewind, is a tech enthusiast who loves breaking down complex IT topics into simple, easy-to-understand ideas. With years of hands-on experience in system administration and enterprise IT operations, he’s developed a knack for offering practical tips and solutions. Richard aims to make technology more accessible and actionable. He's deeply committed to the Geek Rewind community, always ready to answer questions and engage in discussions.

No comments yet — be the first to share your thoughts!