How to Manage OneDrive Files: Organize & Recover

OneDrive is a cloud storage service built into Windows 11 and Windows 10. It keeps your files synced across your devices and backed up online. The default OneDrive folder lives at 📁C:\
Moving this folder stops Windows from downloading duplicate files. It also lets you keep large photo and video backups on a separate drive and still reach them. Your files stay safe in the cloud while your PC handles the new folder location automatically. This guide also covers organizing, freeing space, protecting and recovering files.
To stop OneDrive from using too much space, choose which folders sync to your computer. Right-click the OneDrive icon on your taskbar , select Settings, then Account, and click Choose folders. Uncheck any items you do not need local copies of to save space.
Get Your OneDrive Folder Set Up
Before you manage anything, check where your files currently live. A quick check also tells you how much space OneDrive is using on your PC. The guides below cover setting up your OneDrive folder location and how files are stored on your PC.
- Open File Explorer and look for OneDrive in the left pane. You should see your OneDrive folder and its subfolders.
- Right-click the folder and choose Properties. The Location or path shown tells you which drive it sits on.
If you use a work or school account, the folder name usually includes your organization, for example “OneDrive – Company”. Personal and work accounts each get their own folder.
Organize and Protect Your Files
Once OneDrive is set up, keeping files tidy and secure stays a priority. The guides below show how to add shortcuts to shared files, remove shortcuts you no longer need, and protect sensitive documents.
A shortcut is a pointer to a folder someone else owns. It appears in your OneDrive, but the files stay in the owner's storage. Removing a shortcut does not delete the shared files for the owner or for other people. Shortcuts can only be added for folders that were shared with you with edit permission, so if the option is missing, ask the owner to change your permission.
Control What Stays on Your Computer
Deciding which files stay on your computer for quick access and which stay only in the cloud is a key part of managing OneDrive. The guides below show how to delete files from your PC while keeping them safe online, or the other way round.
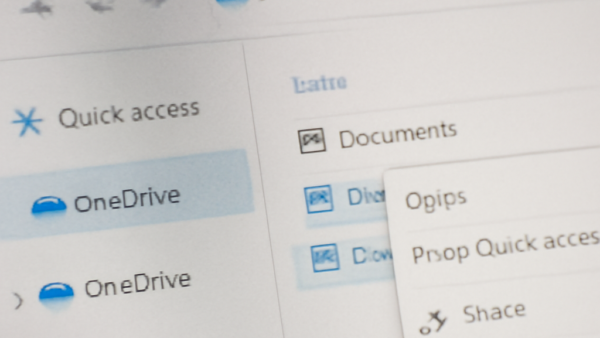
If you only want to free disk space, do not delete files from the OneDrive folder. Use the right-click option instead:
- Open your OneDrive folder in File Explorer.
- Right-click the file or folder you want to free up.
- Choose Free up space. The file stays in OneDrive online and shows a cloud icon in File Explorer.
On Windows 11, some options sit under Show more options in the right-click menu. To bring a file back, right-click it and choose Always keep on this device.
Recover Lost or Deleted Files
Accidental deletions happen to everyone. The guides below help you retrieve files removed from your computer or from OneDrive online. Check the Recycle Bin on your PC first, then the OneDrive Recycle Bin on the web.
OneDrive keeps deleted items for a limited time. For personal accounts this is 30 days, and for work or school accounts it is usually 93 days unless your admin changed it. After that, the files are gone. Act quickly if something important went missing.
Common questions
How do I stop OneDrive from taking up so much space on my computer?
Selective sync keeps your local hard drive from filling up. You choose which OneDrive folders are copied to this PC. The rest stay online only.
- Right-click the OneDrive icon in the system tray, the notification area on the right side of the taskbar. If you do not see it, click the up arrow to show hidden icons.
- Click the gear icon (Help & Settings), then select Settings.
- Go to Account and click Choose folders. A window opens listing your OneDrive folders with checkboxes.
- Uncheck any items that do not need local copies.
- Click OK. OneDrive removes the unchecked folders from your PC. They remain safe online.
To get a folder back, repeat the steps and tick its checkbox again. It will download once you are connected to the internet.
Can I access my OneDrive files if I don't have an internet connection?
Viewing files offline works only for items set to stay available without a network connection. Files marked with a green checkmark are stored locally and open without internet. Files showing a cloud icon need an active internet connection.
To make a file or folder available offline, right-click it in File Explorer and choose Always keep on this device. You should see a solid green circle with a white checkmark once it has finished downloading. Do this before you travel or work somewhere with poor internet.
Files you simply opened show a hollow green circle with a checkmark. They are stored locally for now, but Windows may free that space later when storage runs low.
What is OneDrive Personal Vault?
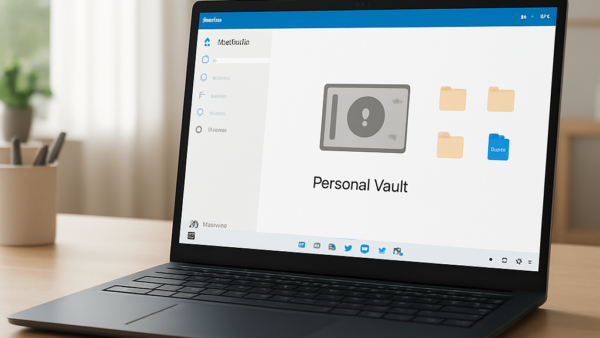
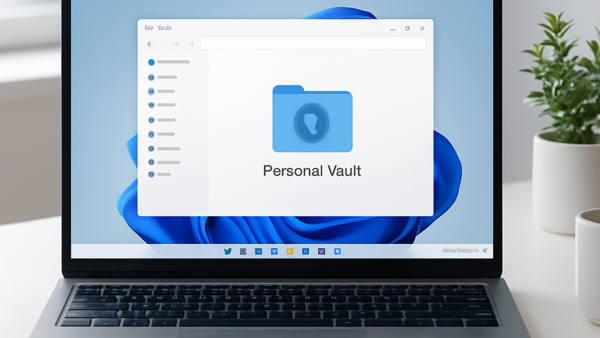
Personal Vault is an extra security layer in OneDrive for your most important files. It is a protected folder that needs a second step to open, beyond signing in to your account. That step can be a strong password, a PIN, a fingerprint, face recognition, or a code sent by email or text.
Vault locks itself after a period of inactivity, so your files are protected if you walk away. Free personal accounts can store only a few files in Personal Vault (currently three). A Microsoft 365 subscription removes that limit. Personal Vault is not available on work or school accounts.
How do I move my OneDrive folder to a different drive?
Moving the folder requires unlinking OneDrive from your account first. This does not delete your files. They stay on your PC and in the cloud. Follow these steps:
- Right-click the OneDrive icon in the system tray, click the gear icon, and select Settings.
- Go to Account and click Unlink this PC.
- Confirm by clicking Unlink account. OneDrive stops syncing and the setup window may appear. Close it for now.
- Open File Explorer and move the existing OneDrive folder to the new location, for example a folder on another drive.
- Open OneDrive from the Start menu and sign in again with the same account.
- When setup shows your OneDrive folder location, click Change location and choose the folder you moved.
- If OneDrive finds existing files there, choose to use that folder. This stops it downloading everything again.
If you move the folder to an external drive, the drive must be formatted as NTFS and stay connected, or syncing will stop. Syncing resumes once the drive is back.
What's the difference between deleting files from OneDrive online and from my computer?
While syncing is active, deleting a file in your OneDrive folder usually removes it from cloud storage as well. Removing files directly from OneDrive online clears them from the cloud and can pull them off your connected devices too.
Deleted files normally go to a Recycle Bin first, either on the PC or on the OneDrive website. If you delete something by mistake, look there before doing anything else. If you only want to save space on your PC, use Free up space instead of deleting.
Have a question about this guide?
Answered by AI from this guide. Good questions may be added to this page — please don't include personal details.
Did this guide fix your problem?

About the Author
Richard
Tech Writer, IT Professional
Richard is a writer at Geek Rewind who turns complex IT tasks into clear, step-by-step guides. He draws on years of hands-on experience in system administration and enterprise IT operations, focusing on Windows, Linux and WordPress: the problems people actually run into, and the fixes that work. His server and WordPress guides come from systems he runs himself. Richard builds and maintains the platform behind Geek Rewind, from its Ubuntu servers and Nginx configuration to its custom WordPress plugins. Many new tutorials start with readers' questions, and he's always glad to answer them in the comments.
No comments yet — be the first to share your thoughts!