How to Remove a Shared Folder Shortcuts on OneDrive.com
Removing a shared folder shortcut from OneDrive.com tidies up your file list without deleting anyone’s files.
A shared folder shortcut on OneDrive.com is just a link to a folder someone else has shared with you. It looks like a normal folder in your OneDrive, but it actually points to files in another person’s cloud storage.
OneDrive shared folder shortcuts can be removed when a project concludes or access to shared files is no longer needed. This process, available since OneDrive version 2019, stops the shortcut from appearing on your OneDrive account.
Deleting a shared folder shortcut only removes it from your view; the original files remain safe and accessible to others who have permission.
Sign in to OneDrive.com, navigate to your files, select the shared folder shortcut, and click “Remove shortcut” from the top menu or by right-clicking. This action only removes the shortcut from your view and does not affect the original folder or other users.
How to Remove a Shared Folder on OneDrive.com
Removing a shared folder shortcut from OneDrive.com is simple and only affects your view, not the original files or other users’ access.
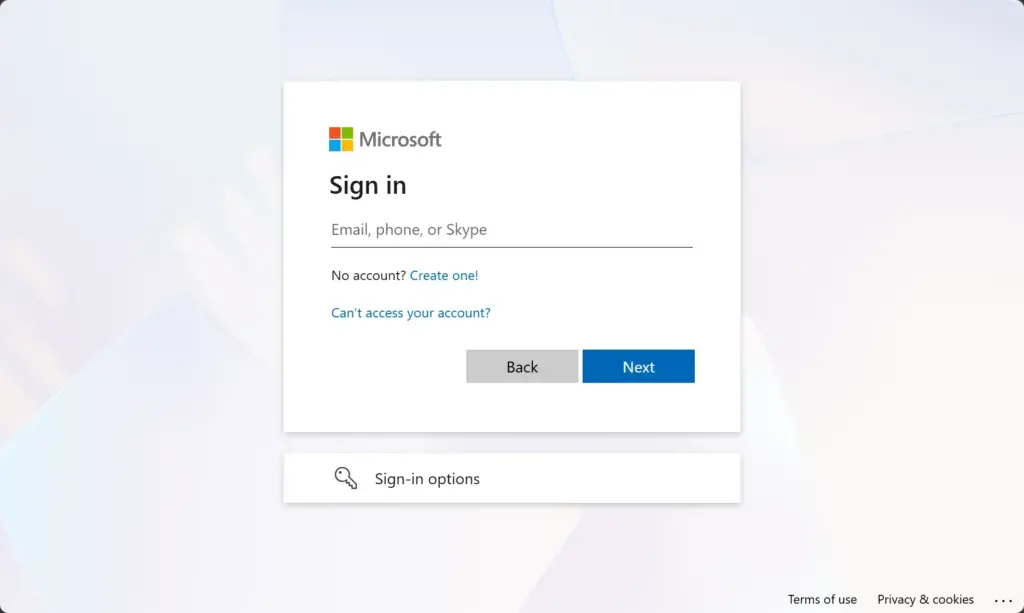
Step 1Sign In to OneDrive.com
Begin by heading to OneDrive using your web browser. Go to OneDrive.com and sign in with the Microsoft account you use for OneDrive.
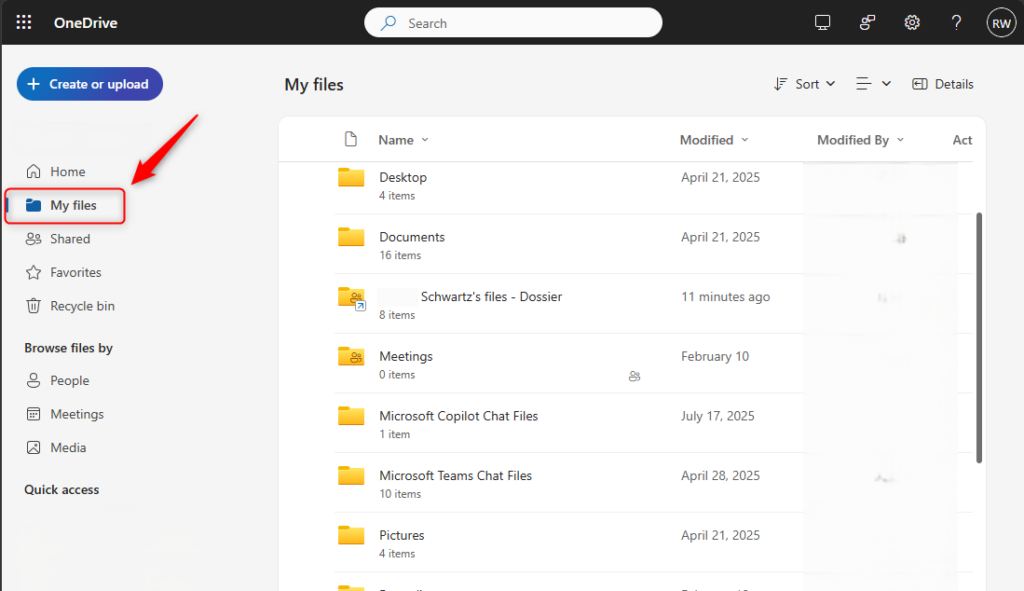
Step 2Go to Your Files
Once you are logged in, look for the main menu on the left side of your screen. Click on My files. This is where you will see all the folders and files you own. You will also see any shared folders for which you have added shortcuts.
Step 3Find the Shared Folder Shortcut
Shared folder shortcuts on OneDrive.com appear as regular folders. These shortcuts do not store files in your personal OneDrive space; they link to files owned by another user. To remove a shared folder shortcut, locate the shortcut within your OneDrive file list.
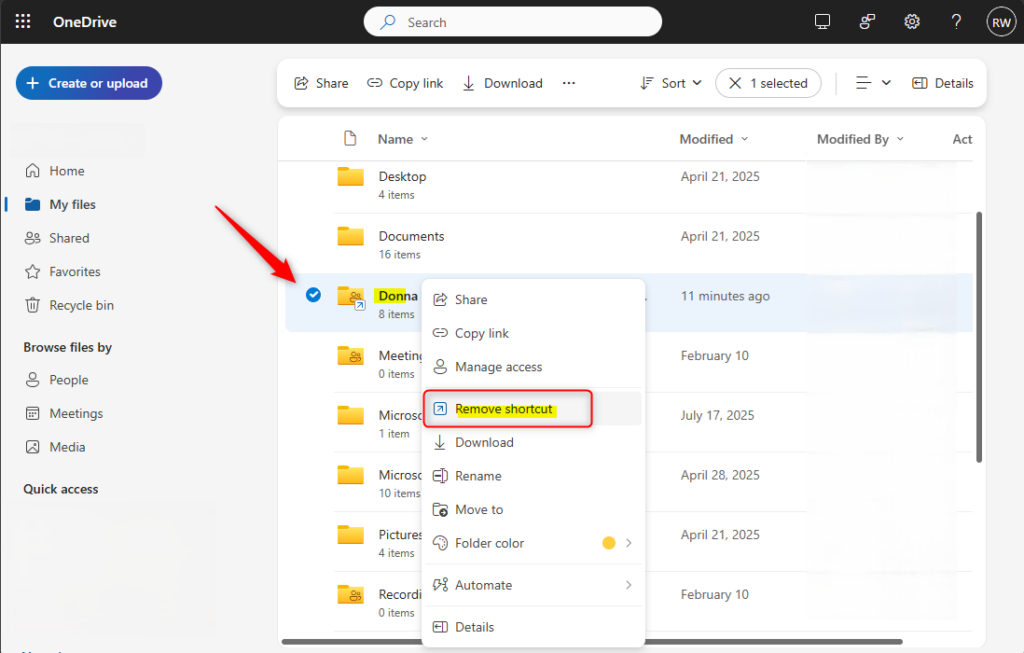
Step 4Select “Remove shortcut”
To remove a shared folder shortcut from your OneDrive, first click on it to highlight it. Then, look for the “Remove shortcut” option in the menu bar at the top of the screen. You can also right-click the shortcut and choose “Remove shortcut” from the menu that appears.
- Click on the shared folder once to select it. Then, look at the menu bar at the top. You should see an option like Remove shortcut or a trash can icon that might say “Remove shortcut.”
- You can also right-click directly on the shared folder. A menu will appear. You should see an option like Remove shortcut.
Important Note: You might see an option to Delete the folder. Do NOT click Delete if you only want to remove the shortcut from your view. Deleting the folder would remove it for everyone and send it to the owner’s recycle bin. Remove shortcut is the safe choice here.
Step 5Confirm the Action (If Asked)
If OneDrive asks you to confirm that you want to remove the shared folder shortcut, simply click “Remove” or “Yes”. This step finalizes the process. After confirming, the shortcut will no longer be visible in your main “My files” list.
The shared folder shortcut disappears from the My Files view. Other users with access still see the shortcut. Users can find the shortcut again in the Shared section to add it back later.
What Happens When You Remove a Shortcut?
Removing a shared folder shortcut from your OneDrive.com "My files" list makes that shortcut disappear from your view only. This action does not affect anyone else's access to the shared folder. You can find the removed shortcut later in the "Shared" section on OneDrive.com if you need to access it again.
- It’s Gone from Your View: The shortcut is removed from your My files section. It will no longer clutter your personal file list.
- No Impact on Others: This action only changes what you see. The folder is still shared with you (in the Shared section) and is still available to everyone else who has permission. The owner’s files are not affected at all.
- Still Accessible via “Shared”: You can still find the shared folder. Go to the Shared section in the left-hand menu on OneDrive.com. This is where you can find all files and folders that others have shared with you.
Reference:
https://support.microsoft.com/en-US/onedrive/add-shortcuts-to-shared-folders-in-onedrive
Summary
Removing a shared folder shortcut from OneDrive.com is easy and only cleans up your “My files” view without deleting anything or bothering other users.
How do I unlink a SharePoint shortcut from File Explorer?
From File Explorer (if syncing on Windows): Open File Explorer and locate the shared folder shortcut under OneDrive. Right‑click the folder. Select OneDrive > Remove shortcut.
Was this guide helpful?

About the Author
Richard
Tech Writer, IT Professional
Richard, a writer for Geek Rewind, is a tech enthusiast who loves breaking down complex IT topics into simple, easy-to-understand ideas. With years of hands-on experience in system administration and enterprise IT operations, he’s developed a knack for offering practical tips and solutions. Richard aims to make technology more accessible and actionable. He's deeply committed to the Geek Rewind community, always ready to answer questions and engage in discussions.

No comments yet — be the first to share your thoughts!