How to Install GNOME Desktop on Ubuntu 24.04

GNOME is the default desktop on Ubuntu 24.04 (Noble Numbat). It lets you work with windows, icons and menus instead of typing every command. The install takes about 10 minutes, depending on your internet speed, and you can go back to a text-only setup at any time.
You can install it on any machine running Ubuntu 24.04 with a few commands in a terminal window. You need a user account with sudo rights and a working internet connection.
Install GNOME by opening the terminal and running either ‘sudo apt install ubuntu-desktop-minimal’ for a core installation or ‘sudo apt install ubuntu-desktop’ for a full suite. After the installation completes, reboot your system to access the graphical login screen.
Why Install GNOME on Ubuntu 24.04 Server?
On Ubuntu 24.04 Server, installing GNOME turns a command-line-only system into one with a graphical desktop. Windows and icons make it easier to run applications and manage files visually. On a headless server you may not need this at all, because a desktop uses extra RAM, CPU and disk space. Install it only if you will actually sit at the machine or connect to it graphically.
Prerequisites
Bring the system up to date before you add a desktop. A full desktop pulls in many packages, and installing it on top of outdated package lists can cause version conflicts. Do this in order:
- Open a terminal. On a server, log in at the console or connect over SSH.
- Run the first command in the block below to refresh the package lists. Enter your password when asked. Nothing shows as you type it, which is normal.
- Run the second command to install the available updates. Wait for the prompt to return before you continue.
If the update installed a new kernel, a reboot now is a good idea, so the system is in a clean state before the big install.
sudo apt update && sudo apt upgrade -y
Installation Variants: Minimal vs. Full
GNOME comes in two package variants. Pick one before you run the install command.
- The
ubuntu-desktop-minimalpackage installs only the core components. It uses less disk space and fewer system resources, so it suits servers, virtual machines and anyone who wants to add only the applications they need. - The full
ubuntu-desktoppackage includes extra software such as office suites and media players. It is larger and takes longer to download, but you get a complete desktop right away.
Run only one of the two install commands shown below. If you start with the minimal package and later want the extras, you can install the full package afterward. The install can run for several minutes, and the terminal will print a lot of output. Let it finish.
If the installer asks you to choose a display manager, pick gdm3. It is the one GNOME is built to use.
Option 1Minimal Installation
sudo apt install ubuntu-desktop-minimal
Option 2Full Installation
sudo apt install ubuntu-desktop
What Happens When Done?
Once GNOME is installed, the system relies on two components to show the interface. A display manager (such as `gdm3`) provides the login screen. A graphical display server (such as `xorg` or Wayland) draws everything on screen. After a reboot, the text prompt is replaced by a graphical login screen.
- Restart the machine with the reboot command shown in the block below.
- Wait for the boot to finish. You should now see a graphical login screen instead of a text prompt.
- Select your user name and enter your password.
- If you want to choose between Wayland and Xorg, click the gear icon on the login screen before you sign in. The session options depend on the packages you installed. Wayland is the default on Ubuntu 24.04. Try the Xorg option if an older application or remote-desktop tool misbehaves.
After you sign in, you should see the GNOME desktop with its top bar and Activities overview.
sudo reboot
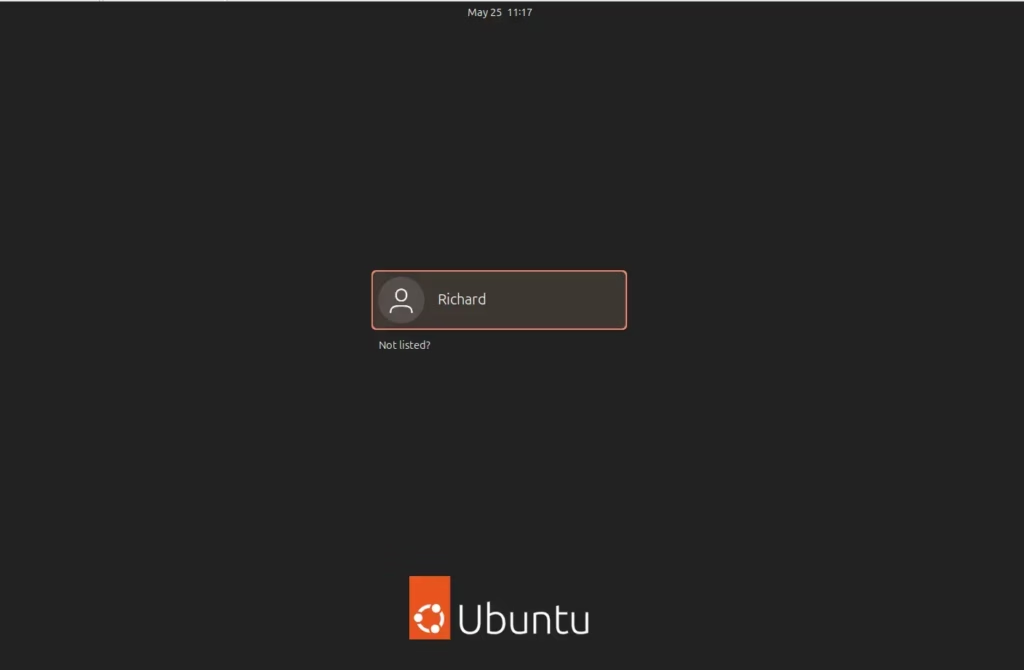
Ubuntu GNOME Desktop Login Screen
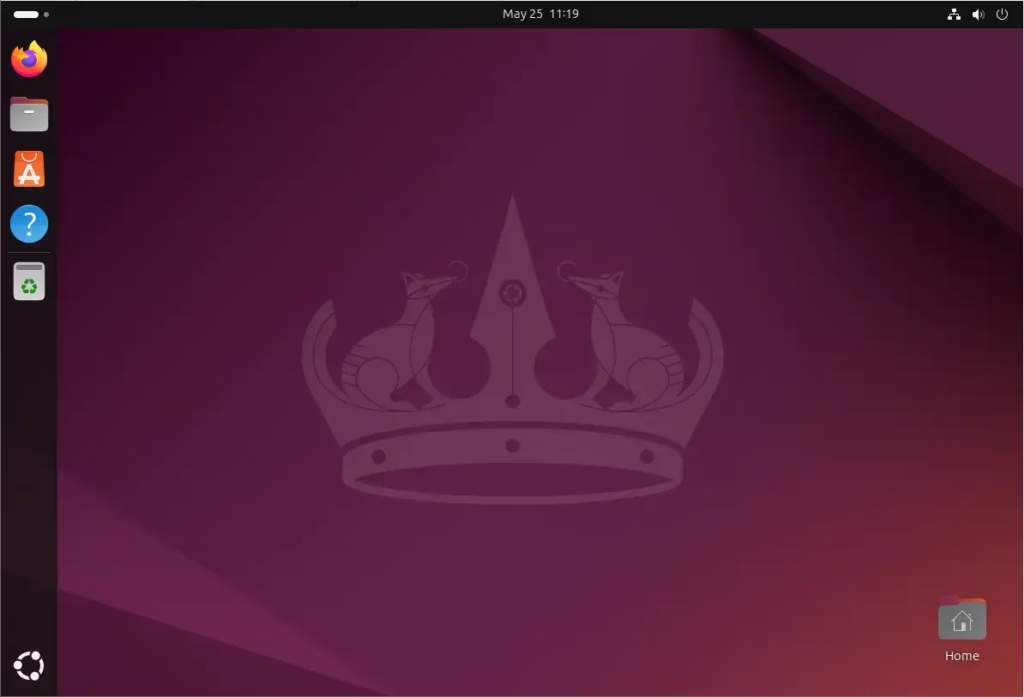
Ubuntu GNOME Desktop Environment
How to Switch Between GNOME and CLI
You can switch between the GNOME desktop and the command-line interface. This is useful when you want to save system resources and do not need a graphical display. To boot straight to a text-based terminal instead of the desktop, open a terminal and run the command sudo systemctl set-default multi-user.target. The change takes effect on the next boot, so reboot to see it. GNOME stays installed, so nothing is lost and no reinstall is needed.
You can switch back to the standard desktop at any time with a single command.
sudo systemctl set-default multi-user.target
To return to the GUI later, run the command in the block below, then reboot. The graphical login screen should come back.
Installing GNOME on Ubuntu 24.04 transforms the server into a desktop environment. Users can choose a minimal or full GNOME desktop setup. The full GNOME desktop setup uses approximately 2GB more memory than the minimal option. Switching between these GNOME setup modes takes only a few terminal commands.
Have a question about this guide?
Answered by AI from this guide. Good questions may be added to this page — please don't include personal details.
Did this guide fix your problem?

About the Author
Richard
Tech Writer, IT Professional
Richard is a writer at Geek Rewind who turns complex IT tasks into clear, step-by-step guides. He draws on years of hands-on experience in system administration and enterprise IT operations, focusing on Windows, Linux and WordPress: the problems people actually run into, and the fixes that work. His server and WordPress guides come from systems he runs himself. Richard builds and maintains the platform behind Geek Rewind, from its Ubuntu servers and Nginx configuration to its custom WordPress plugins. Many new tutorials start with readers' questions, and he's always glad to answer them in the comments.
No comments yet — be the first to share your thoughts!