How to Install Ubuntu Linux
Installing Ubuntu Linux lets you run a powerful and free operating system alongside or instead of Windows.
Ubuntu is a popular type of Linux, which is a family of operating systems known for being open-source and flexible. Think of it as another option for your computer’s main software, like Windows or macOS.
You start the installation by downloading an Ubuntu ISO image, which is a single file containing the entire operating system. Then, you’ll use a USB drive or DVD with this file to start your computer and begin the setup.
For most people, the Long Term Support (LTS) version is the best choice. This version gets important security updates for a full five years, making it very stable.
Download the Ubuntu ISO, burn it to a bootable USB or DVD, and boot your computer from it. Select “Install Ubuntu” from the boot menu, choose your keyboard layout, and follow the on-screen prompts for installation type and user account setup.
How to download Ubuntu ISO image
Download the Ubuntu ISO image to install Ubuntu Linux on your computer.
There might be other ways to get a physical disc or flash drive, though these might cost money.
Once your computer is ready, download the Ubuntu Linux ISO image from the link below. If you don’t have a physical disc or flash drive ready, you’ll need to ‘burn’ the image onto one.
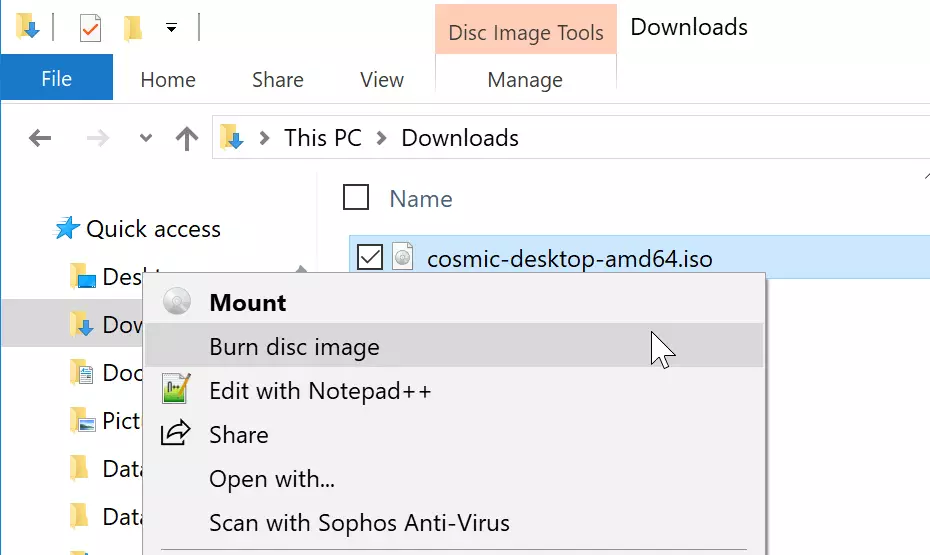
If you’re using Windows, right-click the ISO image and select Burn disc image,. The image below shows this step.
Then choose the DVD drive with a blank DVD to burn to.
Burning the Ubuntu Linux operating system image to a USB flash drive requires special software. Users can download free programs like Rufus, which simplifies the process of creating a bootable USB drive. This bootable drive then allows a computer to start up from the USB instead of its hard drive, enabling the installation of Ubuntu.
After burning the image, transfer the DVD or Flash Drive to the computer you want to install Ubuntu on.
How to boot Ubuntu ISO disc to install
Next, boot your computer using the Ubuntu ISO disc or flash drive. This starts the Ubuntu Linux installation.
You should see a screen similar to the one below when the computer has booted from the DVD or Flash Drive.
Click the Install Ubuntu button to begin the installation. You could select ‘Try Ubuntu’ without making changes to your computer, but our goal is to install Ubuntu, so click Install Ubuntu to continue.

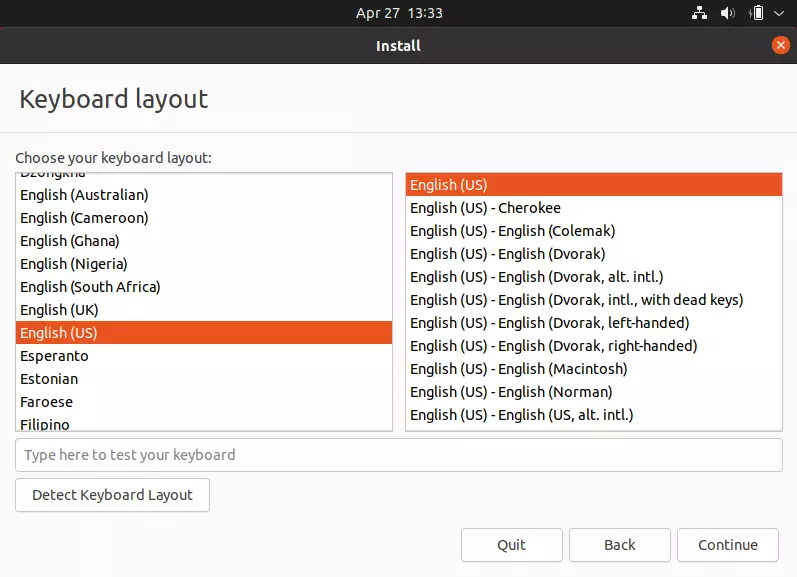
The Ubuntu installation process starts by selecting a keyboard layout. The default Ubuntu installer uses the US English keyboard layout. Users can change this default layout during installation if US English is not the correct layout. After selecting the correct keyboard layout, click "Continue" to proceed with the Ubuntu installation.
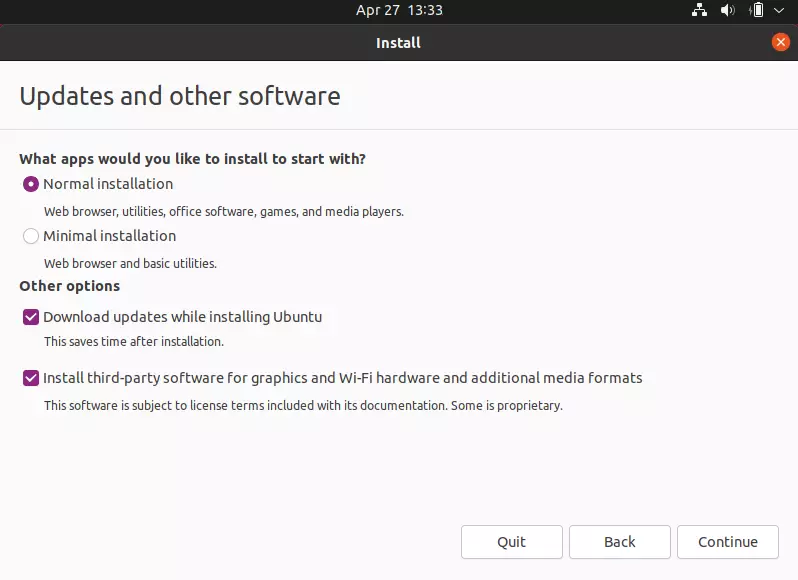
Ubuntu installation does not require selecting all boxes. However, users with a stable Internet connection can select specific boxes to download important software packages during Ubuntu installation, such as Ubuntu version 22.04 LTS.
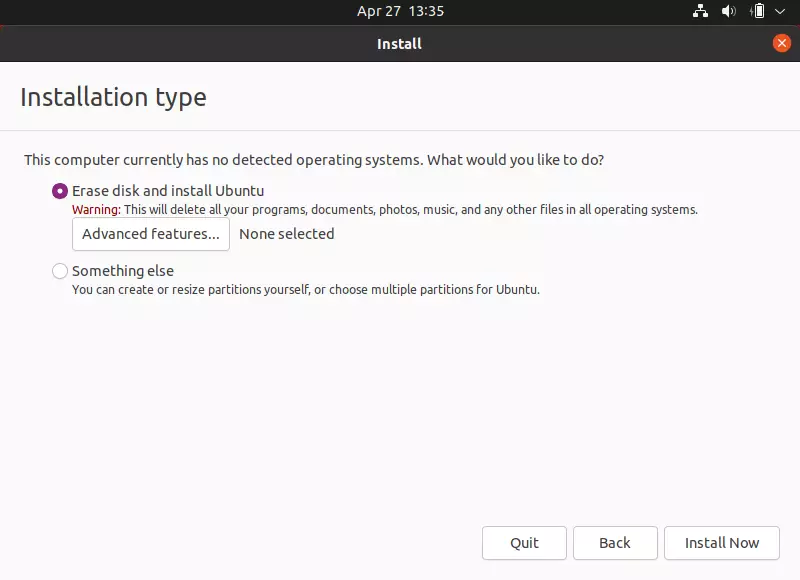
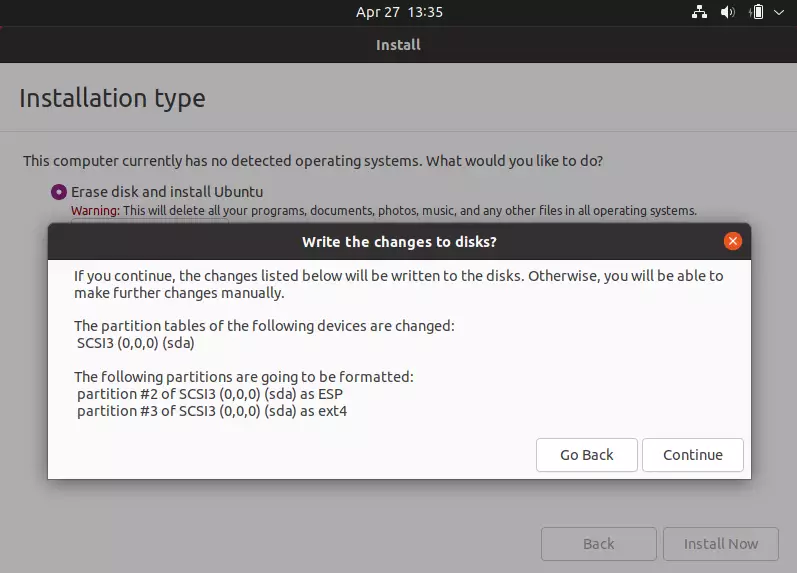
The Ubuntu installation screen presents your choices for how to install the operating system. The ‘Erase the disk and install Ubuntu’ option is the most straightforward choice. This option erases all data on your hard drive before installing Ubuntu.
Option two, ‘Something else,’ lets you perform a custom installation if you’re an advanced user. You can encrypt Ubuntu and use other advanced settings here. However, if you’re new to Linux, sticking with the first option is recommended. Click [ Erase disk and install Ubuntu ] and continue.
Click Install Now to begin installing Ubuntu.
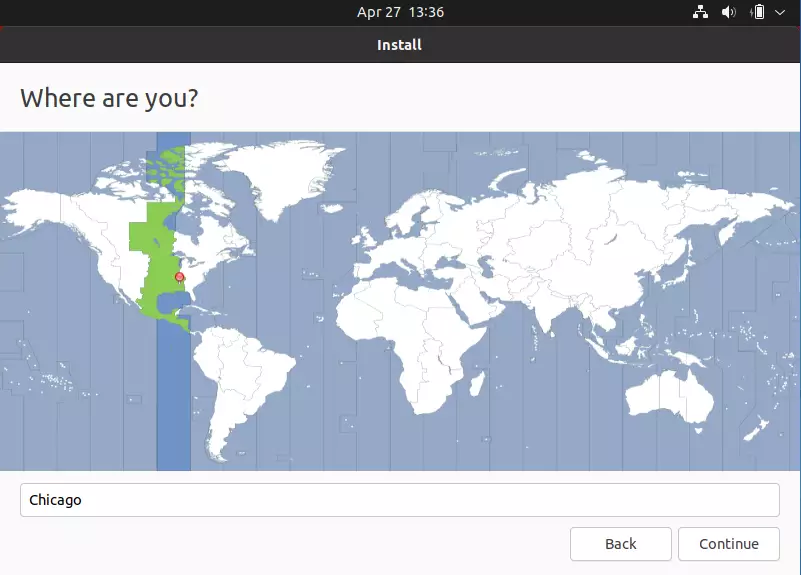
Ubuntu Installation: Time Zone Selection On the Ubuntu installation screen, users select their time zone. Typing the name of a city in your location and clicking "Continue" sets the correct time zone for the system, ensuring accurate date and time displays. This step is crucial for many system functions.
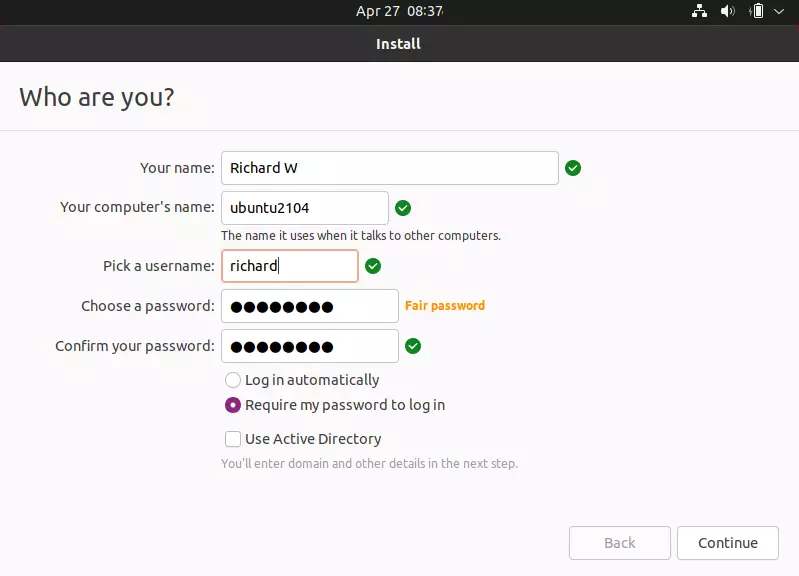
The next screen is where you set up your first user account and create a name for the computer. Type your name, username, and password, and choose whether you always want to type a password to sign in. Once you’ve entered your details, click Continue.
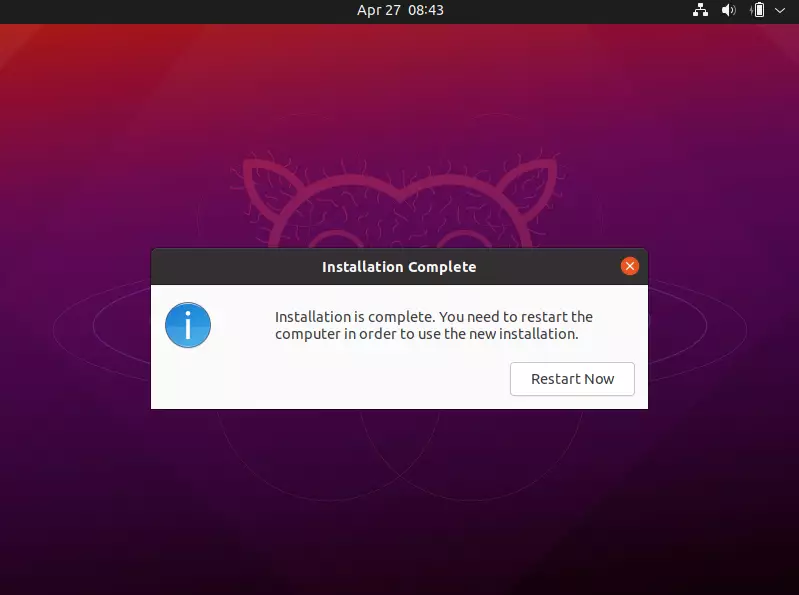
Ubuntu Linux installation completion typically takes around 7 minutes, dependent on the computer’s processing power. After the installation finishes, the system will ask the user to restart the computer.
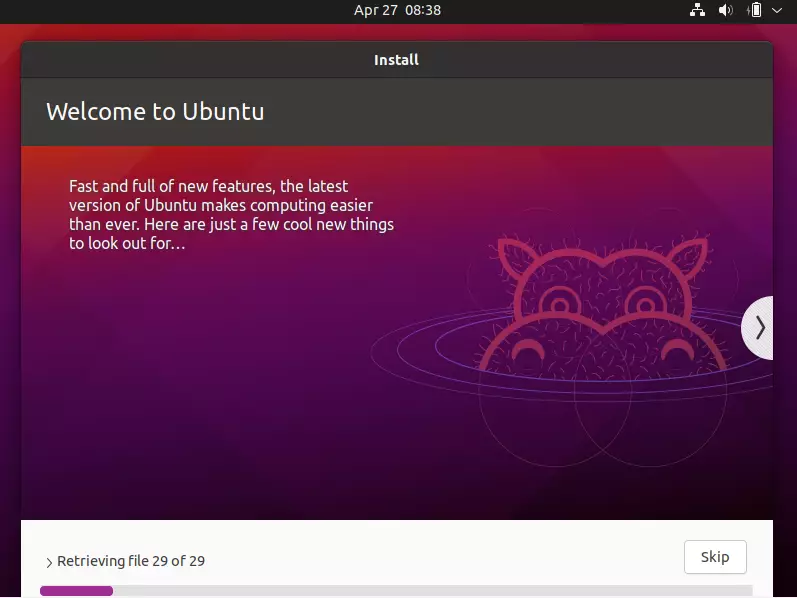
This is the last screen; the installation is complete. Restart your computer, remove the disc from the drive, and then log back in.
You’ll see the login screen after rebooting—log in with the credentials you created above.

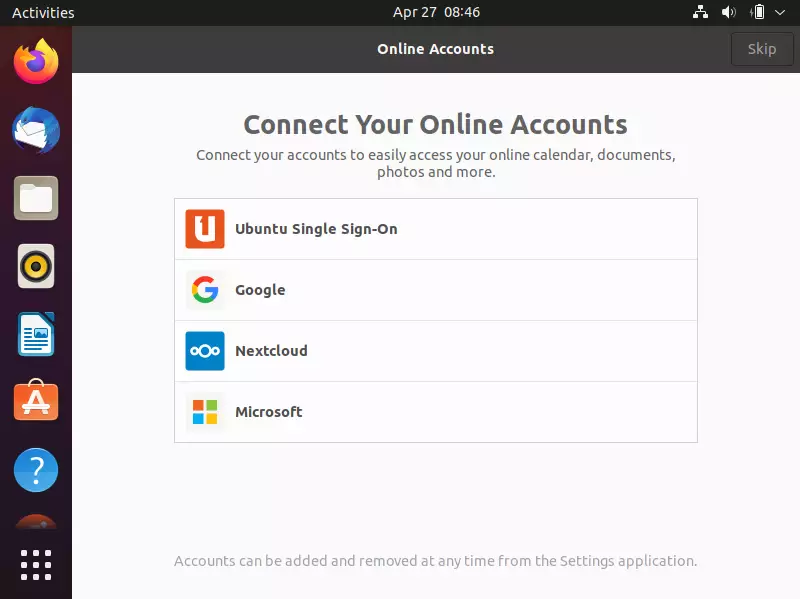
You will have an opportunity to set up online accounts if you have any.
After logging back into Ubuntu, your first task should be to update Ubuntu. You may see a prompt to install available updates after you log in.
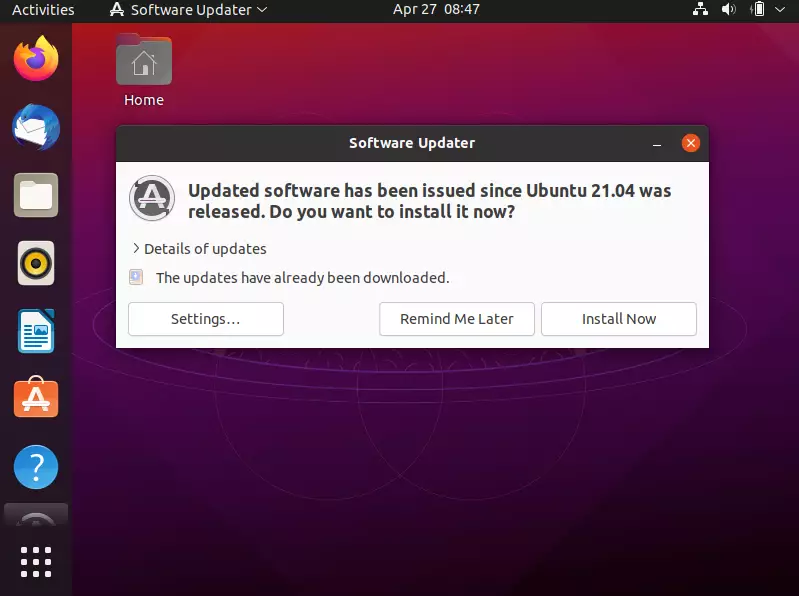
If you see a prompt, continue the update from the command line below.
Press Ctrl - Alt - T on your keyboard to open the terminal. Then run the commands below to update Ubuntu.
sudo apt update && sudo apt dist-upgrade && sudo apt autoremove
Restart once more, and you should be set.
Conclusion:
You’ve now learned how to install Ubuntu Linux. Please use the comment form below if you find any errors above or have something to add.
How do I install Linux Ubuntu?
To install Ubuntu, first download the Ubuntu ISO file. Then, 'burn' this file onto a USB drive or DVD. You'll use this USB or DVD to start your computer and follow the on-screen instructions to set up Ubuntu.
Is Ubuntu Linux still free?
Yes, Ubuntu Linux is completely free to download and use. You don't need to pay any money to get it or install it on your computer. It's an open-source operating system.
Is Ubuntu Linux easy to install?
For most people, installing Ubuntu is quite straightforward. The installer guides you through the process step-by-step. You just need to download the correct file and prepare a USB drive or DVD.
How to install Ubuntu for free?
You can install Ubuntu for free by downloading the ISO image directly from the official Ubuntu website. Then, you'll put this file onto a USB drive or DVD to start the installation on your computer.
Was this guide helpful?

About the Author
Richard
Tech Writer, IT Professional
Richard, a writer for Geek Rewind, is a tech enthusiast who loves breaking down complex IT topics into simple, easy-to-understand ideas. With years of hands-on experience in system administration and enterprise IT operations, he’s developed a knack for offering practical tips and solutions. Richard aims to make technology more accessible and actionable. He's deeply committed to the Geek Rewind community, always ready to answer questions and engage in discussions.

No comments yet — be the first to share your thoughts!