How to Install KDE Desktop on Ubuntu 24.04

KDE Plasma turns the standard Ubuntu 24.04 desktop into a heavily customisable workspace with its own panels, window manager and application menu. It is a free graphical desktop environment that controls how your screen looks and behaves, and it offers far deeper layout options than the default GNOME desktop. This guide covers installing it on top of an existing Ubuntu 24.04 setup and switching between the two desktops.
Open your terminal and run ‘sudo apt update’ followed by ‘sudo apt install kde-plasma-desktop’. At the login screen, click the gear icon and select ‘Plasma’ to launch the KDE desktop environment.
Why Install KDE Desktop on Ubuntu 24.04?
Plasma gives you much finer control over how the screen looks and works than the default Ubuntu desktop. Widgets, which are small interactive tools, can show weather, system statistics and similar information right on the desktop or in a panel. You can also group your work into “activities”, which are separate workspaces with their own windows and widgets. For example, you could keep one for work and another for personal use.
What Happens When You Install KDE?
After the installation you get a new interface for managing files and applications. Expect a new application menu, a new taskbar (called a panel in Plasma) and a larger set of configuration pages. Your GNOME desktop is not removed. You choose which desktop to load every time you log in, so you can go back whenever you like.
Kubuntu vs. KDE on Ubuntu
Kubuntu is an official Ubuntu flavor that ships with KDE already configured. It is the better choice if you are starting from a blank machine. Adding KDE to a standard Ubuntu install layers the desktop on top of what you already have. That gives you both desktops side by side, but it also pulls in extra packages you may never use, and you will have two sets of default applications.
Installation Guide
You install KDE on Ubuntu 24.04 from the terminal with the standard package installation commands. The process downloads and sets up the Plasma desktop and the system files it depends on. Before it starts, you will be asked for your administrator password, and you will see a list of packages to approve. You need a working internet connection and enough free disk space for the download.
The terminal does the work here. Run the commands from the installation guide in the order shown. Installing software needs administrator privileges, so your account must be allowed to use them. When you type your password, nothing appears on screen, not even dots. That is normal, so type it and press Enter.
sudo apt update
sudo apt install kde-plasma-desktop
You can choose between a full installation (kde-full, which includes all the apps) and a minimal one (kde-standard, which includes only the basics). The right pick depends on how you plan to use the desktop. If you want a complete KDE environment with its applications ready to go, take the full option. Selecting kde-standard helps save disk space, because it leaves out the extra applications. You can always add individual KDE apps later.
Switching Desktop Environments
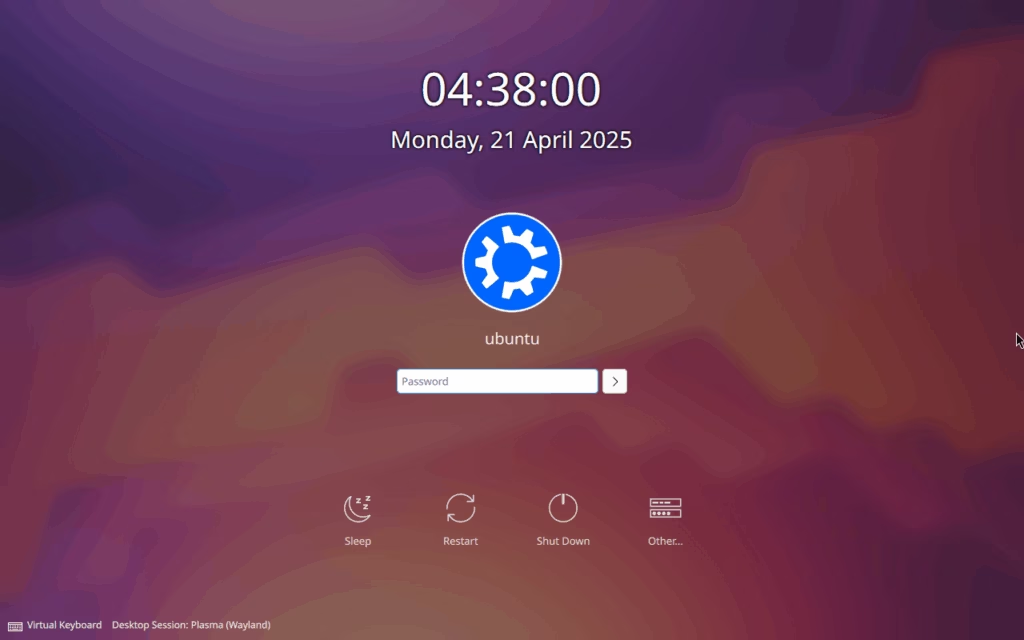
The installation is not finished until you restart. After the reboot, choose the new desktop at the login screen:
- Restart the computer once the installation completes.
- At the login screen, select your user name if the password box is not showing yet.
- Click the gear icon or session menu. On the standard Ubuntu login screen it is in the bottom-right corner. If the installer asked you to pick a display manager and you chose SDDM, the session selector is usually in the bottom-left corner.
- Select Plasma from the list. Depending on your setup it may be listed as an X11 or a Wayland session.
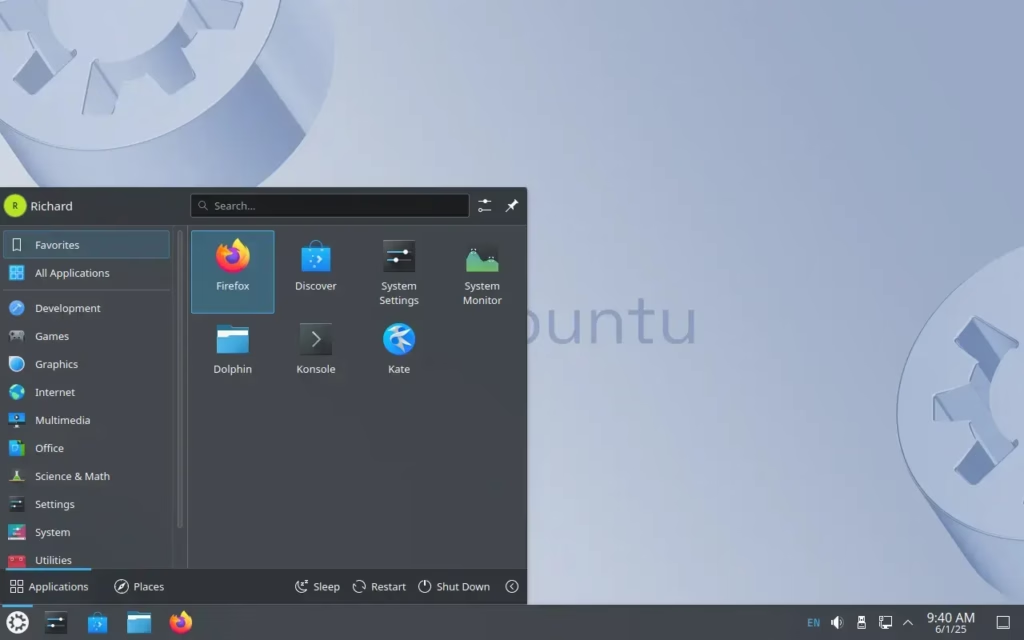
- Enter your password and log in. You should see the Plasma desktop with its panel at the bottom of the screen.
To go back to GNOME, log out and pick Ubuntu in that same session menu. Ubuntu usually remembers your last choice, so you only need to touch the menu when you want to switch.
Post-Installation Customization
Start with a few quick changes once you are logged in to Plasma:
- Open System Settings from the application menu. Here you can change themes, icons and fonts. The settings are grouped by category, and there is a search box at the top left if you cannot find an option.
- Right-click an empty area of the desktop and choose Add Widgets. A panel opens with the available widgets. Drag any of them onto the desktop to add them.
- Press Alt+F2 to open KRunner, the search and launcher box. Type part of an application name and press Enter to start it.
Changes in System Settings apply to Plasma only. Your GNOME desktop keeps its own settings.
Recommended KDE Applications
You will get the most from the new workspace if you try the native KDE applications:
- Dolphin: a powerful file manager with split views and tabs.
- Konsole: a feature-rich terminal emulator.
- Kate: a great text editor for coding and notes.
- Spectacle: an easy tool for taking screenshots.
Summary
Adding KDE to Ubuntu 24.04 gives you a flexible, modern workspace that you can tailor to your own preferences. The login screen still lets you switch between KDE and the original GNOME desktop, so nothing is locked in. Along the way you also get tools like activities and the Dolphin file manager. If you find you do not like Plasma, simply pick Ubuntu at the login screen and carry on as before.
Have a question about this guide?
Answered by AI from this guide. Good questions may be added to this page — please don't include personal details.
Did this guide fix your problem?

About the Author
Richard
Tech Writer, IT Professional
Richard is a writer at Geek Rewind who turns complex IT tasks into clear, step-by-step guides. He draws on years of hands-on experience in system administration and enterprise IT operations, focusing on Windows, Linux and WordPress: the problems people actually run into, and the fixes that work. His server and WordPress guides come from systems he runs himself. Richard builds and maintains the platform behind Geek Rewind, from its Ubuntu servers and Nginx configuration to its custom WordPress plugins. Many new tutorials start with readers' questions, and he's always glad to answer them in the comments.
No comments yet — be the first to share your thoughts!