How to Add a New Way to Verify Your Sign-In with Microsoft account
Adding a new sign-in verification method to your Microsoft account enhances security and offers flexibility.
This process lets you add extra ways to prove it’s really you when signing in, such as using an authenticator app on your smartphone or a different email address for codes.
Microsoft’s security options go beyond just phone or email codes. You can set up multiple verification methods to ensure your account remains safe, even if you lose access to one method.
For example, you might add an authenticator app like Microsoft Authenticator, which generates time-sensitive codes, offering a quicker and often more secure alternative to SMS codes.
This setup process helps you manage your account security effectively.
Go to account.microsoft.com/security and sign in. Click “Manage sign-in methods” and then select “Add a new way to sign in.” Follow the on-screen prompts to add an email, authenticator app, or passkey.
Why Add New Sign-In Methods?
Adding new sign-in methods increases Microsoft account security. These extra methods offer options if a primary sign-in method fails. For example, if a user misplaces their phone, a backup email address can still provide account access.
What Happens When You Add New Methods?
Adding a new sign-in method to a Microsoft account means Microsoft uses the new method during logins. Users might need to use this new method to get a code or approve the sign-in. This new method adds another layer of protection against unauthorized access.
Step 1Go to Your Microsoft Account Security Page
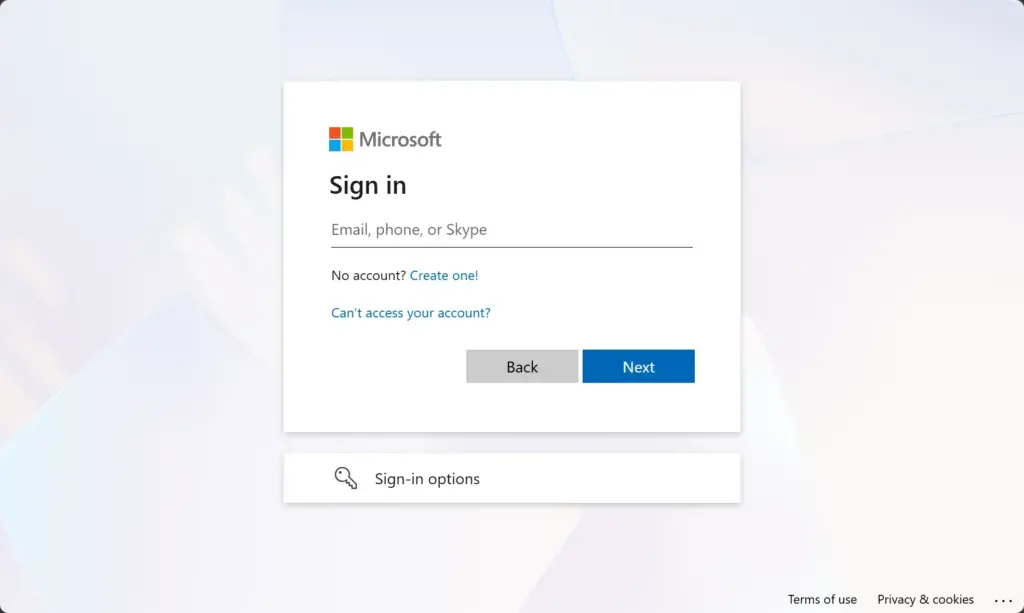
You can add a new way to verify your Microsoft account sign-in by going to the Microsoft account security page. Open your web browser and type account.microsoft.com/security into the address bar, then press Enter. You’ll need to sign in with the Microsoft account you want to protect.
- Open your web browser.
- Type
account.microsoft.com/securityinto the address bar and press Enter. - Sign in with the Microsoft account you want to protect. This could be your Outlook.com email, Hotmail email, or the email linked to your Windows login.
- Enter your password. If you already have two-step verification set up, you might need to enter a code from your current method.
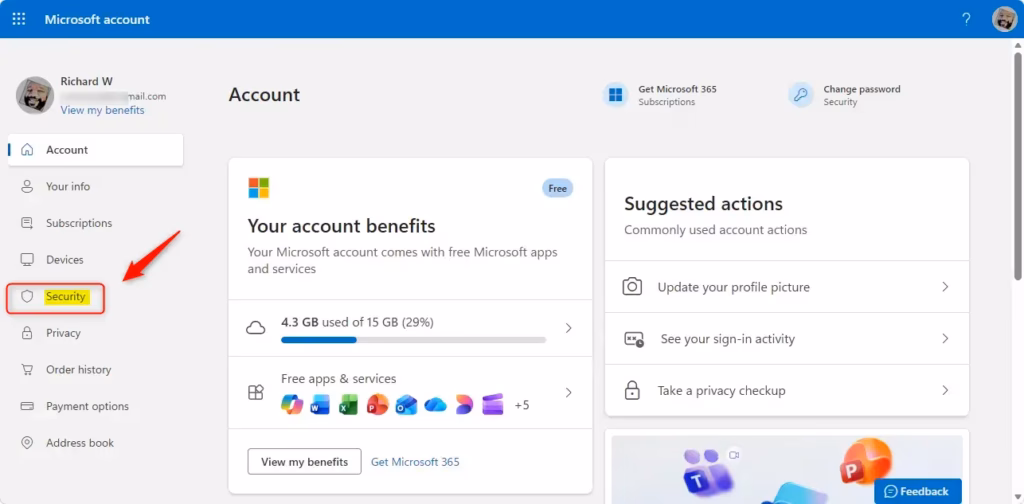
Step 2Find “Manage Sign-In Methods”
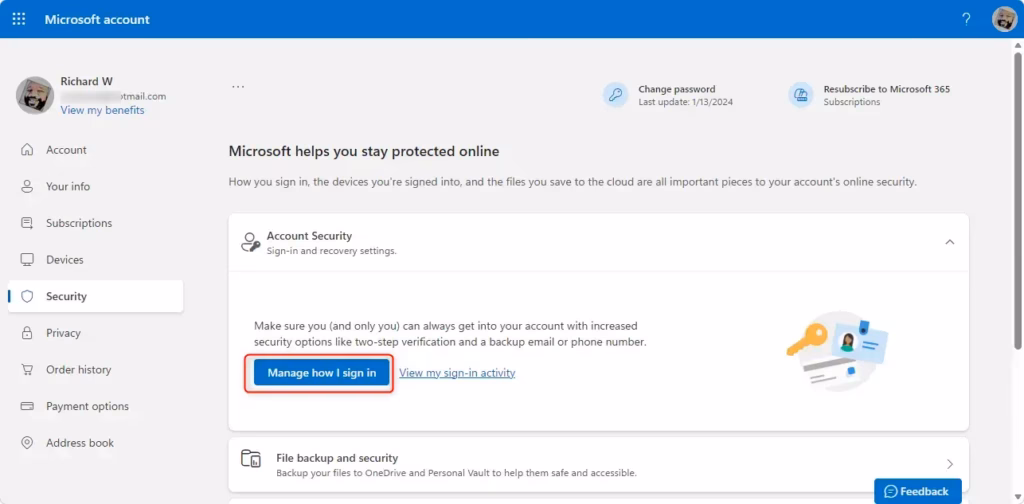
On your Microsoft account security page, find and click the option to manage how you sign in, which is typically called “Manage sign-in methods.” This page shows you all the current ways you can verify your account when you log in.
- On the main security page, find an option that says something like “Manage how I sign in” or “Manage sign-in methods.” It is usually easy to see.
- Click on that option. You will be taken to a page that shows all the ways you can currently prove your identity when signing in. This might include email addresses, phone numbers, or authenticator apps.
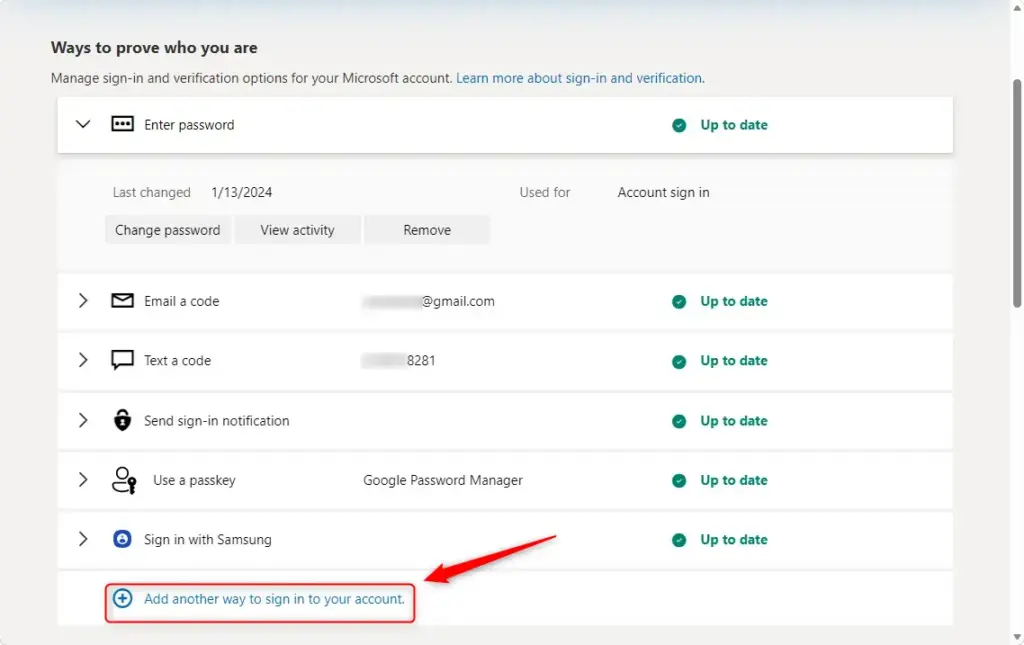
Step 3Add a New Way to Verify Your Sign-In
Once you’re on the “Manage sign-in methods” page, click the button or link that says “Add a new way to sign in.” This will show you a list of different options you can add to prove it’s really you when you sign in to your account.
- On the “Manage sign-in methods” page, find the button or link that says “Add a new way to sign in” or “Add a new verification method.” Click it.
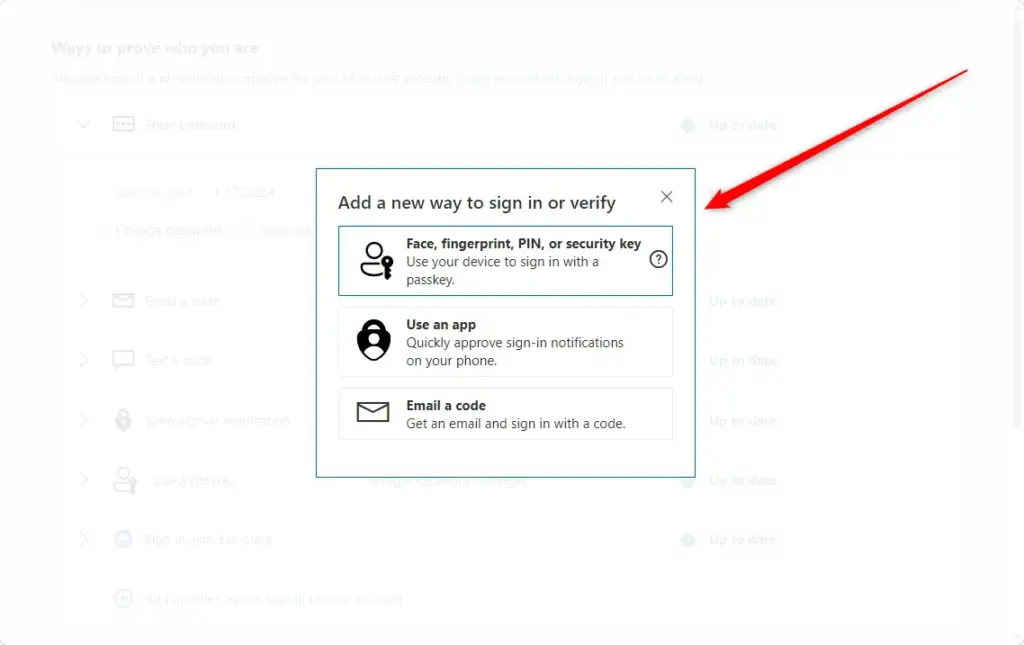
- You will see a list of options for what you can add. These usually include:
- An email address: This can be another email address you can access, like a Gmail account. It’s smart to have at least one backup email in case your main one is not available.
- An authenticator app: This is a great option for better security and ease of use. Apps like the Microsoft Authenticator app can create codes that change over time. Some let you approve sign-ins with a tap on your phone, even without internet.
- A passkey: This is a newer, more secure way to sign in. Instead of a password, you use your fingerprint, face scan, or device PIN. Passkeys are made to stop phishing attacks, which makes them harder for hackers to steal.
- Choose the method you want to add. Follow the instructions on the screen.
Step 4Finish the Verification Process
After you pick a new sign-in method, you must complete a verification process to confirm it's you. For example, if you add a new email address, Microsoft will send a code to the new email address. You need to enter this code to finish setting up the new verification method and keep your Microsoft account safe.
- If you added an email address, Microsoft will send a verification code to that email. You need to open that email, find the code, and type it back into the Microsoft security page.
- If you are setting up an authenticator app, you will usually scan a QR code with the app on your phone. This links the app to your Microsoft account. Then, you will likely enter a code shown in the app to confirm the link.
- If you are setting up a passkey, you will use your device’s security features (like your fingerprint or face recognition) to create and confirm the passkey.
- After entering the code or finishing the app/passkey setup, click “Next” or “Confirm.”
Reference:
Summary
Adding extra ways to verify your Microsoft account sign-in is a smart way to boost your account’s security.
How to add sign in method to Windows device?
To add a sign-in method to your Windows device for a work or school account, go to mysignins.microsoft.com/security-info. If you don’t see the Security info page, look for “Additional security verification,” then check the box next to “Authenticator app” and select “Configure” to see your QR code.
Was this guide helpful?

About the Author
Richard
Tech Writer, IT Professional
Richard, a writer for Geek Rewind, is a tech enthusiast who loves breaking down complex IT topics into simple, easy-to-understand ideas. With years of hands-on experience in system administration and enterprise IT operations, he’s developed a knack for offering practical tips and solutions. Richard aims to make technology more accessible and actionable. He's deeply committed to the Geek Rewind community, always ready to answer questions and engage in discussions.


No comments yet — be the first to share your thoughts!