How to Customize Windows 11 Start Menu for Your Workflow

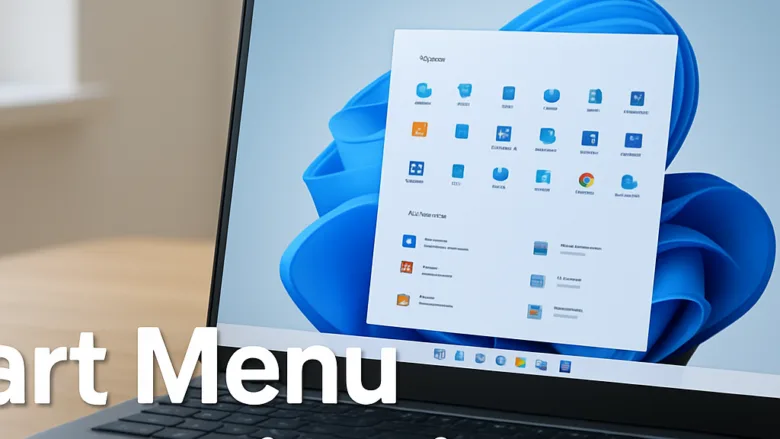
Start Menu customization in Windows 11 lets you rearrange pinned apps, remove clutter, and fix layout problems so the programs you use most are the first thing you see. Default layouts rarely match daily habits, so you end up hunting for tools you need every day.
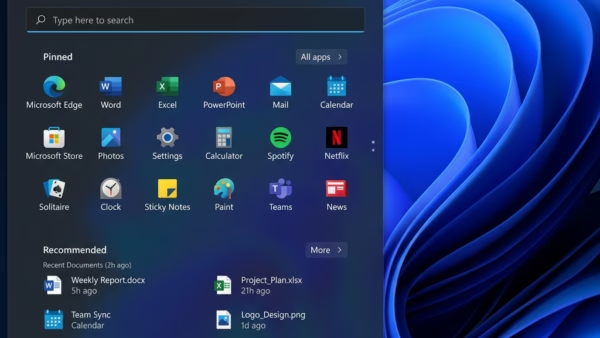
You can reshape the panel by pinning your favorite software, hiding recommended files, and changing how much space each section gets. Most of this lives in Settings Personalization Start. Changes apply immediately and none of them need a restart.
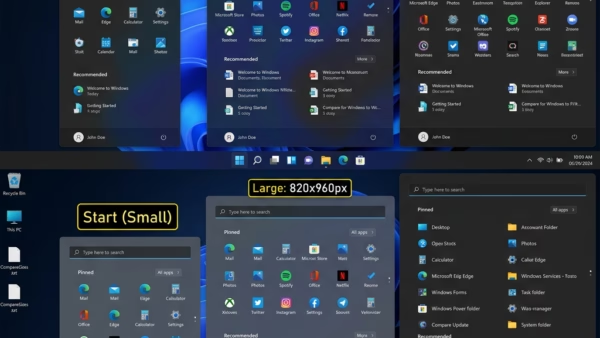
Open Settings Personalization Start, then adjust the Layout setting between More pins, Default, and More recommendations to rearrange pinned apps and control how much space recommendations take. Changes apply immediately without restart.
Get Started with Your Start Menu
Start with the layout. Decide what you open most, what you open only now and then, and what you never touch. Then work through the guides below in that order: pin the first group, hide the third, and leave the rest to search.
These walkthroughs are written for anyone who has never changed the interface before. If an option in your copy of Windows looks different from the description, check your version under Settings System About. Start menu options have changed between releases of Windows 11.
Organize and Personalize Your Apps and Content
Pinned apps and recent files take up the most prominent space in the menu, so they deserve the most attention. Organizing your shortcuts and controlling what the menu shows keeps the things you need within one click.
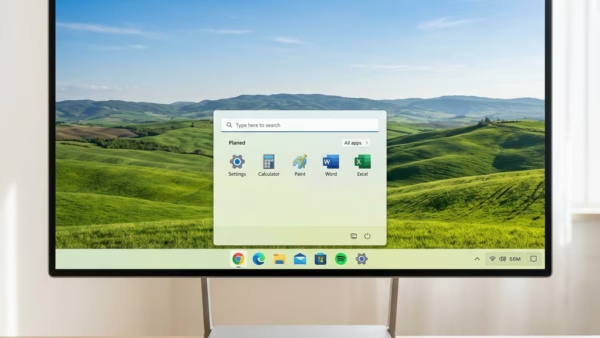
Keep the first row of pins for the apps you open every day. You can drag one pinned app onto another to make a folder, which is handy for grouping related tools. To remove a pin, right-click it and choose Unpin from Start. Unpinning does not uninstall the app.
Adjust the Look and Feel
Visual styling affects how the whole desktop feels, and it also affects how quickly you can find things. Moving elements around or changing the size of the panel changes the look, and it changes how many pins you can see without scrolling.
Make one change at a time and open the Start menu after each one. That way you can see exactly what each setting does, and you can easily switch it back if you don't like the result.
Manage User Accounts and Notifications
Account handling and notification feeds are managed separately from the layout. The walkthroughs below cover switching profiles and getting alerts from a mobile device.
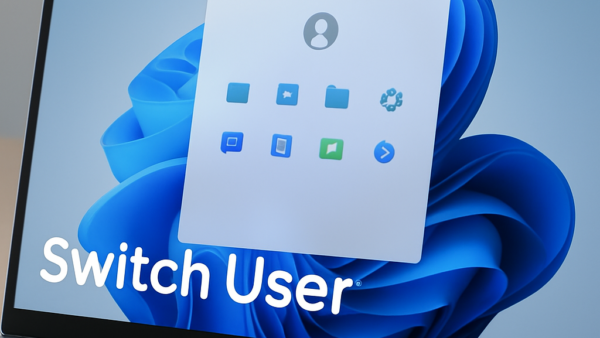
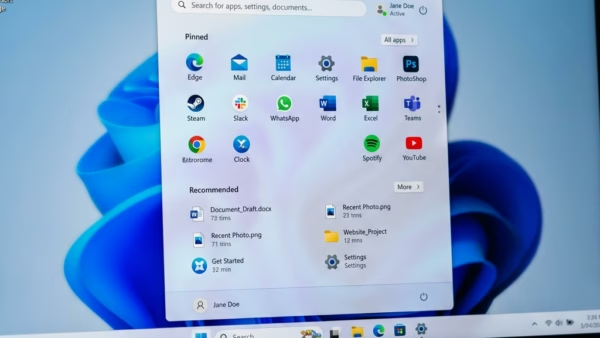
Keep in mind that the account menu sits at the bottom of the Start menu, next to the power button. If you share a PC, check which account you are signed in to before you change any Start settings, because pins and layout belong to each user profile.
Understand Future Changes
Windows updates can change the Start menu's design, and some of those changes stay after the update. Microsoft has already reworked the menu several times since the first release of Windows 11, and it sometimes rolls out new options gradually, so two PCs on the same version can look different.
Follow Microsoft's feature roadmap and release notes so a new build doesn't catch you off guard. If an update changes your layout, go back to Settings Personalization Start and check your options again.
Common questions
Can I make the 🪟 Windows 11 Start Menu bigger?
Windows 11 has no slider for resizing the Start menu freely, but some builds let you choose a compact layout. Guide [10] explains how to find those hidden toggles.
- Open Settings Personalization Start
- Find the Layout setting. You should see a choice between More pins, Default, and More recommendations.
- Select More pins to fit extra rows of pinned apps and shrink the Recommended area. Select More recommendations for the opposite.
- Open the Start menu to check the result.
To undo the change, go back and select Default.
How do I add my frequently used apps to the Start Menu?
Pinning your favorite programs to the Start menu cuts the time you spend searching. Guide [1] helps you navigate the app list.
- Select Start, then select All apps at the top right of the menu. You should see an alphabetical list of installed programs.
- Find the program you want and right-click it.
- Choose Pin to Start from the menu that appears.
- Go back to the main Start screen. The app should now be at the end of your pinned list.
- Drag the icon to the position you want. Drag it onto another pinned app if you'd rather group the two in a folder.
To remove a pin, right-click it and choose Unpin from Start. If Pin to Start isn't listed, you may have right-clicked a folder heading rather than an app, or a work or school policy may be locking the layout.
Where did my recent files go in the 🪟 Windows 11 Start Menu?
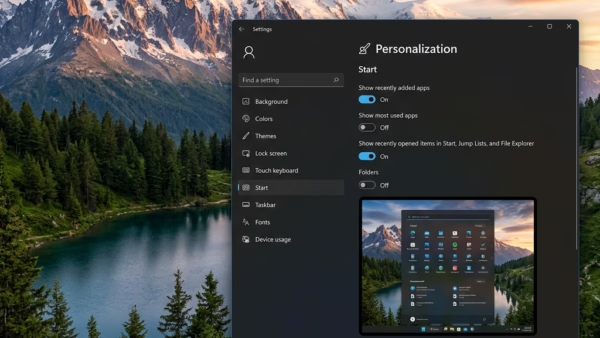
Recent file tracking is usually on by default, but it can get switched off by an earlier tweak or by a policy on a managed PC. Turning it on again takes a few settings changes. Guide [2] explains the process in detail.
- Open Settings Personalization Start
- Find the toggle for showing recently opened or recommended files. Its wording varies by version, for example Show recently opened items in Start, Jump Lists, and File Explorer.
- Turn it On.
- Open the Start menu and look at the Recommended section. New files will appear as you open them. Files you opened before the toggle was on won't show up.
If the toggle is greyed out, your PC is probably managed by an organization, and only an administrator can change it. Turn the toggle Off again to stop recent items from being listed.
Can I move the 🪟 Windows 11 Start button to the left side?
Taskbar settings determine where the Start button sits. Guide [9] outlines how to move the launch bar to a different place on the screen.
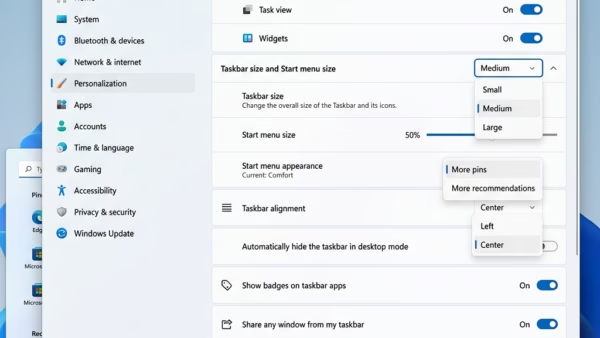
- Right-click an empty area of the taskbar and choose Taskbar settings. You can also open Settings Personalization Taskbar
- Expand Taskbar behaviors.
- Set Taskbar alignment to Left or Center.
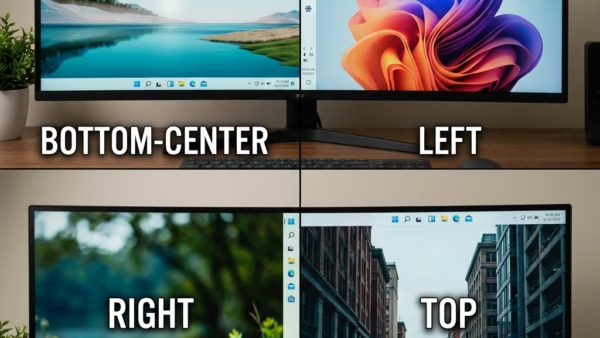
Choosing Left puts the Start button in the bottom-left corner, as in older Windows versions, and the Start menu opens from there. Note that stock Windows 11 only offers left or center in its settings. Placing the taskbar at the top or on a side of the screen is not a built-in option, so any guide that claims to do this may rely on unsupported workarounds. To undo your change, set the alignment back to Center.
How can I remove the 'Recommended' section from the Start Menu?
The Recommended section shows items based on your activity, such as recent files and recently added apps. You can turn these off or hide specific entries. Guide [5] covers the account details display rules that affect which items appear.
- Open Settings Personalization Start
- Turn Off the toggles for the kinds of items you don't want listed, such as recently added apps, most-used apps, or recent files.
- Open the Start menu. The Recommended section should now be shorter or empty.
To remove one entry without changing any settings, right-click it in the Recommended section and choose the option to remove it from the list. On Home and Pro editions, the section itself can't be removed entirely, but switching these toggles off leaves it empty. If a toggle is greyed out, check whether your account is managed by a work or school policy.
Did this guide fix your problem?

About the Author
Richard
Tech Writer, IT Professional
Richard is a writer at Geek Rewind who turns complex IT tasks into clear, step-by-step guides. He draws on years of hands-on experience in system administration and enterprise IT operations, focusing on Windows, Linux and WordPress: the problems people actually run into, and the fixes that work. His server and WordPress guides come from systems he runs himself. Richard builds and maintains the platform behind Geek Rewind, from its Ubuntu servers and Nginx configuration to its custom WordPress plugins. Many new tutorials start with readers' questions, and he's always glad to answer them in the comments.
No comments yet — be the first to share your thoughts!