How to Hide or Show Account Name and Profile Picture on Start Menu in Windows 11
Hiding your account name and profile picture on the Windows 11 Start menu removes personal details from view.
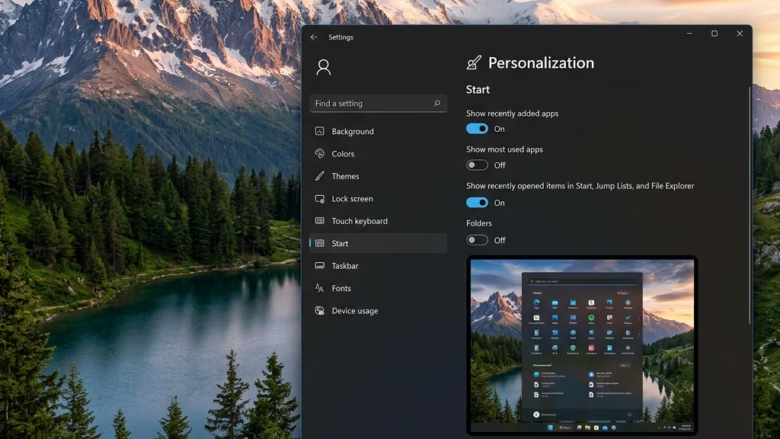
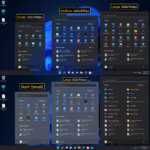
The Start menu is where you find your apps and PC settings. You can choose to hide your name and picture from it for more privacy or a cleaner look.
This setting helps keep your account information private on a shared computer. It’s a simple tweak available in Windows 11.
Even if you hide them on the Start menu, you can still see your account by clicking your profile icon.
Navigate to Settings Personalization Start and toggle the “Hide your name and profile picture on Start” option. Alternatively, use the Registry Editor to modify the HideUserInformation DWORD value.
Option 1Using Settings
You can hide or show your account name and profile picture on the Windows 11 Start menu right from the Settings app. This method lets you control what appears on your Start screen without needing complicated steps.
- Open Settings. You can do this by pressing the Windows key + I on your keyboard.
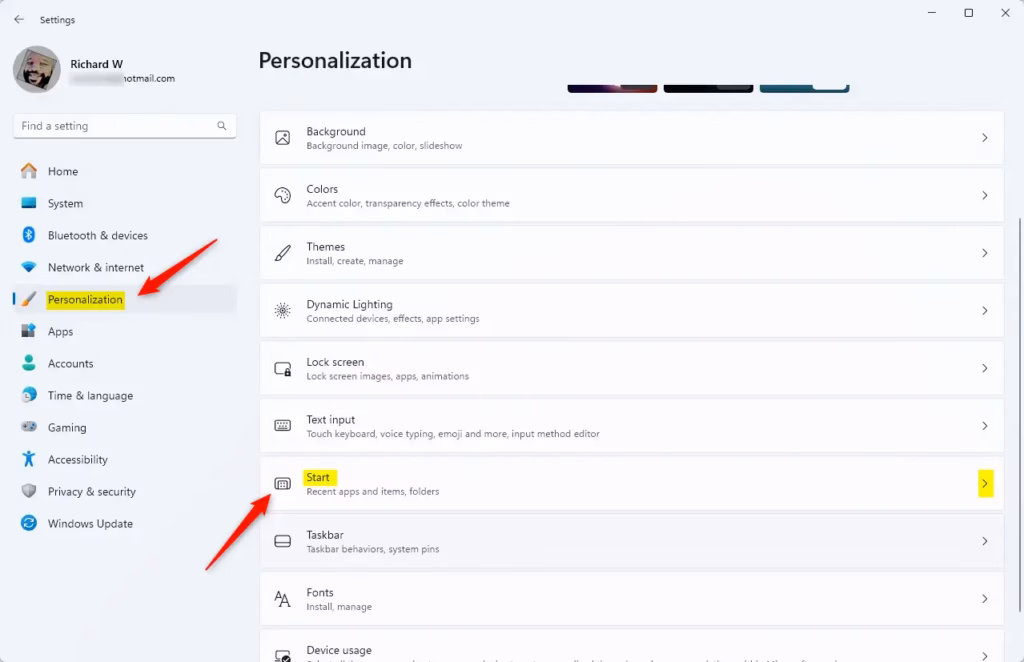
- On the left side, click on Personalization.
- On the right side, click on Start.
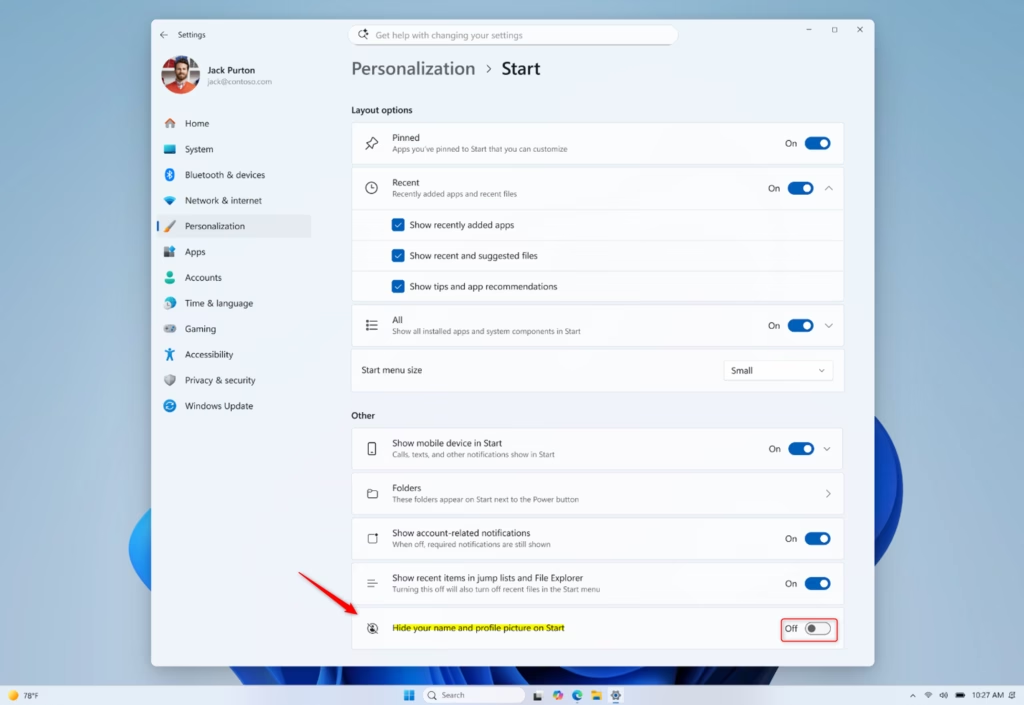
- Look for the section called Other settings.
- You will see an option called Hide your name and profile picture on Start.
- Turn this setting On to hide your name and picture.
- Turn this setting Off to show them. The default setting is Off, which shows your information.
- You can now close the Settings window.
Option 2Using the Registry Editor
The Registry Editor offers another way to control whether your account name and profile picture appear on the Windows 11 Start menu . This method is helpful if you prefer making direct changes or if the regular Settings app isn’t working as expected.
What happens after you make the change? Your account name and picture will either be hidden or shown on the Start menu, depending on the registry value you set.
To Hide Account Name and Profile Picture on Start Menu:
- Press Windows key + R to open the Run box.
- Type
regeditand press Enter. Click Yes if a User Account Control prompt appears. (Requires administrator privileges) - In the Registry Editor, go to this location:
HKEY_LOCAL_MACHINE\SOFTWARE\Microsoft\Windows\CurrentVersion\Personalization\StartMenu - Right-click on the Personalization key in the left pane.
- Select New, then select DWORD (32-bit) Value.
- Name the new value
HideUserInformation. - Double-click on the new
HideUserInformationvalue. - Set the Value data to
1. - Click OK.
To Show Account Name and Profile Picture on Start Menu (Default):
- Follow steps 1-6 from the "Hide" section above to create or find the
HideUserInformationvalue. - Double-click on the
HideUserInformationvalue. - Set the Value data to
0. - Click OK.
Reference:
Summary
You can change this through the Settings app under Personalization > Start. If you're comfortable with more advanced options, the Registry Editor also lets you make this change by modifying the HideUserInformation DWORD value.
How do I get the classic Start menu back in 🪟 Windows 11?
Windows 11 does not officially support reverting to the classic Start menu. However, third-party tools like Start11 or ExplorerPatcher can restore a Start menu similar to Windows 10's design, offering customization options not found in the native Windows 11 interface.
Can I customize the Start menu in 🪟 Windows 11?
Yes, Windows 11 allows for some Start menu customization. You can pin and unpin apps, organize them into folders, and choose whether to show more or fewer recommended items. You can also hide your account name and profile picture for a cleaner look.
Can I revert to the old Start menu design?
Officially, Windows 11 does not offer a way to revert to the old Start menu design from Windows 10. While Microsoft has made some improvements, the core design remains distinct. Third-party software is typically required to achieve a classic Start menu appearance.
How to change 🪟 Windows 11 Start menu position?
To change the Windows 11 Start menu position, go to Settings > Personalization > Taskbar. Under 'Taskbar behaviors,' find the 'Taskbar alignment' option. You can then select 'Left' to move the Start button and icons to the left side, mimicking the traditional Windows layout.
Was this guide helpful?

About the Author
Richard
Tech Writer, IT Professional
Richard, a writer for Geek Rewind, is a tech enthusiast who loves breaking down complex IT topics into simple, easy-to-understand ideas. With years of hands-on experience in system administration and enterprise IT operations, he’s developed a knack for offering practical tips and solutions. Richard aims to make technology more accessible and actionable. He's deeply committed to the Geek Rewind community, always ready to answer questions and engage in discussions.

No comments yet — be the first to share your thoughts!