Enable or Disable Recently Added Apps in Windows 11
Show recently added apps in Windows 11 controls whether Windows lists your newest apps on the Start menu. This helps you quickly see and open programs you just installed.
Windows normally keeps track of what you use most. This includes apps you’ve recently downloaded and added. You can turn this tracking on or off.
For example, the Recommended section on your Windows 11 Start menu often shows these newly added apps. This guide shows you how to manage that feature.
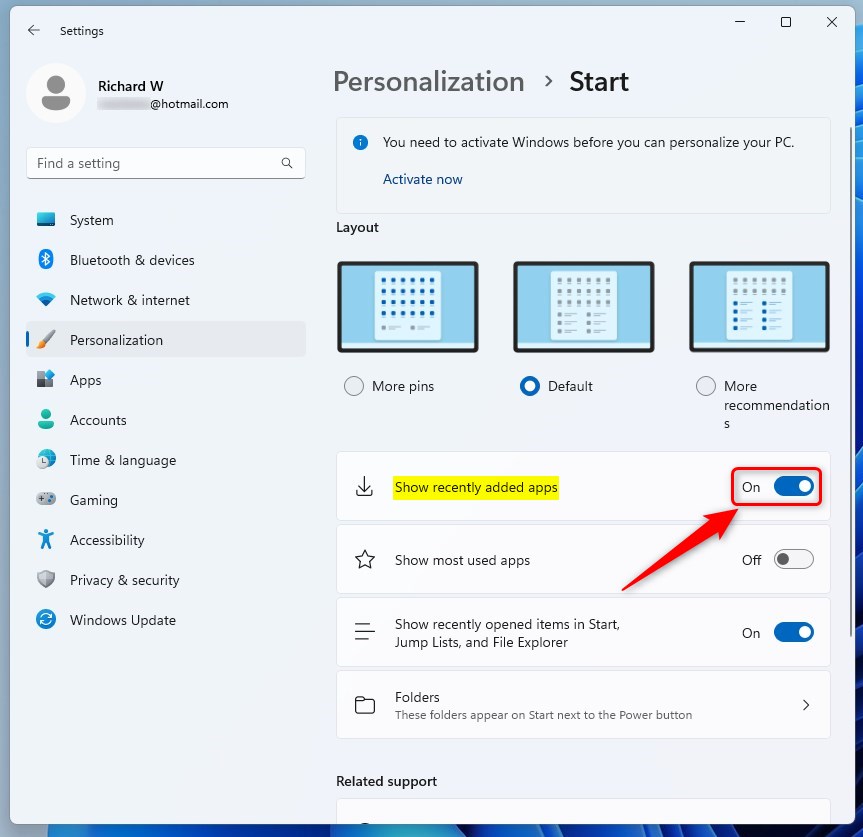
Go to Settings > Personalization > Start. Toggle “Show recently added apps” to enable or disable this feature in the Start menu’s Recommended section. This setting controls whether new installations are highlighted.
How to turn on or off recently added apps in the Start menu, recommended section, or jump lists in 🪟 Windows 11
Remember, Windows tracks recent activities like files and folders you’ve opened, and recently added apps for the Start menu’s Recommended section and Jump Lists.
The quickest way to remove recently added apps is to right-click the recently installed apps under the Recommended section and select Remove from the list.
You can disable or enable this using the Windows Settings app. The steps below show you how.
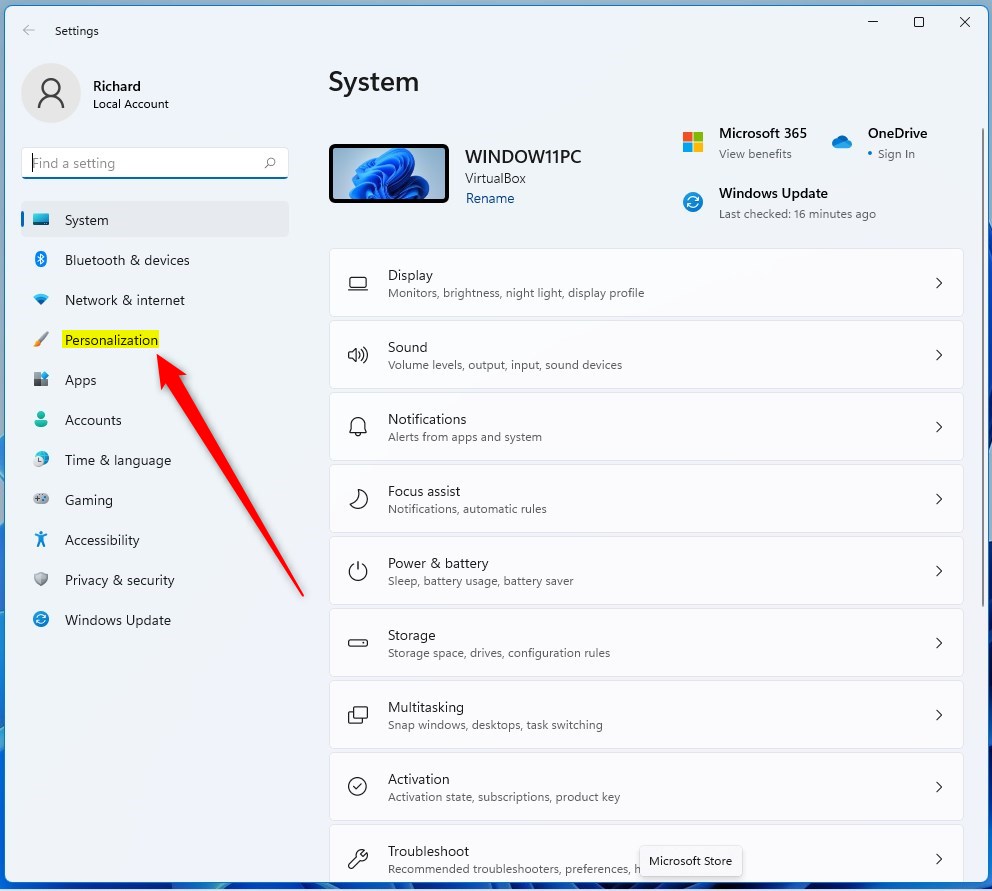
Windows 11 centralizes most of its settings. You can manage everything from system configurations to creating new users and updating Windows, all within the System Settings pane.
To access System Settings, use the Windows key + I shortcut. Alternatively, click Start ==> Settings, as shown in the image below:

Another option is to use the search box on the taskbar. Type “Settings” and then select it to open the app.
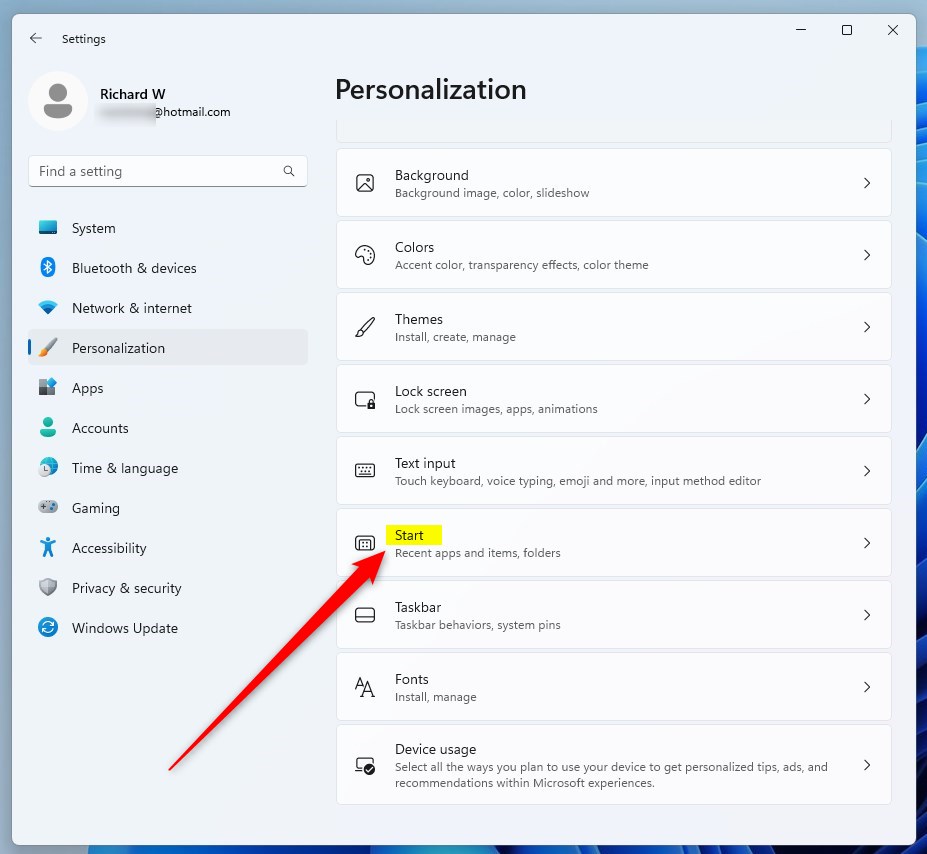
Your Windows Settings pane should look similar to the image below. In the Windows Settings app, click Personalization on the left side.
On the right side, select the Start tile to expand its options.
On the System -> Personalization -> Start settings panel, toggle the button switch for “Show recently added apps” to the On position to enable it.
To disable this feature, toggle the switch button back to the Off position.
Conclusion:
- Enabling or disabling the “Show recently added apps” feature in Windows 11 can help customize the Start menu based on individual preferences.
- Accessing the Windows Settings app and navigating to the Start settings panel provides a straightforward method to toggle this feature on or off.
- Following the steps outlined in this article, users can effectively manage the display of recently added apps in the Start menu, improving their overall Windows 11 experience.
Was this guide helpful?

About the Author
Richard
Tech Writer, IT Professional
Richard, a writer for Geek Rewind, is a tech enthusiast who loves breaking down complex IT topics into simple, easy-to-understand ideas. With years of hands-on experience in system administration and enterprise IT operations, he’s developed a knack for offering practical tips and solutions. Richard aims to make technology more accessible and actionable. He's deeply committed to the Geek Rewind community, always ready to answer questions and engage in discussions.


[…] apps, and Recommended – which contains a list of recently added apps and opened […]
[…] display name in Windows refers to the full name of an account shown on the Sign-in screen, Start Menu, and Settings. This name can differ from the username used to sign in to the […]