How to Secure Windows 11: Essential Protection Guide

Windows Security is the built-in protection app in Windows 11. It scans for harmful software and blocks dangerous apps and downloads, and it costs nothing extra. Most of the settings in this guide are already on by default. The job is to confirm they are on and to turn on the few that are not.
Lock down the device by making sure real-time virus protection is running and that your account sign-in rules are strong. A strong sign-in means a long password or a PIN, ideally with Windows Hello fingerprint or face recognition as well.
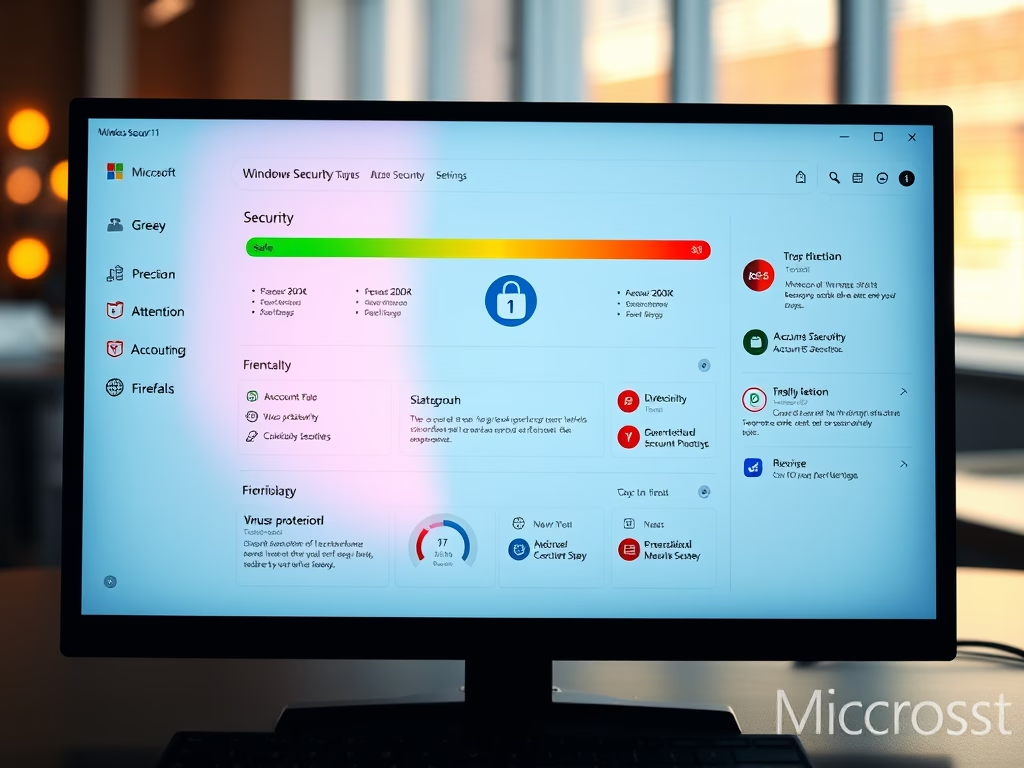
Open Windows Security by pressing Start, typing Windows Security, and selecting the app. Check the Home page for colored tiles: green means protected, yellow means a recommendation, and red means action is needed. Enable Real-time protection under Virus & threat protection if it is off, and use a strong password or PIN with Windows Hello for account security.
Getting Started with 🪟 Windows 11 Security
Start with the core protection features and what each one does. The guides below cover the essential setup steps and the checks that confirm the device has proper basic defenses. Work through them in order on a new PC. On an older PC, use them as an audit and look for anything that was switched off over the years.
Protecting Your PC from Malware and Attacks
These steps block malicious software and stop unwanted access to important files. Some of these settings are off by default because they can interrupt normal work. Read the notes in each guide before you switch them on.

Securing Your Data and Advanced Settings
Sensitive information needs more than antivirus. Data encryption and advanced system settings protect it if someone gets physical access to the machine. The guides below cover how to lock down specific components. Some of these features depend on your Windows edition (Home or Pro) and on the PC's hardware, and the guides say so where it matters.
Troubleshooting Windows Security
Sometimes a security feature stops working, shows an error, or needs a full reset. Targeted help saves time here. Fixing common problems early means the security tools keep working, instead of leaving you with a false sense of safety. If a toggle is greyed out, check whether another security product or a work or school policy is managing it.
More on 🪟 Windows 11 Security and Protection

Common questions
How do I know if my 🪟 Windows 11 PC is protected?
You check PC protection status inside the Windows Security app. A green checkmark means that area is up to date and protected. Unresolved issues are flagged right away with a yellow warning or a red mark.
- Select Start, type Windows Security, and open the app from the results. You can also open it from Settings Privacy & security Windows Security Open Windows Security
- Select Home in the left pane if it is not already open. You now see tiles for Virus & threat protection, Account protection, Firewall & network protection, App & browser control, Device security, Device performance & health, and Family options.
- Look at the icon on each tile. Green means no action is needed. Yellow means a recommendation. Red means you need to act now.
- Select any tile with a warning. The page explains the problem and usually offers a button such as Turn on or Restart now to fix it.
Some tiles may not appear on every PC. Device security, for example, shows only the features your hardware supports. A tile may also be missing if your organization hides it through policy.
What is Microsoft Defender?
Microsoft Defender is the built-in antivirus and security software for Windows 11. It scans files and watches for suspicious activity, which helps protect the computer from viruses, malware, and other online threats. It updates itself through Windows Update, so keep Windows Update running.
To check that it is active and run a scan:
- Open the Windows Security app and select Virus & threat protection. The page shows your current threats, the time of the last scan, and the protection settings.
- Select Quick scan to check the places malware most often hides. When the scan ends, the page shows whether it found anything.
- Select Manage settings under Virus & threat protection settings.
- Confirm that Real-time protection is On. If it is off, turn it on. Windows turns it back on by itself after a while, but leave it on.
- Confirm that Tamper Protection is On. This stops other software from quietly changing your security settings.
If you install a third-party antivirus, Windows may turn Defender's real-time scanning off to avoid conflicts. That is expected. If you remove the other product, check this page to make sure Defender has taken over again. For a deeper check, Scan options on the same page offers a Full scan and a Microsoft Defender Antivirus (offline) scan. The offline scan restarts the PC and is useful for stubborn malware.
How can I protect my files from ransomware?
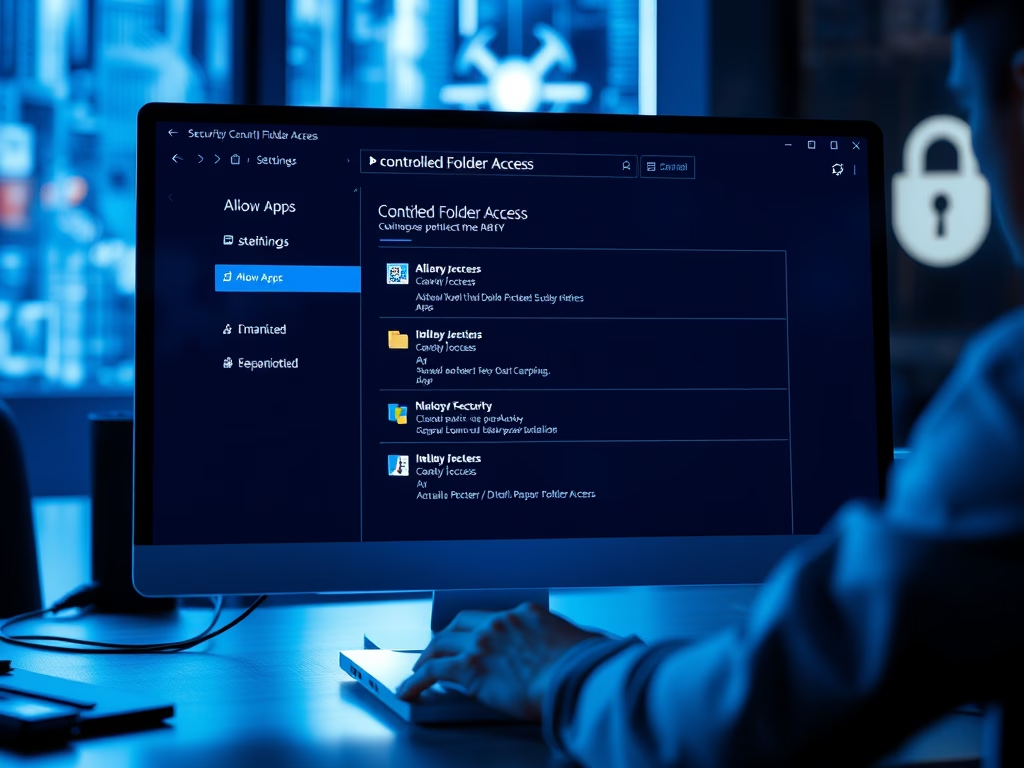
Controlled Folder Access is a Windows 11 feature that protects your files from ransomware. It lets you pick specific folders and blocks unauthorized changes to them by apps Windows does not trust. It is off by default. It also needs Microsoft Defender real-time protection to be on.
- Open the Windows Security app and select Virus & threat protection.
- Under Ransomware protection, select Manage ransomware protection.
- Turn on the Controlled folder access toggle. If Windows asks for permission, select Yes. The toggle now reads On, and new links for Protected folders and Allow an app through Controlled folder access are available.
- Select Protected folders. Windows already protects folders such as Documents, Pictures, Videos, Music, and Favorites.
- Select Add a protected folder, browse to the folder you want to shield, and select Select Folder. The folder now appears in the list.
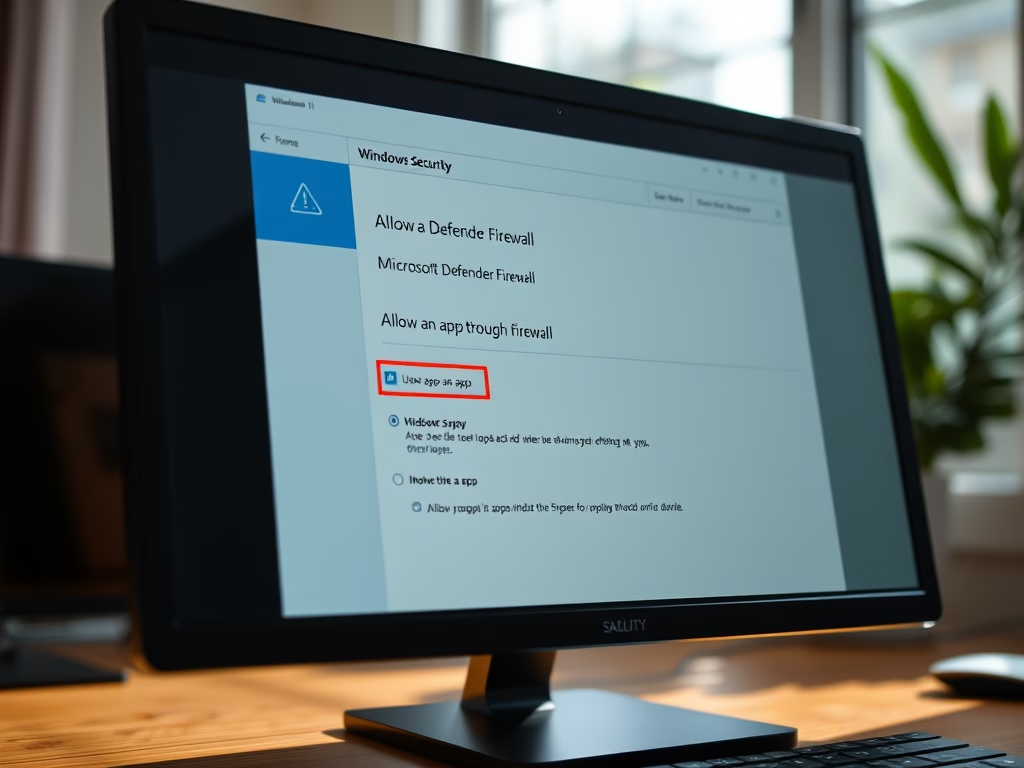
Expect some false alarms at first. A legitimate program may be blocked from saving into a protected folder, and Windows shows a notification when that happens. If you trust the app, go back to the same page, select Allow an app through Controlled folder access, and add it. To undo the feature, switch the toggle off. If the toggle is greyed out, another antivirus product or an administrator policy is probably managing it.
Do I need to pay for 🪟 Windows 11 security?
The core security features come with Windows 11 at no extra cost. That includes Microsoft Defender, firewall protection, and the other basic safeguards. For essential protection you do not need to buy separate antivirus software. Paid products can add extras such as a password manager or VPN, but the built-in protection is enough as a baseline.
What matters more than the brand of antivirus is the routine around it. Install Windows updates promptly, use a strong sign-in, and be careful with email attachments and downloads.
What is BitLocker?
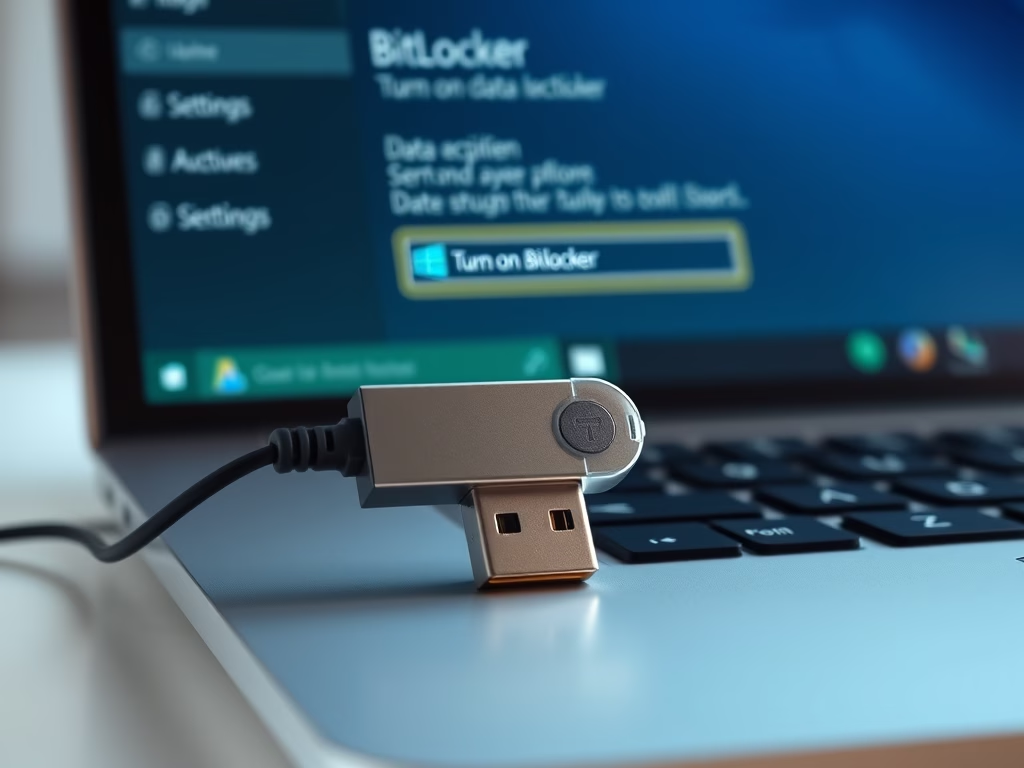
BitLocker is a built-in utility that encrypts your entire drive. Encryption scrambles the data so your files are unreadable if the computer is lost or stolen. The utility extends the same protection to USB drives. Your data stays safe even if someone removes the drive and plugs it into another machine.
What you see depends on your Windows edition:
- Windows 11 Pro, Enterprise, and Education: full BitLocker drive encryption is available. You can turn it on for the system drive, other internal drives, and USB drives.
- Windows 11 Home: there is no full BitLocker management. Many newer PCs offer Device encryption instead, in Settings Privacy & security Device encryption It appears only if the hardware supports it.
You can store it in your Microsoft account, print it, or save it to a file. Without the key, you can lose access to the drive permanently after a hardware change or a failed unlock. Encryption can run in the background, so you can keep working while it finishes.
Was this guide helpful?

About the Author
Richard
Tech Writer, IT Professional
Richard is a writer at Geek Rewind who turns complex IT tasks into clear, step-by-step guides. He draws on years of hands-on experience in system administration and enterprise IT operations, focusing on Windows, Linux and WordPress: the problems people actually run into, and the fixes that work. His server and WordPress guides come from systems he runs himself. Richard builds and maintains the platform behind Geek Rewind, from its Ubuntu servers and Nginx configuration to its custom WordPress plugins. Many new tutorials start with readers' questions, and he's always glad to answer them in the comments.
No comments yet — be the first to share your thoughts!