How to Encrypt USB Drives in Windows 11 with BitLocker
Encrypting USB drives in Windows 11 with BitLocker makes your files unreadable to unauthorized people by scrambling them.
BitLocker is a security feature built into Windows that locks down entire drives, including USB sticks. It uses encryption to scramble your data, so only someone with the correct password or recovery key can see it.
This protection is vital if your USB drive gets lost or stolen, preventing sensitive information from falling into the wrong hands. You’ll need to enter your password every time you plug the encrypted drive into a computer to get to your files.
To use BitLocker for your USB drive, you must have Windows 11 Pro, Enterprise, or Education edition. You also need administrator privileges on your PC.
Enable BitLocker To Go via Settings > System > Storage > Advanced storage settings > Disks & volumes. Expand your USB drive, click Properties, then Turn on BitLocker. Enter and confirm a password, save your recovery key, and follow the prompts to encrypt the drive.
Understanding 🪟 Windows 11 Home vs. Pro
Knowing your Windows version is key if you want to encrypt USB drives in Windows 11. Windows 11 Home doesn’t include the BitLocker tool for encrypting USB drives. Home users will need other software to protect their USB drive’s data.
If you have Windows 11 Pro, Enterprise, or Education, you can use BitLocker To Go. For Home users, you’ll need to look at third-party options like VeraCrypt or 7-Zip AES-256 encryption to password protect your USB drive.
How to Encrypt USB Drives in 🪟 Windows 11 Pro
Encrypting USB drives in Windows 11 Pro is possible using the BitLocker tool. You can find BitLocker within your Windows Settings under Storage. This guide will walk you through the steps to protect your USB drive’s data using this built-in feature.

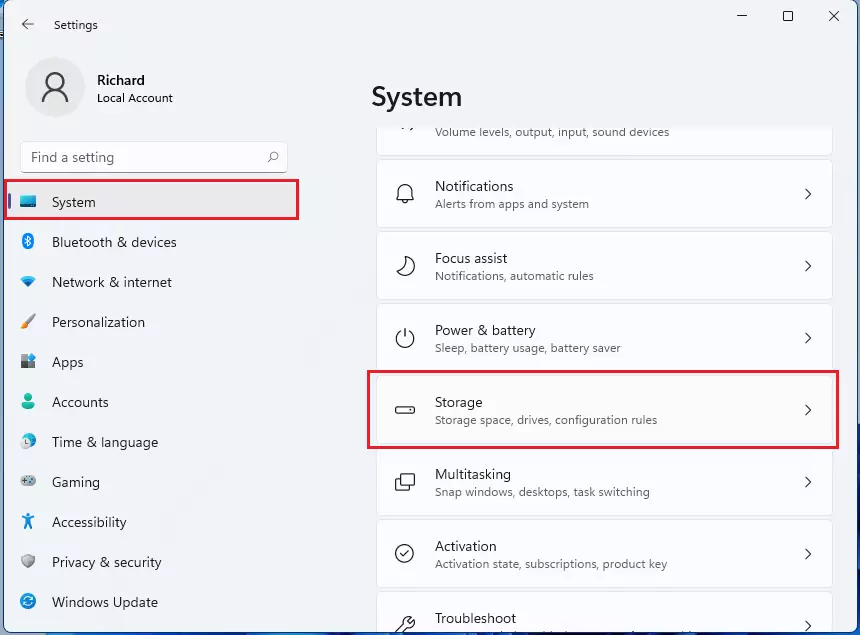
In the Settings window, click System and then select Storage.
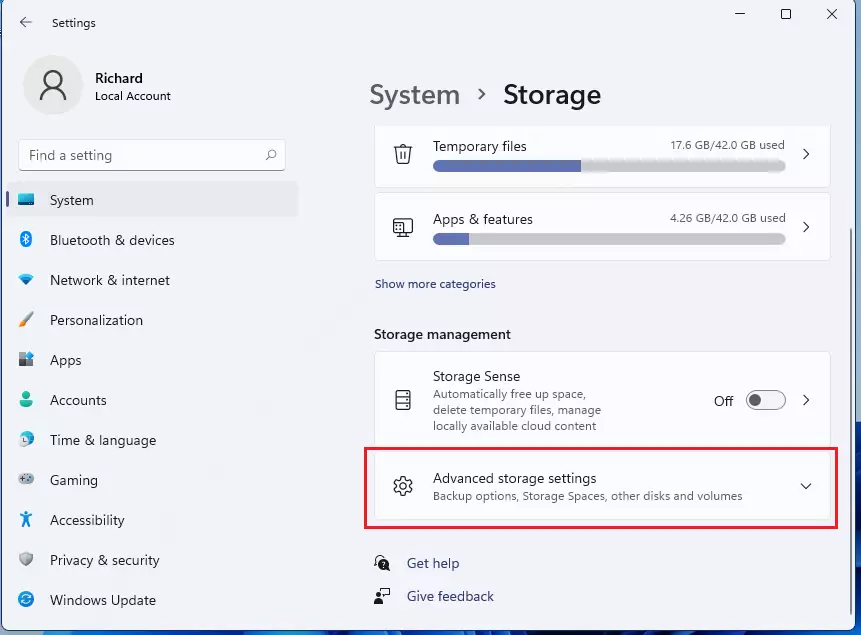
Navigate to Advanced storage settings; this reveals more options.
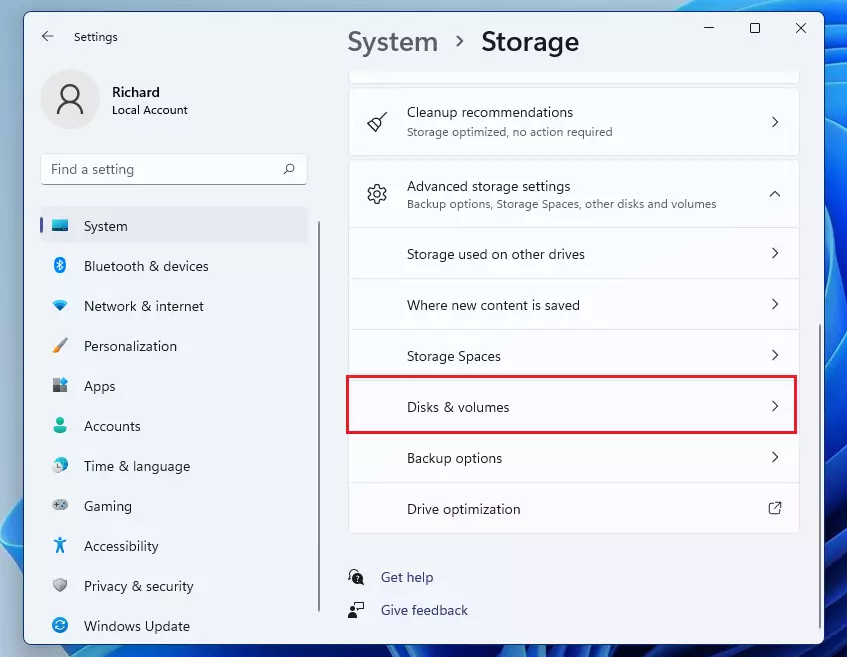
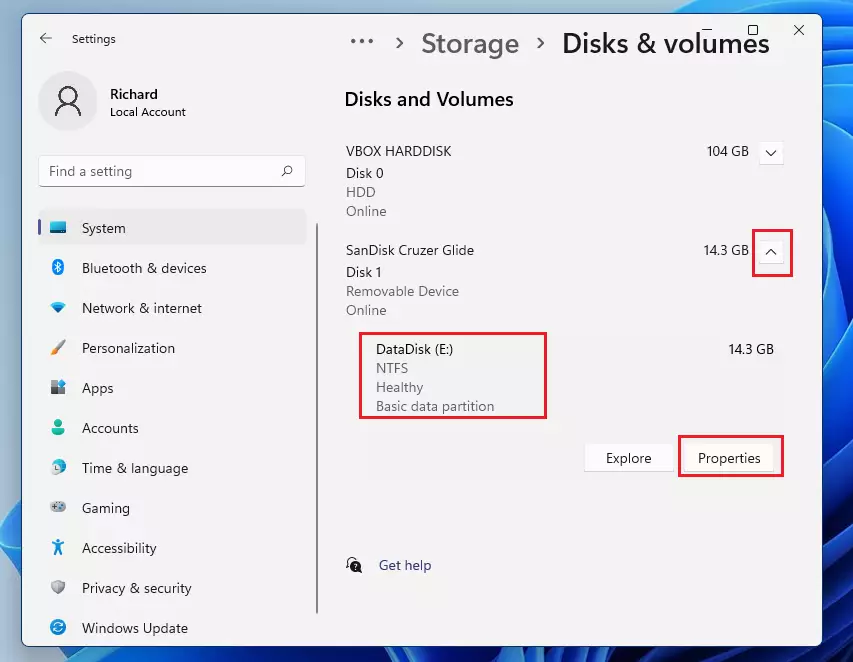
Next, click on Disks & volumes.
Find your USB drive in the list. Click the little arrow next to it to expand the options, then click Properties.
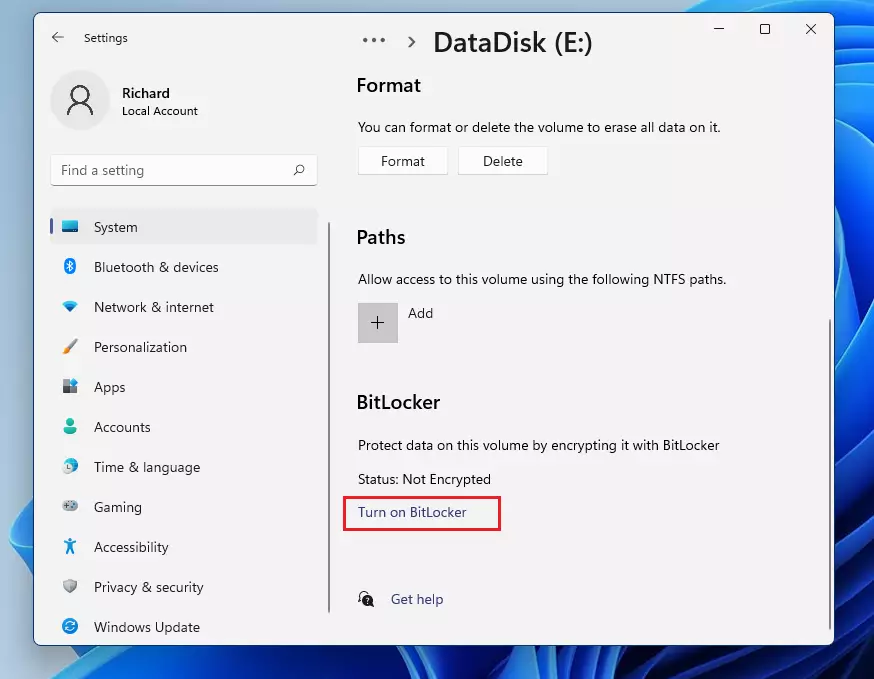
On the properties page, click the link to Turn on BitLocker.
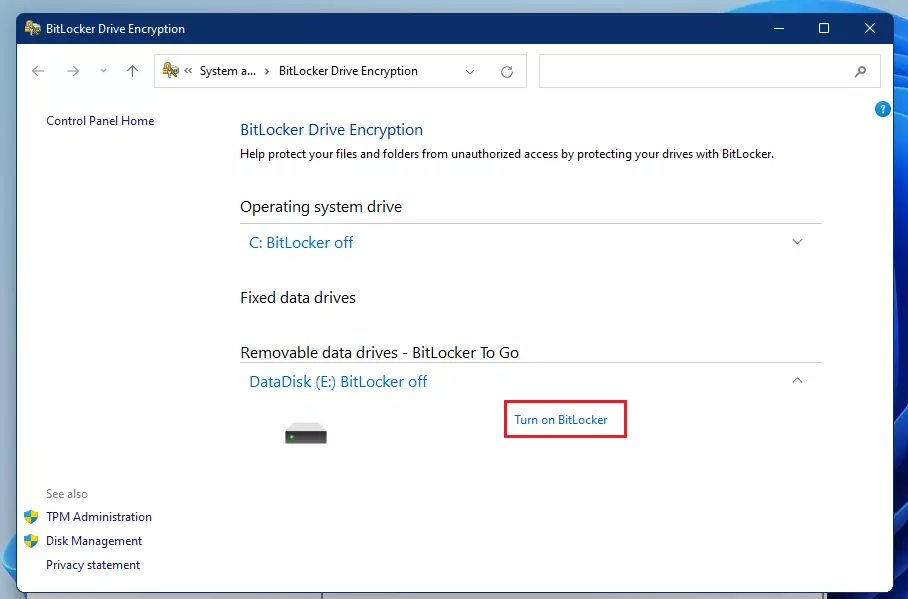
A new window will appear. Find your drive under Removable data drive – BitLocker To Go and click Turn on BitLocker again.
Now, type in a strong password and confirm it. Remember, you’ll need this password every time you use the drive.

Follow the on-screen prompts and click Next.
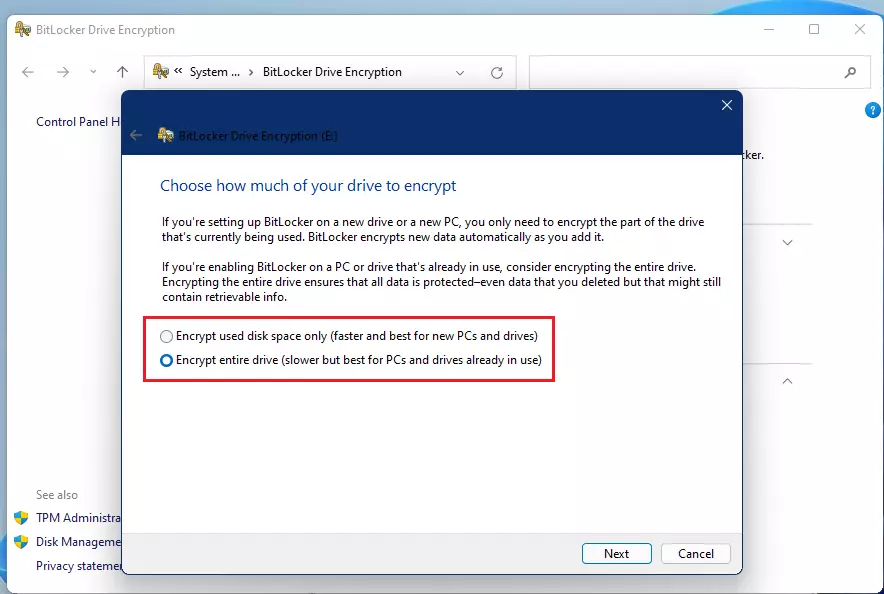
Choose the encryption method that fits your needs, then click Start Encrypting.

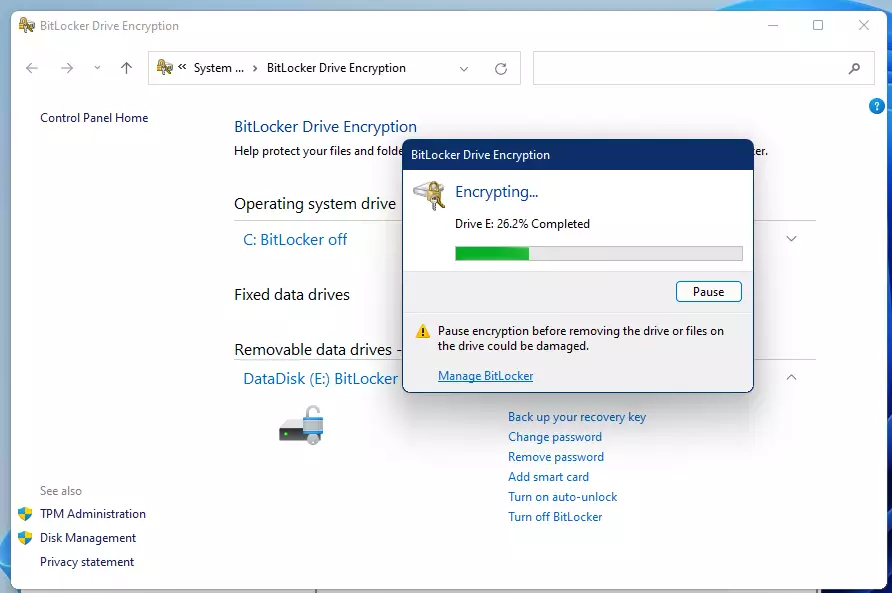
Wait for the process to finish. This might take a few minutes depending on how large your drive is.
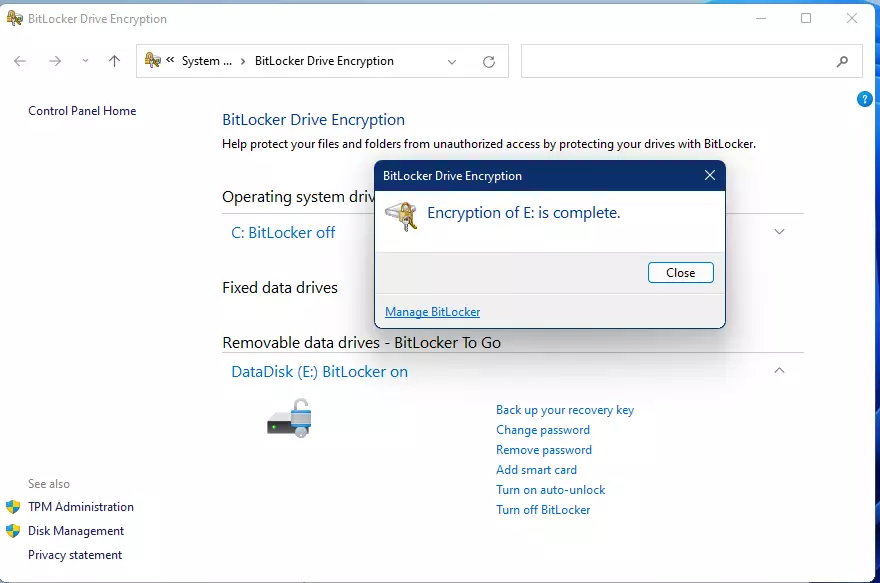
Once you see the message that encryption is complete, your drive is secure.
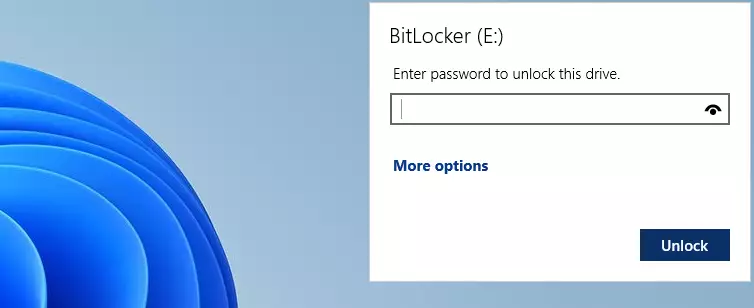
The next time you plug your drive into a computer, a box will pop up asking for your password.
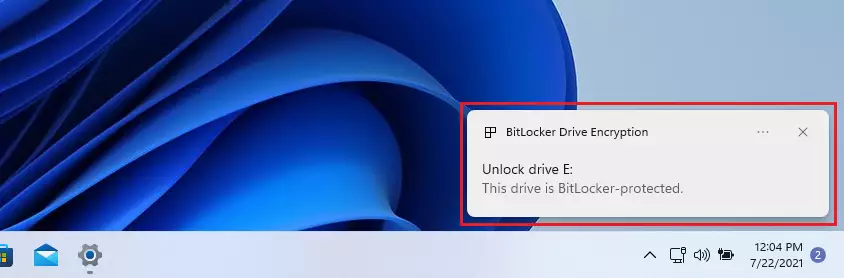
Type your password to unlock the drive and access your files.
Best Practices for USB Encryption
Before encrypting a USB drive, consider formatting it to NTFS or exFAT. This helps avoid file size limits, particularly for large files.
Summary
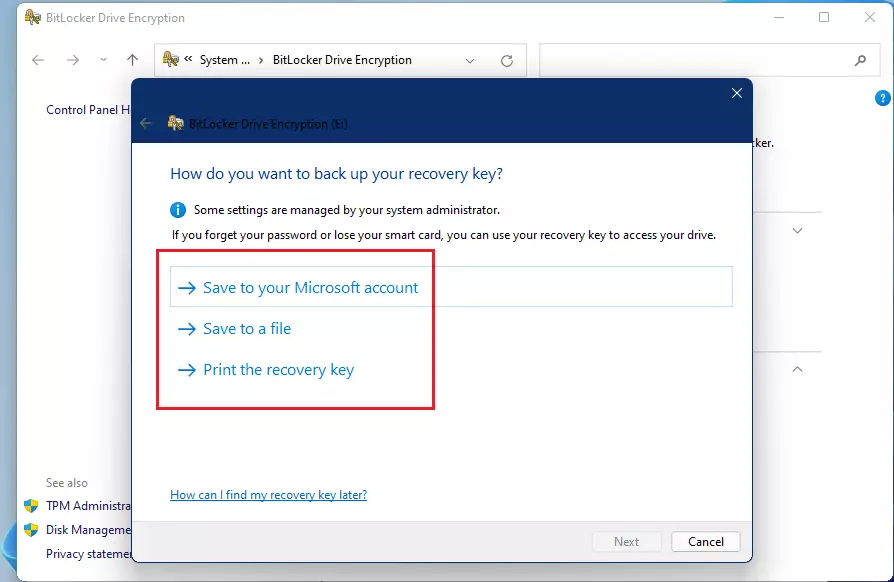
BitLocker To Go is Windows’ built-in way to keep your USB drive files private by using a password, and it’s essential to save your recovery key.
Can I use BitLocker on 🪟 Windows 11 Home?
BitLocker is not included in Windows 11 Home. It is a feature exclusive to Pro, Enterprise, and Education editions. If you use the Home edition, you must use third-party software like VeraCrypt or 7-Zip to encrypt your files and protect your data security.
What happens if I lose my BitLocker password?
If you lose your password, you must use the recovery key you saved during the initial setup. If you do not have the recovery key, your data will be permanently inaccessible. Always store your recovery key in a secure location, such as your Microsoft account or a printed document.
Was this guide helpful?


[…] can protect external, fixed, and operating system drives using BitLocker. When you enable BitLocker to protect the […]
[…] can protect external, fixed, and operating system drives using BitLocker. When you enable BitLocker to protect the […]
[…] can protect external, fixed, and operating system drives using BitLocker. When you enable BitLocker to protect the […]
[…] can protect external, fixed, and operating system drives using BitLocker. When you enable BitLocker to protect the […]
[…] can protect external, fixed, and operating system drives using BitLocker. When you enable BitLocker to protect the […]
[…] can protect external, fixed, and operating system drives using BitLocker. When you enable BitLocker to protect the […]
[…] can protect external, fixed, and operating system drives using BitLocker. When you enable BitLocker to protect the OS […]
[…] can protect external, fixed, and operating system drives using BitLocker. When you enable BitLocker to protect the […]
[…] can protect external, fixed, and operating system drives using BitLocker. When you enable BitLocker to protect the […]
[…] External drives like USB sticks […]
[…] External drives like USB sticks […]