How to Transfer Files from USB to Windows 11
You transfer files from a USB drive to Windows 11 by using File Explorer to copy and paste or drag and drop them onto your PC.
This process involves connecting your USB drive and then selecting the files you want to move to a specific location on your Windows 11 computer.
For example, you can easily move a folder containing over 100 photos from your recent trip. This ensures you have a secure backup and can access them quickly for editing or sharing.
Whether you’re backing up important documents or transferring large media files, this method is straightforward and essential for managing your data effectively.
Copy and paste or drag and drop files from your USB drive into a Windows 11 folder. Plug in the USB, open File Explorer, locate the drive, select files, and paste them to your desired PC location.
What You Need
Windows 11 works with many types of USB drives, including different versions like USB 2.0, 3.0, 3.1, 3.2, and the newer USB-C flash drives. If your computer doesn’t have the right port, you can use a USB hub or adapter.
How to Transfer Files from USB to 🪟 Windows 11
Step 1Plug In Your USB Drive
Insert the USB drive into the correct computer port. USB 3.0 or higher ports often have a blue interior color, which helps users identify them. Confirm the USB drive is fully seated in the port.
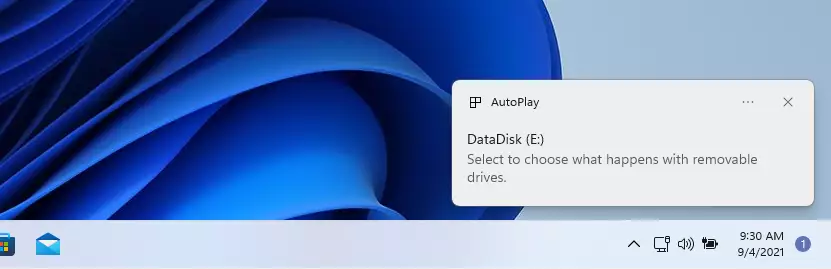
Step 2Wait for Windows to Recognize the Drive
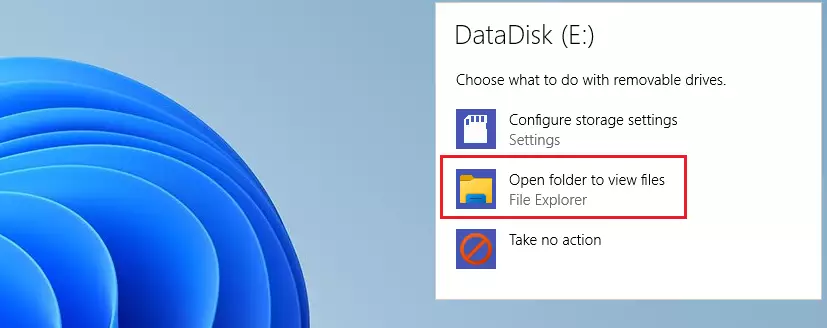
Windows 11 usually shows a notification; click ‘Open folder to view files’ when it appears.
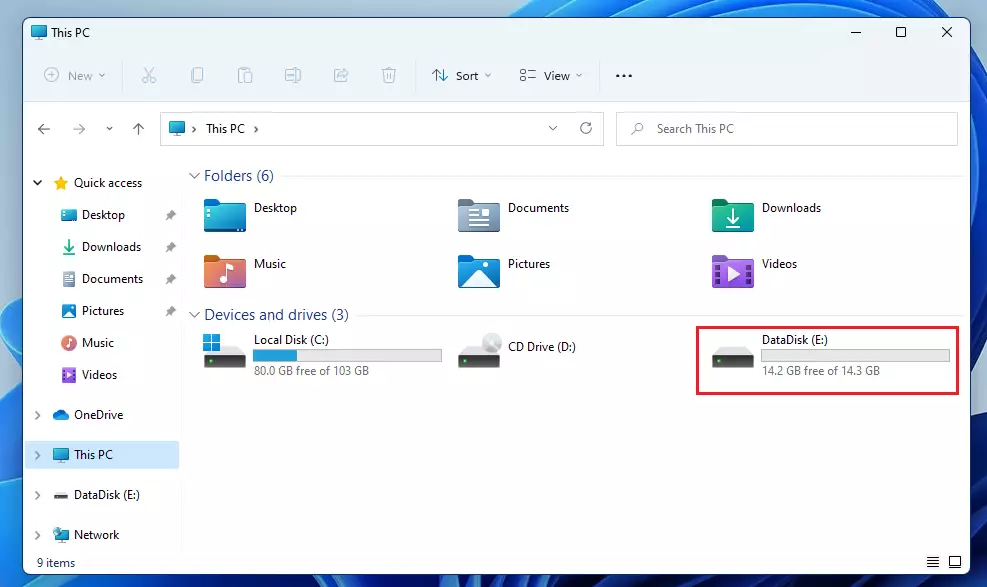
Step 3Find Your USB Drive (If No Pop-Up Appears)
If nothing happens, open File Explorer by pressing Windows key + E. Click ‘This PC’ on the left. Your USB drive should appear under ‘Devices and drives’.
Step 4Pick Which Files You Want to Copy
Step 5Paste Your Files
Navigate to the folder on your computer where you want the files to live. Press Ctrl + V to complete the transfer.
Troubleshooting USB Recognition Issues
If your USB drive is not detected, try these steps:
- Try a different USB port on your computer.
- Open Device Manager (requires admin privileges) to check for driver errors.
- Use Disk Management to see if the drive needs a drive letter assigned.
Transfer Speed Optimization
For the fastest file transfer speeds, connect your USB 3.0 drive to a blue USB 3.0 port on your computer. Cheap USB hubs often reduce transfer speed, so avoid using them for optimal performance.
File System Compatibility
Summary
Transferring files from a USB to Windows 11 is straightforward using File Explorer, letting you move documents, photos, and videos easily.
Why is my USB drive not showing up in 🪟 Windows 11?
If your USB drive isn’t showing up in Windows 11, it’s often because of a loose connection, a different USB port, or Windows hasn’t given it a drive letter.
How do I transfer large files over 4GB to a USB drive?
The FAT32 file system has a 4GB file size limit. To transfer larger files, you must reformat your USB drive to the NTFS or exFAT file system. Right-click the drive in File Explorer, select Format, and choose NTFS or exFAT from the File System dropdown menu.
Is it safe to pull out a USB drive without ejecting?
It is not recommended. Pulling a drive out while Windows is still writing data can corrupt your files or damage the drive. Always use the Safely Remove Hardware icon in the taskbar to ensure all background processes are finished before you physically remove the USB device from your computer.
Was this guide helpful?
100% of readers found this helpful (1 votes)

About the Author
Richard
Tech Writer, IT Professional
Richard, a writer for Geek Rewind, is a tech enthusiast who loves breaking down complex IT topics into simple, easy-to-understand ideas. With years of hands-on experience in system administration and enterprise IT operations, he’s developed a knack for offering practical tips and solutions. Richard aims to make technology more accessible and actionable. He's deeply committed to the Geek Rewind community, always ready to answer questions and engage in discussions.


hello, I switched to using a laptop with Windows 11 (passed down to me by another person), so i am trying to copy over files and folders from my existing laptop (Windows 10). I copied the files and folders onto an external hard disk drive. when i try to copy over to the other laptop, some folders it just doesn’t copy over. when i clicked paste, there is no response, any idea? thanks! i am searching google and YouTube but not getting any hint yet.
Copying files from external HDD to Windows 11 HDD forces those files to be stored on OneDrive. As only 5 GiG is available on the “free” storage of OneDrive, anything over that gets tagged as a error being unavailable.
The easy option is to fork out more money to Microsoft for more storage where it is downloaded from when needed, another slow process, costly, and not all that secure. Microsoft has our files, not us. We just provide Microsoft with the medium to stalk us.
Windows 11 is NOT free. In exchange for Windows 11, we give up our rights to privacy.
To transfer all files docs/pics/video/downloads etcetera, is to search the Internet or Google, for how to disable OneDrive. Then copy the file to where you want them, not where Windows wants them.
10000%
I’m really beginning to hate Windows 11!!!
[…] with the Microsoft Windows operating system. A graphical user interface lets you view, copy, move, delete, and rename files and folders and organize them […]
[…] is included in the Microsoft Windows operating system. A graphical user interface lets you view, copy, move, delete, and rename files and folders and organize them […]
[…] How to copy files to USB devices in Windows 11 […]
[…] included in the Microsoft Windows operating system. A graphical user interface lets you view, copy, move, delete, and rename files and folders and organize them […]
[…] included in the Microsoft Windows operating system. A graphical user interface lets you view, copy, move, delete, and rename files and folders and organize them […]
[…] you don’t want Windows Updates to download all previously downloaded updates again, you can copy the content from the old SoftwareDistribution.old Folder into the newly created symlink SoftwareDistribution […]
[…] is included in the Microsoft Windows operating system. A graphical user interface lets you view, copy, move, delete, and rename files and folders and organize them […]
[…] is included in the Microsoft Windows operating system. A graphical user interface lets you view, copy, move, delete, and rename files and folders and organize them […]
[…] large files between computers can be slow and frustrating. Most people rely on USB drives to copy files from one computer to another, but this is often inefficient for big data transfers. Using File Explorer can also make your […]