How to Use Undo and Redo in Windows 11 File Explorer
Undo and Redo in Windows 11 File Explorer let you fix mistakes or reapply actions with simple keyboard shortcuts.
Undo reverses your last action in File Explorer, like deleting a file or moving a folder by accident. Redo reapplies an action you just undid.
These handy commands are great for managing files when you do several things at once. File Explorer keeps track of up to 100 of your recent actions.
You can quickly reverse an action by pressing Ctrl+Z for Undo. If you accidentally undo something you wanted, press Ctrl+Y to bring it back using Redo.
Press Ctrl+Z to undo your last action in File Explorer, such as deleting a file. To reapply an action you just undid, press Ctrl+Y to redo it. These shortcuts help you quickly fix mistakes.
What Is File Explorer?
File Explorer is your go-to app for viewing and organizing all your files and folders in Windows 11. You can copy, move, delete, or rename files with a few clicks.
What Are Undo and Redo?
Undo
Undo takes back your last action. Deleted the wrong file by accident? Undo brings it right back, saving you time spent searching for it.
Redo
Redo does the opposite of Undo. If you press Undo by mistake, Redo puts the action back. What happens? The change you just reversed occurs again.
These two commands help you fix mistakes quickly and without stress.
How to Use Undo and Redo in File Explorer
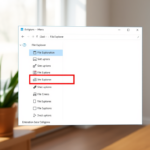
- Open File Explorer on your computer.
- Delete, copy, move, or rename a file or folder.
- To undo the action, right-click in the File Explorer window. Select Undo from the menu. Or press
CTRL + Zon your keyboard. - To redo an action you just undid, right-click again. Pick Redo from the menu. Or press
CTRL + Y.
Undoing or redoing actions like deleting, copying, moving, or renaming files and folders is possible within File Explorer. Made a mistake, like accidentally deleting something? A quick fix is available: choose ‘Undo’ from the menu, or use the keyboard shortcut Ctrl+Z to reverse the last action. You can even redo it if you change your mind.

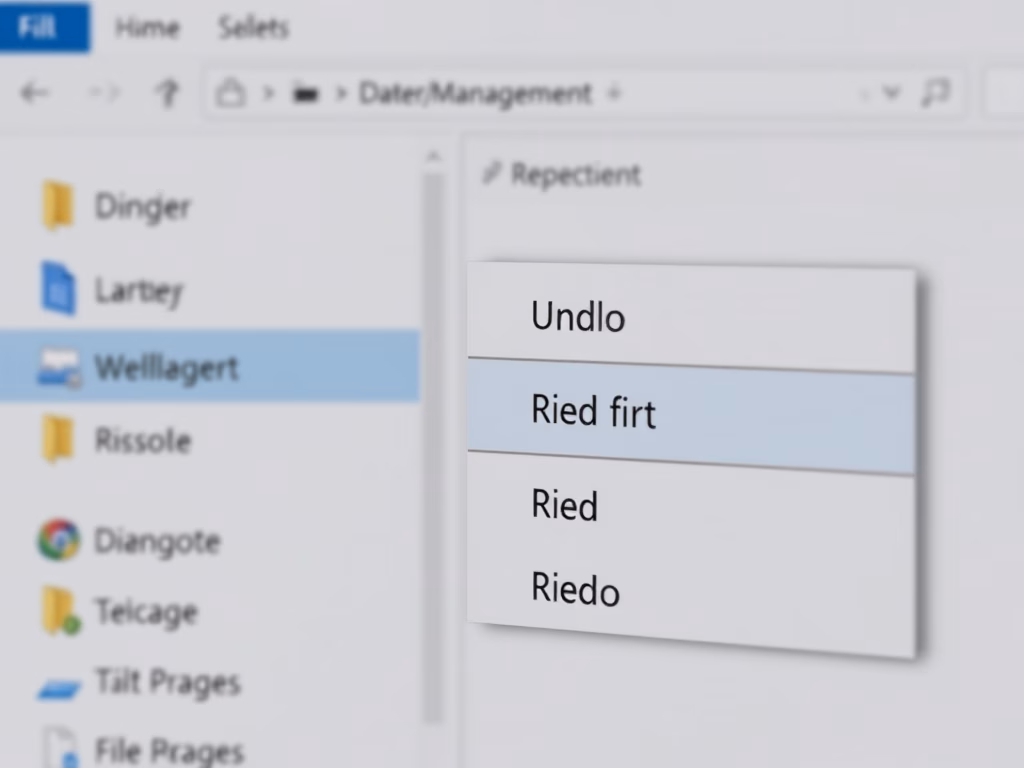
Right-click menu showing the Undo command

Right-click menu showing the Redo command
Quick Tips
- Press
CTRL + Zto undo your last action fast. - Press
CTRL + Yto redo an action you just undid. - These commands work for deleting, moving, copying, and renaming files.
Summary
Undo and Redo are incredibly helpful tools in Windows 11 File Explorer for fixing mistakes quickly. They let you reverse or repeat actions with just a few clicks or keyboard shortcuts, saving you time and hassle when you accidentally delete or move something.
Was this guide helpful?

About the Author
Richard
Tech Writer, IT Professional
Richard, a writer for Geek Rewind, is a tech enthusiast who loves breaking down complex IT topics into simple, easy-to-understand ideas. With years of hands-on experience in system administration and enterprise IT operations, he’s developed a knack for offering practical tips and solutions. Richard aims to make technology more accessible and actionable. He's deeply committed to the Geek Rewind community, always ready to answer questions and engage in discussions.

No comments yet — be the first to share your thoughts!