How to Allow Apps Through Microsoft Defender Firewall in Windows 11
Microsoft Defender Firewall in Windows 11 lets you control which applications can send or receive information over your network by creating specific rules. This built-in Windows security tool acts like a gatekeeper, deciding what data gets in and out.
Sometimes, Defender Firewall might block a helpful app, like a new game or work program, from connecting to the internet or other computers. You can fix this by telling the firewall to allow that specific app.
Creating a custom rule for an app ensures it can communicate properly without you having to turn off your firewall completely, which would leave your PC less protected. For example, a new game might need this permission to connect to its online servers and work correctly.
You allow apps through Microsoft Defender Firewall by opening Windows Security, navigating to Firewall & network protection, clicking “Allow an app through the firewall,” and then browsing to the application’s executable file. This adds the app to the exceptions list.
How to allow an app through the firewall
Allowing an app through the firewall in Windows 11 means you can let it connect to the internet or other networks without compromising your computer’s security. This is useful if a specific program isn’t working correctly because the firewall is blocking it. You can manage these exceptions easily within Windows Security.
- Open the Settings app. You can press the Windows key + I on your keyboard at the same time.

windows 11 start settings - In the menu on the left, click Privacy & security. Then, click the Windows Security box on the right.

windows 11 windows security - Click the button that says Open Windows Security.

windows 11 open windows security 1 - A new window will open. Click on Firewall & network protection in the left menu.
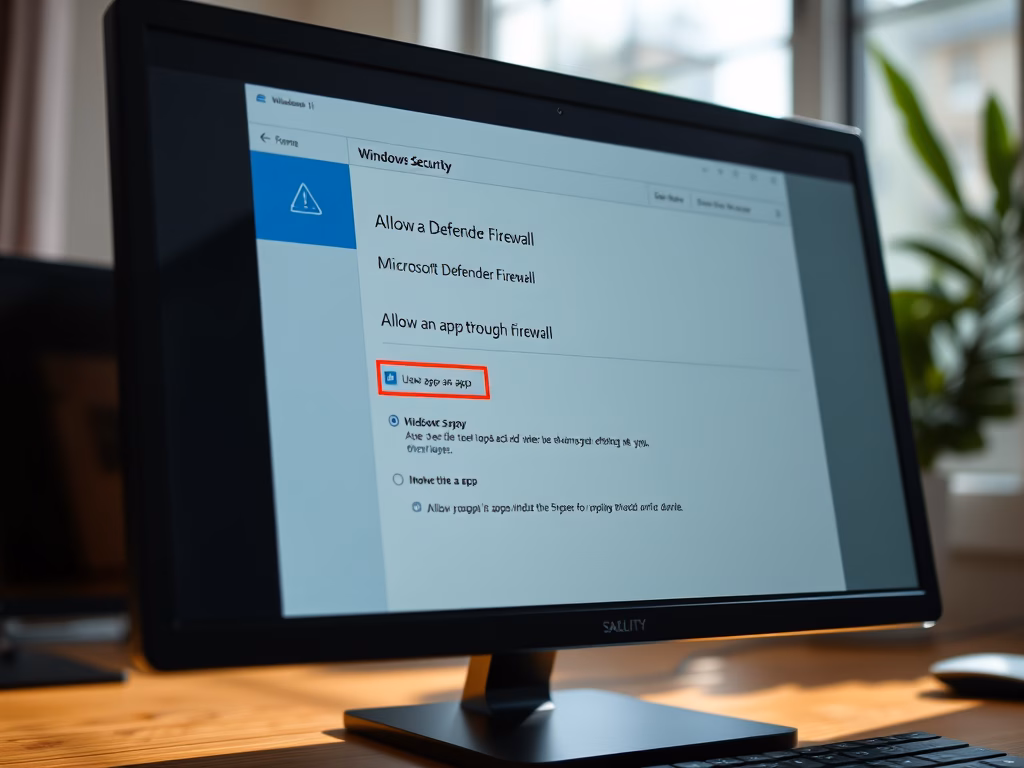
- Look for the link that says Allow an app through the firewall and click it.

allow an app through firewall in windows 11 - Click the Change settings button at the top. Note: This step requires administrator privileges.
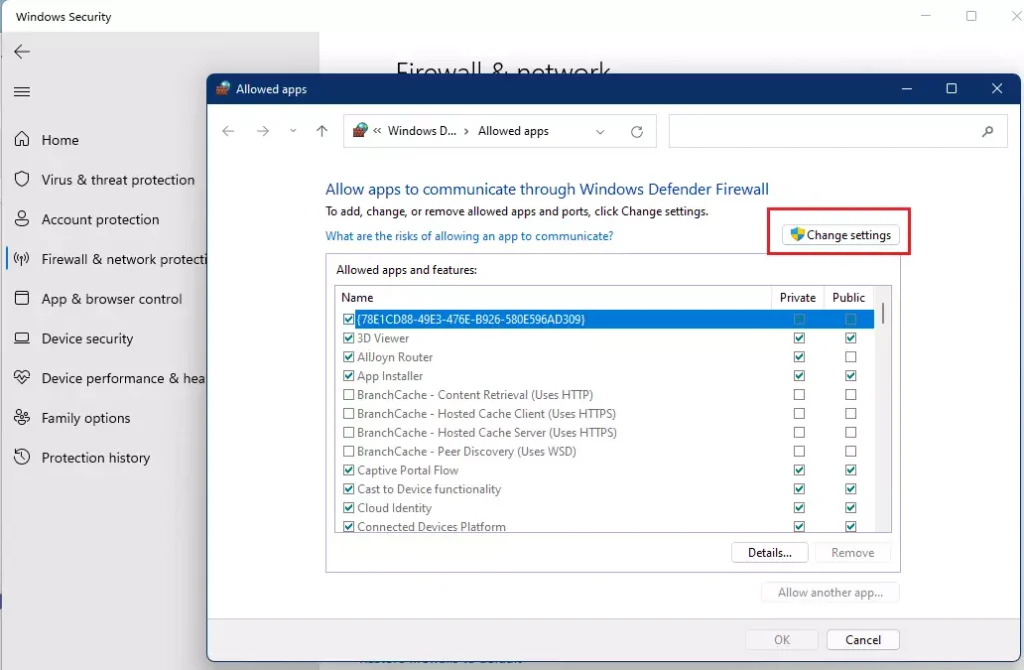
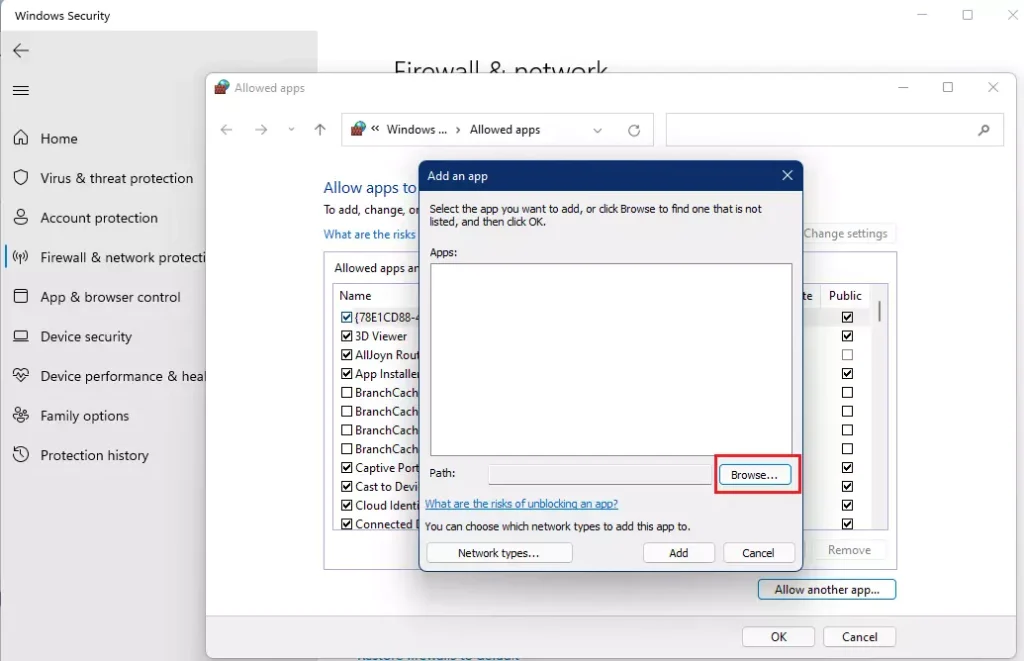
windows 11 allow app through firewall change button - Click the Allow another app… button at the bottom. Then, click Browse to find the program on your computer.

windows 11 allow another app through firewall - Locate the app’s file (usually in a folder like 📁C:\Program Files\YourApp), select it, and click Open.
windows 11 add an app windows 11 - Click the Add button to save your changes.
Advanced Security and Troubleshooting
Windows Defender Advanced Security offers more control if the basic method doesn’t work for allowing apps through the firewall.
To verify your changes, use the command line. Run Command Prompt as an administrator and type: netsh advfirewall show allprofiles. This displays your current network security settings.
Summary
Microsoft Defender Firewall protects your computer from online threats, but sometimes legitimate apps need permission to connect. You can allow specific apps through the firewall without disabling it, which is the best way to keep your system secure. Only consider turning off the firewall if you have a conflicting security program, and always understand the risks.
Disabling the Microsoft Defender Firewall is not recommended unless you have installed other security software that conflicts with the firewall. Disabling or turning off the Microsoft Defender Firewall can leave your computer vulnerable. For more information about protecting your computer from ransomware, you can consult resources on disabling or turning off the Microsoft Defender Firewall.
Why is the ‘Change settings’ button greyed out?
The button is greyed out because you do not have administrator privileges. You must be logged into an account with administrative rights to modify firewall rules. If you are on a work computer, your IT department may have locked these settings to prevent unauthorized changes to network security.
How do I remove an app from the allowed list?
Go back to the ‘Allow an app through the firewall’ screen and click ‘Change settings’. Find the app in the list, click on it to highlight it, and then click the ‘Remove’ button. This will immediately block the app from communicating through the firewall again.
Is it safe to allow all apps through the firewall?
No, it is not safe. Allowing all apps through the firewall effectively disables your network protection, leaving your computer vulnerable to unauthorized inbound traffic. Only create exceptions for specific, trusted applications that require internet access to function properly for your work or entertainment.
Was this guide helpful?

About the Author
Richard
Tech Writer, IT Professional
Richard, a writer for Geek Rewind, is a tech enthusiast who loves breaking down complex IT topics into simple, easy-to-understand ideas. With years of hands-on experience in system administration and enterprise IT operations, he’s developed a knack for offering practical tips and solutions. Richard aims to make technology more accessible and actionable. He's deeply committed to the Geek Rewind community, always ready to answer questions and engage in discussions.


No comments yet — be the first to share your thoughts!