How to Manage Windows 11 Accounts: Setup & Security

Windows 11 accounts control who can use your PC and what they can change. An Administrator account has full control of the system. A Standard account has limited system controls, so a mistake or a piece of malware can do less damage to your files and settings.
Most account tasks happen in the Settings app under Accounts. From there you can manage sign-in methods, switch between a local account and a Microsoft account, and set up a PIN or fingerprint reader for faster sign-in. Use an everyday Standard account where you can, and keep an Administrator account for installing software and changing system settings.
Open Settings Accounts to manage Windows 11 accounts. From there, change account types between Administrator and Standard User in Other users, set up sign-in methods like fingerprint or PIN in Sign-in options, and review linked devices. Administrator accounts have full system control; Standard accounts have limited access for security.
Get Started with Your Accounts
This section covers the basics: changing an account type and signing out of your Microsoft account. Both are done in the Settings app.
- Press the Win and open Settings.
- Select Accounts. You should see your name and account picture at the top of the page.
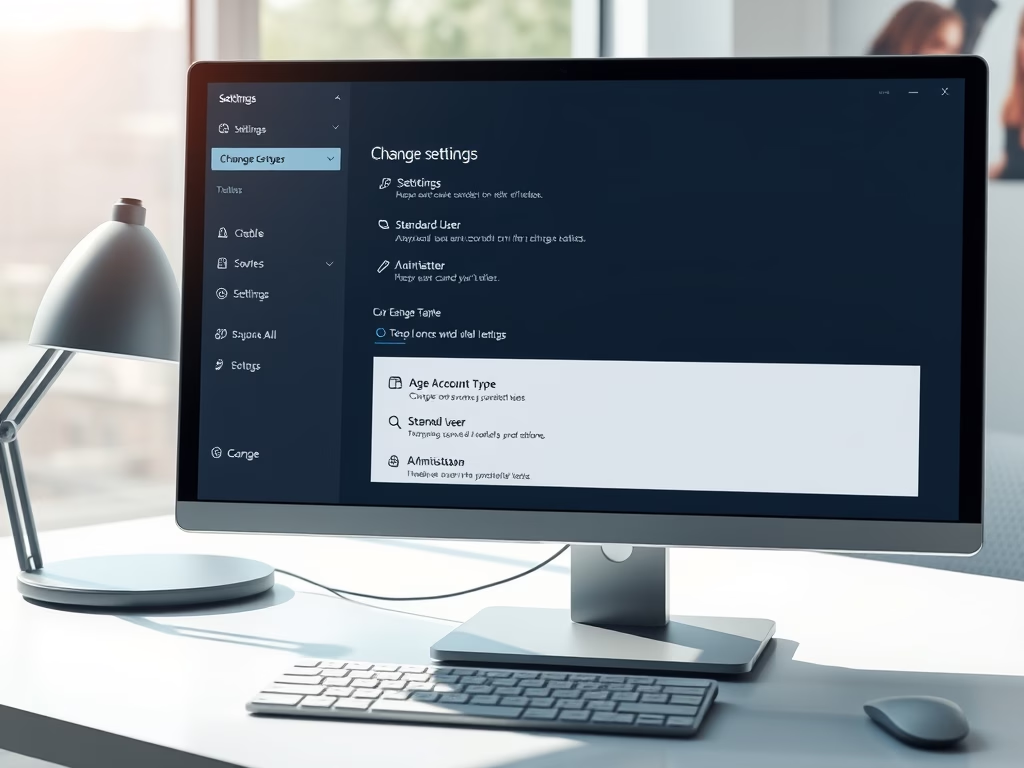
- To change another person’s account type, open Accounts Other users, select their account, and choose Change account type. Pick Administrator or Standard User, then select OK.
You need to be signed in as an administrator to change account types. If the button is missing or greyed out, you are probably on a Standard account. Sign in with an administrator account and try again. Keep at least one administrator account on the PC so you can still manage it later.
Secure Your Sign-In
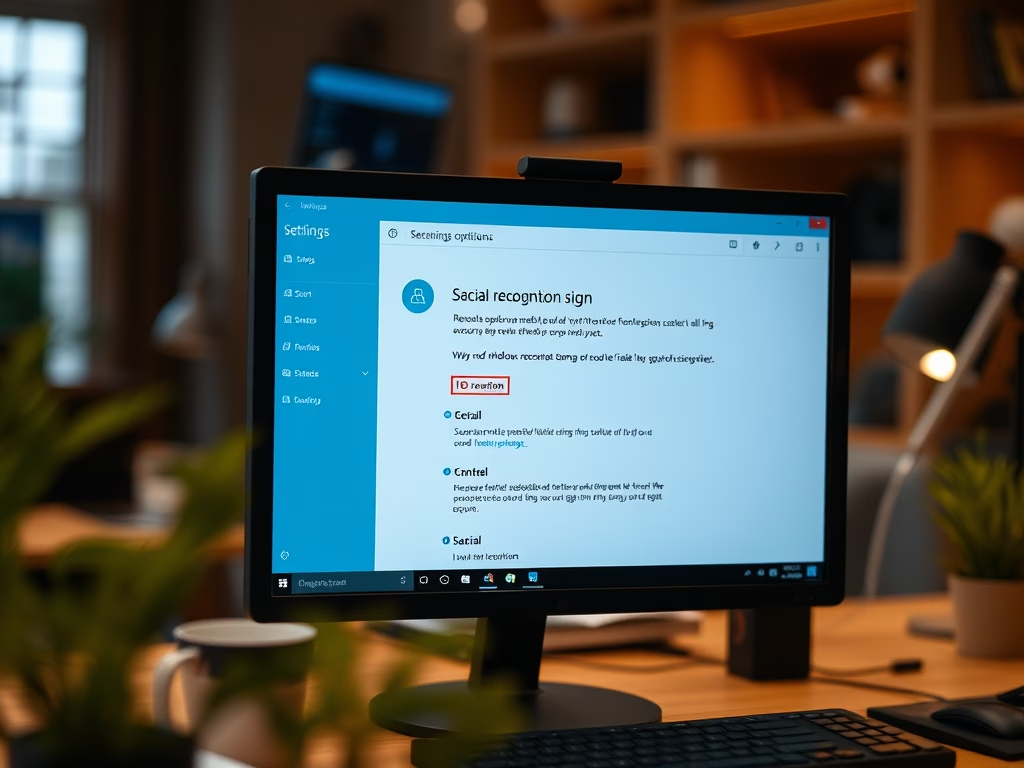
Alternative sign-in methods are faster than typing a password, and they can be safer. Windows Hello lets you sign in with your fingerprint or your face.
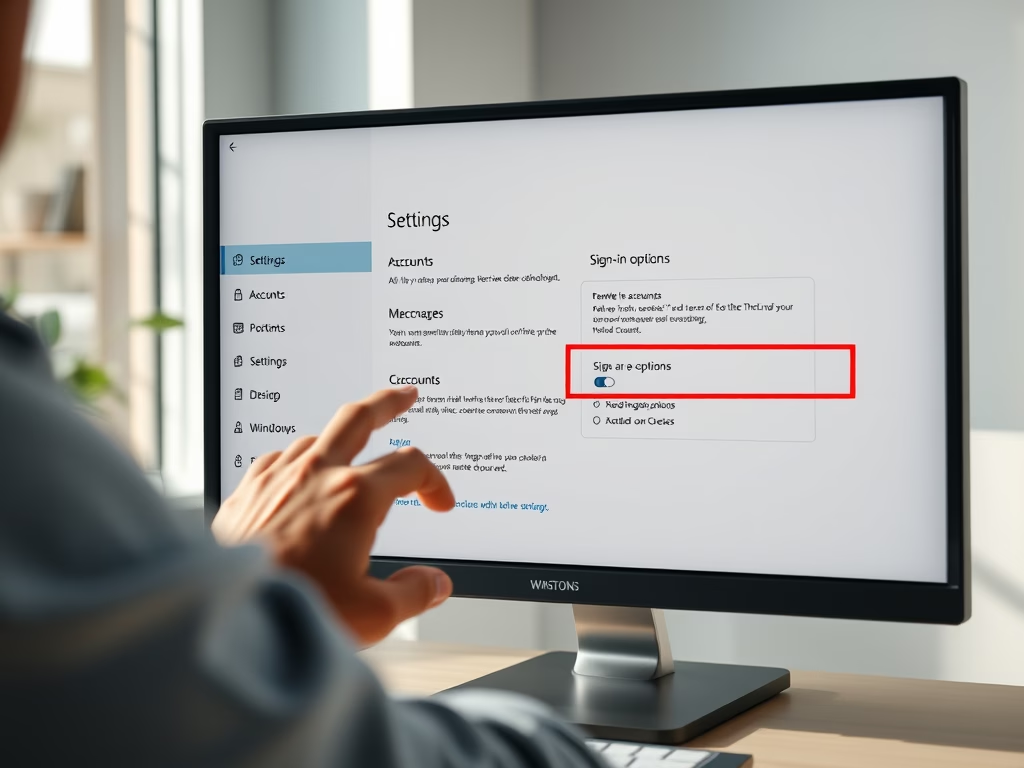
- Open Settings Accounts Sign-in options
- Look at the list of methods. You will see options such as face recognition, fingerprint recognition, and PIN.
- Expand the method you want and select Set up. Then follow the prompts.
Windows asks you to create a PIN before you can add a fingerprint or face. This gives you a backup if the sensor fails to recognize you. If a biometric option is greyed out or missing, the PC has no compatible hardware, or the driver is not installed. Face sign-in needs a supported camera, usually an infrared one. To undo any of this, return to Sign-in options, expand the method, and choose the remove option.
Manage Account Lockout Settings
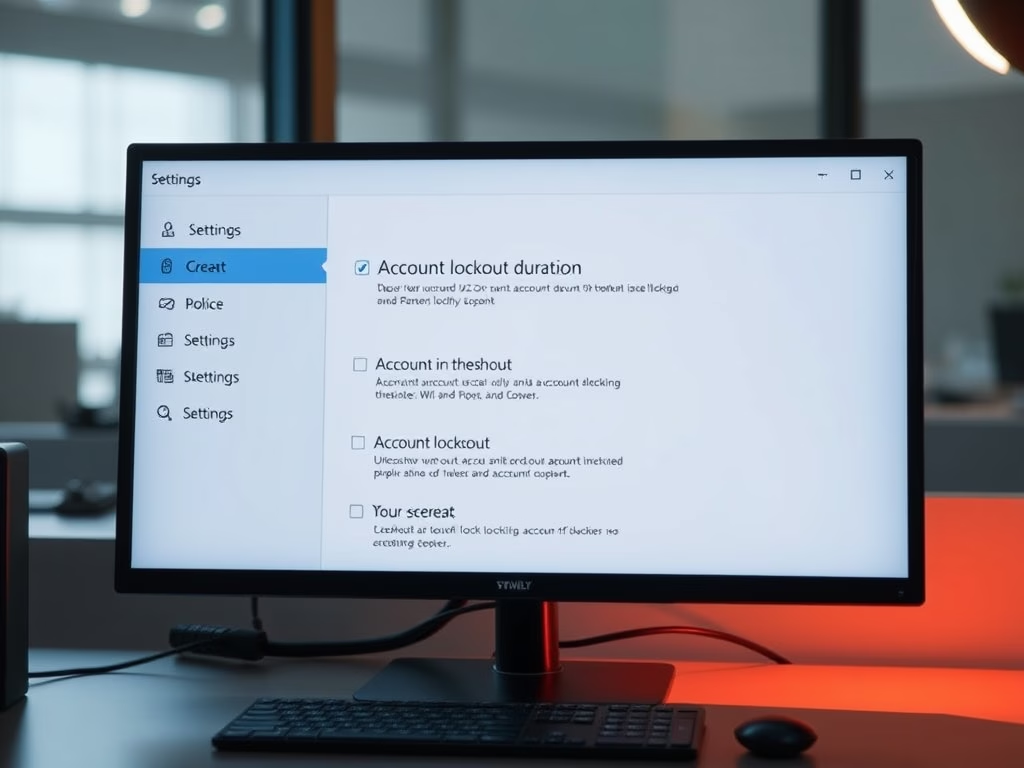
A lockout policy stops someone from guessing passwords indefinitely. It can also lock out a legitimate user who mistypes a password too many times, so the settings need some thought.
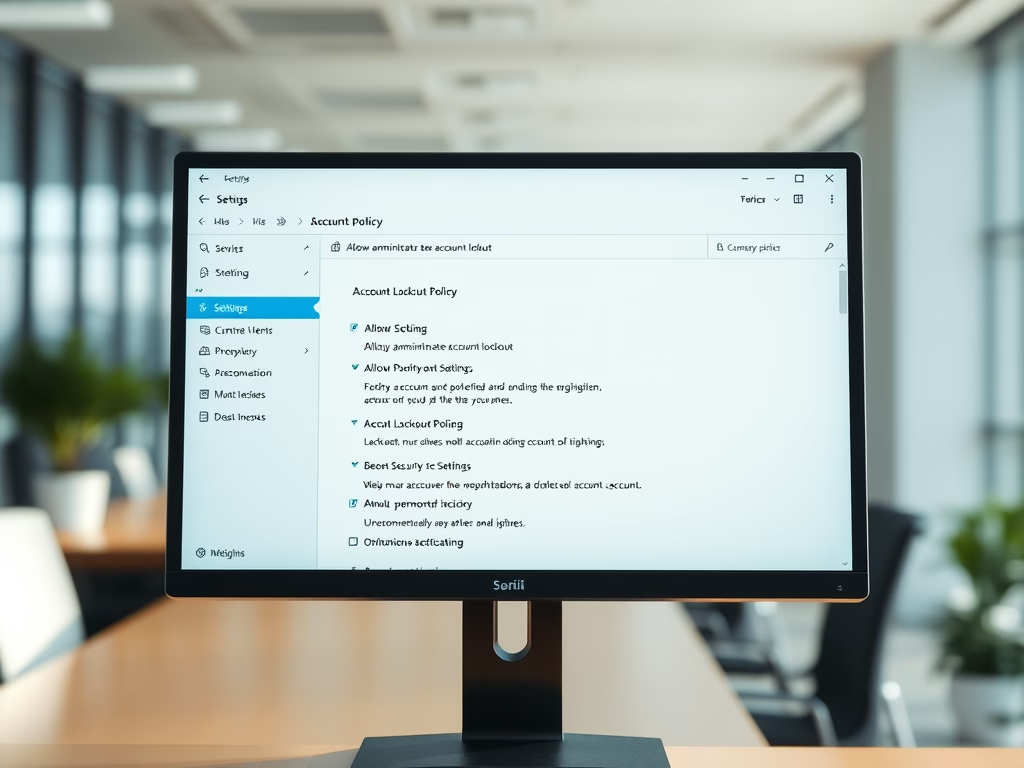
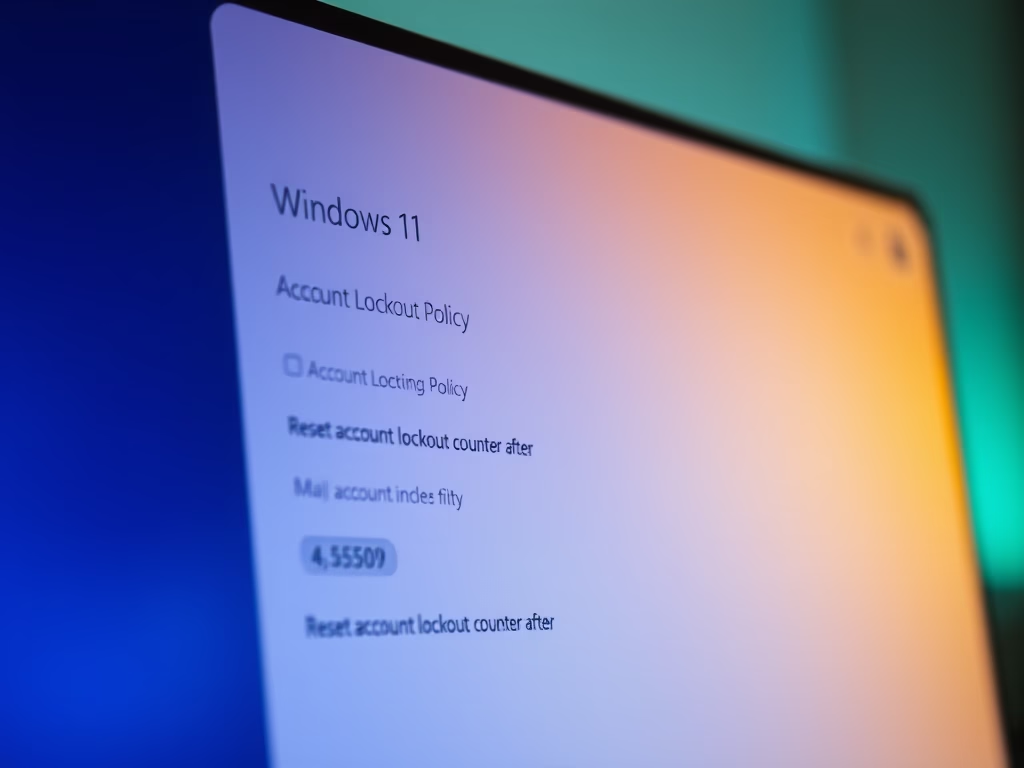
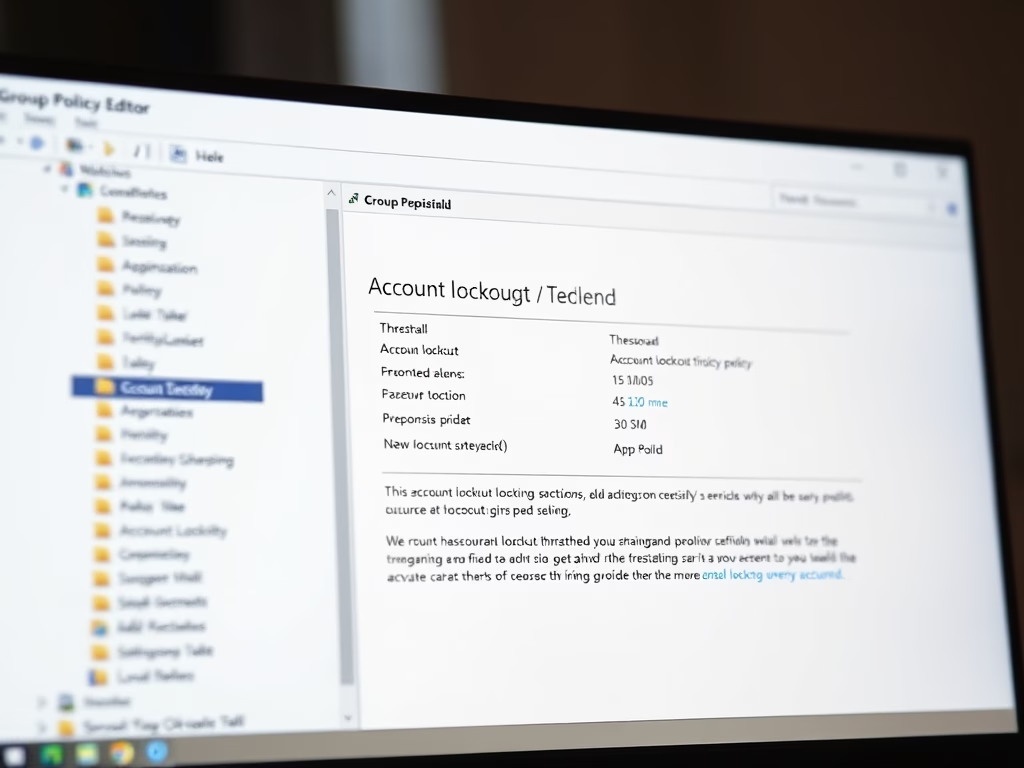
The main settings are the account lockout threshold (how many bad attempts are allowed), the lockout duration (how long the account stays locked), and the time after which the failed-attempt counter resets. Set the threshold high enough that ordinary typos do not lock people out, but low enough to slow down guessing.
These policies are managed in the Local Security Policy tool, which is included in Windows 11 Pro, Enterprise, and Education. Windows 11 Home does not include it. On a domain, the settings usually come from Group Policy, and local changes may be overridden.

Account and System Maintenance
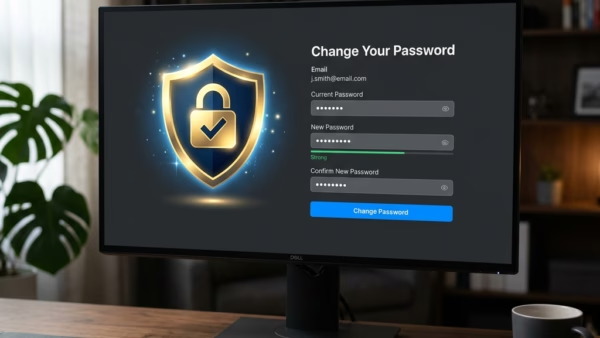
Routine maintenance keeps accounts secure over time. The two most common jobs are updating passwords and managing the mobile devices linked to an account.
Remove devices you no longer use, and change any password you suspect is no longer private.

More on 🪟 Windows 11 Account Management
Common questions
How do I change my 🪟 Windows 11 account password?
You change your password in the Settings app.
- Open Settings Accounts Sign-in options
- Expand the Password section. You should see a Change button.
- Select Change and follow the on-screen steps. Windows may ask you to confirm your current password or verify your identity first.
- Enter the new password and finish the prompts.
The new password applies the next time you sign in. If you use a Microsoft account, the password changes for that account everywhere, including other devices and Microsoft services. Those devices will ask for the new password the next time they connect.
What's the difference between a local account and a Microsoft account?
A Microsoft account is tied to an email address and syncs settings across your machines. A local account exists only on that one PC. You can switch between the two types inside Windows 11 settings.
- Open Settings Accounts Your info
- Under Account settings, look for the sign-in option that matches the switch you want. A local account shows Sign in with a Microsoft account instead. A Microsoft account shows Sign in with a local account instead.
- Select it and follow the prompts. You will enter your Microsoft account details or choose a local username and password.
Your files stay in place when you switch. Settings sync stops when you move to a local account. You can switch back at any time.
How do I sign out of my Microsoft account on my PC?
To disconnect a Microsoft account from a PC, you first switch that account to a local one. Windows does not let you simply unlink it.
- Open Settings Accounts Your info
- Select Sign in with a local account instead.
- Confirm that you want to switch, verify your identity if asked, then enter a local username, password, and password hint.
- Select Sign out and finish when prompted, then sign in with the new local details.
Save your work before you sign out. If you do not see the option, check whether your account is a work or school account, or whether your organization manages the PC. Those setups can hide it.
What happens if my account gets locked in 🪟 Windows 11?
A locked account blocks sign-in completely. The usual cause is too many wrong password attempts. You have two ways out.
- Wait it out. Let the lockout timer expire, then try again with the correct password.
- Use another administrator account. Sign in with a separate administrator profile and fix the locked account from there.
If the PC has only one administrator account and it is locked, waiting is your main option. This is another reason to keep a second administrator account available.
Can I use my fingerprint to log in to 🪟 Windows 11?
Windows Hello Fingerprint works with compatible fingerprint readers. Set up the reader in the Settings app.
- Open Settings Accounts Sign-in options
- Expand the fingerprint recognition option.
- Select Set up, then create a PIN if Windows asks for one.
- Touch or swipe your finger on the reader as prompted. Lift and reposition it each time so the scanner captures the whole print.
If the option is greyed out or missing, the PC has no supported reader, or its driver needs to be installed or updated. Many laptops include a reader, but most desktops need a USB one.
Have a question about this guide?
Answered by AI from this guide. Good questions may be added to this page — please don't include personal details.
Did this guide fix your problem?

About the Author
Richard
Tech Writer, IT Professional
Richard is a writer at Geek Rewind who turns complex IT tasks into clear, step-by-step guides. He draws on years of hands-on experience in system administration and enterprise IT operations, focusing on Windows, Linux and WordPress: the problems people actually run into, and the fixes that work. His server and WordPress guides come from systems he runs himself. Richard builds and maintains the platform behind Geek Rewind, from its Ubuntu servers and Nginx configuration to its custom WordPress plugins. Many new tutorials start with readers' questions, and he's always glad to answer them in the comments.
No comments yet — be the first to share your thoughts!