Stuck on the Please Wait Screen After Entering Your Password in Windows 11

The “Please wait” screen in Windows 11 freezes your PC right after you enter your password, trapping you behind a spinning loading wheel instead of opening your desktop. This startup glitch usually happens when background services crash, network login issues stall your PC, or corrupt system files break your user profile.
You can bypass the frozen screen and get your computer working normally again by restarting into Safe Mode or running built-in repair tools, even when you cannot reach your desktop normally.
To fix being stuck on the Please wait screen after entering your password in Windows 11, force your computer to turn off by holding the power button for ten seconds, repeat this three times to open the Automatic Repair environment, and select Advanced options to troubleshoot the startup issue.
Understanding the “Please Wait” Screen Problem
Getting stuck on the Please wait screen after entering your password in Windows 11 happens when the operating system fails to load your personal settings, user account, or background apps. When a system file breaks or a background service freezes during startup, Windows hangs indefinitely on the loading screen instead of showing your desktop.
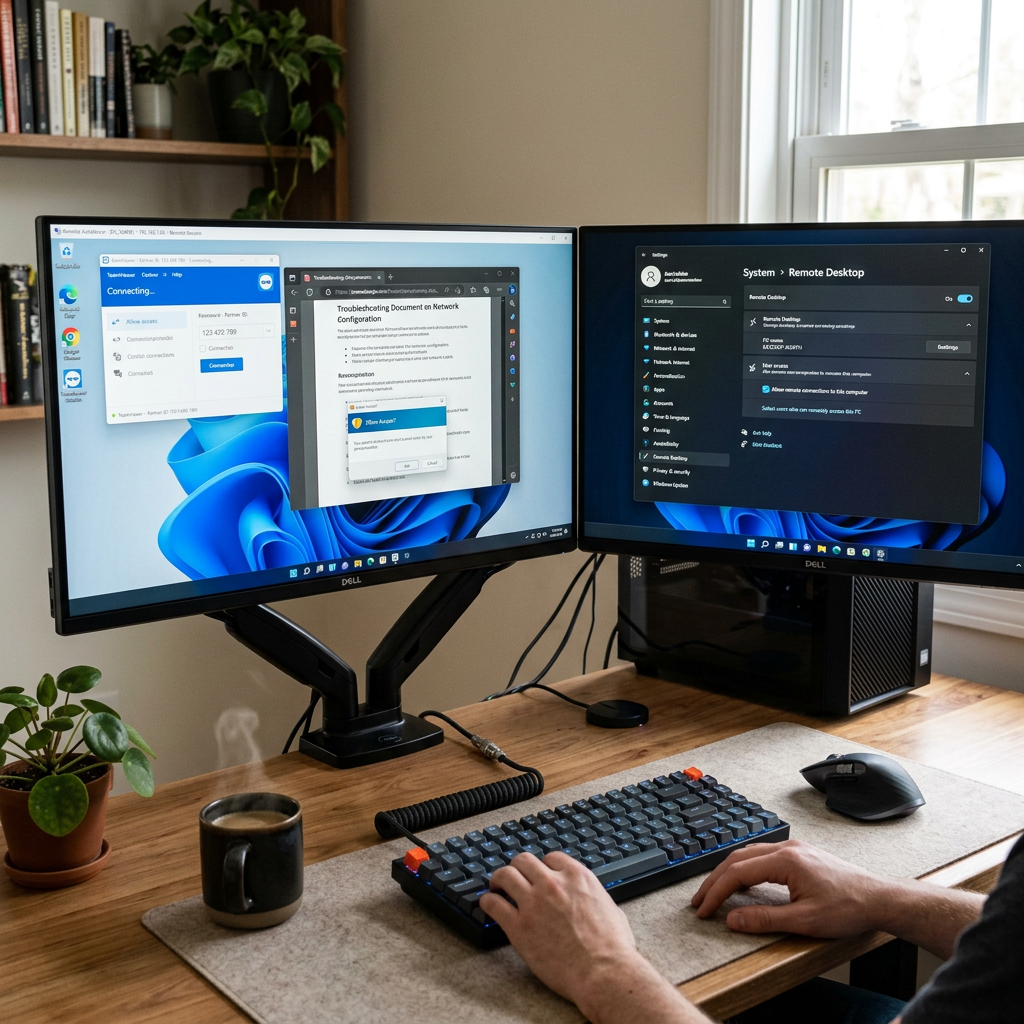
If Windows is installing a large update in the background, this screen can stay for ten or fifteen minutes. If you have waited for a long time and nothing has changed, take action using the steps below.
Step 1Restart Your Computer Completely
Restarting your computer completely using a physical power shutdown clears temporary memory glitches that cause Windows 11 to freeze after entering your password. Press and hold the physical power button on your computer for about ten seconds until the screen goes black and the system turns off entirely.
Press and hold the physical power button on your computer or laptop for about ten seconds until the screen goes black and the computer turns off completely.
Unplug the power cord if you use a desktop PC, or remove the power charger if you use a laptop. If your laptop has a removable battery, take it out.
Disconnect all USB devices, such as external hard drives, printers, and flash drives, but leave your mouse and keyboard attached.
Wait for one full minute to let all the electricity drain from the computer components.
Plug the power cable back in or put the laptop battery back in place.
Turn your computer back on by pressing the power button once.
Check if Windows lets you log in normally now. If you still get stuck on the "Please wait" screen, move on to the next step.
Step 2Disconnect From the Internet
Disconnecting from the internet bypasses login freezes caused by slow or failed communication with Microsoft servers. If you use a Microsoft account to sign in, Windows 11 waits for a server response every time you enter your password. Unplugging your Ethernet cable or turning off Wi-Fi forces the computer to log in offline using saved credentials.
If you use a wired internet connection, unplug the Ethernet cable from the back or side of your computer.
If you use Wi-Fi, turn off your wireless router or move your computer out of range of the wireless signal.
Restart your computer using the power button method described in Step 1.
Try to log in while your computer has no internet connection.
If you log in successfully without the internet, the issue is likely related to network services or cloud syncing. Once you reach your desktop, you can plug your internet cable back in or reconnect to your Wi-Fi network.
Step 3Start Your Computer in Safe Mode
Starting your computer in Safe Mode loads Windows 11 using only essential files and drivers, which stops third-party apps and bad software from blocking your login. To boot into Safe Mode when you are stuck at the password screen, turn on your computer and hold the power button to interrupt the boot process three times until the Automatic Repair screen opens.
Turn on your computer. As soon as you see the Windows logo or the manufacturer logo, press and hold the physical power button for ten seconds to force the computer to turn off.
You need to repeat the hard shutdown process two more times to trigger the built-in Windows 11 repair tools. On the third startup, let your computer boot up normally so the operating system can automatically open the Advanced Startup menu and help you fix the endless "Please wait" screen issue.
Windows will detect that it failed to start three times in a row. It will open the Automatic Repair environment.
On the blue screen that appears, click the Advanced options button.
Click on Troubleshoot.
Click on Advanced options again.
Click on Startup Settings. (Note: If you do not see this option, click "See more recovery options" at the bottom of the screen).
Click the Restart button in the bottom right corner.
When your computer restarts, you will see a list of options. Press the number 4 or the F4 key on your keyboard to choose Enable Safe Mode.
Your computer will now start up in Safe Mode. The screen will look basic and your desktop background might be black, which is completely normal. Once you are in Safe Mode, you can run fixes to solve the underlying problem.
Step 4Uninstall Recent Windows Updates
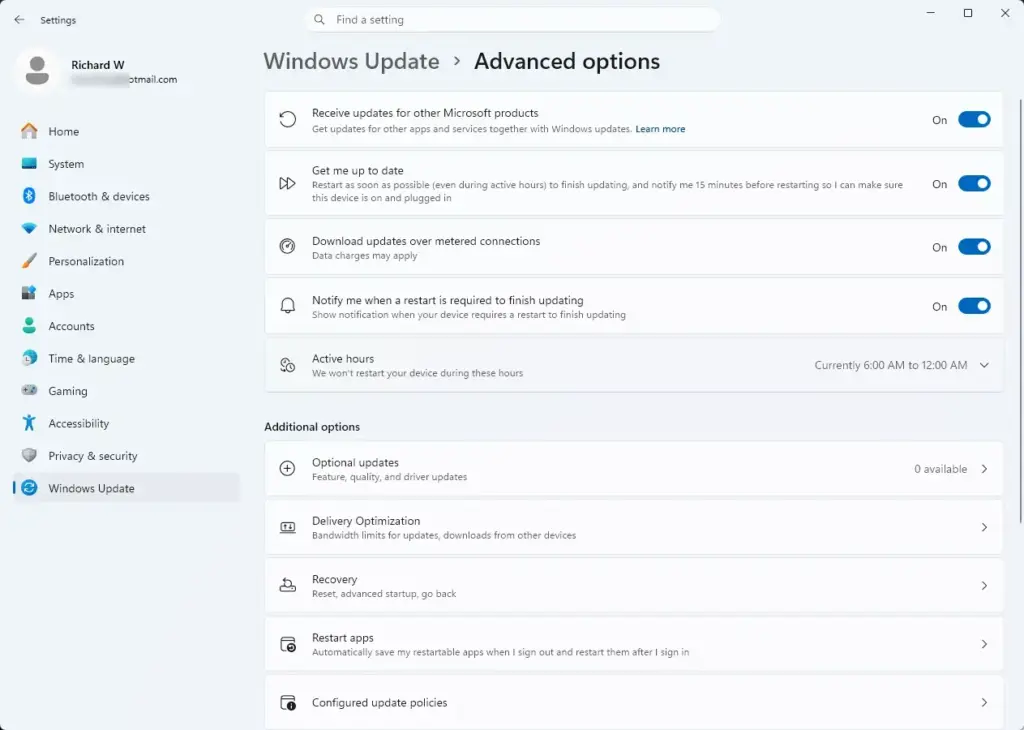
Uninstalling recent Windows updates fixes login freezes caused by faulty system patches that break the user profile loading process. If your computer got stuck on the Please wait screen right after installing new system updates, boot into Safe Mode and open Settings to remove the most recent update and restore normal startup.

Boot your computer into Safe Mode using the instructions in Step 3.
Click the Start button and open the Settings app.
Click on Windows Update on the left side of the screen.
Click on Update history.
Scroll down and click on Uninstall updates.
Look at the list of recently installed updates. Find the most recent update and click the Uninstall button next to it.
Confirm your choice and let Windows remove the update.
Restart your computer normally.
Step 5Run System File Checker and DISM Scans
Running System File Checker (a tool that scans and repairs broken system files) and DISM (a tool that fixes the underlying Windows system image) repairs damaged files that block the login process. Boot your computer into Safe Mode or open the Command Prompt from the Advanced startup menu to run these built-in repair commands automatically.
Boot your computer into Safe Mode, or open the Advanced startup menu by following the steps in Step 3.
If you are using the Advanced startup menu, click Advanced options, then click Command Prompt.
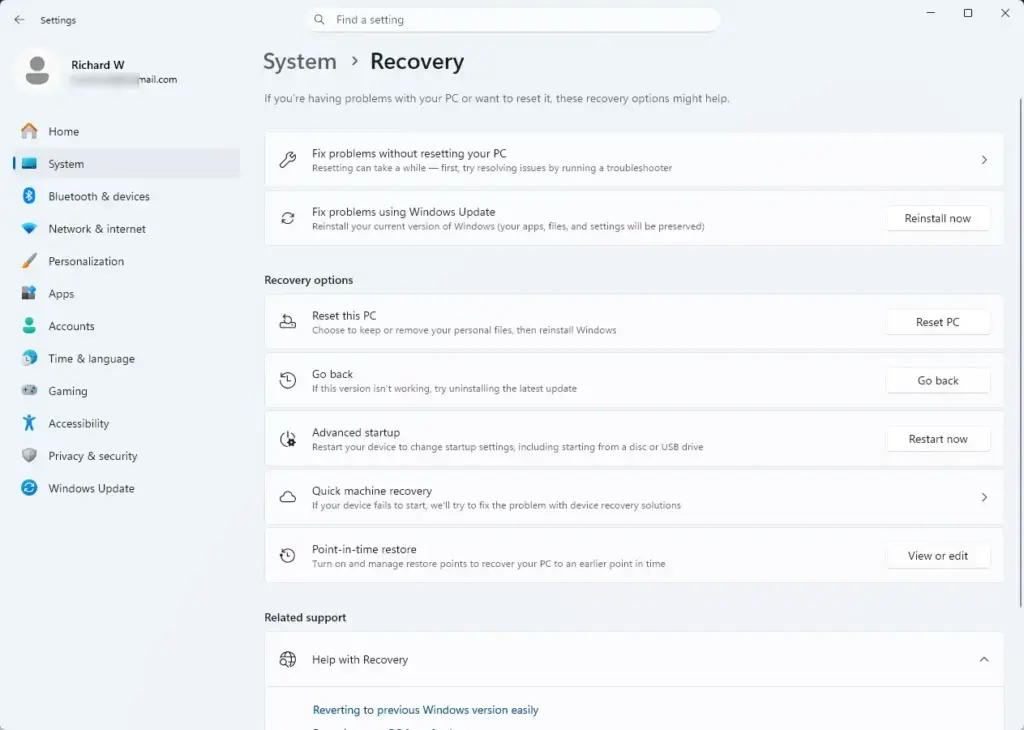
If you successfully booted into Safe Mode, click the Start button, type cmd in the search bar, right-click on Command Prompt in the results, and select Run as administrator. (Note: This step requires administrator privileges).
Type DISM.exe /Online /Cleanup-image /Restorehealth and press Enter:DISM.exe /Online /Cleanup-image /Restorehealth

This process can take ten to twenty minutes. Do not close the window.
Type the following command and press Enter:sfc /scannow
You must wait for the second system file checker scan to finish completely because the scan checks all important Windows 11 system files and replaces any damaged files found on your computer.
Close the command prompt window and restart your computer normally.
Step 6Disable Fast Startup
Disabling Fast Startup stops login loops and freezing caused by corrupted saved system states in Windows 11. While Fast Startup helps your computer turn on quicker by saving a snapshot at shutdown, it frequently triggers the Please wait bug. Boot your computer into Safe Mode to turn off this setting from the Control Panel.
Boot your computer into Safe Mode so you can access your desktop.
Click the Start button, type Control Panel in the search box, and click on the Control Panel app.

Change the "View by" setting in the top right corner to Large icons or Small icons.
Click on Power Options.
Click on the link on the left side that says Choose what the power buttons do.
Click the link near the top that says Change settings that are currently unavailable. (Note: This step requires administrator privileges).
Look at the bottom of the window under the "Shutdown settings" section. Uncheck the box next to Turn on fast startup (recommended).
Click the Save changes button at the bottom.
Restart your computer normally.
Step 7Check and Repair Your Hard Drive
Checking and repairing your hard drive using the Check Disk tool finds bad sectors (damaged areas on a hard drive) and disk errors that prevent Windows 11 from reading your user profile settings. Boot your computer into Safe Mode or open the Command Prompt from the Advanced startup menu, type chkdsk C: /f /r, and press Enter to scan your drive for errors.
Boot your computer into Safe Mode or open the Command Prompt from the Advanced startup menu as shown in Step 5.
Type the following command into the command prompt window and press Enter:chkdsk C: /f /r
If Windows asks you if you want to schedule this volume to be checked the next time the system restarts, type the letter Y on your keyboard and press Enter.
Close the command prompt window and restart your computer.
Allow the disk check to run before Windows loads. This process can take anywhere from a few minutes to a few hours depending on the size and speed of your drive. Do not turn off your computer while this scan runs.
Step 8Create a New User Account
Creating a new user account bypasses login issues caused by a permanently damaged user profile that keeps Windows 11 stuck on the Please wait screen. Boot your computer into Safe Mode, open the Settings app, and set up a brand-new user profile to check if the freezing issue is limited to your original account.
Boot your computer into Safe Mode.
Click the Start button and open the Settings app.
Click on Accounts on the left side.
Click on Other users.
To fix the login screen freeze in Windows 11 version 23H2, you can create a brand-new administrator profile by opening the Settings app, going to Accounts, selecting Family & other users, and clicking the Add account button next to "Add other user". This step requires administrator privileges because standard user accounts cannot create new system profiles or modify security settings, which ensures your computer stays secure against unauthorized changes.
Click on "I don't have this person's sign-in information".
Click on "Add a user without a Microsoft account".
Type a new user name and password, fill out the security questions, and click Next.
Restart your computer and try logging into this new account.
If you can log into the new account without getting stuck, your old user profile was corrupted. You can move your personal files from your old user folder to your new user folder and use the new account from now on.
Unique Angles and Expert Tips: Hidden Culprits Behind the Login Freeze
Most common guides stop after covering basic scans and Safe Mode. However, experienced technicians know that deeper software conflicts often cause the Windows 11 "Please wait" hang. Let us explore two hidden causes that many people overlook.
Expert Tip 1: Third-Party Antivirus Software Conflicts
Third-party antivirus software conflicts often cause Windows 11 to freeze on the login screen because security programs hook deep into the operating system during startup. If your antivirus program hits an error or conflicts with a recent system update, it will block your user profile from loading past the Please wait screen.
If your antivirus program encounters an error, conflicts with a recent Windows update, or tries to scan a locked system file during login, the antivirus program can freeze the entire Windows 11 login sequence. Windows gets stuck on the "Please wait" screen because Windows is waiting for the security software to finish the startup routine.
How to fix it:
Boot your computer into Safe Mode. (Third-party antivirus programs do not run in Safe Mode).
Click the Start button and open the Settings app.
Click on Apps, then click on Installed apps.
Scroll through the list to find your third-party antivirus software.
To remove a conflicting antivirus program in Windows 11 version 23H2, you must first open the Installed Apps settings menu. Once you find the antivirus program in the list, click the three dots next to the antivirus app name and select Uninstall to complete the removal process. Please note that this step requires administrator privileges, so you must sign in with an administrator account to make this change successfully.
Follow the on-screen instructions to remove the software completely from your computer.
Restart your computer normally.
If your computer boots up successfully after removing the antivirus program, you have found the culprit. You can use the built-in Windows Security tool, which keeps your computer safe without causing login freezes.
Expert Tip 2: Corrupted Group Policy or Startup Scripts
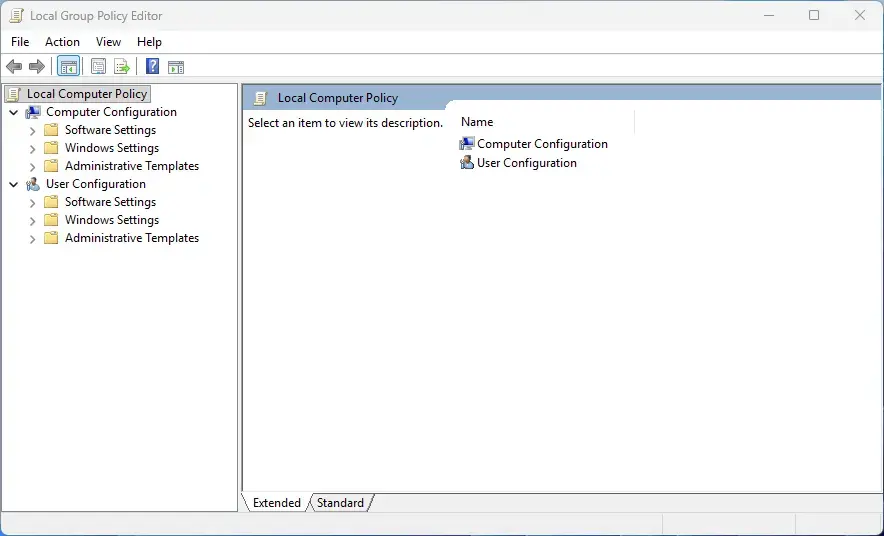
Corrupted Group Policy (a collection of settings that control how your computer behaves) and startup scripts can trap your computer on the login screen. Managed work computers and custom system tweaks often leave behind background rules that must run right after you enter your password, causing Windows to hang indefinitely if a script points to a broken file path.
If a script is missing, points to a broken file path, or tries to connect to a network resource that is offline, the script will hang indefinitely. This leaves your screen locked on the "Please wait" message forever.
How to check and fix policy settings:
Boot your computer into Safe Mode.
Press the Windows Key + R on your keyboard to open the Run dialog box.

Type gpedit.msc into the box and press Enter. (Note: The Group Policy Editor is only available on Windows 11 Pro, Enterprise, and Education editions).
In the window that opens, use the left sidebar to navigate to: Computer Configuration Windows Settings Scripts (Startup/Shutdown).
You can view startup scripts by clicking on Startup in the main window to check for custom items. If you see unfamiliar scripts listed in the startup window, you can select the unwanted items and click Remove. Note that removing startup scripts requires administrator privileges on your computer.
Next, navigate to: User Configuration Windows Settings Scripts (Logon/Logoff).

Click on Logon and remove any strange or unwanted logon scripts.
Close the editor and restart your computer normally.
Summary
Fixing a Windows 11 computer that is stuck on the Please wait screen requires troubleshooting background apps, bad updates, or broken system files using Safe Mode and built-in repair tools. You can usually solve this problem by doing a hard power restart, disconnecting from the internet, removing bad patches, or running disk checks to get back to your desktop.
[FLAG: Requires Administrator Privileges] [FLAG: Requires Administrator Privileges] [FLAG: Requires Administrator Privileges] [FLAG: Requires Administrator Privileges] [FLAG: Requires Administrator Privileges]Was this guide helpful?

About the Author
Richard
Tech Writer, IT Professional
Richard is a writer at Geek Rewind who turns complex IT tasks into clear, step-by-step guides. He draws on years of hands-on experience in system administration and enterprise IT operations, focusing on Windows, Linux and WordPress: the problems people actually run into, and the fixes that work. His server and WordPress guides come from systems he runs himself. Richard builds and maintains the platform behind Geek Rewind, from its Ubuntu servers and Nginx configuration to its custom WordPress plugins. Many new tutorials start with readers' questions, and he's always glad to answer them in the comments.

No comments yet — be the first to share your thoughts!