Stuck on Getting Ready Screen After a Windows 11 Cumulative Update

The “Getting ready” screen in Windows 11 freezes when a background app, faulty hardware, or a broken file blocks your computer from finishing a cumulative update. This loading screen normally appears for a few minutes after a restart while Windows installs system files and security patches.
Fix this freeze by disconnecting extra USB devices, holding down the power button to restart your PC, and letting Windows undo the stuck update. Once your desktop loads again, you can pause updates or run built-in tools to clear out the corrupted files before trying the update one more time.
When you are stuck on getting ready screen after a Windows 11 cumulative update, wait up to three hours to see if it finishes. If the spinning dots freeze completely, unplug all nonessential devices like printers and USB drives, then press and hold the physical power button for 10 seconds to restart.
How Long Should You Wait Before Taking Action?
When your Windows 11 computer gets stuck on the getting ready screen after a cumulative update, you should wait at least one to two hours before taking action. Check if the screen shows activity like a smoothly moving dots animation, which means the update is still running. Do not shut down your computer during this time, because interrupting an active update can corrupt your operating system and cause permanent boot failure.
Step 1Disconnect All External Devices
Disconnecting all non-essential external devices is the easiest way to fix a Windows 11 computer stuck on the getting ready screen after an update. Printers, external hard drives, and extra monitors often cause driver conflicts while Windows tries to apply system changes. Unplug everything except your main monitor, keyboard, and mouse to let the update finish without interference.
Unplug all non-essential external devices from your computer.
Keep only your monitor, your keyboard, and your mouse plugged in.
If you use a laptop, disconnect any docking stations or USB hubs.
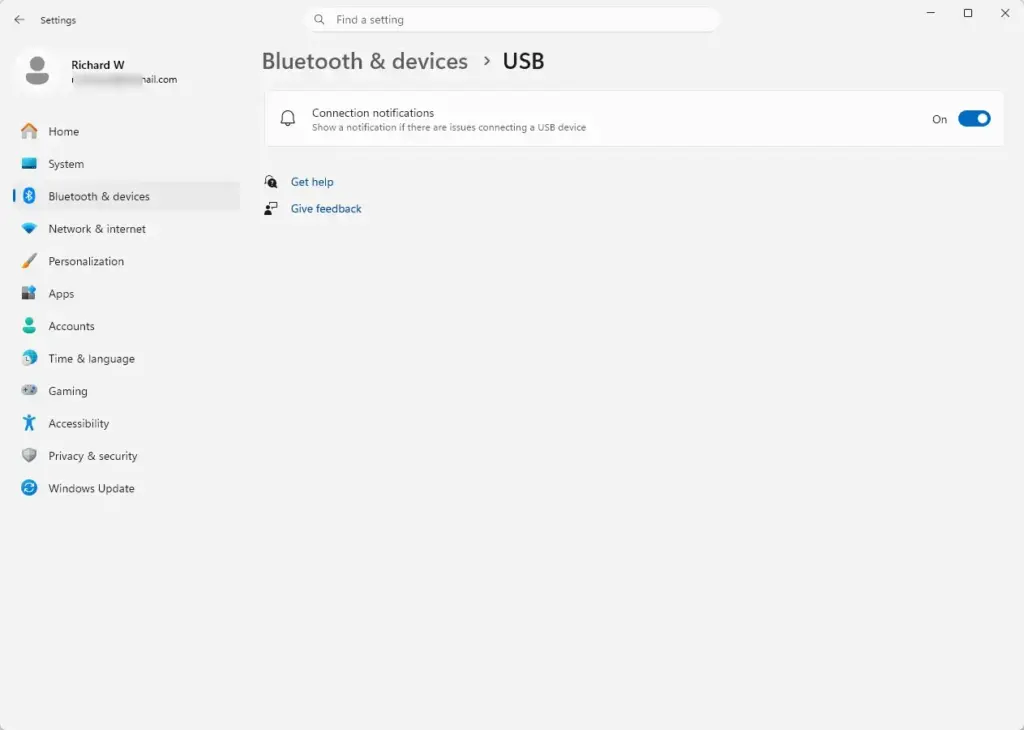
Wait for a few minutes to see if the screen changes or if the computer finishes loading your desktop.
Step 2Perform a Hard Restart
Performing a hard restart fixes a Windows 11 computer stuck on the getting ready screen for several hours by forcing the frozen system to shut down completely. Press and hold your computer physical power button for about ten seconds until the screen goes blank and the lights turn off. Wait a moment, then turn the computer back on to see if the update finishes or boots normally.
Press and hold the physical power button on your computer or laptop for about 10 seconds.
Keep holding the button until the screen goes completely black and the computer turns off.
Unplug the power cord if you use a desktop, or remove the battery if your laptop has a removable battery.
Wait for about 60 seconds to let all the electrical power drain from the system.
Plug the power cord back in or replace the battery.
Turn your computer back on by pressing the power button once.
In many cases, Windows realizes the update failed. It automatically undoes the changes and takes you to your normal desktop screen.
Step 3Boot into Safe Mode to Remove the Faulty Update
Booting into Safe Mode lets you remove a faulty update when your Windows 11 computer stays stuck on the getting ready screen after a hard restart. Safe Mode starts your computer using only basic drivers and services, which blocks bad updates or third-party software from running. This allows you to access system settings and safely uninstall the broken cumulative update causing the freeze.
To enter Safe Mode when you cannot access your desktop:
Turn on your computer.
As soon as the computer starts up and you see the manufacturer logo or the Windows logo, press and hold the physical power button for 10 seconds to turn it off again.
Repeat this process two more times.
On the fourth time you turn the computer on, let it run normally.
Windows recognizes that the operating system failed to start three consecutive times. When Windows 11 detects three failed startup attempts in a row, the operating system automatically opens the built-in Automatic Repair environment to help you fix boot problems and get your computer working again.
On the Choose an option screen, click on Troubleshoot.
Click on Advanced options.
You can access Startup Settings by clicking the Startup Settings option on your screen. If you do not see Startup Settings on your screen, you should click See more recovery options at the bottom of the screen to find the Startup Settings option.
Click the Restart button.
When your computer restarts, you see a list of options. Press the number 4 or the F4 key on your keyboard to enable Safe Mode.
Once you are in Safe Mode, you can remove the update that caused the issue:
Click the Start button and open the Settings app.
Click on Windows Update on the left side of the window.

Click on Update history.
Scroll down and click on Uninstall updates.
To fix a computer that freezes on the getting ready screen after a Windows 11 cumulative update, you need to open your computer settings, go to update history, and click the Uninstall updates button next to the broken update file. Removing this recent update matters because it lets you bypass the startup freeze and safely get back onto your Windows 11 desktop.
Restart your computer normally.
Step 4Run the Built-In Startup Repair Tool
Running the built-in Startup Repair tool fixes corrupted system files that block your Windows 11 computer from starting up after a cumulative update. You can access this tool by interrupting your computer startup three times to open the Automatic Repair environment. From there, navigate through the troubleshooting menus to let Windows automatically find and fix startup errors.
Repeat the steps from the previous section to enter the Automatic Repair environment (turn your computer off during startup three times).
On the Choose an option screen, click on Troubleshoot.
Click on Advanced options.
Click on Startup Repair.
Choose your user account if prompted, enter your password, and click Continue.
Let the tool scan your computer and fix any issues it finds. This may take several minutes.
Step 5Use System Restore to Go Back in Time
Using System Restore returns your Windows 11 computer to the exact state it was in before a cumulative update caused the getting ready screen freeze. Windows automatically creates system snapshots called restore points before installing major updates. Accessing the advanced startup menu lets you pick one of these previous restore points to undo the broken update safely.
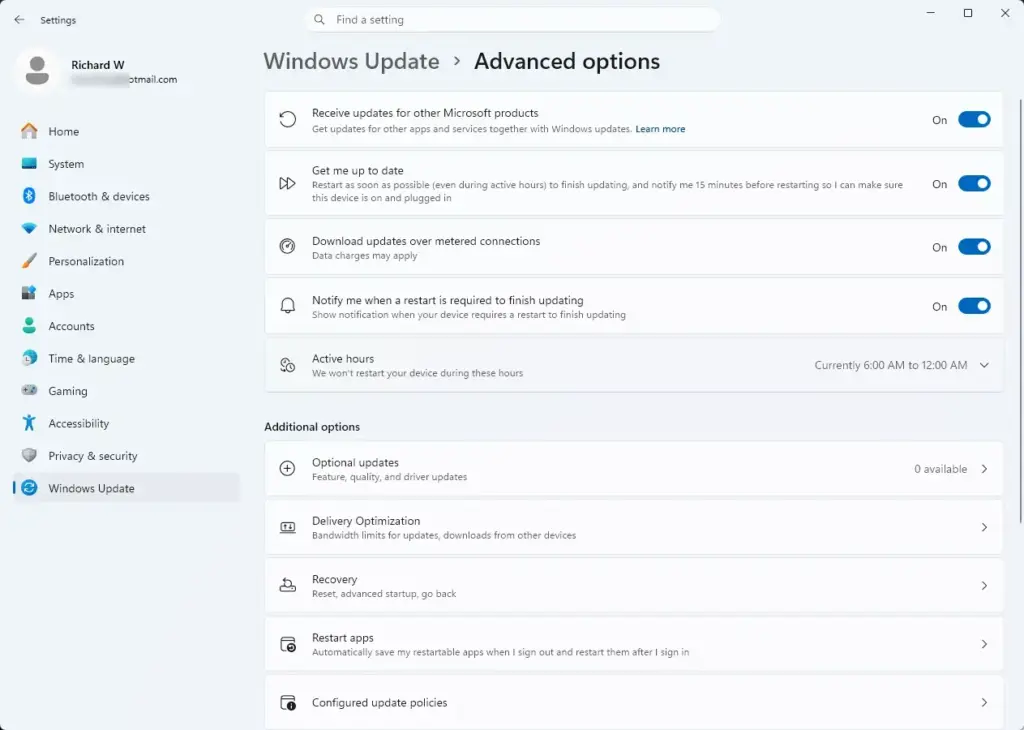
Interrupt your computer's startup process three times consecutively, as described in Step 3, to open the Advanced options menu. When Windows 11 fails to boot properly after a cumulative update, interrupting the startup forces the Automatic Repair screen to appear. From that recovery screen, you can open the troubleshoot settings and fix the update freeze without losing your personal files.
Click on Troubleshoot.
Click on Advanced options.
Click on System Restore.
Select your user account and enter your password if asked.
Click Next on the System Restore window.
Choose the most recent restore point created before your computer got stuck on the getting ready screen. Check the date and time to make sure it is correct.
Click Next and then click Finish.
Confirm that you want to start the restore process. Your computer restarts and applies the previous settings.
Step 6Use Command Prompt to Repair System Files
Using the Command Prompt in the Windows 11 recovery environment lets you automatically scan and repair corrupted system files causing update failures. Access the advanced options menu by turning your computer off during startup three times, then open the command tool. Running a quick system file checker scan replaces broken files so your computer can boot past the getting ready screen.
Get back into the Advanced options menu by turning your computer off during startup three times.
Click on Troubleshoot.
Click on Advanced options.
Click on Command Prompt.
Type the following command carefully and press the Enter key on your keyboard:
DISM.exe /Online /Cleanup-image /Restorehealth*(Note: If you run this from the recovery environment where Windows is offline, you may need to use offline repair commands, but the standard command works for most users accessing recovery options.)*
Wait for the process to reach 100 percent.
Next, type the following command and press Enter:
sfc /scannowLet the system file checker finish scanning and repairing any damaged files.
Type exit and press Enter to close the Command Prompt window, then restart your computer.

Unique Expert Tips: Preventing Future Update Freezes
Most online guides stop after showing you how to recover from the current freeze. However, you want to make sure this does not happen again the next time Microsoft releases a monthly patch. Here are two advanced strategies to protect your Windows 11 system.
Clear the SoftwareDistribution Folder Cache
Clearing the SoftwareDistribution folder cache stops Windows 11 from getting stuck in an endless update loop caused by broken download files. Windows stores pending update files in this main drive folder, but downloaded files sometimes get corrupted. Deleting these cached files forces Windows to download a fresh, clean copy of the cumulative update so it can install properly.
To clear out this broken cache:
Once you return inside your Windows 11 desktop, click the Start button, type cmd, right-click on Command Prompt, and select Run as administrator.
Type the following command to stop the Windows Update service and press Enter:
net stop wuauservType the following command to stop the background intelligent transfer service and press Enter:
net stop bitsOpen File Explorer and navigate to C:\Windows\SoftwareDistribution.
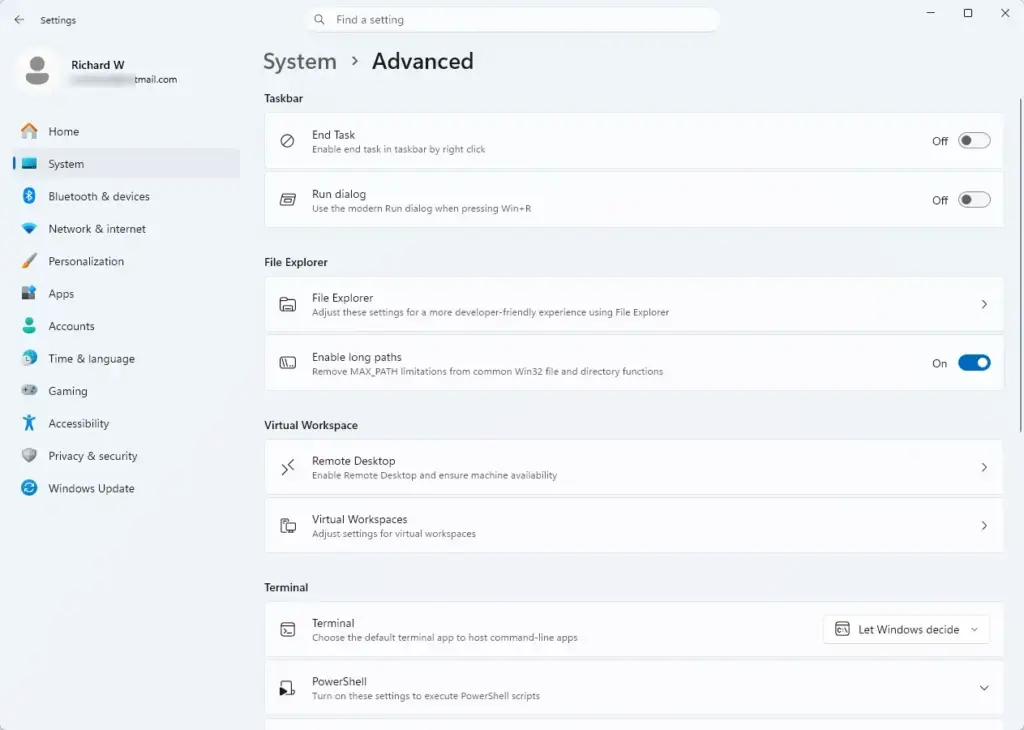
Select all files and folders inside the SoftwareDistribution folder and delete them. (If a file says it is in use, restart your computer in Safe Mode and try deleting them again.)
Go back to your administrator Command Prompt window and restart the services by typing these commands one by one, pressing Enter after each:
net start wuauservnet start bitsCheck Your Storage Drive Health
Checking your storage drive health helps you find out if a failing solid-state drive or hard disk drive is causing your Windows 11 update freeze. When Windows tries to write new update data to broken sectors on an aging drive, the installation hangs indefinitely. Running a drive check command lets you scan for hardware problems and determine if your storage needs to be replaced.
Click the Start button, type cmd, right-click on Command Prompt, and select Run as administrator.
Type the following command to check your main drive for errors and press Enter:
chkdsk C: /f /rIf Windows asks you if you want to schedule the check for the next time the system restarts, type Y and press Enter.
Restart your computer. The drive check runs before Windows boots up. It finds and isolates any bad sectors on your drive, preventing future update installation freezes.
Summary
Fixing a Windows 11 computer stuck on the getting ready screen after a cumulative update usually takes patience, unplugging extra hardware, or performing a hard restart. If your system stays frozen, you can use the built-in recovery environment to enter Safe Mode, uninstall the broken update, run system repairs, or clear out corrupted download files to get your desktop working again.
Was this guide helpful?

About the Author
Richard
Tech Writer, IT Professional
Richard is a writer at Geek Rewind who turns complex IT tasks into clear, step-by-step guides. He draws on years of hands-on experience in system administration and enterprise IT operations, focusing on Windows, Linux and WordPress: the problems people actually run into, and the fixes that work. His server and WordPress guides come from systems he runs himself. Richard builds and maintains the platform behind Geek Rewind, from its Ubuntu servers and Nginx configuration to its custom WordPress plugins. Many new tutorials start with readers' questions, and he's always glad to answer them in the comments.



No comments yet — be the first to share your thoughts!