How to Uninstall a Windows 11 Cumulative Update That Fails to Boot

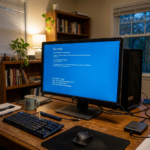
Uninstalling a broken Windows 11 cumulative update from the repair menu fixes startup loops, blue screens, and black screens that block your PC from reaching the desktop. A cumulative update bundles security patches and bug fixes, but a faulty installation can trap your computer in a restart cycle.
You can remove the problematic update using the Command Prompt inside the Windows Recovery Environment without losing your personal files.
To uninstall a Windows 11 cumulative update that fails to boot, interrupt the startup process three times to open the recovery menu, click Troubleshoot, go to Advanced options, and select Uninstall Updates followed by Uninstall latest quality update. This removes the broken patch and lets your computer start normally.
Understanding Why 🪟 Windows 11 Updates Cause Boot Failures
Windows 11 updates cause boot failures when a new software patch clashes with your specific hardware parts, drivers, or background apps. Microsoft sends these patches out regularly for security and performance, but unique computer setups can sometimes trigger a critical error that stops Windows from starting up normally.
Sometimes, a new update clashes with a specific hardware driver or a background app. When this happens, Windows runs into a critical error during startup. To protect your system from more damage, Windows stops the startup process. This causes the loop or frozen screen. Removing the newest update usually fixes the conflict and lets your computer start normally again.
How to Access the Windows Recovery Environment (WinRE)
Access the Windows Recovery Environment (WinRE)—a built-in rescue menu—by using the physical power button to force your computer to shut down twice during startup. When Windows fails to load normally three times in a row, the operating system opens this menu automatically so you can run repairs and remove bad updates.
If your Windows 11 computer does not open the Windows Recovery Environment rescue menu on its own after a failed update, you will need to force the menu to open. To force the rescue menu, you must press and hold the physical power button on your computer for 10 seconds to shut down the system completely. Repeat this hard shutdown process three times in a row, and the computer will automatically open the automatic repair screen on the fourth boot.
- Press and hold the physical power button on your computer for about 10 seconds to turn it completely off.
- Press the power button again to turn your computer back on.
- As soon as you see your computer maker logo or the Windows loading dots, press and hold the power button again for 10 seconds to force it off.
- Repeat this process two or three times.
- On the third or fourth time, let your computer start up normally. Because you interrupted the boot process multiple times, Windows will realize something is wrong and automatically load the Automatic Repair screen.
On the screen that appears, click the button labeled Advanced options to enter the main recovery menu.
How to Uninstall the Latest Update from the Recovery Menu
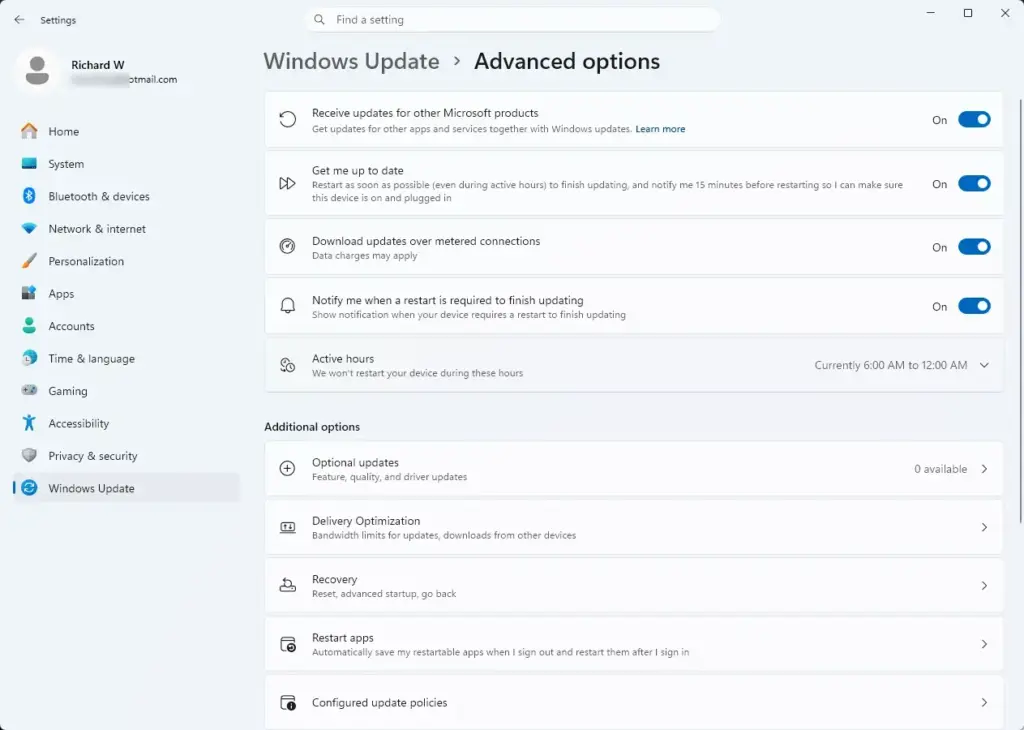
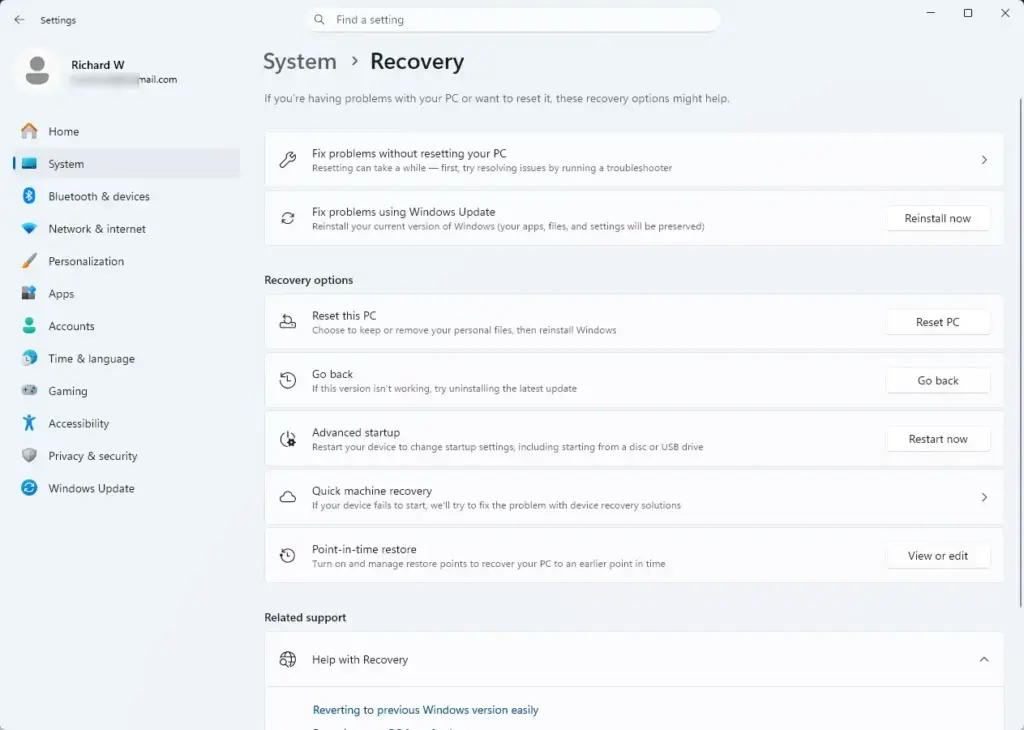
Uninstall the latest Windows 11 update from the recovery menu by going to Troubleshoot, clicking Advanced options, and choosing Uninstall Updates. This built-in rescue tool lets you remove quality or feature updates that are stopping your computer from booting up properly without losing your personal files.
- From the main choose an option screen, click on Troubleshoot.
- On the Troubleshoot screen, click on Advanced options.
- Look for and click on the option that says Uninstall Updates.
- You will see two choices: "Uninstall latest quality update" and "Uninstall latest feature update". Cumulative updates are classed as quality updates. Click on Uninstall latest quality update.
- If prompted, select your user account (for example, USERNAME) and type in your password. *(Note: This step requires administrator privileges.)*
- Click the final confirmation button to start the removal process.
- Wait patiently while Windows removes the bad update. This may take a few minutes depending on your computer speed.
- Once the process finishes, click the button to restart your computer.
Your computer should now boot past the previous sticking point and load your normal Windows 11 desktop.
Using the Command Prompt to Remove Updates When the Menu Fails

Use the Command Prompt in the Windows recovery menu to force a bad update off your system when the standard buttons fail. Access the rescue screen, open the command tool from the advanced options, and run text commands to safely delete the problematic update files from your computer.
- Follow the steps in the previous section to access the Advanced startup options menu.
- Navigate to Troubleshoot Advanced options
- Click on Command Prompt. *(Note: This step requires administrator privileges.)*
- A black window with white text will appear on your screen.
- First, you need to find out the exact name of the update package causing the trouble. Type the following command and press the Enter key on your keyboard:
dism /image:C:\ /get-packages - A long list of software packages will scroll down your screen. Look near the bottom of the list for the packages with the most recent dates. Find the package name that starts with "Package_for_RollupFix" or similar naming conventions. Write down or remember that exact package identity name.
- Next, type the removal command using your specific package name. For example, type:
dism /image:C:\ /remove-package /packagename:Package_for_RollupFix~31bf3856ad364e35~amd64~~19041.1237.1.8*(Note: Replace the package name in the example with the actual name you found in the previous step.)* - Press the Enter key and let the tool remove the package.
- Once the process reaches 100 percent and tells you it was successful, close the black window.
- Click the button to restart your computer.
Unique Expert Tips: Preventing Future Update Boot Loops
Prevent future update boot loops on Windows 11 by temporarily pausing updates in your settings and hiding buggy patches until Microsoft fixes them. Taking these steps stops your computer from automatically reinstalling the exact same problematic update right after you finish fixing your system.
- Pause Updates Temporarily: Open your Windows Settings, go to Windows Update, and click the button to pause updates for one week. This gives Microsoft time to pull the faulty update from their servers or release a fixed version.
- Hide the Bad Update: You can download a small troubleshooting tool provided by Microsoft called "Show or hide updates." This tool lets you block specific updates from installing while still allowing other important security patches through.
- Keep Important Backups: Always maintain a backup of your personal files on an external hard drive or cloud storage service. Software updates are generally safe, but they carry a small risk of data corruption if power cuts out during installation.
Conclusion and Next Steps
Fixing a Windows 11 update that breaks your computer's boot process takes only a few minutes using the built-in recovery menu or Command Prompt. Turn on your computer, interrupt the boot process to reach the rescue screen, and remove the broken update.
Your immediate next step is to turn on your computer, follow the interruption steps to access the recovery menu, and uninstall the latest quality update. Once your desktop loads successfully, remember to pause your updates temporarily to stop the bad patch from reinstalling while Microsoft prepares a permanent software fix.
Was this guide helpful?

About the Author
Richard
Tech Writer, IT Professional
Richard is a writer at Geek Rewind who turns complex IT tasks into clear, step-by-step guides. He draws on years of hands-on experience in system administration and enterprise IT operations, focusing on Windows, Linux and WordPress: the problems people actually run into, and the fixes that work. His server and WordPress guides come from systems he runs himself. Richard builds and maintains the platform behind Geek Rewind, from its Ubuntu servers and Nginx configuration to its custom WordPress plugins. Many new tutorials start with readers' questions, and he's always glad to answer them in the comments.

No comments yet — be the first to share your thoughts!