What to Do When Windows 11 Stuck on Getting Things Ready Screen

- 40 steps
- Needs administrator rights
- Includes a restart or sign-out
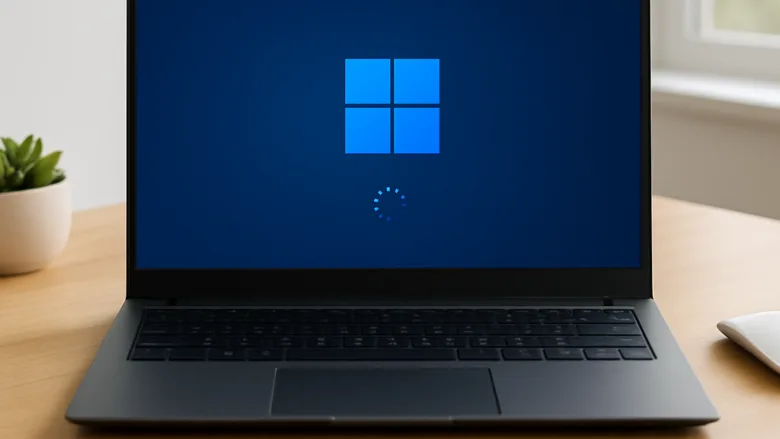
The “Getting things ready” screen in Windows 11 is a built-in loading state. It appears after a system update, a reset, or the initial setup, while Windows finishes configuring background files and settings. If it stays frozen for more than two hours, a background task has usually hit a glitch, or an external device is blocking the boot process.
Fixing it does not take advanced skills or paid repair tools. Start with the simple fixes and move down the list only if you need to. Unplugging every USB device, such as printers and thumb drives, often solves the problem at once. If it doesn’t, a forced shutdown restarts the boot sequence and often gets you to the desktop. The later sections cover Safe Mode, update removal and repair commands for stubborn cases.
If Windows 11 is stuck on the “Getting things ready” screen, wait one to three hours first, especially if the disk activity light is blinking. Then unplug all USB devices such as printers, scanners and flash drives, and wait a few minutes. If the screen still won’t move, hold the physical power button for 10 to 15 seconds to force a restart.
Why Is Your 🪟 Windows 11 Screen Stuck?
Windows 11 gets stuck on this screen when background setup tasks, user account configuration, or a system update freeze. The usual causes are corrupted background files or connected hardware that disrupts the normal startup sequence, so Windows never reaches the desktop.
Most of the time the cause is one of these:
- A background file was corrupted during the update or setup.
- An external device, such as a printer or an external hard drive, is confusing the setup process.
- A Windows update failed halfway through and left the computer in a loop.
Knowing the likely cause helps you pick the right fix. The sections below run from the least invasive fix to the most involved one.
Step 1Be Patient and Wait It Out
Waiting is the best first action when the screen freezes during a major update or setup. Windows may simply be slow, and restarting too early can do more damage than waiting.
Major Windows updates move a lot of data. A traditional hard drive takes much longer than a solid-state drive (SSD). A slow internet connection also adds time if Windows is downloading extra files during setup.
- Give the computer at least one to three hours. If you are on a laptop, keep it plugged into power.
- Watch the disk activity light, the small light on the case that flashes when the drive is working. If it is blinking, the computer is still busy, so leave it alone. Many modern laptops have no such light, so in that case just allow the full time.
- Do not turn the computer off while it is still working. Interrupting it while it writes system files can break the operating system.
If nothing has changed after three hours and there is no disk activity, move on to the next section.
Step 2Unplug All Extra Devices
Disconnecting non-essential external devices is a quick fix that often works. Printers, scanners, flash drives and extra monitors can confuse Windows 11 during startup. Windows tries to install drivers for these devices while it is also finishing its own setup. That conflict between device drivers and startup tasks can freeze the screen indefinitely.
- Look over your computer and unplug every USB device, including flash drives, printers and scanners.
- Leave only your monitor, mouse and keyboard plugged in. If you use an extra monitor, disconnect it too.
- If you use a laptop, unplug any docking station.
- Wait a few minutes and watch the screen. If the loading screen moves on to the sign-in screen or desktop, a device was the cause.
Once you are back at the desktop, plug the devices back in one at a time. If the problem returns after a particular device, update its driver or leave it unplugged during future updates.
Step 3Perform a Hard Restart
Holding the button forces the system to shut down so you can reboot and break the frozen loop. Only do this after you have waited the full one to three hours, because a forced shutdown during an update can interrupt it.
- Press and hold the physical power button on your computer or laptop for about 10 to 15 seconds.
- Keep holding until the screen goes completely black and the computer shuts down.
- Wait 30 seconds.
- Press the power button once, normally, to turn the computer back on.
Often a simple restart clears the glitch. Windows then skips the frozen screen and loads your desktop normally. If it returns to the same screen, continue to the next section.
Step 4Use Safe Mode to Fix Corrupted Files
Safe Mode starts Windows with only the minimum system files and drivers it needs to run. That lets you troubleshoot without interference from third-party apps and drivers, and fix or remove the files causing the freeze.
Because you cannot reach the desktop, you have to interrupt the normal boot a few times to get into the recovery environment.
- Turn on your computer.
- As soon as you see the Windows logo or your computer manufacturer’s logo, press and hold the physical power button for 10 seconds to force a shutdown.
- Turn the computer on again and repeat the forced shutdown at the logo.
- Turn the computer on a third time and let it run. Windows recognizes that something is wrong and boots into the Automatic Repair environment.
- On the screen that appears, click Advanced options.
- Click Troubleshoot, then click Advanced options again.
- Click Startup Settings, then click the Restart button. Note: You may need an administrator account to complete this step, though the recovery environment often handles it automatically.
- Wait for the computer to restart. You will see a numbered list of startup options. Press 4 or F4 on your keyboard to enable Safe Mode. If you need internet access in Safe Mode, press 5 or F5 for Safe Mode with Networking instead.
If you are asked for a BitLocker recovery key, you can find it in the Microsoft account that is linked to the device.
Once you are in Safe Mode, you can uninstall recent updates or run a system file check to fix broken files. To leave Safe Mode, restart the computer normally.
Step 5Uninstall Recent Quality or Feature Updates
If the loop started right after an update, removing that update from the recovery environment is a good fix. Windows lets you remove the most recent quality update or feature update that broke the system, and you do not need to reach the desktop to do it.
- Turn your computer on and off three times, as described in the Safe Mode steps above, to open the Automatic Repair environment.
- Click Advanced options.
- Click Troubleshoot, then click Advanced options again.
- Click Uninstall Updates.
- Choose Uninstall latest quality update or Uninstall latest feature update, depending on what caused the issue. A quality update is the monthly security and bug-fix update. A feature update is the larger yearly version upgrade. Follow the on-screen prompts to finish. Note: This action requires administrator privileges, so you may be asked to pick an account and enter its password.
The feature update option only works for a limited time after an upgrade, usually about 10 days, so it may not be available if the upgrade is older. When the removal finishes, restart the computer and see whether it reaches the desktop. If it does, pause updates for a short while before trying again.
Step 6Run System File Checker
The built-in System File Checker scans for damaged system files and repairs them. You can run it from the recovery environment, before Windows boots normally, so corrupted files that block your startup get fixed.
- Open the recovery environment by turning your computer on and off three times, as described in the Safe Mode steps above.
- Click Advanced options, then click Troubleshoot, then click Advanced options again.
- Click Command Prompt. Note: This action requires administrator privileges. If asked, select your administrator account and enter its password. A black Command Prompt window should open.
- Type the following command carefully and press the Enter key on your keyboard:
DISM.exe /Online /Cleanup-image /Restorehealth - Wait for that process to finish. It can take several minutes, and the cursor may sit still for a while. Then type the following command and press Enter:
sfc /scannow - Let the scan run completely. It will find broken files and fix them. Do not close the window or power off during the scan.
- Close the command prompt window and restart your computer normally.

Command Prompt
Typos matter here, so copy the commands exactly. Drive letters in the recovery environment can differ from the ones you see in Windows. If a command says it cannot find the Windows folder, check which drive holds Windows before you try again.
Unique Tip: Disable Fast Startup via Command Prompt
Fast Startup pre-loads data so the computer turns on faster. This process occasionally interferes with Windows 11 updates and can cause an endless loading screen. Turning it off through the Command Prompt can clear the freeze.
You can use the same Command Prompt you opened in the recovery steps above.
- Open the Command Prompt from the recovery environment (Troubleshoot Advanced options Command Prompt). Note: This action requires administrator privileges.
- Type the following command exactly as written and press Enter:
powercfg /hibernate off - Understand what the command does. It turns off hibernation, which also completely disables Fast Startup.
- Close the command prompt window and restart your computer.
The trade-off is that your computer may start a little slower, and hibernate will no longer be available. If you rely on either, you can turn hibernation back on once the problem is fixed and Windows is stable.
Unique Tip: Disabling Network Connections During Setup
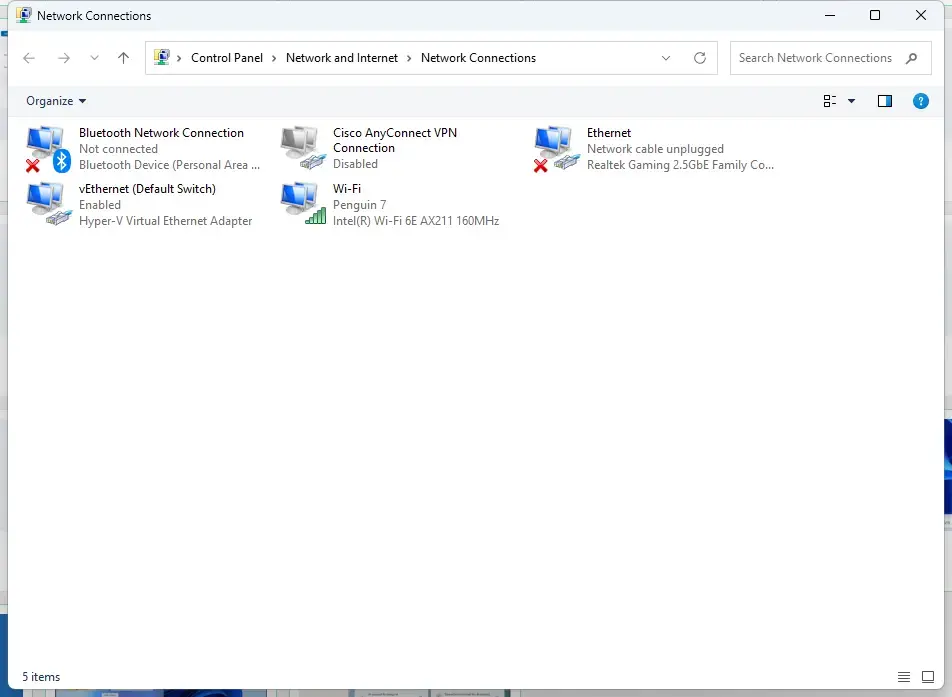
If the freeze happens during a fresh setup, an unstable network connection or a Microsoft account sign-in error may be the cause. Cutting off the internet forces Windows to complete the basic setup offline, without failing background network requests getting in the way.
- If you use an Ethernet cable, unplug it from the back of your computer.
- If you are connected to Wi-Fi, turn off your home router temporarily.
- Restart your computer using the power button.
- Watch the screen. Without internet access, Windows will usually give up on downloading updates in the background. It will then let you finish setting up a local offline account or skip the frozen screen.
- Once you reach your normal desktop, plug the cable back in or turn the router back on. You can then install updates manually at your own pace.
Some Windows 11 setups, especially on Home, push you to sign in with a Microsoft account. If the offline option does not appear, you may need to finish setup with a working connection instead.
Summary
A Windows 11 computer stuck on the "Getting things ready" screen can usually be fixed in order of effort. First wait out the background tasks, then unplug extra USB devices, then perform a hard restart. If it still hangs, use the recovery environment tools: Safe Mode, uninstalling a bad update, the System File Checker commands, and turning off Fast Startup. Try them one at a time, and restart after each so you know which one worked.
Have a question about this guide?
Answered by AI from this guide. Good questions may be added to this page — please don't include personal details.
Did this guide fix your problem?

About the Author
Richard
Tech Writer, IT Professional
Richard is a writer at Geek Rewind who turns complex IT tasks into clear, step-by-step guides. He draws on years of hands-on experience in system administration and enterprise IT operations, focusing on Windows, Linux and WordPress: the problems people actually run into, and the fixes that work. His server and WordPress guides come from systems he runs himself. Richard builds and maintains the platform behind Geek Rewind, from its Ubuntu servers and Nginx configuration to its custom WordPress plugins. Many new tutorials start with readers' questions, and he's always glad to answer them in the comments.
No comments yet — be the first to share your thoughts!