What to Do When Windows 11 Stuck on Preparing Windows Don’t Turn Off Your Computer

- 5 ways to do it
- Needs administrator rights
- Includes a restart or sign-out
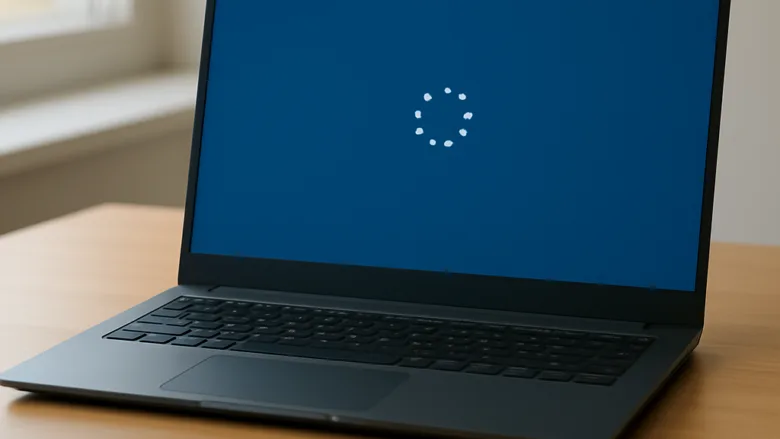
The “Preparing Windows. Don’t turn off your computer” screen appears when Windows 11 freezes during a major update, a user profile setup, or after a sudden crash. If the message stays on screen for more than 30 minutes, background tasks have stopped working or a system file has hit a glitch.
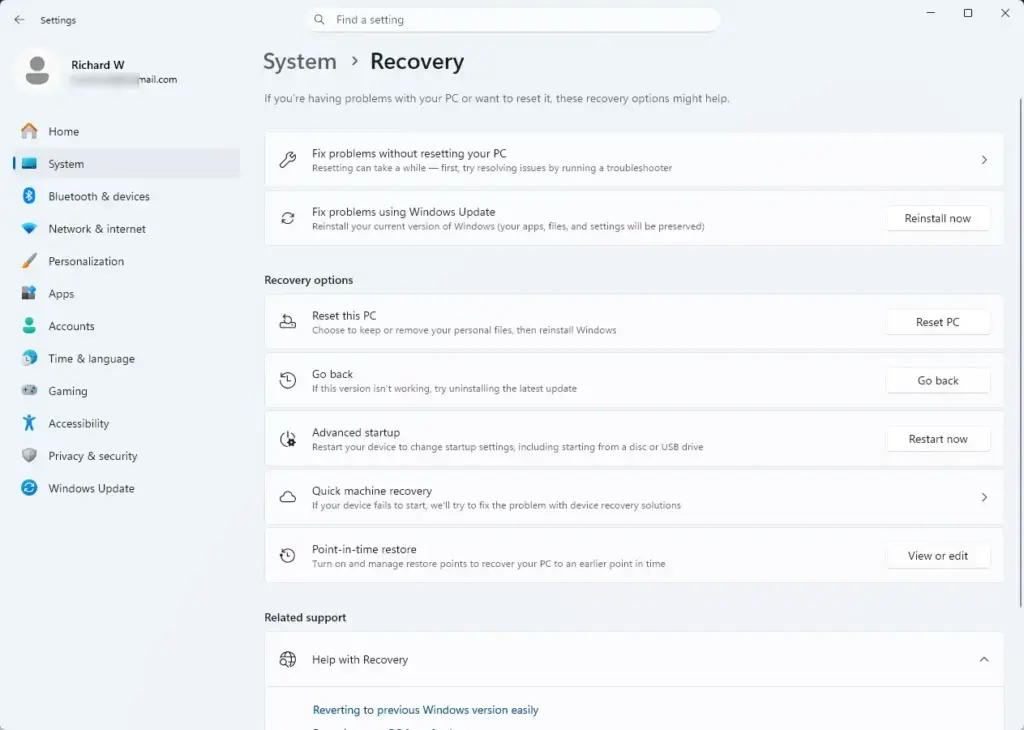
You can usually get back to your desktop without losing personal files by forcing a shutdown. Hold the physical power button on your PC for 10 seconds until the screen and lights go off. When you turn the PC back on, Windows stops the stuck process and starts fresh, so you can finish the update or skip the bad one. This is a last resort after the waiting period described below, because cutting power mid-update carries a small risk of file damage. The rest of this guide covers what to try if the forced shutdown doesn’t solve it.
When Windows 11 stuck on preparing windows don t turn off your computer, wait up to two hours for updates to finish and unplug all USB devices like printers and external drives. If the screen remains frozen, force your computer to shut down by holding the power button down.
Why Is Your 🪟 Windows 11 PC Stuck on “Preparing Windows”?
Windows 11 gets stuck on the Preparing Windows screen when background updates are interrupted, core system files are corrupted during startup, or your user profile data fails to load. The computer keeps trying to finish an incomplete task and sits on this loading screen for a long time.
- Background UpdatesWindows might be installing a large security patch or system update that stopped halfway through.
- Corrupted System FilesFiles needed to load your user account might be damaged or missing.
- Faulty Software or DriversA recently installed app or hardware driver is conflicting with the startup process.
- User Profile GlitchesWindows cannot load your personal account settings correctly.
- External DevicesConnected printers, USB drives, or external hard drives can confuse the computer when it starts.
Knowing these causes helps you pick the right fix instead of trying everything at random. First, here is what to do right away.
What to Do First: Patience and the Hardware Check
When you see the warning telling you not to turn off your computer, take it seriously for a while. Cutting power during an update can leave system files half-written and make the problem much worse, so don’t reach for the power button in the first few minutes.
Step 1Wait It Out
Waiting is the safest first step. Large system updates can take up to two hours to finish, especially on older PCs or hard drives that aren’t SSDs. Here is how to wait properly:
- Plug your laptop into a wall charger so a flat battery doesn’t shut it down mid-update.
- Leave the computer alone. Don’t press keys or move the mouse repeatedly.
- Watch the drive activity light if your PC has one. If it still blinks now and then, Windows is probably still working.
- Give it at least one to two hours before you try any forced fixes. If the screen hasn’t changed and the drive light is completely dead, move on to the next steps.
Step 2Unplug All USB Devices
Unplugging external devices fixes freezes caused by driver conflicts during startup. Sometimes Windows tries to set up a driver for an attached device when it starts, and it hangs. Removing the device often breaks the loop straight away.
- Force the PC off by holding the power button for 10 seconds.
- Unplug external hard drives, thumb drives, printers, SD cards, docks, and extra monitors.
- Leave only your mouse and keyboard connected.
- Turn the computer back on. If it now reaches the sign-in screen, the problem was a device. Reconnect your devices one at a time, restarting between each, to find the one that causes it.
How to Access Advanced Startup Options
To reach the advanced startup options (the Windows Recovery Environment), you interrupt the boot process several times. After a few failed starts, Windows opens a recovery menu with tools to fix startup loops, run system repairs, and reach Safe Mode.
- Press and hold the physical power button for about 10 seconds to force the PC to turn off completely.
- If you use a desktop, unplug the power cable. If you have an older laptop with a removable battery, take the battery out. Wait 30 seconds. Most current laptops have sealed batteries, so on those just skip this step.
- Plug the power back in and turn the computer on.
- As soon as you see the manufacturer logo or the Windows logo, hold the power button again for 10 seconds to force another shutdown.
- Repeat this two or three times.
- On the next startup, let the PC boot normally. Windows sees the repeated failures and opens the repair screen. You should see a blue or dark screen titled Automatic Repair or Recovery, with an Advanced options or See advanced repair options button.
If the screen asks for a BitLocker recovery key, that is normal on PCs with device encryption turned on. You can find the key in your Microsoft account at the recovery key page from another device.
Method 1Use Safe Mode to Bypass the Loop
Safe Mode starts Windows with only basic drivers and system files. That keeps normal software and background glitches from running, giving you a clean environment to remove broken updates, fix user profiles, and use repair tools.
Once you reach the advanced startup screen, follow these steps:
- Click Troubleshoot.
- Click Advanced options.
- Click Startup Settings. If you don’t see it, click See more recovery options at the bottom to find it.
- Click the Restart button. The PC restarts and shows a list of numbered startup options.
- Press the 4 key or the F4 key to start Safe Mode. Press 5 or F5 for Safe Mode with Networking, or 6 or F6 for Safe Mode with Command Prompt, which you need later in this guide.
Safe Mode strips away visual extras, so you’ll see a basic screen with a low resolution and “Safe Mode” in the corners. Sign in, then restart normally from the Start menu. This often clears the stuck temporary files causing the loop.
Method 2Uninstall Recent Windows Updates
Uninstalling a recent update fixes PCs that got stuck right after Windows installed a bad patch. You can remove it from the advanced startup menu, which clears the broken files and lets the PC boot normally again.
From the advanced startup screen, click Troubleshoot.
- Click Advanced options.
- Click Uninstall Updates.
- Choose to uninstall the latest quality update or the latest feature update. Quality updates are smaller monthly patches, while feature updates are major yearly upgrades. Quality updates usually cause these startup loops, so try that one first.
- Follow the prompts to confirm, and let the PC remove the update. You may be asked to pick your account and enter its password first.
- Restart your PC normally.
If the feature update option doesn’t work or is missing, Windows may have already removed the old version files, which it does after a limited period. In that case, try the other fixes below. Windows will probably try to install the update again later. If it fails the same way, pause updates in Settings once you are back on the desktop.
Method 3Run System File Checker (SFC) and DISM
System File Checker (SFC) and DISM scan Windows for damaged files and replace them with healthy copies. You can run these built-in repair commands from Command Prompt in the advanced startup menu to fix corruption that makes the PC freeze.
Without an administrator account you can’t run the repair commands or use some of the recovery options.
- From the advanced startup screen, go to Troubleshoot Advanced options Command Prompt.
- Select your administrator account and enter its password if asked. A black Command Prompt window opens.
- Type the first command carefully and press Enter:Code
DISM.exe /Online /Cleanup-image /Restorehealth

Wait for the process to reach 100 percent. It can sit at one percentage for several minutes, which is normal. This tool checks and repairs the Windows image that SFC uses as its source of healthy files.
Next, type the following command and press Enter:
sfc /scannowLet the System File Checker scan your computer. If it finds damaged files, it fixes them automatically. This can take 15 minutes or longer. Note that in the recovery environment the drive letters can differ from the ones you see in Windows. If either tool reports an error about the repair service or the wrong drive, restart into Safe Mode with Command Prompt (option 6 or F6 in Startup Settings) and run the same commands there.
Type exit and press Enter, then turn off your computer or click Continue to start Windows normally.
Method 4Fix or Create a New User Account Profile
If your personal user data is corrupted, Windows can get stuck trying to build your desktop at sign-in. A fresh user profile lets the system load settings without errors.
If you can reach Safe Mode or your desktop at least sometimes, create a brand-new user account and move your files over.
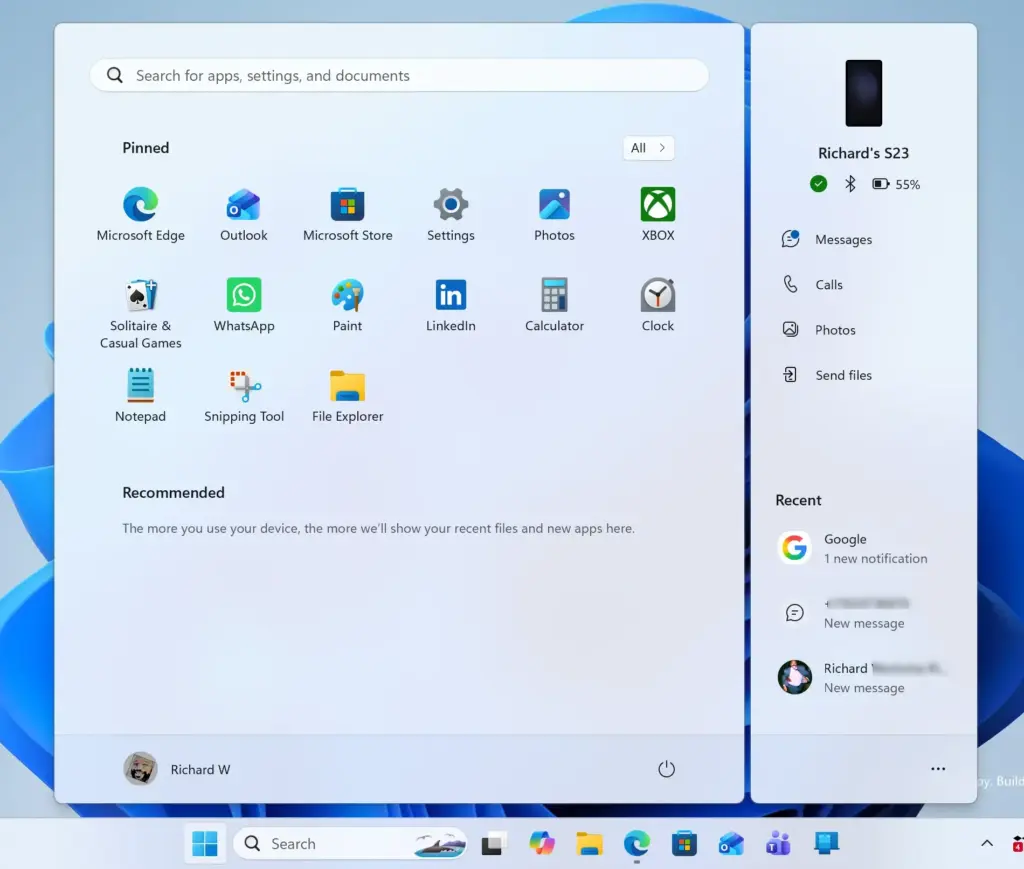
- Open the Start menu and click the Settings gear icon. The Settings window opens.
Start Menu - Go to Accounts on the left menu, then click Other users. On some Windows 11 versions this is named Family & other users.
- Click the Add account button next to "Add other user".
- Click I don't have this person's sign-in information, then click Add a user without a Microsoft account. Wording can vary slightly between builds.
- Type a new username and password, then click Next. The new account now appears in the list.
- Click the new account name, select Change account type, and choose Administrator.
- Sign out of your old account and sign in to the new one. Then copy your important files from the old user folder found inside
C:\Users\.
Your apps and settings won't carry over automatically, so expect to reinstall some apps. You can delete the broken account later once you've copied everything you need.
Method 5Use System Restore to Go Back in Time
System Restore rolls Windows 11 back to an earlier date when the PC worked properly. It doesn't delete your personal files, but it removes apps, drivers, and updates installed after that restore point. It undoes recent harmful system changes, bad updates, or bad driver installs that cause the loop.
- Open the advanced startup screen using the power button trick described earlier.
- Click Troubleshoot.
- Click Advanced options.
- Click System Restore.
- Select your user account and type your password if asked.
- Choose a restore point from a date and time before the PC started getting stuck on "Preparing Windows."
- Click Next, then click Finish. Confirm your choice.
The PC restarts and restores system settings and registry files to that earlier point. This fixes most software-related startup loops. If the list of restore points is empty, System Protection was never turned on for your drive, so this option won't help and you should try another fix.
Unique Expert Tips: Hidden Tricks to Prevent Future Loops
Most basic guides stop at System Restore or Safe Mode. Technicians know a few extra steps that help keep this problem from coming back.
Turn Off Fast Startup to Stop Boot Conflicts
Fast Startup saves a partial system state when you shut down, which can cause boot conflicts and update problems. Turning it off makes Windows do a complete shutdown every time.
Once you can log in, turn off Fast Startup:
- Click the Start menu, type Control Panel, and open it.
- Click Hardware and Sound, then click Power Options.
- Click Choose what the power buttons do on the left side of the window.
- Click the link at the top that says Change settings that are currently unavailable. This step requires administrator privileges, and the options below it become editable.
- At the bottom of the window, uncheck the box next to Turn on fast startup (recommended).
- Click the Save changes button.
If the Fast Startup box is missing, hibernation is probably turned off on your PC, which means Fast Startup isn't active anyway. To undo the change, tick the box again and save.
Clear Stuck Windows Update Caches Manually
Corrupted downloaded update files can cause endless reboot loops. Stopping the update services and clearing the download folder lets Windows fetch a clean copy of the update and finish setting up properly. This works from Safe Mode with Command Prompt, which already runs with administrator rights. Windows rebuilds the folder on its own, so you aren't breaking anything.
- Boot your computer into Safe Mode with Command Prompt (option 6 or F6 in Startup Settings).
- Type the following command to stop the Windows Update service, then press Enter:Code
net stop wuauserv
Settings › Windows Update - Type this command to stop the Background Intelligent Transfer service, then press Enter:Code
net stop bits - Open File Explorer or use the command line to go to
C:\Windows\SoftwareDistributionand delete all files and folders inside it. Delete only the contents, not the folder itself.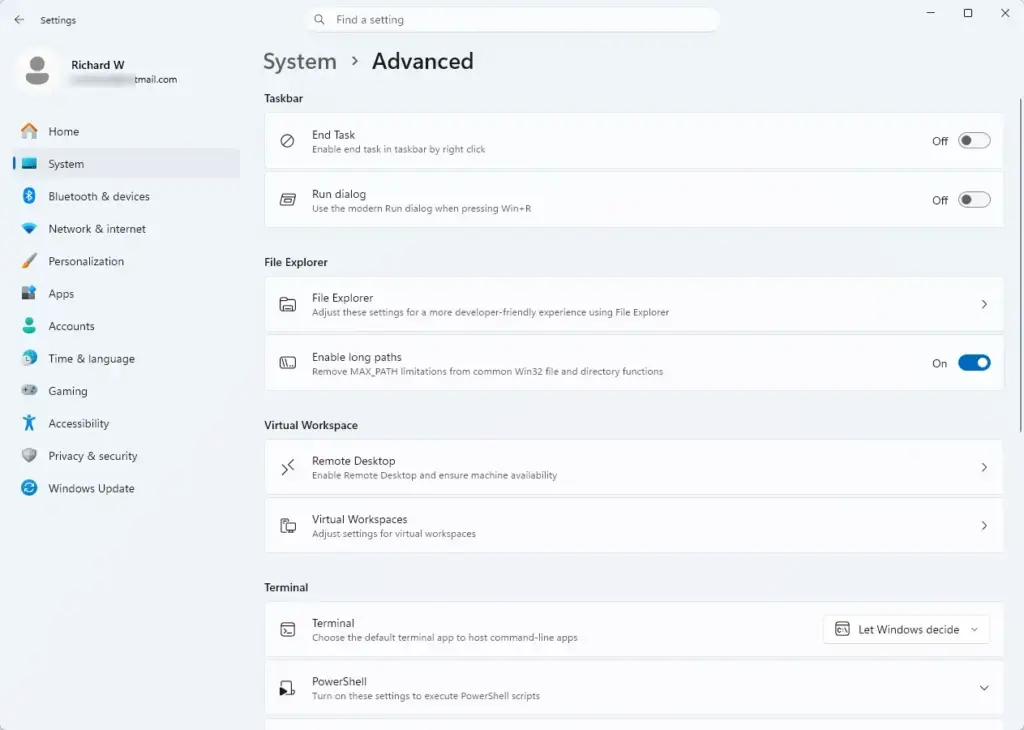
Settings > Advanced - Return to the command prompt and restart the services by typing:Code
net start wuauservand
Codenet start bits
Restart the PC normally afterwards. The next update check may take a little longer than usual because Windows has to rebuild its update history.
What If Nothing Works? Resetting 🪟 Windows 11
Resetting Windows 11 is the last resort when system files are too damaged to repair with the steps above. It reinstalls a fresh copy of Windows and lets you keep your personal files, clearing out stubborn bugs and update loops. Back up anything important first if you can, for example by copying files from Safe Mode or a recovery Command Prompt to an external drive.
- Open the advanced startup screen by interrupting your computer's startup, as described earlier.
- Click Troubleshoot.
- Click Reset this PC.
- Choose Keep my files. This removes the apps and settings you installed but keeps your personal documents, photos, and music. Remove everything wipes the PC completely, so avoid it unless you've backed up your data.
- Choose either Cloud download to download fresh system files from the internet or Local reinstall to use files already on your computer. Cloud download is usually more reliable, and it needs a working internet connection. Local reinstall can fail if the files on disk are the damaged ones.
- Follow the remaining prompts to finish the reset. The PC will restart several times, so leave it plugged in.
Summary
Fixing a Windows 11 PC stuck on Preparing Windows takes patience, unplugging conflicting USB devices, and using Safe Mode and repair tools such as System Restore. Working through these steps in order usually breaks the boot loop and gets your PC working without losing personal data.
Once your computer starts normally, turn off Fast Startup and check Windows Update for failed updates to keep the issue from returning. If nothing else works, a reset that keeps your personal files gives you a clean start without losing your important data.
Have a question about this guide?
Answered by AI from this guide. Good questions may be added to this page — please don't include personal details.
Did this guide fix your problem?

About the Author
Richard
Tech Writer, IT Professional
Richard is a writer at Geek Rewind who turns complex IT tasks into clear, step-by-step guides. He draws on years of hands-on experience in system administration and enterprise IT operations, focusing on Windows, Linux and WordPress: the problems people actually run into, and the fixes that work. His server and WordPress guides come from systems he runs himself. Richard builds and maintains the platform behind Geek Rewind, from its Ubuntu servers and Nginx configuration to its custom WordPress plugins. Many new tutorials start with readers' questions, and he's always glad to answer them in the comments.
No comments yet — be the first to share your thoughts!