What to Do When Windows 11 Fails to Wake from Sleep

Windows 11 failing to wake from sleep happens when your PC freezes on a black screen and refuses to respond to your mouse or keyboard after entering power-saving mode. This common bug leaves your power light blinking while open files stay trapped behind a dead display.
Faulty device drivers, outdated BIOS versions (firmware that controls your computer’s hardware), and power management settings usually cause this glitch. Fixing the problem takes just a few minutes and gets your PC responding normally again.
When Windows 11 fails to wake from sleep, fix it by opening Device Manager, right-clicking your keyboard and mouse to open Properties, and checking the Allow this device to wake the computer box under the Power Management tab, or by turning off Fast Startup in Control Panel .
Understanding the 🪟 Windows 11 Sleep State Problem
Windows 11 fails to wake from sleep when a hardware device, an outdated driver, or a power setting blocks the system from turning back on. Your open files stay safe in your computer’s short-term memory, but the system gets stuck before it can turn the screen on. Finding out which component causes the freeze helps you apply the right fix quickly.
When you press a key or move your mouse, a signal is sent to the computer’s brain to wake everything up. If that signal gets lost, or if a specific hardware part refuses to wake up, the computer stays trapped in a half-asleep state. Sometimes, a feature called Fast Startup causes conflicts with how your computer manages power. Other times, your USB devices lose power entirely while the computer rests, meaning your mouse and keyboard cannot send the wake-up signal.
When Windows 11 fails to wake from sleep, you can fix the problem by updating your power settings and network drivers. Sleep mode problems often happen because outdated hardware drivers stop the system from responding to your mouse or keyboard. By updating your system software, you restore normal power control so your computer wakes up instantly every time you press a key or click a mouse button.
Fix 1: Allow Your Mouse and Keyboard to Wake Up Your PC
Allow your mouse and keyboard to wake your PC by changing a setting in Device Manager. If your computer ignores your clicks and key presses after going to sleep, your USB devices likely lack permission to signal the motherboard. Checking the power management box for these devices restores normal wake functionality immediately.
- Click the Start button on your taskbar.
- Type Device Manager into the search box and click the best match to open it. *(Admin rights required)*

Device Manager - Scroll down the list until you see Keyboards and click the small arrow next to it to see your keyboard.
- Right-click your keyboard from the list and select Properties.
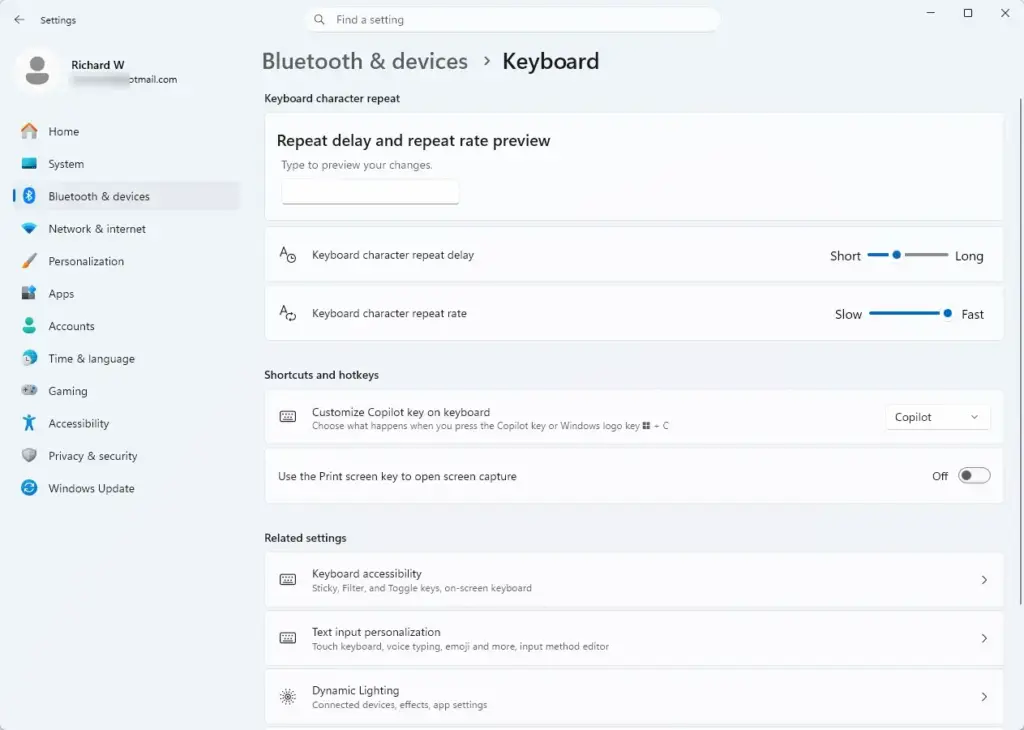
Settings › Bluetooth › Keyboard - Click the Power Management tab at the top of the window.
- Check the box next to Allow this device to wake the computer.
- Click OK to save your changes.
Expand Mice and other pointing devices, right-click your mouse, select Properties, and check the power management box. *(Requires admin privileges)*
Once you finish these steps, clicking your mouse or pressing a key on your keyboard will send the right signal to wake your computer.
Fix 2: Turn Off Fast Startup
Turn off Fast Startup in Control Panel to stop sleep and wake glitches. Even though this feature helps your computer boot up faster after a full shutdown, it often interferes with low-power sleep states. Disabling it forces your computer to clear its memory properly every time it turns off.
- Click the Start button, type Control Panel, and open it.
- Change the "View by" option in the top right corner to Large icons or Small icons.
- Click on Power Options.
- Click on the link on the left side that says Choose what the power buttons do. *(Requires admin privileges)*
- Click the link near the top that says Change settings that are currently unavailable. You might need to click a button to give permission. *(Requires admin privileges)*
- Look at the bottom of the window for a section called Shutdown settings.
- Uncheck the box next to Turn on fast startup (recommended).
- Click the Save changes button at the bottom.
Restart your computer normally one time to let the change take full effect. This often stops your computer from getting stuck in sleep mode.
Fix 3: Update Your Device Drivers
Update your device drivers through Device Manager to fix sleep failures. Outdated software for your graphics card, network adapter, or motherboard often prevents hardware from responding when the computer tries to exit a sleep state. Installing the latest driver versions restores proper communication between Windows and your hardware components.
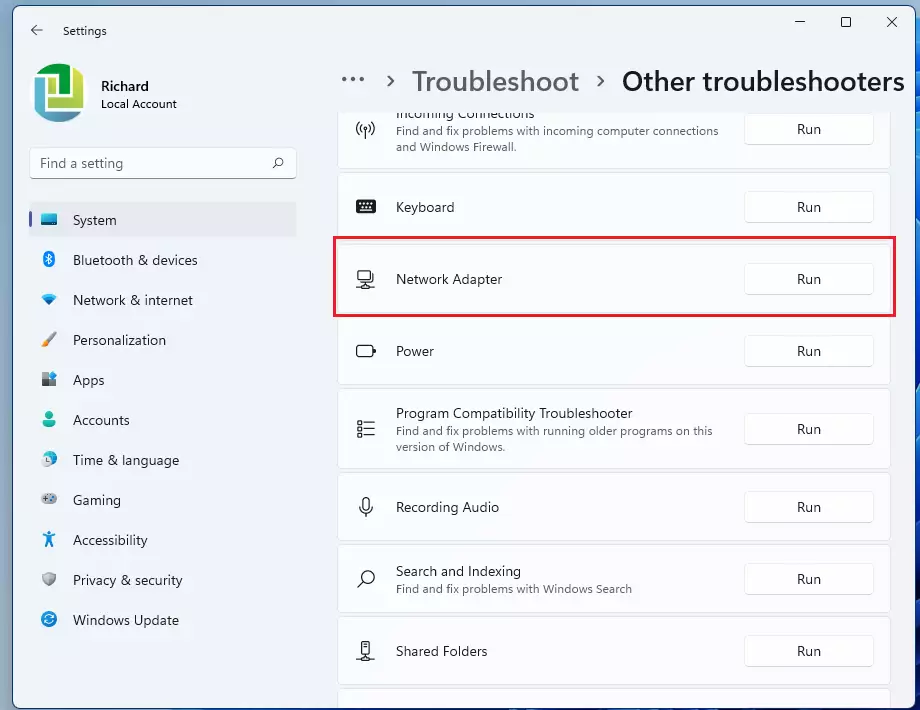
- Click the Start button, type Device Manager, and open it. *(Requires admin privileges)*
- Look for any device that has a yellow warning triangle next to it.
- Expand the category for your display adapters (your graphics card).
- Right-click your graphics card and select Update driver. *(Requires admin privileges)*
- Choose Search automatically for drivers. Windows will look online for the newest software. *(Requires admin privileges)*
Repeat this process for your network adapters and universal serial bus controllers if you suspect they are causing trouble. *(Requires admin privileges)*
Keeping your drivers updated ensures all parts of your computer work together smoothly when waking up.
Fix 4: Re-Enable Hibernation
You can fix stubborn power management errors in Windows 11 by re-enabling hibernation using the Command Prompt. Hibernation is a deeper sleep state that saves open work directly to your hard drive and turns off the machine completely. Resetting this feature clears out hidden system files that often interfere with normal sleep and wake cycles.
- Click the Start button, type Command Prompt, and right-click it to choose Run as administrator. *(Requires admin privileges)*
- Type the following command into the black window:
powercfg -h offand press the Enter key on your keyboard. *(Requires admin privileges)* - Close the command prompt window.

Command Prompt - Restart your computer.
- Open the Command Prompt as an administrator again using the same steps above. *(Requires admin privileges)*
- Type this command:
powercfg -h onand press Enter. *(Requires admin privileges)* - Close the window.
Running the powercfg -h off command followed by powercfg -h on in the Command Prompt resets the hibernation files on your Windows 11 computer. Resetting the hibernation files clears out corrupted data that often stops your computer from waking up properly. You should run the Command Prompt as an administrator to make sure the reset works correctly and fixes your stubborn sleep issues.
Fix 5: Adjust USB Power Saving Settings
You can stop Windows 11 from cutting power to your mouse and keyboard during sleep by adjusting your USB power saving settings in the Control Panel. If your USB ports turn off completely to save electricity, they cannot receive the click or keystroke needed to wake your machine up. Disabling this power-saving feature keeps your input devices active and responsive.
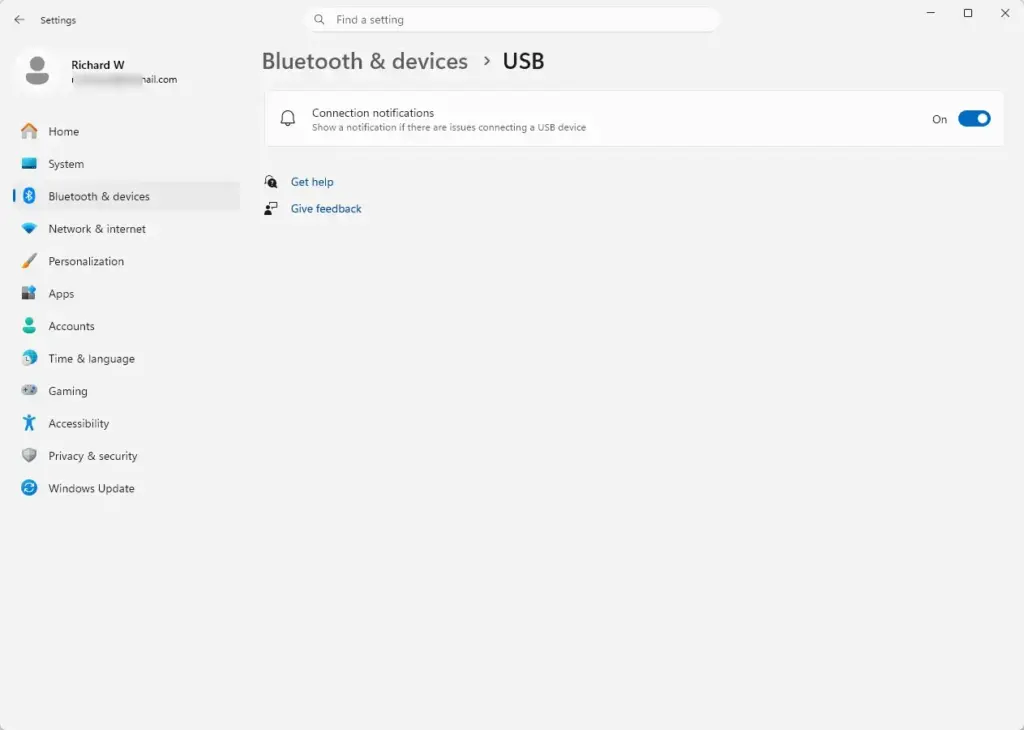
- Click the Start button, type Control Panel, and open it.
- Go to Power Options.
- Click Change plan settings next to your currently selected power plan.
- Click Change advanced power settings. A small window will appear. *(Requires admin privileges)*
- Scroll down and click the plus sign next to USB settings.
- Click the plus sign next to USB selective suspend setting.
- Change the setting to Disabled. If you are using a laptop, you might see options for "On battery" and "Plugged in"—make sure you disable both. *(Requires admin privileges)*
- Click Apply and then click OK.
This tells Windows to keep your USB ports active so your mouse and keyboard stay ready to wake the system.
Fix 6: Use the Secret Keyboard Shortcut to Restart Graphics
You can restart your graphics driver instantly when your screen stays black after waking up by pressing the Windows Key plus Control, Shift, and B together. Sometimes your computer actually wakes from sleep successfully, but the graphics software crashes during the transition. Using this hidden keyboard shortcut reloads the display driver without requiring a full system restart.
When your computer fails to wake up and the screen is black, press these four keys at the exact same time:
Windows Key + Ctrl + Shift + B
When you press these keys, your screen will flicker black for a split second, and you will hear a short beep sound. This tells Windows to restart the graphics system. In many cases, your desktop will instantly pop back onto the screen, saving you from a hard reboot.
Fix 7: Run the Built-In Power Troubleshooter
You can find and fix common sleep and wake failures automatically by running the built-in power troubleshooter in Windows 11. This diagnostic tool is available directly through the Settings app under the system troubleshooting menu. Running a quick scan allows Windows to detect and repair hidden power configuration errors without manual intervention.
- Click the Start button and open the Settings app (the gear icon).

Settings - Click on System on the left menu, then click on Troubleshoot on the right side.
- Click on Other troubleshooters.
- Find the item labeled Power in the list.
- Click the Run button next to it. *(Requires admin privileges)*
- Follow any instructions that appear on your screen while Windows checks your power settings and fixes any problems it finds.
Summary
Fixing a Windows 11 computer that refuses to wake from sleep is simple once you adjust your power settings, update your drivers, and check your hardware permissions. Working through these troubleshooting steps one by one ensures your computer responds normally every time you try to wake it up.
Was this guide helpful?
0% of readers found this helpful (1 votes)

About the Author
Richard
Tech Writer, IT Professional
Richard is a writer at Geek Rewind who turns complex IT tasks into clear, step-by-step guides. He draws on years of hands-on experience in system administration and enterprise IT operations, focusing on Windows, Linux and WordPress: the problems people actually run into, and the fixes that work. His server and WordPress guides come from systems he runs himself. Richard builds and maintains the platform behind Geek Rewind, from its Ubuntu servers and Nginx configuration to its custom WordPress plugins. Many new tutorials start with readers' questions, and he's always glad to answer them in the comments.




No comments yet — be the first to share your thoughts!