How to Change Power Modes in Windows 11
This guide shows you how to adjust your PC’s power mode in Windows 11.
What are 🪟 Windows 11 power modes?
Power modes let you control how your computer uses energy. You can choose if your PC should focus on speed or saving battery life. This helps manage your carbon footprint and keeps your device running efficiently based on your current tasks.
The Three Power Modes Explained
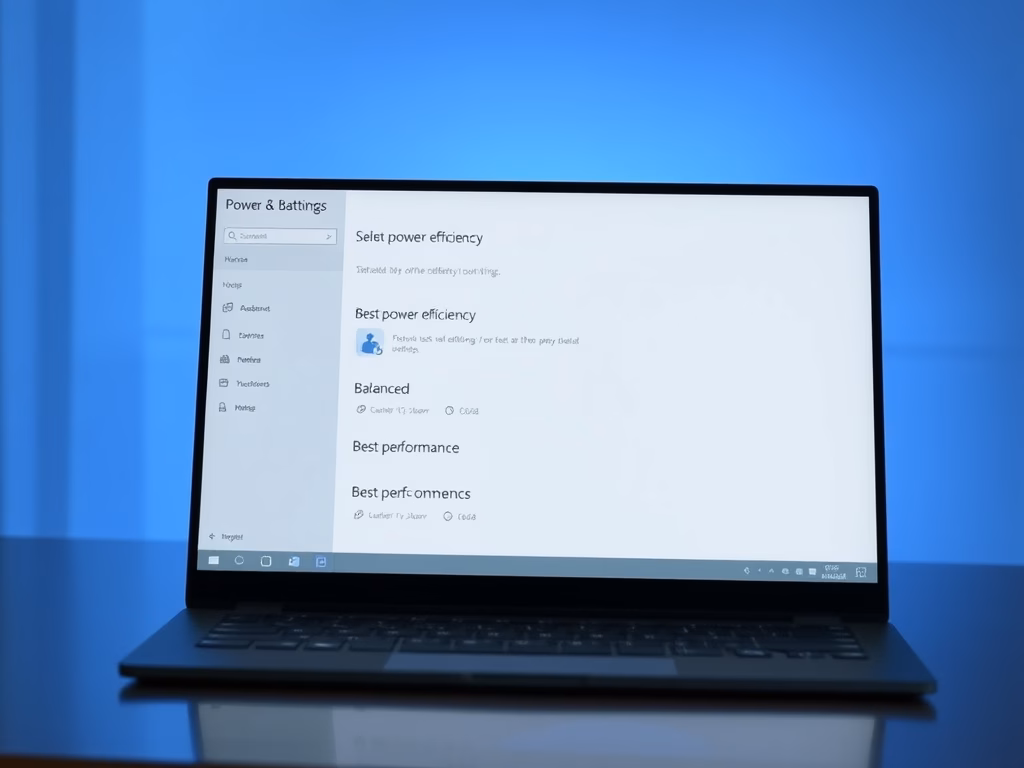
Windows 11 has three main power modes: Best Power Efficiency, Balanced, and Best Performance. These power modes help you choose between saving battery life and getting the fastest speed from your PC. Each mode changes how your computer uses power and runs its processor.
- Best Power Efficiency: This mode limits background activity and slows down the processor to save energy. It is perfect for light tasks like reading or browsing.
- Balanced: This is the default setting. It automatically adjusts your PC’s speed based on what you are doing. It is the best choice for most daily work.
- Best Performance: This mode uses more power to keep your PC running at top speed. It is ideal for gaming or heavy video editing, but it will drain your battery faster.
How to Change Your Power Mode
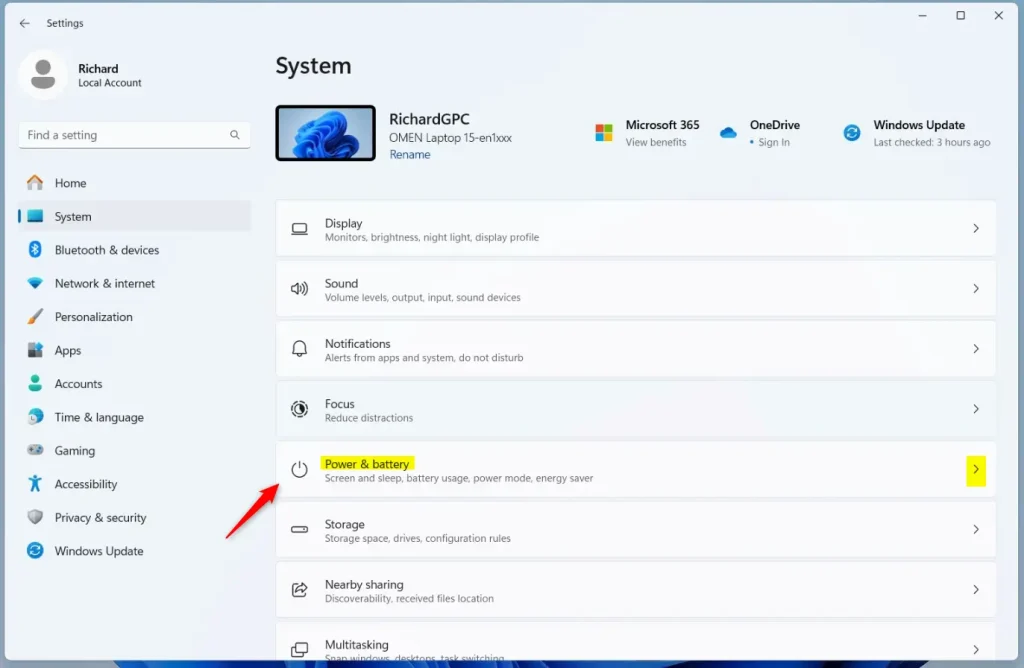
- Open Settings by pressing
Win+Ion your keyboard. - Go to System and click Power & battery.
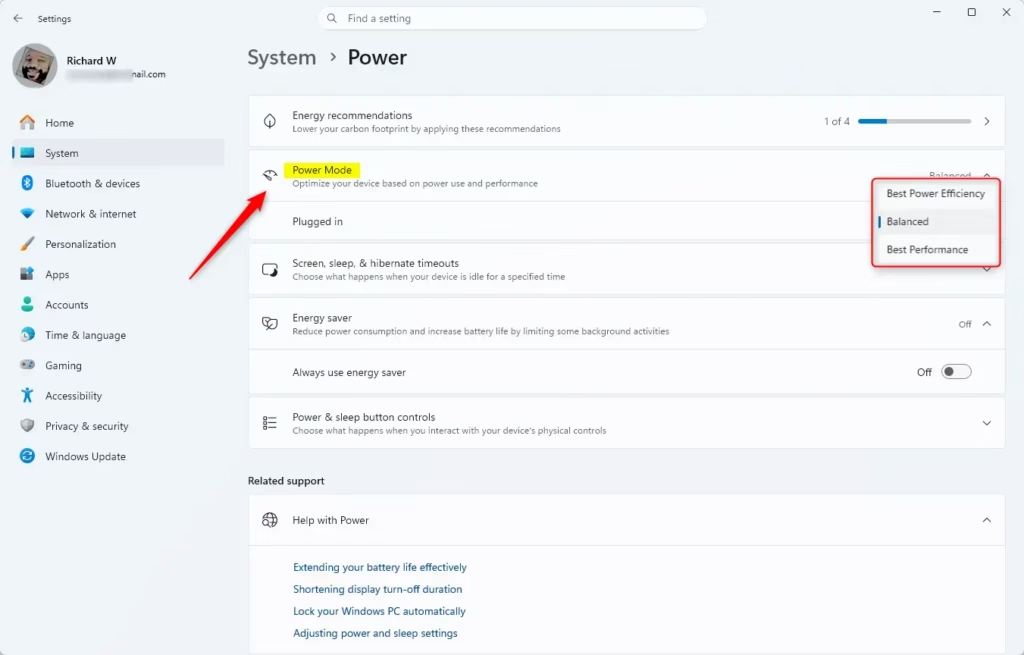
- Click the Power mode dropdown menu.
- Select your preferred mode for Plugged in or On battery.
Sustainability and Energy Efficiency
Using the right Windows 11 power modes can help the planet by using less electricity. When your PC needs less power, it creates less heat and uses less energy, which is good for the environment and your device’s battery.
Check Your Battery Usage
Screen and Sleep Integration
Registry Location
For advanced users, these settings are also available in the Windows Registry. Note: Changing things in the registry can be risky. You’ll need administrator privileges to make changes.
HKEY_LOCAL_MACHINE\SYSTEM\CurrentControlSet\Control\Power\User\PowerSchemesSummary
Windows 11 power modes let you easily switch between saving energy and getting top performance. Picking the best mode for your task helps your battery last longer and reduces your computer’s energy use.
Does changing power modes affect my PC’s lifespan?
Yes, how you use Windows 11 power modes can affect how long your PC lasts. Always using ‘Best Performance’ can make parts run hotter, causing them to wear out faster. Sticking to ‘Best Power Efficiency’ keeps things cooler and helps your battery stay healthy longer.
Why is my power mode option missing or greyed out?
Your Windows 11 power mode option might be missing or greyed out if your PC maker locked it, or if you’re using ‘Game Mode’. Desktop computers without batteries also won’t show these options. Check the ‘Get Help’ app for more specific fixes.
Was this guide helpful?

About the Author
Richard
Tech Writer, IT Professional
Richard, a writer for Geek Rewind, is a tech enthusiast who loves breaking down complex IT topics into simple, easy-to-understand ideas. With years of hands-on experience in system administration and enterprise IT operations, he’s developed a knack for offering practical tips and solutions. Richard aims to make technology more accessible and actionable. He's deeply committed to the Geek Rewind community, always ready to answer questions and engage in discussions.


So, there is no easy way anymore. It used to be “click on battery icon. Drag the bar”.
I came here looking for a quicker way than going through an entire settings menu.