How to Clear Windows Security Protection History Logs Manually

Clearing your Windows Security protection history logs manually means turning off a built-in safety feature called Tamper Protection in Windows 11 and Windows 10. Windows keeps these security logs locked so malicious software cannot delete them, which means you cannot just drag the old files to the Recycle Bin .
You need an administrator account on your PC to change this setting and to reach the hidden folder at 📁C:\
Turn off Tamper Protection in Windows Security by clicking Virus & threat protection, then Manage settings, and switching Tamper Protection to Off. Navigate to 📁C:\
Step-by-Step Guide: How to Clear Protection History Manually
The steps are the same on Windows 11 and Windows 10 unless a note says otherwise. Do all three phases in one sitting so your PC is not left with a protection setting off.
Phase 1Temporarily Turn Off Tamper Protection
Tamper Protection is the setting that blocks changes to your security files, including the history logs. Windows leaves it on by default, so you have to switch it off in the Windows Security app before you can delete anything. Tamper Protection is available in both Home and Pro editions.
If the switch is greyed out, or a message says some settings are managed by your organization, your PC is controlled by a work or school administrator. In that case you cannot change it yourself and will need to ask your IT department.
- Click the Start button on your taskbar , type Windows Security, then press Enter. The Windows Security window opens.

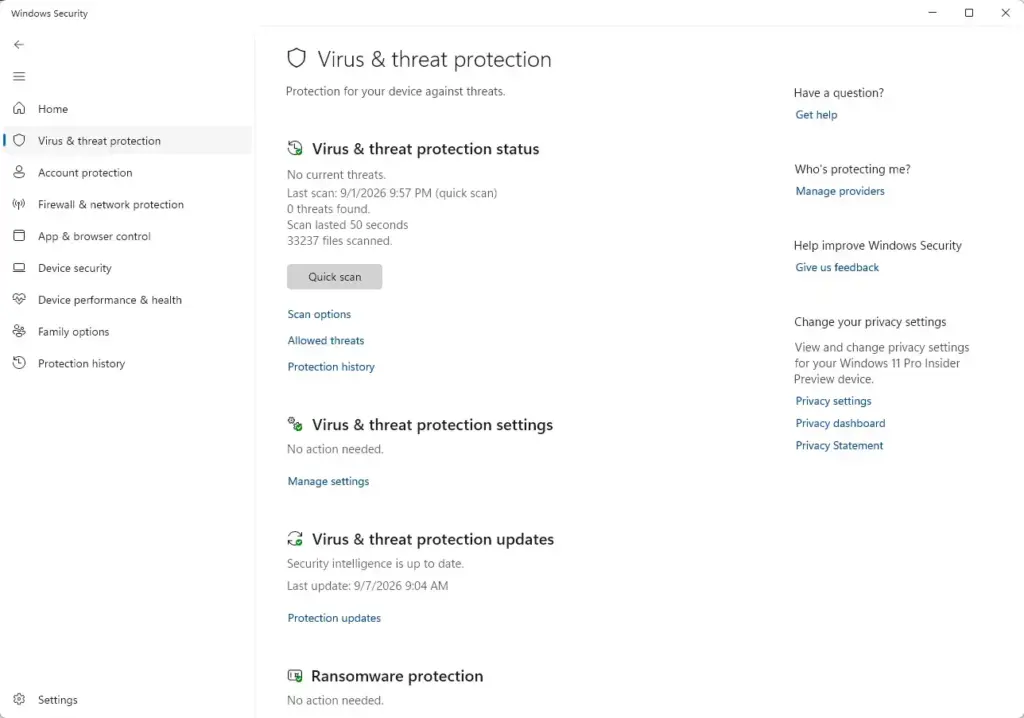
- In the Windows Security window, click Virus & threat protection on the left side of the screen. The main protection page appears on the right.
- Look under the Virus & threat protection settings heading and click the Manage settings link. The list of protection switches appears.
Windows Security › Virus & threat protection - Scroll down until you find the setting called Tamper Protection.
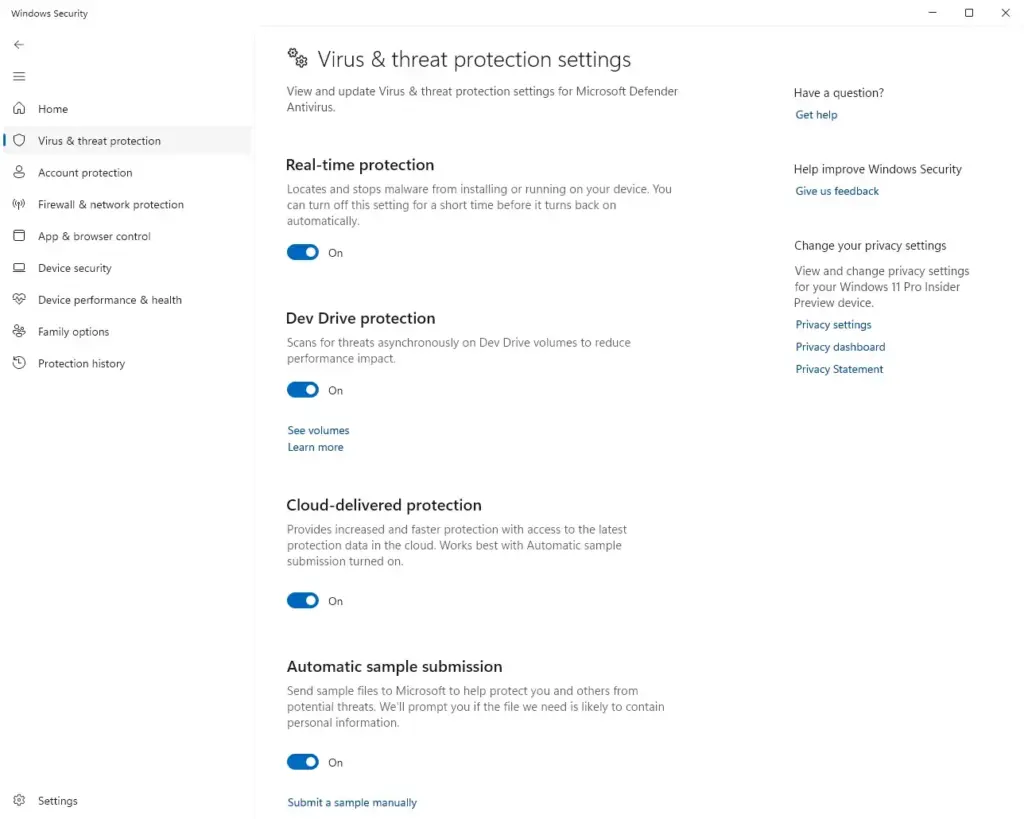
- Click the switch to turn it Off. A User Account Control window may pop up asking if you want to allow this app to make changes to your device. Click Yes. The switch should now show Off, and Windows may display a warning that your device is vulnerable. That is expected for now.
Phase 2Locate and Delete the History Files
With Tamper Protection off, you can open the folder where Windows stores past threat logs and delete the contents. These folders sit on your main drive and are hidden by default, so you may need to turn on hidden items first.
- Open File Explorer by clicking the folder icon on your taskbar or by pressing Windows Key + E on your keyboard.
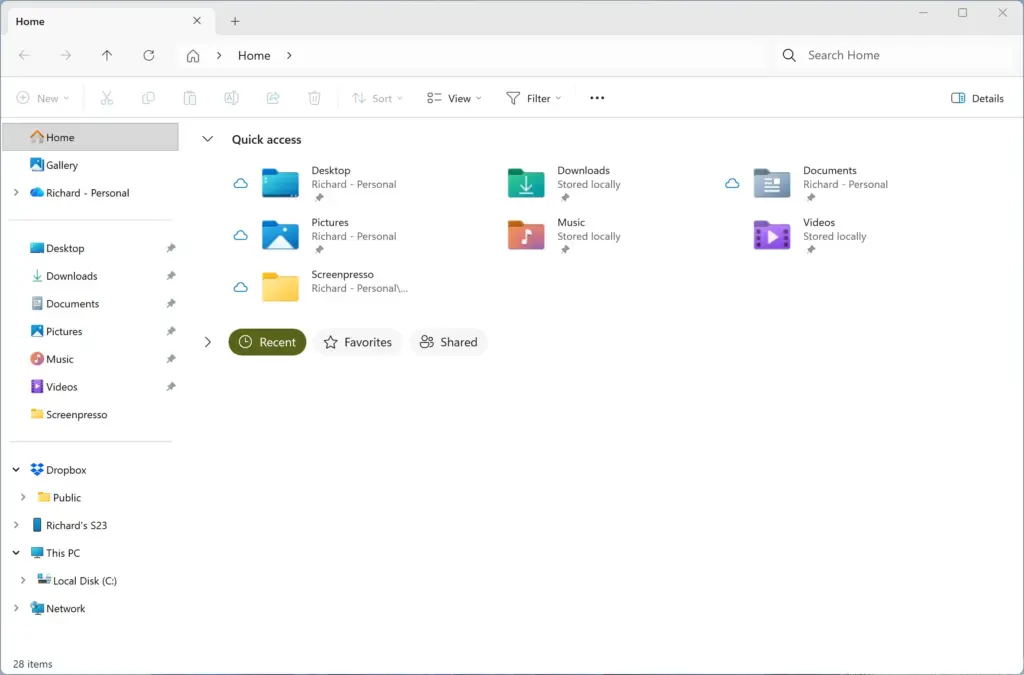
- Click your main hard drive, which is usually called Local Disk (C:). If you do not see it, click This PC in the left pane first.
- Go to the following folder path: C:\ProgramData\Microsoft\Windows Defender\Scans\History. If you cannot see the ProgramData folder, click the View menu at the top of File Explorer, select Show, and click Hidden items so it has a check mark. On Windows 10, Hidden items is a check box on the View tab itself. The ProgramData folder should now appear, slightly faded.
- Open the Service folder inside the History folder.
- Select everything inside the Service folder by pressing Ctrl + A on your keyboard. All files and folders should be highlighted.
- Right-click the selected items and choose Delete. In Windows 11 this is the trash can icon at the top of the menu. If a warning says you need permission from the system, confirm that you want to proceed. If Windows says a file is in use, click Skip and carry on, then see the troubleshooting section below.
Phase 3Turn Tamper Protection Back On
With it off, malware or other software could change your security settings without you knowing. This is also how you undo the change you made in the first phase.
- Go back to the Windows Security app by searching for it in your Start menu.
- Click Virus & threat protection, then click Manage settings.
- Find Tamper Protection and click the switch to turn it back On. Approve the User Account Control prompt if it appears.
- Close the Windows Security window and restart your computer to finish the process. After the restart, open Windows Security again if you want to confirm the switch still shows On.
Alternative Method: Clearing Protection History via PowerShell
PowerShell is a text-based alternative to deleting files through File Explorer. It needs administrator rights, and Tamper Protection still has to be off first, so complete the first phase before you start here. This route skips the hidden folders, which saves time if you do this often.
- Click the Start button, type PowerShell, right-click Windows PowerShell in the search results, and choose Run as administrator.
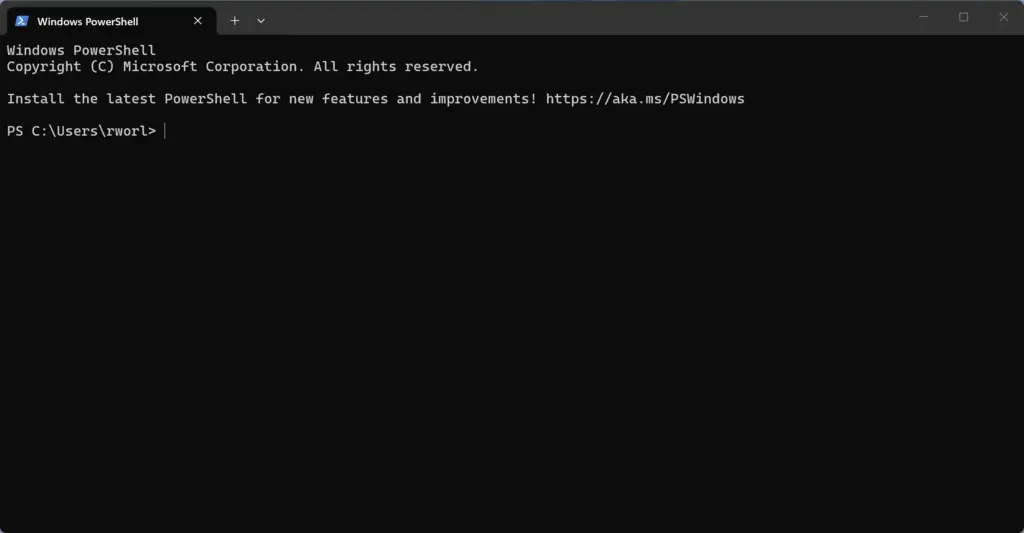
- Click Yes on the prompt asking for permission to make changes to your computer. A PowerShell window opens. If the title bar does not say Administrator, close it and repeat the first step.
- Type or copy and paste the command shown below into the PowerShell window, then press Enter:
Remove-Item -Path "C:\ProgramData\Microsoft\Windows Defender\Scans\History\Service\*" -Recurse -Force- Wait for the command to finish. If it runs without an error message, close the PowerShell window. A red error message usually means PowerShell is not running as administrator or Tamper Protection is still on.
- Turn Tamper Protection back on in your Windows Security settings, following the steps in the phase on turning it back on above.
Expert Tips for Managing Stubborn Windows Security Logs
If the logs refuse to delete or keep coming back, the cause is usually an out-of-date system or a background service holding the files open. Updating Windows and restarting the computer fixes most of these cases.
First, make sure your operating system is fully updated. Microsoft regularly releases patches that fix bugs in Windows Security and its logging services. Open Settings, go to Windows Update, and click Check for updates. If a bug is making old scan results repeat on your screen, an update often resolves it. Restart afterward if Windows asks you to.
Second, if you get permission errors while deleting files inside the Service folder, try restarting in Safe Mode. Safe Mode loads Windows with only the minimum drivers and services, which stops background programs from locking your security log files. Once you are in Safe Mode, clear the history folder, restart your computer normally, and turn Tamper Protection back on. Check that the switch still shows On before you finish.
Summary
Clearing Windows Security protection history logs manually is a reliable way to remove old threat alerts that Windows will not delete on its own. Turn off Tamper Protection, open the hidden system folders, delete the log files, and then turn Tamper Protection back on. That last step matters most, because it leaves your PC fully protected again.
Was this guide helpful?

About the Author
Richard
Tech Writer, IT Professional
Richard is a writer at Geek Rewind who turns complex IT tasks into clear, step-by-step guides. He draws on years of hands-on experience in system administration and enterprise IT operations, focusing on Windows, Linux and WordPress: the problems people actually run into, and the fixes that work. His server and WordPress guides come from systems he runs himself. Richard builds and maintains the platform behind Geek Rewind, from its Ubuntu servers and Nginx configuration to its custom WordPress plugins. Many new tutorials start with readers' questions, and he's always glad to answer them in the comments.



No comments yet — be the first to share your thoughts!