How to Secure & Protect Your Windows 11 Privacy

Windows 11 privacy settings let you control what personal data Microsoft and apps collect from your computer, including your location, typing history, and diagnostic logs. Turning off these 15 built-in tracking features stops your personal information from leaving your PC without your permission.
Most of these options live in one place. To get there:
- Open Settings from the Start menu , or press the Win+I.
- Select Privacy & security in the left pane. You will see two groups: Windows permissions (location, diagnostics, speech, and so on) and App permissions (camera, microphone, and so on).
- Open a category and review each toggle. Anything you switch off applies right away, and you can switch it back on later.
Locking down these core settings keeps your personal data safe and stops background apps from tracking your activity. The privacy pages look the same on Home and Pro. One difference is diagnostics: under Privacy & security Diagnostics & feedback you can turn off optional diagnostic data, but Windows will still send the required data on Home and Pro.
Windows 11 Security & Privacy helps keep your information safe by letting you control app access to hardware, protect files with encryption, and manage sign-in options. You can check camera usage in Settings Privacy & security Camera, and ensure Microsoft Defender is active via Windows Security.
Get Started with Basic Security
These guides cover the first steps to securing your computer and understanding its basic protections. Newcomers to Windows 11 security can start here to configure login methods and master main system tools.
If you only do a few things, do these first: use a strong sign-in method, check that Microsoft Defender is running, and review which apps can reach your camera and microphone. The sections further down walk through each one.

Control App Access to Your Hardware
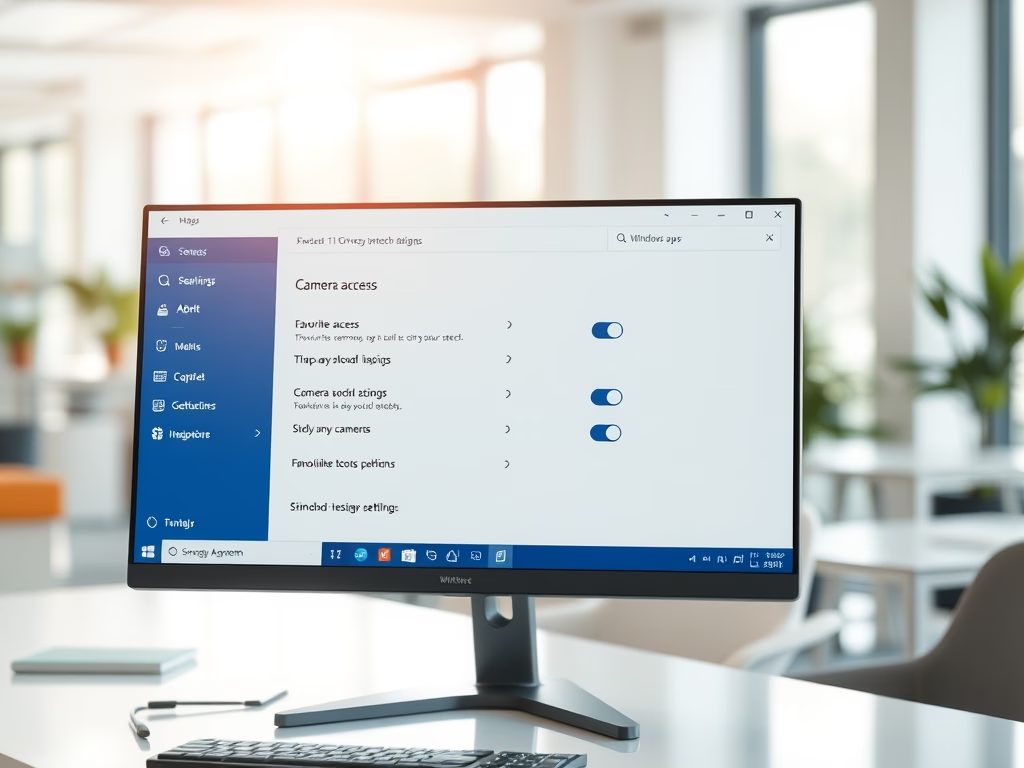
Learn how to manage which applications access sensitive hardware like cameras and microphones. Reviewing these permissions helps stop background apps from snooping on sensitive hardware.
Each hardware page has a master switch at the top, a list of individual apps, and a separate switch for desktop apps. Check all three. If you turn the master switch off, no app can use that device, even apps you have allowed individually. Do a quick review every few months, since new apps often ask for access when you install them.
Protect Your Files and Data
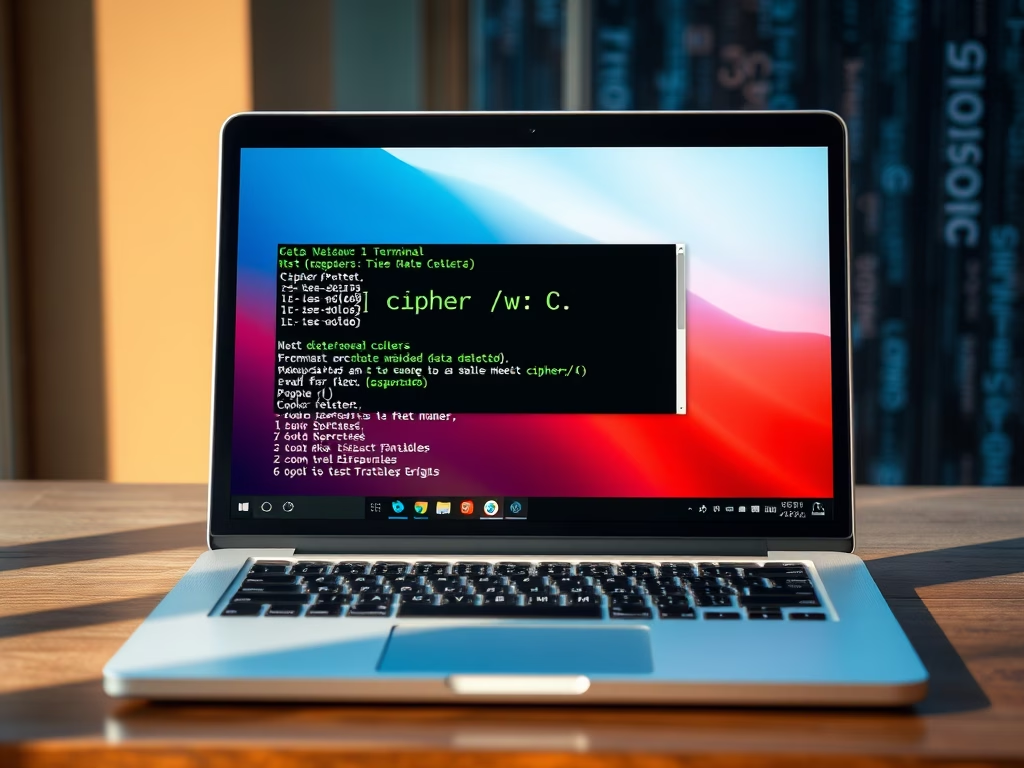
These guides focus on advanced methods to protect data stored locally. Readers learn file encryption techniques alongside safeguards that prevent unauthorized access.
Encryption protects your files if the device is lost or stolen. Some encryption features depend on your edition of Windows 11, and Home and Pro do not always offer the same options. Check the guide for your edition before you start. Also make sure you keep a copy of any recovery key somewhere other than the PC itself.
Advanced Settings and Troubleshooting
Users needing deeper control or facing specific errors will find advanced configurations and troubleshooting steps here. Content covers enabling hidden functions and tweaking system behaviors.
Changes at this level can affect how the whole system behaves. Create a restore point before you follow any of them, so you can roll back if something breaks. Note that some policy-based settings are only available on Pro and higher.
Common questions
How do I change my 🪟 Windows 11 password?
Change credentials by navigating to Settings Accounts Sign-in options. Follow these steps:
- Open Settings Accounts Sign-in options
- Expand the Password section. If you do not see it, your account may not have a password set, or the device may be set to allow only Windows Hello sign-in.
- Click Change.
- Enter your current password when prompted.
- Type the new password, then type it again to confirm it.
- Finish the prompts. The new password applies the next time you sign in or unlock the PC.
If you sign in with a Microsoft account, the change affects that account everywhere you use it, not just this PC. Windows may ask you to verify your identity first, so have your phone or email ready. Choose a long, unique password that you do not use anywhere else.
What is Windows Hello?
Windows Hello replaces traditional passwords with biometric login (using facial recognition or your fingerprint) alongside a secure PIN.
To set it up, go to Settings Accounts Sign-in options and pick the method you want. Then click Set up and follow the prompts. You must verify your identity with your current password or PIN first. You always set up a PIN as a fallback in case the camera or fingerprint reader fails.
If an option is greyed out or missing, your PC probably lacks the hardware. Face recognition needs a compatible infrared camera, and fingerprint recognition needs a fingerprint reader. A regular webcam will not do for face sign-in.
How can I see if an app has used my camera?
To see which apps have used your camera, follow these steps:
- Open Settings Privacy & security Camera
- Check that Camera access is set the way you want. Turn it off to block the camera for every app.
- Scroll to the list of apps and review each one. Switch off any app that has no reason to use the camera.
- Look for Recent activity. Under it, you will see which apps accessed the camera recently and when.
Use this list to spot misuse. If an app you do not use, or do not recognize, shows recent access, turn its permission off and consider uninstalling it. The Microphone page in the same menu works the same way.
Why is my computer asking me to sign in with a PIN?
Windows 11 frequently encourages adopting a PIN for faster sign-ins that offer higher security than standard passwords. The code links directly to the user account and remains specific to the physical hardware.
That is why a PIN is safer than a password. If someone learns your PIN, they cannot use it on another computer. To set one up:
- Open Settings Accounts Sign-in options
- Select PIN (Windows Hello), then click Set up. If you already have one, you will see Change PIN instead.
- Verify your identity with your account password if asked.
- Enter the new PIN, then enter it again to confirm. Select Include letters and symbols if you want a stronger PIN than numbers alone.
- Click OK. From now on, use the PIN on the sign-in screen.
If you forget it, use the I forgot my PIN link on the sign-in screen to reset it.
How do I make sure Microsoft Defender is running?
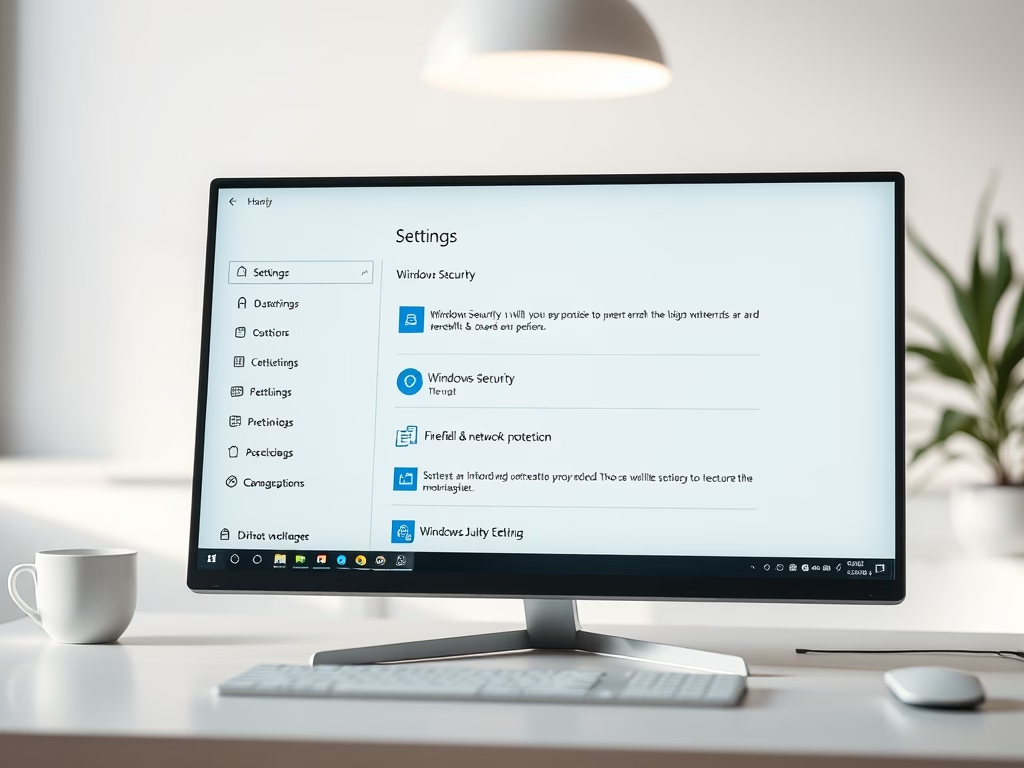
Microsoft Defender runs automatically in the background. Verify its status by navigating to Settings Privacy & security Windows Security Then:
- Click Open Windows Security if the app does not open directly.
- Click Virus & threat protection. This page displays operational status and launches manual scans.
- Check the status. A green check means no action is needed. Any warning will include a button to fix it.
- Click Quick scan to run a scan now. Use Scan options if you want a full scan instead.
If Defender appears to be off, you may have installed another antivirus program, which normally takes over and turns Defender's real-time protection off. That is expected. If you have no other antivirus installed, make sure Real-time protection is on under Virus & threat protection settings.
Was this guide helpful?

About the Author
Richard
Tech Writer, IT Professional
Richard is a writer at Geek Rewind who turns complex IT tasks into clear, step-by-step guides. He draws on years of hands-on experience in system administration and enterprise IT operations, focusing on Windows, Linux and WordPress: the problems people actually run into, and the fixes that work. His server and WordPress guides come from systems he runs himself. Richard builds and maintains the platform behind Geek Rewind, from its Ubuntu servers and Nginx configuration to its custom WordPress plugins. Many new tutorials start with readers' questions, and he's always glad to answer them in the comments.
No comments yet — be the first to share your thoughts!