How to Secure Your Data with Cipher on Windows 11

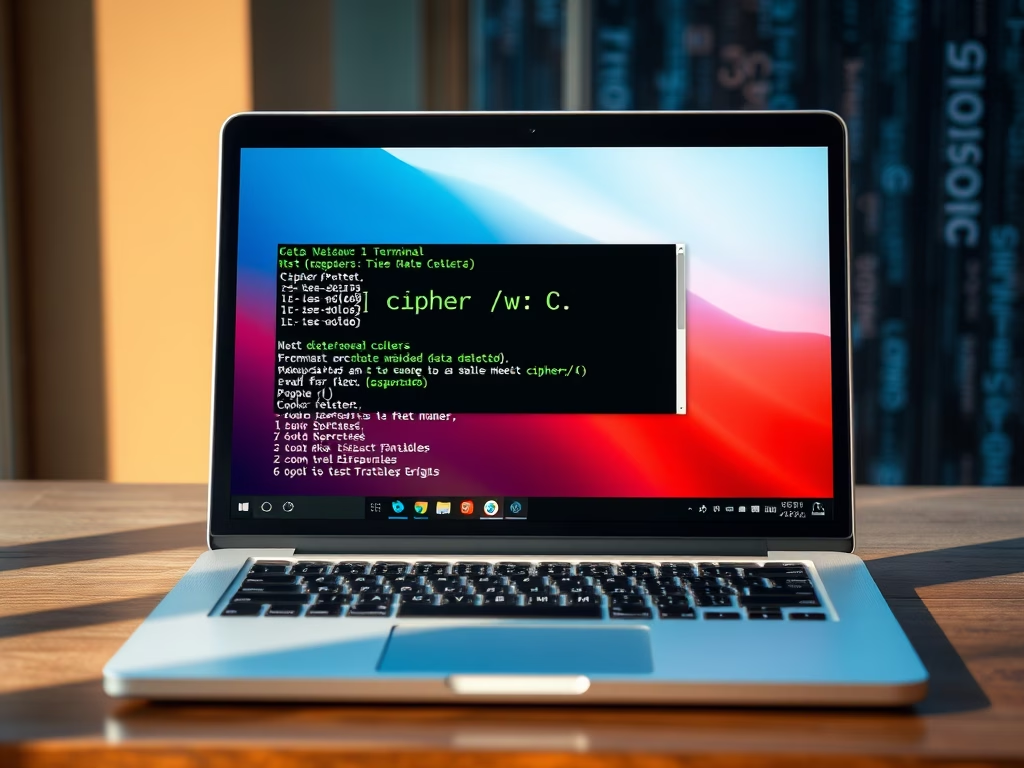
Cipher is a built-in Windows 11 tool that permanently deletes files by writing random data over your empty drive space so recovery software cannot retrieve them. When you send items to the Recycle Bin and empty it, Windows only hides the files and leaves the actual data on your hard drive until new data overwrites it.
Specialized recovery tools can bring back those deleted files unless you clear the free space. Cipher solves this privacy risk with a single command in Windows Terminal, Command Prompt or PowerShell. It wipes the leftover traces of your old files and leaves your current files alone.
Open Windows Terminal as Administrator, then type cipher /w:📁C:\
What is Cipher?
Cipher is a command-line tool that ships with every edition of Windows 11. It can do two main jobs:
- Encrypt and decrypt files on NTFS drives (file encryption relies on EFS, which is not available in Windows 11 Home)
- Overwrite deleted files so they can’t be recovered (this works on any edition, Home or Pro)
This guide covers only the second job: using Cipher to erase deleted data permanently. You don’t need to install anything, and you don’t need to change any of your files.
Why Should You Overwrite Deleted Data?
You should overwrite deleted data with Cipher on Windows 11 because standard file deletion only removes the pointer to a file. The actual data stays on your drive. Anyone with basic recovery software can pull those old files back until something else is written over them. Overwriting fills those empty storage sectors with random data, so your deleted files are gone for good.
This matters most when you are selling, donating or handing down a PC, or when you have deleted tax records, scans of ID documents or other sensitive files from a shared machine.
The process overwrites the physical sectors that deleted files used to occupy. It makes several passes, ending with random data. Recovery tools can then no longer rebuild the original files, so your private information stays private.
Two things to know before you start:
- Cipher only cleans space that is already free. A file still sitting in the Recycle Bin is not free space yet, so empty the Recycle Bin first.
- On a solid-state drive (SSD), the drive controller decides where data is physically written. An overwrite of free space may not reach every cell. It still helps, but for a drive that held highly sensitive data, full-disk encryption or a manufacturer's secure erase tool is the stronger option.
How to Overwrite Deleted Data with Cipher
To overwrite deleted data with Cipher on Windows 11, you run a built-in command that cleans the free space on one drive. It targets empty storage sectors and does not touch your active files. Running it forces Windows to overwrite the leftover traces of deleted files so nobody else can recover them.
Before you begin, empty the Recycle Bin, close any open programs, and plug in a laptop. The job can run for a long time.
- Open Windows Terminal as an Administrator %%FLAG_ADMIN%%
To do this:
- Click the Start button or press the Windows key.
- Type Windows Terminal.
- Right-click Windows Terminal and choose Run as administrator.
- If a User Account Control prompt appears, click Yes.
A terminal window opens. Check that the word Administrator appears in the title bar. On older Windows 11 builds that don't include Windows Terminal, search for Command Prompt instead and use the same Run as administrator option.
If you want a detailed guide, see: How to Open Windows Terminal as Admin.
- Choose PowerShell or Command Prompt inside Windows Terminal
Either one works for Cipher. Switch between them using the dropdown arrow at the top of the window, or by opening a new tab. Tabs you open from an elevated window keep the administrator rights. More info here: Open PowerShell on Windows 11 | Open Command Prompt on Windows 11
- Type the Cipher command to overwrite deleted data on your drive
Use this command format:
cipher /w:<drive letter>Replace <drive letter> with the letter of the drive where you want to erase deleted data. For example, to clean drive C, type:
cipher /w:C📝ImportantMake sure you select the correct drive letter!You can confirm the letters in File Explorer under This PC. The command only overwrites free space, so a wrong drive will not delete your files, but it will waste hours cleaning the wrong disk.
- Press Enter and wait for the process to finish
Press Enter. The tool will take some time depending on your drive size, how much free space it has and how fast it is. A large, mostly empty drive can take hours. Cipher fills the free space with random data, making deleted files unrecoverable, and prints progress messages as it works.
Don't close the window while it runs. If you need to stop, press Ctrl + C. Nothing is damaged, but the free space will not be fully cleaned until you run the command again.
When the command returns you to the prompt, deleted data on that drive has been overwritten. You can close the terminal. Nothing needs to be restarted, and there is nothing to undo, because the only thing changed was the free space.
The command has to run again for each drive you want to clean. It also won't cover files you delete later, so repeat it after you remove anything sensitive.
Summary
Using Cipher on Windows 11 gives you a simple, built-in way to protect your privacy by shredding deleted files beyond recovery. By targeting empty disk space with one command, you make sure no one can pull up your old personal documents or pictures. You don't need third-party software.
- Cipher overwrites deleted data so it cannot be recovered.
- Deleted files stay on disk until overwritten, so this step keeps your data safe.
- Using
cipher /w:<drive letter>is easy and effective, as long as you run it from an administrator window. - Always run the command on the right drive to protect your private files.
- Make it a habit to run this tool regularly, especially after deleting sensitive files, for better data security.
- Following these simple steps helps keep your personal information private and your computer more secure.
Where to Learn More
For official details, visit Microsoft's guide: Use Cipher to overwrite deleted data (Microsoft Official Guide)
Was this guide helpful?

About the Author
Richard
Tech Writer, IT Professional
Richard is a writer at Geek Rewind who turns complex IT tasks into clear, step-by-step guides. He draws on years of hands-on experience in system administration and enterprise IT operations, focusing on Windows, Linux and WordPress: the problems people actually run into, and the fixes that work. His server and WordPress guides come from systems he runs himself. Richard builds and maintains the platform behind Geek Rewind, from its Ubuntu servers and Nginx configuration to its custom WordPress plugins. Many new tutorials start with readers' questions, and he's always glad to answer them in the comments.


No comments yet — be the first to share your thoughts!