How to Fix Windows 11 Networking & Connectivity Issues

Windows 11 networking and connectivity issues prevent your PC from reaching the internet, loading web pages, or talking to local devices such as printers. Typical symptoms are sudden dropouts, slow speeds, and error messages like “No internet” or “Connected, no internet.” Most of these come from outdated drivers, corrupted network caches, or misconfigured adapter settings.
You can fix most of them in under 10 minutes with built-in tools: the network troubleshooter, a network reset, and a driver update. You do not need advanced skills or third-party repair software. Before changing anything else, check the basics. Restart the PC and the router, and see whether other devices on the same network can get online. If they can’t, the fault is with the router or your internet provider, not Windows.
Two built-in tools are worth knowing before you start:
- Network and Internet troubleshooter: go to Settings System Troubleshoot Other troubleshooters, then select Run next to Network and Internet. It checks the adapter, the connection, and the settings , and fixes what it can.
- Network reset: go to Settings Network & internet > Advanced network settings Network reset This removes and reinstalls your network adapters and returns networking settings to their defaults. It also deletes saved Wi-Fi networks, passwords, and VPN connections, so keep your Wi-Fi password handy. Windows restarts the PC afterwards.
Check your Windows 11 computer’s Wi-Fi capabilities by opening Device Manager, expanding Network adapters, and viewing your Wi-Fi adapter’s properties. This reveals the Wi-Fi standards, like Wi-Fi 6, your device supports, helping you understand connection speeds and potential upgrades.
Understanding Your Wi-Fi and Connections
Before changing settings, find out what your hardware supports. A slow or unstable connection is sometimes just an older Wi-Fi card that cannot use newer features. This section shows how to check your Wi-Fi capabilities and explains the basic connection features.
The quickest check is on the Settings page for your connected network:
- Open Settings Network & internet > Wi-Fi .
- Select the properties page for the network you are connected to.
- Look at the Protocol line. It shows the standard in use, such as Wi-Fi 5 (802.11ac) or Wi-Fi 6 (802.11ax).
The protocol shown is what your adapter and router are using together. If your router is older than your adapter, the link drops to the router’s level.
Sharing Your Internet and Devices
You can share an internet connection with other devices, or let apps communicate across the local network. This is useful for connecting a phone to your PC's connection or making your computer visible to other devices on the network.
Two things must be right for local sharing to work:
- Open Settings Network & internet > Advanced network settings Advanced sharing settings
- Expand the profile that matches your network, usually Private networks.
- Turn on Network discovery and File and printer sharing as needed.
If your network is set to Public, Windows hides your PC from other devices on purpose. Change the network profile to Private only on networks you trust, such as your home. Turning these options off again hides the PC and stops sharing.
Optimizing and Managing Network Power
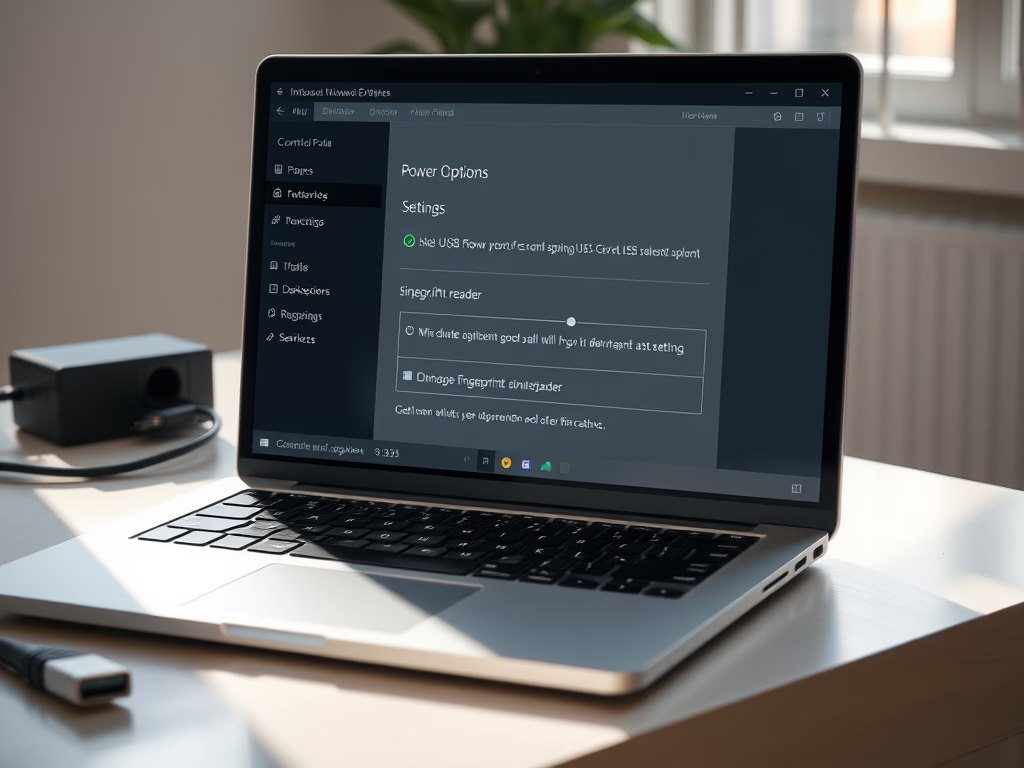
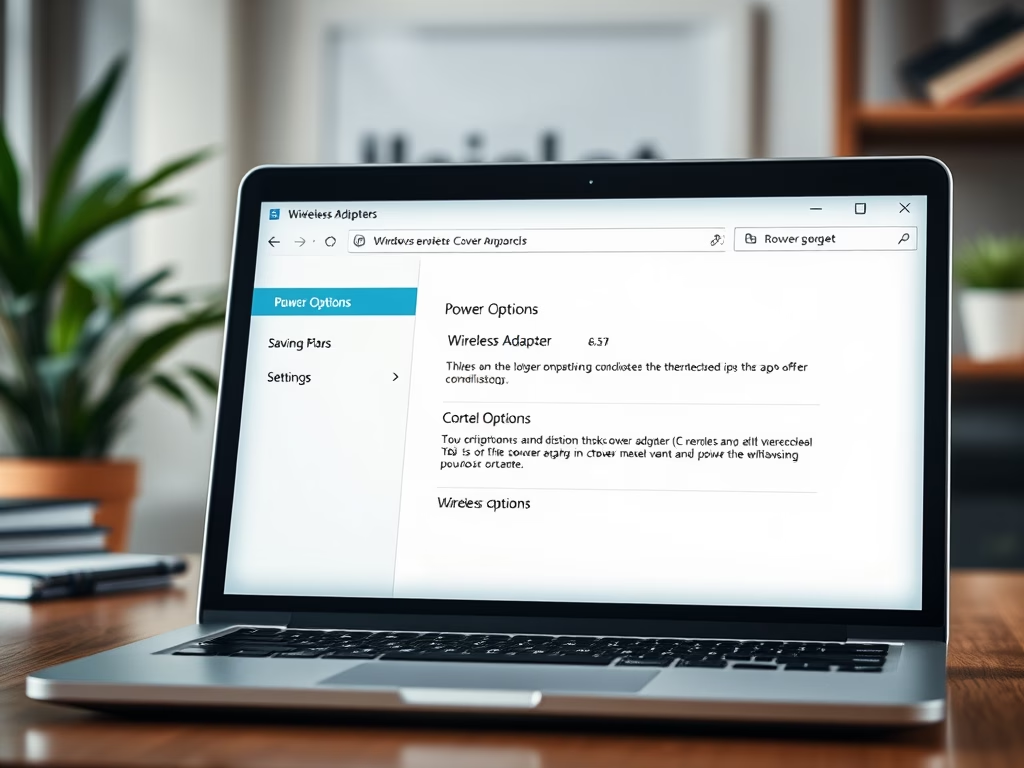
These guides cover how Windows manages power for network adapters. By default, Windows can switch an adapter off or into a low-power state to save energy. That helps battery life, but it can also cause dropped connections after sleep or short periods of inactivity. Adjusting these settings either preserves battery or stabilizes the connection on a laptop. You usually trade one for the other.
Securing Your Network Connection
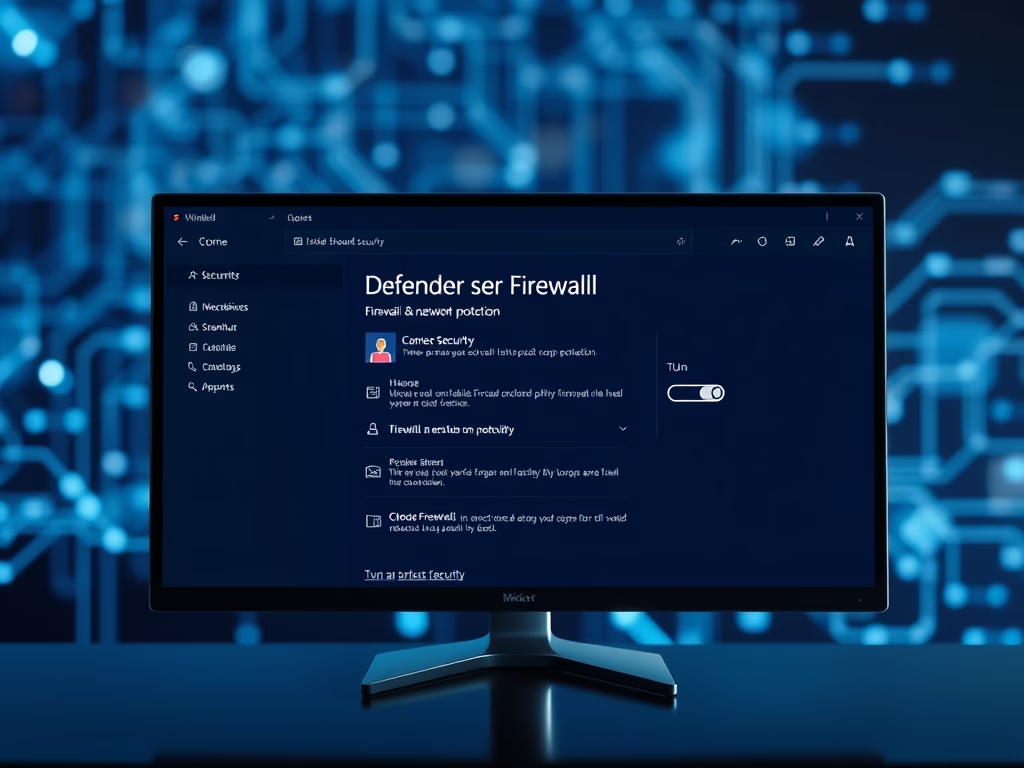
Keeping a computer secure online matters. This section covers the security features tied to network connectivity, including the built-in firewall. Windows turns most of them on by default, so the main job is checking that they are still on and understanding what they do before you change anything.
Common questions
How do I know if my computer can connect to faster Wi-Fi?
To see whether your Wi-Fi card supports modern standards like Wi-Fi 6, check its properties in Device Manager:
- Right-click the Start button and select Device Manager.
- Expand Network adapters. You should see your wireless card in the list, usually with "Wi-Fi" or "Wireless" in the name.
- Double-click the wireless card. The Properties window opens.
- Select the Advanced tab.
- Scroll through the Property list and look for an entry about the wireless mode, such as 802.11ax or "11ax". The exact names depend on the driver and manufacturer.
If no such entry appears, that does not always mean the card lacks support, because some drivers hide the option. The Protocol line in Settings Network & internet > Wi-Fi is a more reliable check. Be careful in this tab. Changing values you don't understand can break the connection. Note the original value before you edit anything.
Why is my Wi-Fi connection sometimes slow?
Slow Wi-Fi usually comes from distance, interference, or an outdated wireless standard. Checking what your adapter supports and its power settings often restores performance. Work through these steps in order:
- Move closer to the router, or remove obstacles such as walls and metal objects. Then run a speed test again.
- If your router offers both bands, connect to the 5 GHz network. It is faster at short range than 2.4 GHz, which reaches further but is more prone to interference.
- In Device Manager, double-click your wireless card and open the Power Management tab.
- Clear the Allow the computer to turn off this device to save power check box, then select OK.
- Restart the PC and test again.
If the Power Management tab is missing, your driver does not expose that option. To undo the change, tick the box again. On a laptop, expect a small increase in battery use.
What are MAC addresses and why would I change them?
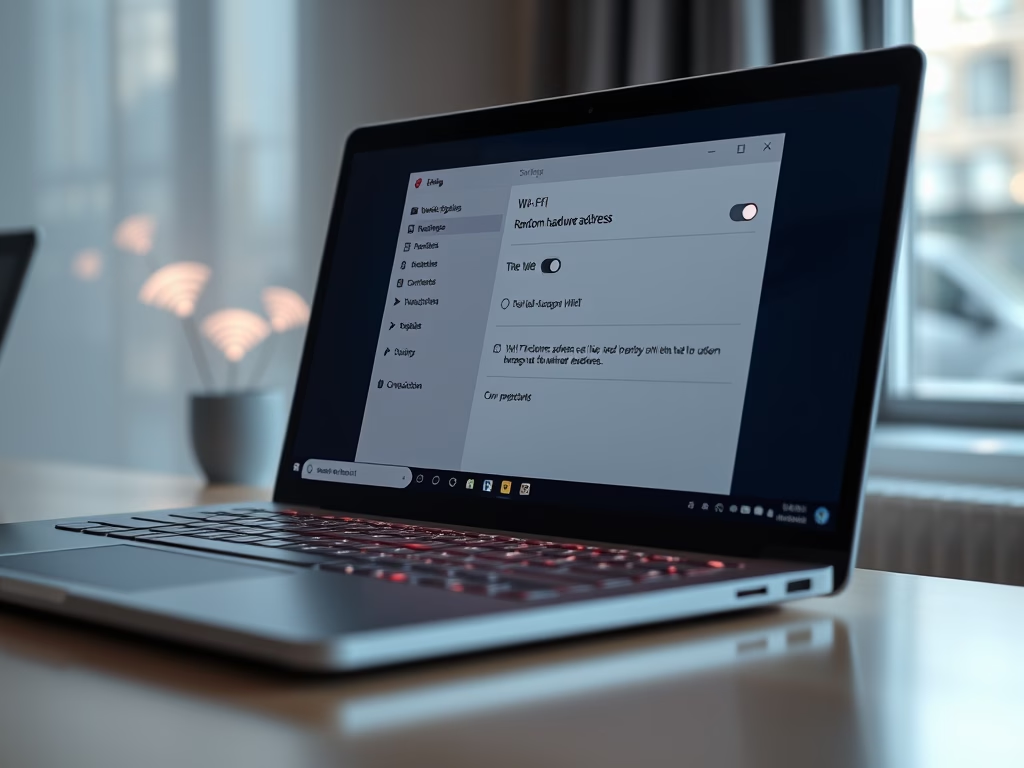
Every network card has a MAC address, a unique hardware serial number. Randomizing it stops public networks from tracking your physical device as you move between places. Windows 11 can do this for Wi-Fi if your adapter and driver support it. If the option is missing, the driver does not support it.
- Open Settings Network & internet > Wi-Fi.
- Select Random hardware addresses if your version shows it, or open the properties of a specific network.
- Set it to On. Some builds also offer a daily-change option.
- Disconnect from the network and reconnect.
Labels can vary slightly between Windows 11 builds. One side effect: if your home router filters devices by MAC address, a random address may be blocked. Set the option to Off for that network to undo it.
How can I share my internet from my 🪟 Windows 11 laptop?
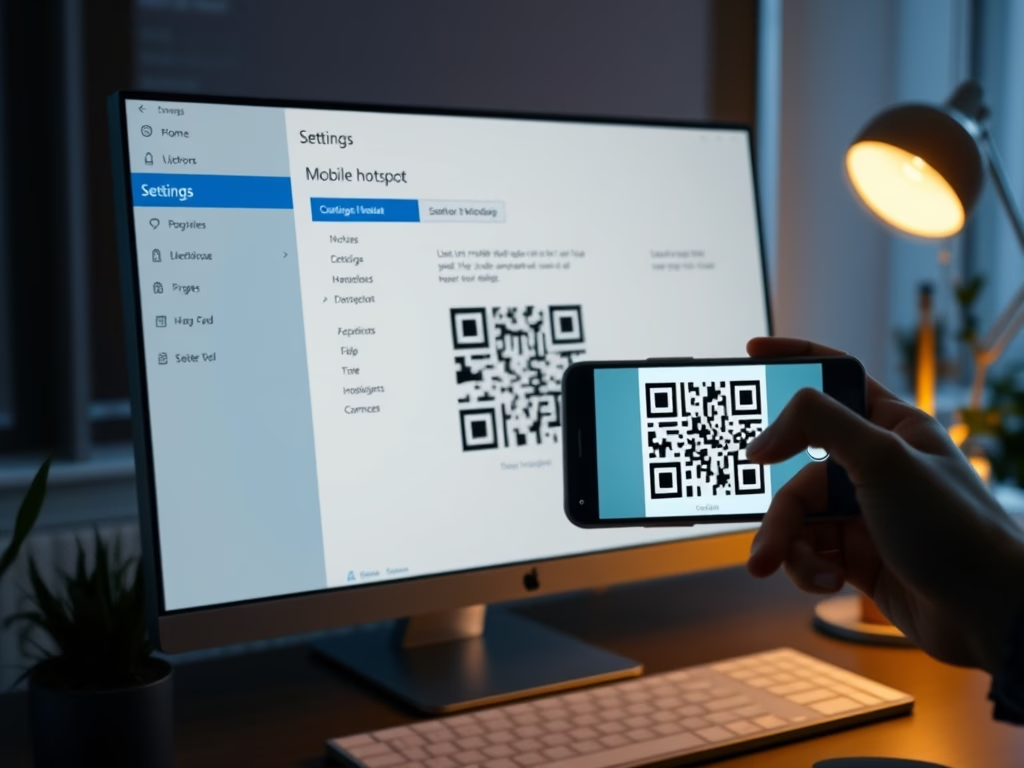
You can share a laptop's internet connection through the Mobile Hotspot feature in Windows 11 settings. This turns the laptop into a portable wireless access point for phones, tablets, and other devices.
- Open Settings Network & internet > Mobile hotspot.
- Under Share my internet connection from, pick the connection you want to share.
- Under Share over, choose Wi-Fi or Bluetooth.
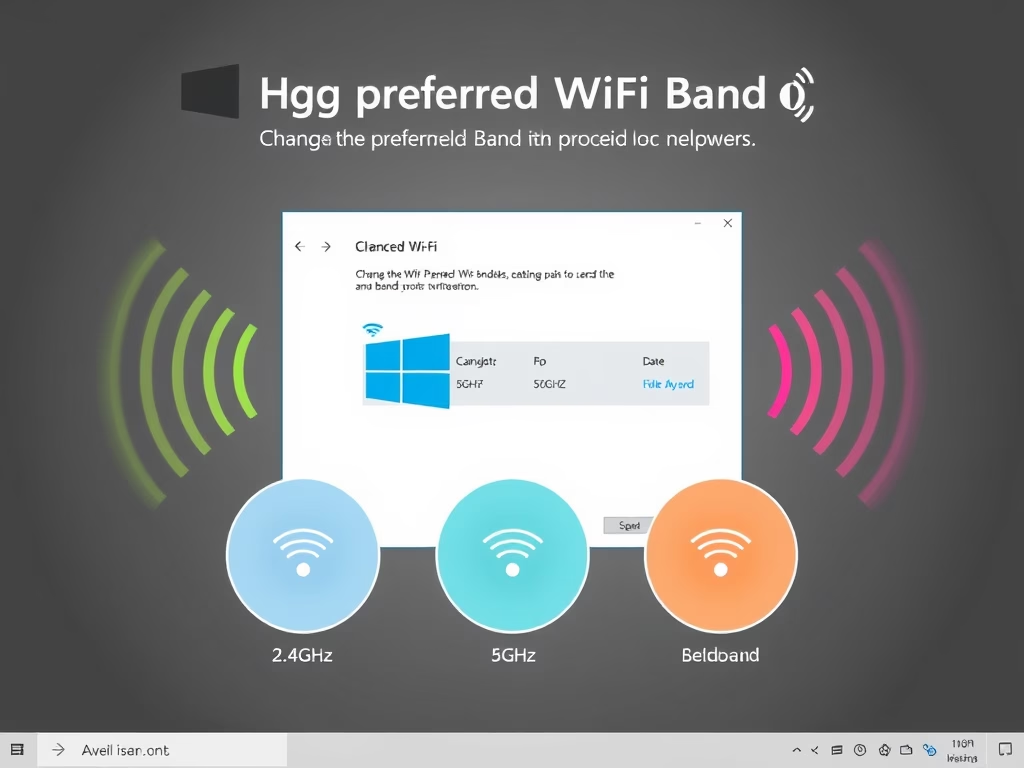
- Select Edit next to the network properties. Set a network name, a password, and a network band, then select Save.
- Switch the Mobile hotspot toggle to On.
Your other devices should now see the network name in their Wi-Fi list. Connect with the password you set. Switch the toggle to Off when you are done, because a running hotspot drains the battery.
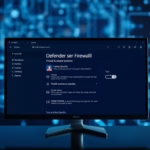
What is the Windows Firewall for?
Windows Firewall acts as a bouncer for your network traffic. It blocks unauthorized incoming connections while letting safe apps reach the internet. To check it:
- Select Start, type Windows Security, and open the app.
- Select Firewall & network protection.
- Check the Domain network, Private network, and Public network entries. Each should show the firewall as on.
If an app can't connect, use the Allow an app through firewall link on that page to permit it, rather than turning the firewall off. If you suspect the settings have been changed, the same page has a Restore firewalls to default option. Changing firewall settings needs an administrator account.
Was this guide helpful?

About the Author
Richard
Tech Writer, IT Professional
Richard is a writer at Geek Rewind who turns complex IT tasks into clear, step-by-step guides. He draws on years of hands-on experience in system administration and enterprise IT operations, focusing on Windows, Linux and WordPress: the problems people actually run into, and the fixes that work. His server and WordPress guides come from systems he runs himself. Richard builds and maintains the platform behind Geek Rewind, from its Ubuntu servers and Nginx configuration to its custom WordPress plugins. Many new tutorials start with readers' questions, and he's always glad to answer them in the comments.

No comments yet — be the first to share your thoughts!