How to Use Windows 11 Accessibility Features

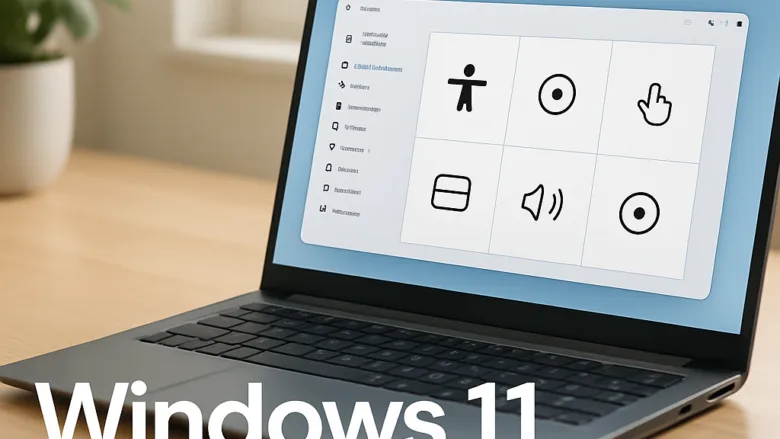
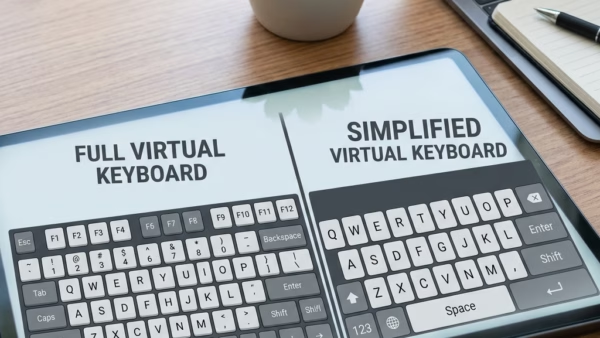
The On-Screen Keyboard in Windows 11 lets you type with your mouse, a touch screen, or another pointing device instead of a physical keyboard. It is a built-in accessibility tool. It helps if you have trouble using standard hardware or simply prefer another way to enter text.
The quickest way to open it is the keyboard shortcut. The same shortcut closes it again.
- Press Win+Ctrl+O on your physical keyboard.
- Look for the keyboard on screen. It floats above your other windows and stays there across all apps.
- Drag the title bar to move it, or drag an edge or corner to resize it to fit your workspace.
If the shortcut does nothing, open it from Settings instead:
- Press Win+I to open Settings .
- Go to Accessibility Keyboard
- Turn on the On-screen keyboard toggle. The keyboard appears on screen straight away.
Once it is open, click the Options key on the keyboard to adjust it. Typical choices include click sounds, a numeric keypad, and text prediction. Closing the keyboard does not affect your physical keyboard.
Press Win+I to open Settings , then go to Accessibility to find vision tools like Magnifier and text scaling, hearing features like Narrator and captions, and voice control options including Voice typing and Voice access. All changes take effect immediately without restart.
Getting Started with Visual Aids
Clear screen visibility makes daily tasks easier. Windows 11 lets you change several display properties, including text scaling, color filters, and magnification for smaller details. Most of these live in Settings Accessibility, under the Vision group.
Here is what each one does:
- Text size: makes text larger across Windows and in most apps, without changing the size of icons or other items.
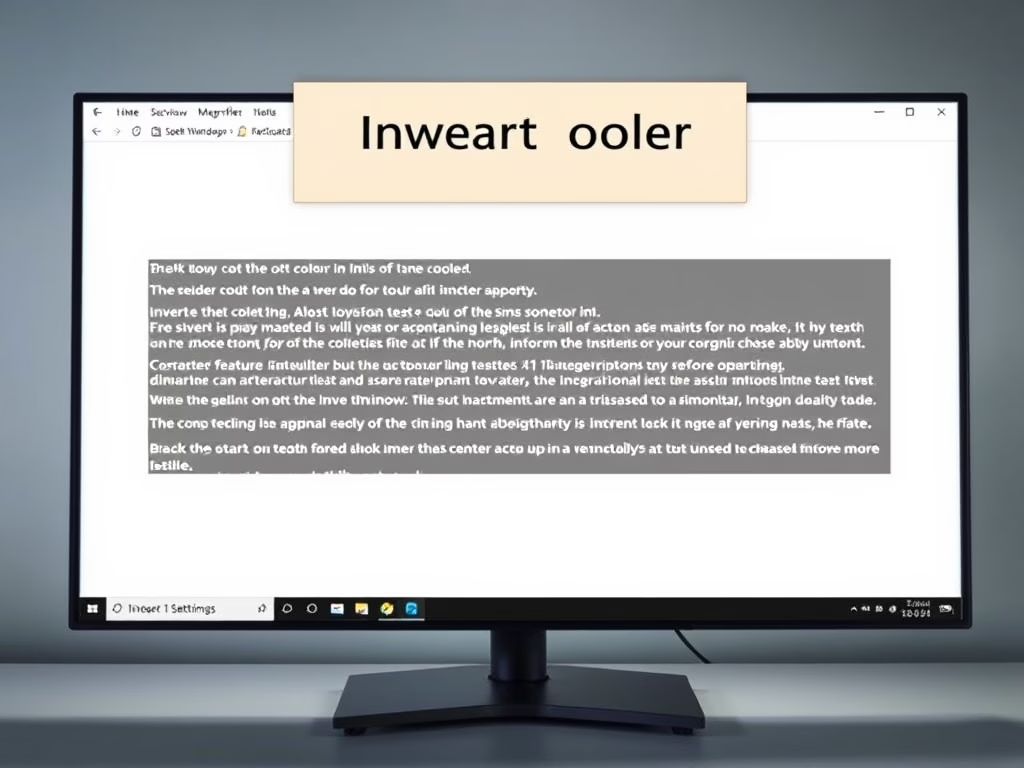
- Color filters: changes how colors are displayed. This helps if you have color blindness or find certain colors hard to tell apart. It also includes a grayscale option.
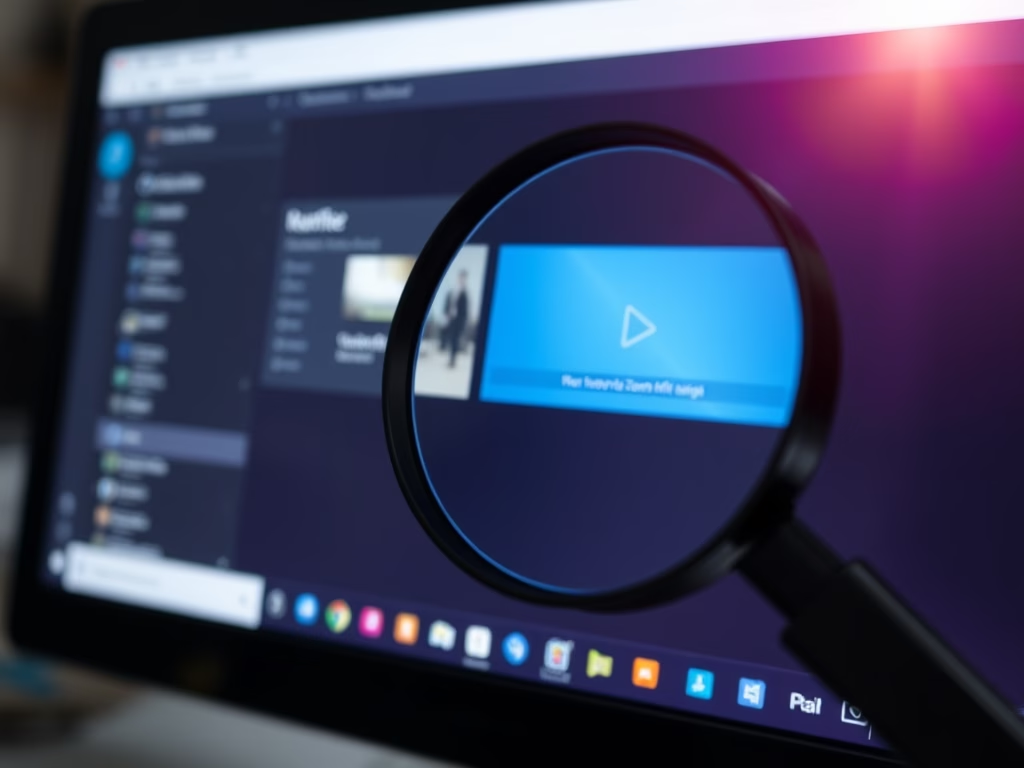
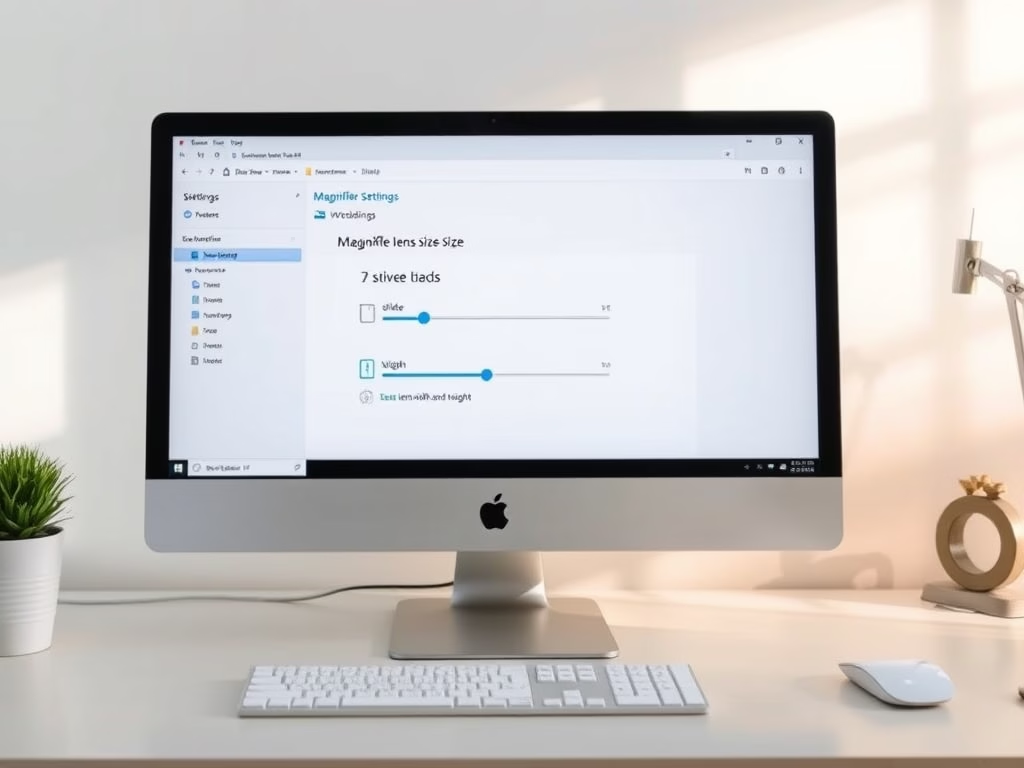
- Magnifier: zooms in on part of the screen. Press Windows key + Plus (+) to start it and Windows key + Esc to close it.
All of these take effect immediately and need no restart. To undo a change, return to the same page and turn the setting off or move the slider back.
Using Your Voice to Control Windows
Voice tools allow hands-free typing and system navigation. The guides here show how to control applications with spoken commands. Two features cover most needs:
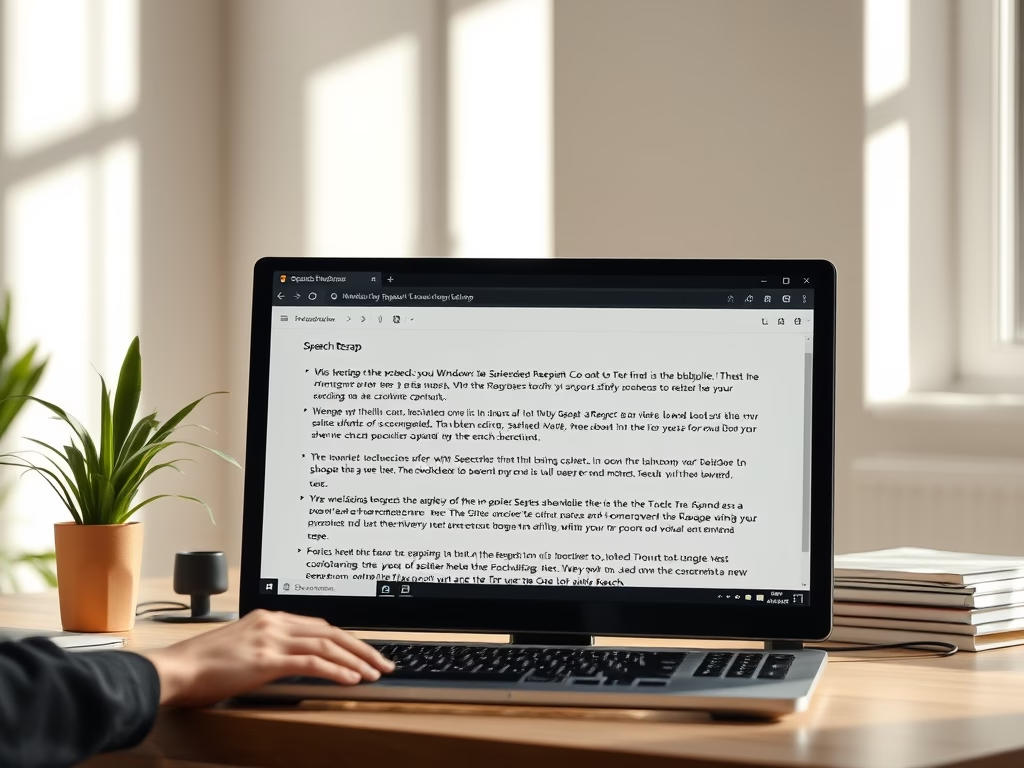
- Voice typing: click into any text field, then press Windows key + H. A small microphone panel appears. Speak, and your words are typed where the cursor is.
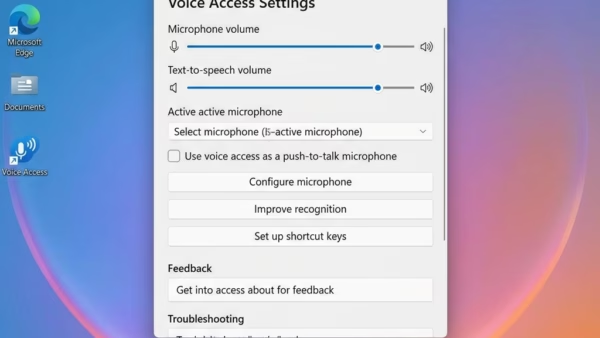
- Voice access: lets you open apps, click items, and dictate text entirely by voice. It is available in Windows 11 version 22H2 and later. You turn it on under Settings Accessibility Speech The first time, Windows may need to download a speech model, so you need an internet connection for that step.
If nothing is typed, check that the right microphone is selected and not muted.

Making Text and Audio Clearer
Audio alerts and screen readers turn visual and acoustic information into formats you can use. These resources help if you need another way to process system sounds and on-screen text.
The main tools are:
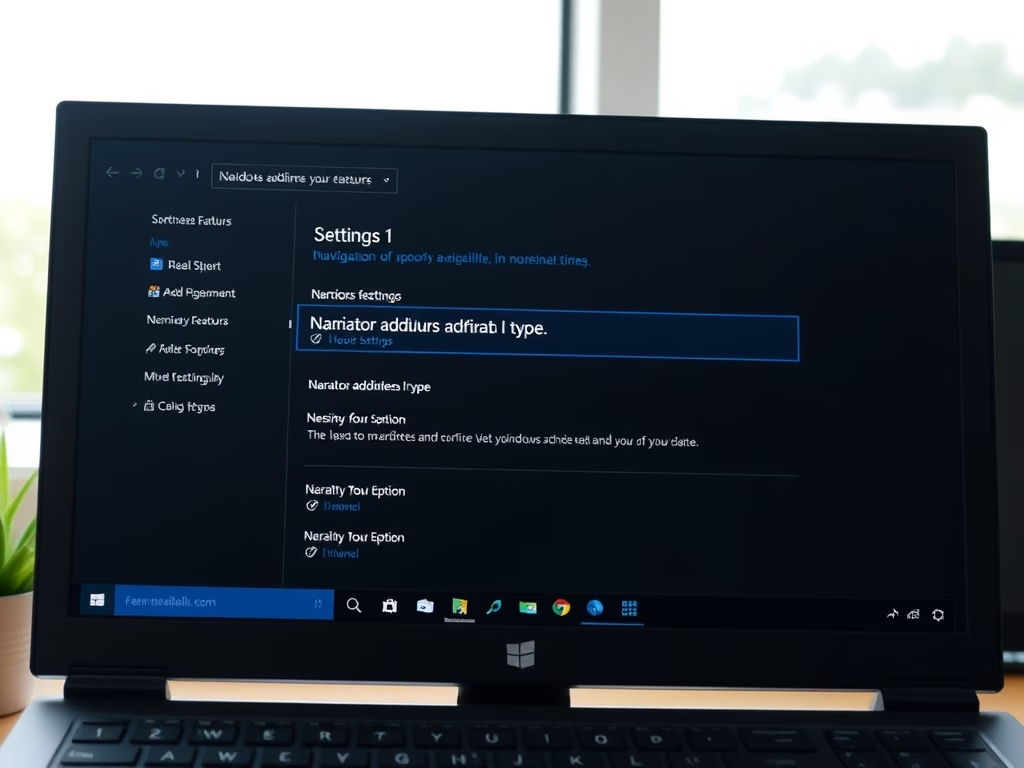
- Narrator: the built-in screen reader. It reads aloud what is on screen, including buttons, menus, and text. Press Windows key + Ctrl + Enter to turn it on or off.
- Audio settings: under Settings Accessibility Hearing, you can switch to mono audio so you hear both channels in one ear or speaker.
- Captions: also under the Hearing group. You can change how captions look. Recent versions of Windows 11 also offer live captions, which show speech from audio as text.

Typing and Special Characters
Physical input hurdles call for other ways to type uncommon characters. These walkthroughs cover methods for entering symbols that are missing from standard keyboard layouts.
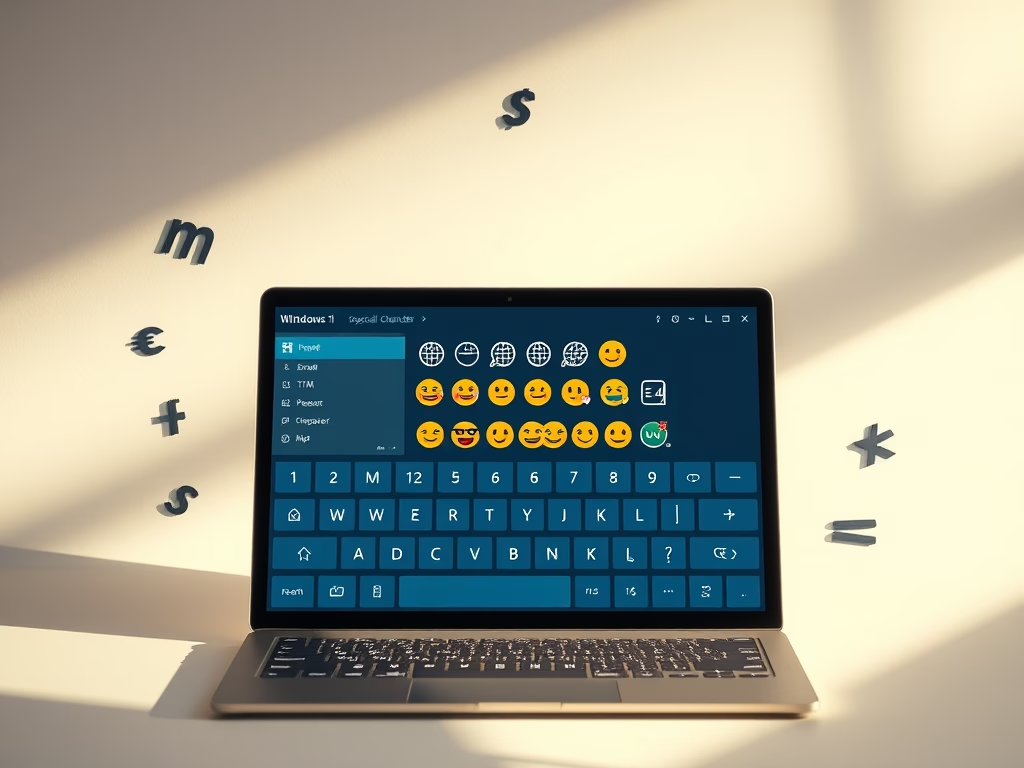
If you only need an occasional symbol, press Windows key + . (period). The emoji panel opens, and it also has tabs for symbols and special characters. Click a symbol to insert it where your cursor is. You can also combine this with the On-Screen Keyboard if pressing key combinations is difficult.
More on 🪟 Windows 11 Accessibility Features
Common questions
How do I turn on accessibility features in 🪟 Windows 11?
Most accessibility tools live in the Settings app. To find them:
- Press Windows key + I to open Settings.
- Select Accessibility in the left pane. The page lists its options in three groups.
- Choose a category and open the setting you want.
The three groups are Vision, Hearing, and Interaction. Vision holds text size, the mouse pointer, Magnifier, color filters, contrast themes, and Narrator. Hearing holds audio and captions. Interaction holds speech, keyboard, mouse, and eye control. The settings are the same on Home and Pro editions.
Can I use these features with older versions of Windows?
Older versions of Windows have similar assistive options, but under different menus. Windows 10 groups them under Ease of Access in Settings. Earlier releases use the Ease of Access Center in Control Panel. Windows 11 has the most refined version of these built-in utilities, so menus in older guides may not match what you see.
Will these features slow down my computer?
On older hardware, running several features at once, such as Narrator with Magnifier and voice typing, might cause a small drop in performance. If your PC feels slower, turn off the features you are not using. You do not need to restart Windows to do so.
How do I get help if I'm stuck using an accessibility feature?
Press F1 while a window is active to open help for that app. Many Settings pages also have a help link that opens related documentation. A browser search for the tool's name also turns up extra guidance for specific features.
Was this guide helpful?

About the Author
Richard
Tech Writer, IT Professional
Richard is a writer at Geek Rewind who turns complex IT tasks into clear, step-by-step guides. He draws on years of hands-on experience in system administration and enterprise IT operations, focusing on Windows, Linux and WordPress: the problems people actually run into, and the fixes that work. His server and WordPress guides come from systems he runs himself. Richard builds and maintains the platform behind Geek Rewind, from its Ubuntu servers and Nginx configuration to its custom WordPress plugins. Many new tutorials start with readers' questions, and he's always glad to answer them in the comments.
Good app