How to Open and Use the On-Screen Keyboard in Windows 11

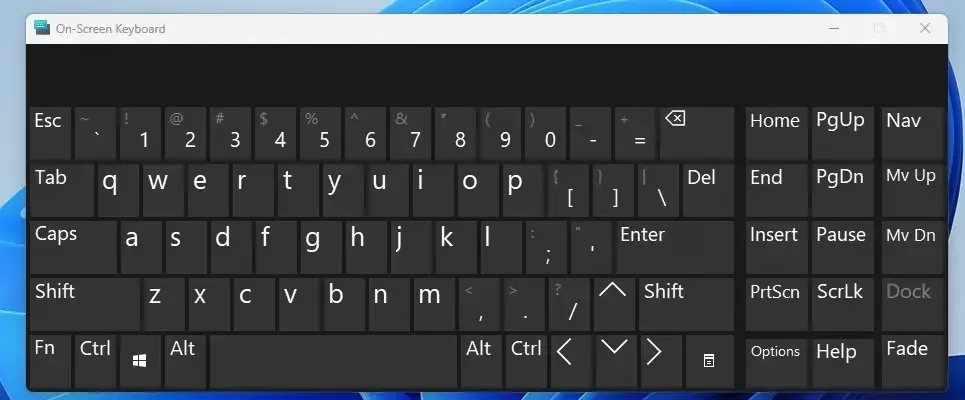
The On-Screen Keyboard in Windows 11 is a virtual keyboard that appears on your screen. It lets you type using your mouse, trackpad, or touch, acting as a digital replacement for your physical keyboard. You can quickly open it using the shortcut: press the Windows key, Ctrl, and O keys at the same time.
This tool is super handy if your physical keyboard stops working, a key gets stuck, or you just need a quick way to type something without your regular keyboard.
Press ⊞ Win+Ctrl+O to quickly open the On-Screen Keyboard. Alternatively, access it via the Accessibility icon on the sign-in screen or through Settings > Accessibility > Keyboard. This virtual keyboard lets you type using your mouse.
Option 1Use a Keyboard Shortcut
You can open the Windows 11 On-Screen Keyboard quickly using a keyboard shortcut.
⊞ Win+Ctrl+O
Option 2Open from the Sign-In Screen
The Windows 11 On-Screen Keyboard can be opened even before you sign in, which is very useful if your regular keyboard isn’t working.
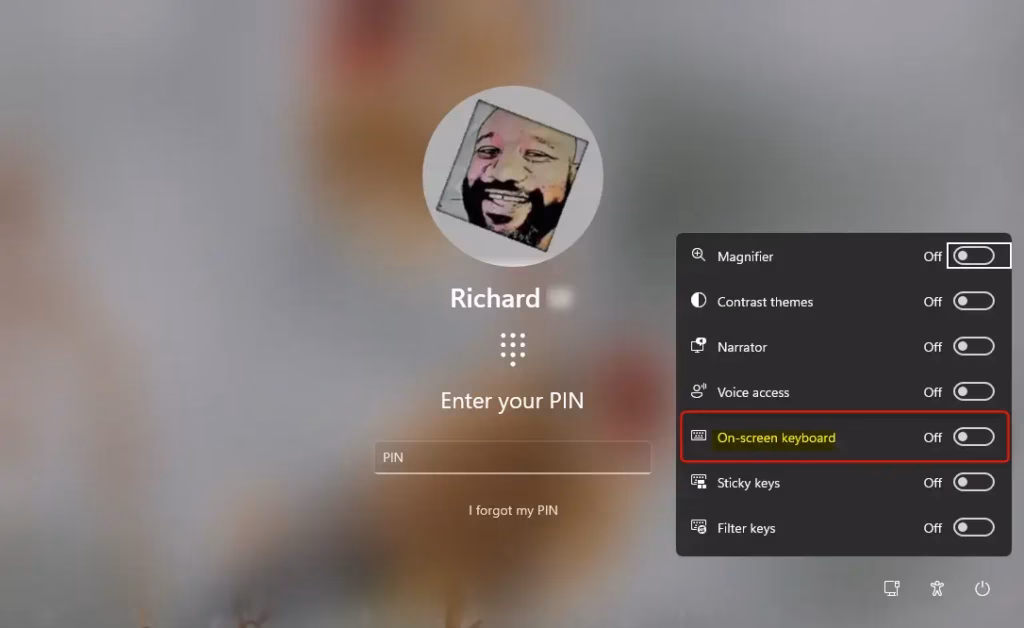
On the Windows sign-in screen, look towards the bottom-right corner. You’ll find an icon that resembles a circle with a person inside, or sometimes a clock. This is the Accessibility button.
- Click the Accessibility button.
- A menu will appear. Select “On-Screen Keyboard” from the menu.
The On-Screen Keyboard remains open until you explicitly close it. If you open it from the Windows 11 sign-in screen and then log in, it will likely still be visible.
Option 3Find and Open the On-Screen Keyboard in Settings
The Windows 11 On-Screen Keyboard can be found and opened through the Settings app, letting you type on your screen if you don’t have a physical keyboard.
- Go to the Start Menu. Click the Windows icon in the bottom-left corner of your screen.
- Go to Settings. Click the gear icon in the Start menu. This opens the Settings window.💡TipYou can also press the
Windows key + Ikeys on your keyboard to open Settings directly, if they are working. - Choose Accessibility. In the Settings window, look for “Accessibility” in the left sidebar and click it.
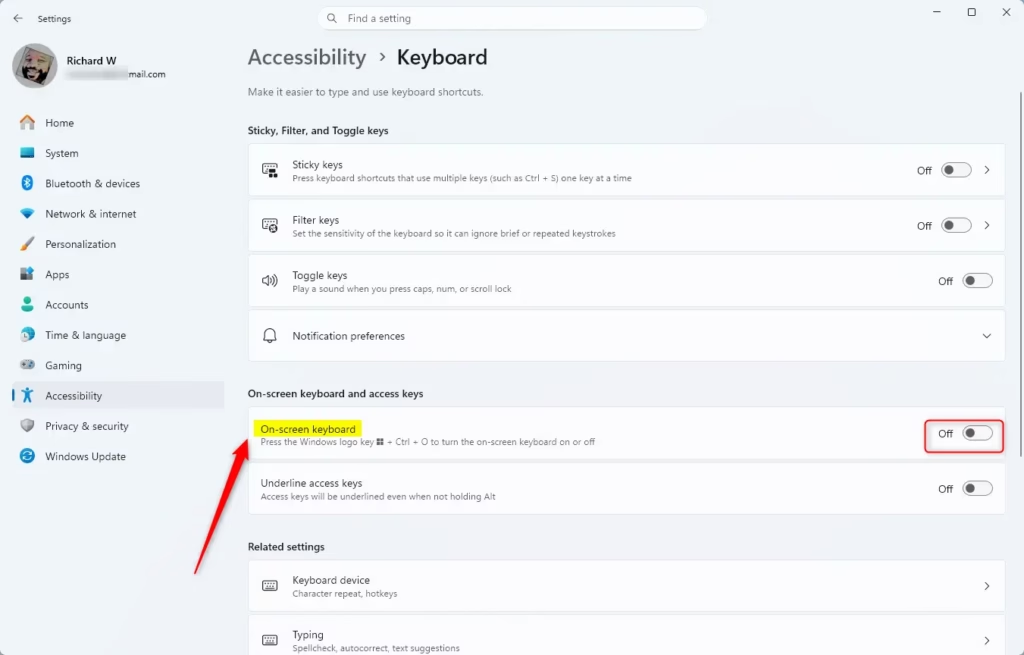
- Find Keyboard options. Scroll down on the right side until you see “Keyboard.” Click on it.
- Turn it On! You will see a switch labeled “On-Screen Keyboard.” Click the switch to turn it “On.” The On-Screen Keyboard should appear on your screen.
The on-screen keyboard appears on your screen and remains visible until you close the keyboard window. You can click keys on the on-screen keyboard to type text.
Why Use the On-Screen Keyboard?
You might use the On-Screen Keyboard if your physical keyboard is broken or not working correctly. It’s also helpful if you have a disability that makes typing on a physical keyboard difficult. It’s a great way to ensure you can still use your computer.
Summary
The Windows 11 On-Screen Keyboard is handy when your physical keyboard isn’t working, and you can open it using the shortcut Windows key + Control key + O.
How do I bring up the onscreen keyboard on 🪟 Windows 11?
You can bring up the On-Screen Keyboard in Windows 11 using the keyboard shortcut ⊞ Win+Ctrl+O. Alternatively, access it via the Ease of Access settings in the Settings app. It’s also available from the sign-in screen via the Accessibility button in the bottom-right corner.
What is the shortcut key for the onscreen keyboard?
The primary shortcut key to open the On-Screen Keyboard in Windows 11 is ⊞ Win+Ctrl+O. Pressing these three keys simultaneously will launch the virtual keyboard, providing a quick way to input text without a physical keyboard.
Where is the on-screen keyboard on 🪟 Windows 11?
The On-Screen Keyboard in Windows 11 is a built-in utility. You can access it using the shortcut ⊞ Win+Ctrl+O, or through the Ease of Access settings. It’s also accessible from the sign-in screen via the Accessibility icon in the lower-right corner.
How to permanently turn on on-screen keyboard?
Windows 11 does not offer a direct ‘permanent on’ setting for the On-Screen Keyboard. It’s designed to be launched when needed via shortcuts or settings. However, you can configure it to launch automatically at startup through Task Scheduler for a persistent presence.
Was this guide helpful?

About the Author
Richard
Tech Writer, IT Professional
Richard, a writer for Geek Rewind, is a tech enthusiast who loves breaking down complex IT topics into simple, easy-to-understand ideas. With years of hands-on experience in system administration and enterprise IT operations, he’s developed a knack for offering practical tips and solutions. Richard aims to make technology more accessible and actionable. He's deeply committed to the Geek Rewind community, always ready to answer questions and engage in discussions.

No comments yet — be the first to share your thoughts!