How to Set Work Hours and Location in Outlook on Windows 11

Setting your work hours and location in the new Outlook for Windows 11 tells your colleagues when you are available. This updated Outlook app makes it easier to manage your schedule.
Sharing this information helps others know when and where they can reach you for meetings or quick chats. You can set specific work times, like 9 AM to 5 PM, and choose if you are working from the office or remotely from home.
Open Outlook, click Settings, then Calendar, and select Work hours and location. Use the options to set your workdays, hours, and location, then click Save.
Set your hours and location in Outlook
Setting your Outlook work hours and location on Windows 11 lets others know when and where you’re typically working. This helps people understand your availability at a glance. Follow these steps to update your status.
Here’s how to do it.
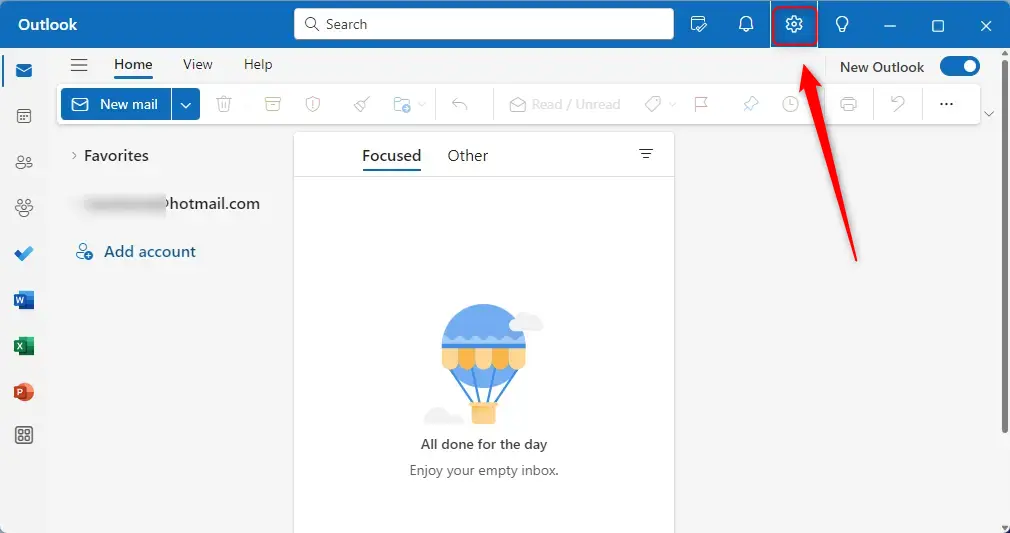
To begin, open the Outlook app. You can find its icon in the Start menu or search for it using the taskbar search box.
Once Outlook is open, click on the Settings gear icon at the top right of the menu bar.
In the Settings pane, select Calendar from the left menu. Then, click 'Work hours and location' under the 'View' side panel.
Use the checkboxes to choose your workdays, times, and location.
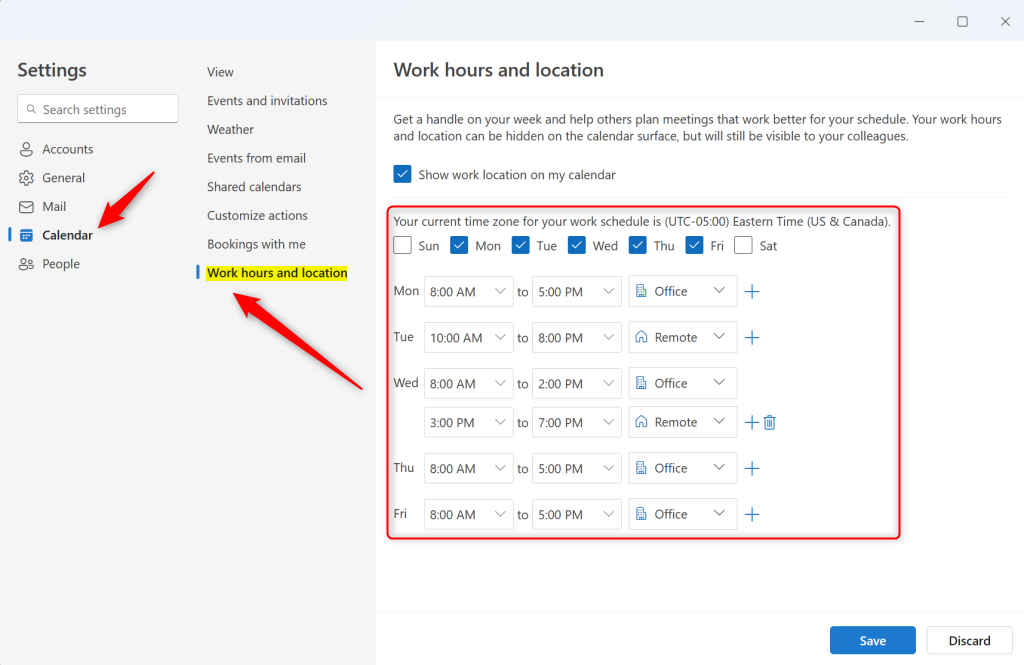
Click the Save button when you're finished. Keep in mind that changes might take up to 12 hours to appear on your profile card.
That should do it!
Conclusion:
- Setting your hours and location in Outlook is crucial for effective schedule management.
- Keep your location updated to ensure your colleagues and clients know how to reach you and when to expect a response.
- By following the simple steps, you can efficiently manage your work hours and location within the new Outlook app on Windows 11.
Was this guide helpful?

About the Author
Richard
Tech Writer, IT Professional
Richard, a writer for Geek Rewind, is a tech enthusiast who loves breaking down complex IT topics into simple, easy-to-understand ideas. With years of hands-on experience in system administration and enterprise IT operations, he’s developed a knack for offering practical tips and solutions. Richard aims to make technology more accessible and actionable. He's deeply committed to the Geek Rewind community, always ready to answer questions and engage in discussions.

No comments yet — be the first to share your thoughts!