How to Optimize Windows 11 Settings for Performance

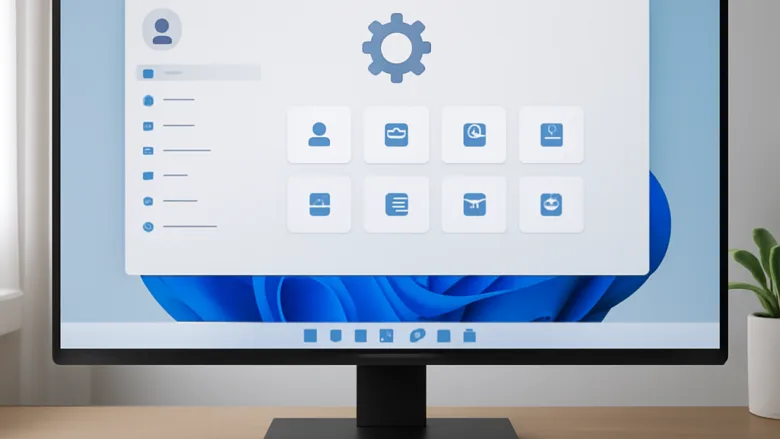
Fullscreen optimizations is a built-in Windows 11 feature that helps games run faster. It lets a title take over your display directly instead of sharing screen resources with background apps and the desktop compositor. For most modern PC games this raises frame rates and cuts input lag. In some older games it can cause stuttering, flickering or odd behavior with alt-tabbing, and some titles start misbehaving after a system update.
Disabling the feature for a single game takes less than a minute. It only affects that game, and you can undo it at any time. Here is how:
- Find the game’s .exe file, or its desktop shortcut. If you only have a shortcut, right-click it and choose Open file location to find the .exe. Either one works.
- Right-click the file and choose Properties. In the Windows 11 context menu this may be under Show more options. Selecting the file and pressing Alt+Enter also opens it. The Properties window appears.
- Click the Compatibility tab.
- Tick the box labeled Disable fullscreen optimizations.
- Click Apply, then OK.
- Launch the game again. You do not need to restart Windows, but the game must be fully closed first or it will keep running with the old behavior.
If the change does not help, go back to the same tab and clear the checkbox to restore the default behavior.
Right-click your game’s.exe file, select Properties, click the Compatibility tab, tick Disable fullscreen optimizations, and click Apply then OK. This raises frame rates in most modern games by letting the title take over your display directly instead of sharing resources with background apps.
Customize Your Display and Apps
Start with the settings that decide how your screen behaves and which programs launch with Windows. These are the changes you will notice first, because they affect how quickly the PC becomes usable after you power it on. They also set how much energy it uses when you walk away. Change one setting at a time. That way, if something feels worse, you know which change caused it.
Manage System Performance and Updates
Done carefully, they give you a faster, more stable PC. Make small changes, test the result, and keep notes on what you changed so you can reverse it later if needed.
Protect Your System and Data
These settings matter most when something goes wrong, such as a bad driver, a failed update or a full disk. They are worth setting up now, while the PC is still working normally, because they cannot help you after the damage is done.
More on 🪟 Windows 11 System Settings & Performance
Common questions
How do I make apps start when I turn on my computer?
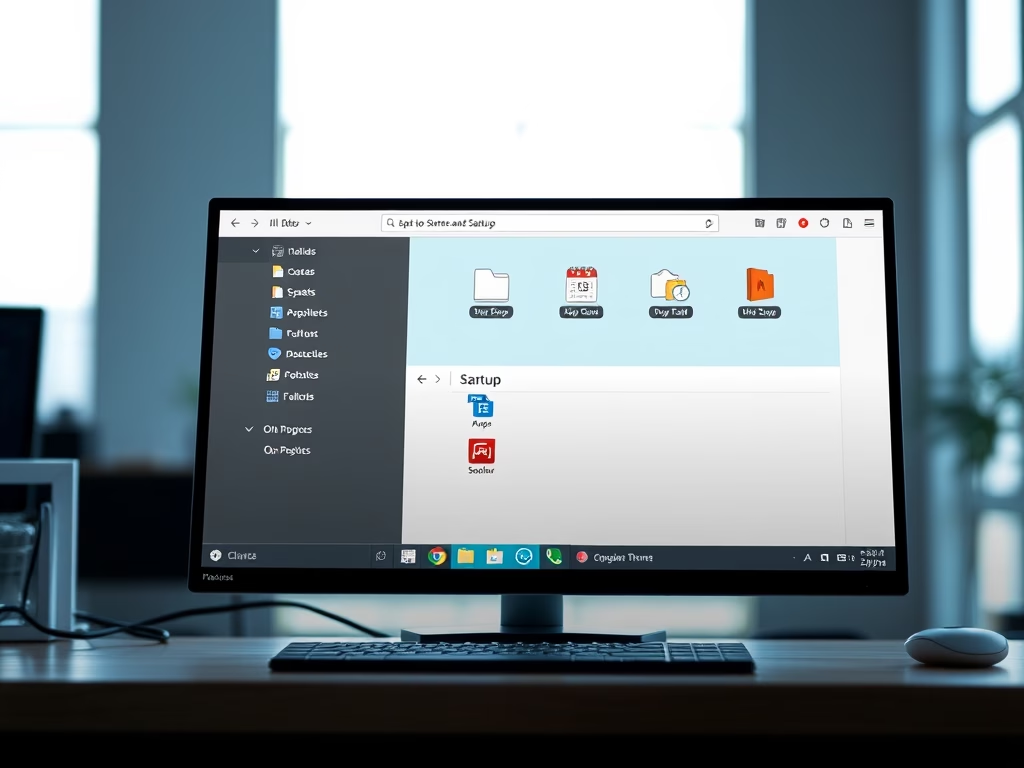
Too many programs launching at sign-in is one of the most common causes of slow boot times. You can add or remove startup programs through Task Manager. Turning an app off does not uninstall it. It just stops it from starting automatically, and you can still open it by hand.
- Press Ctrl+Shift+Esc to open Task Manager. If you see a small window with only a list of apps, click More details at the bottom.
- Open the startup list. On current Windows 11 versions, click Startup apps in the left sidebar. On early builds, such as the original 21H2 release, click the Startup tab at the top instead. You now see a list of programs with a Status and a Startup impact column.
- Click the Startup impact column header to sort the list, so the apps rated High come first.
- Right-click an app you do not need at boot and choose Disable. The Status column changes to Disabled.
- To bring an app back, right-click it and choose Enable.
Leave security software, touchpad and graphics drivers, and anything else you do not recognize alone until you have looked it up. Changes apply the next time you sign in, so you do not need to restart right away. You can also manage the same list from Settings Apps Startup
How can I make my screen turn off faster?
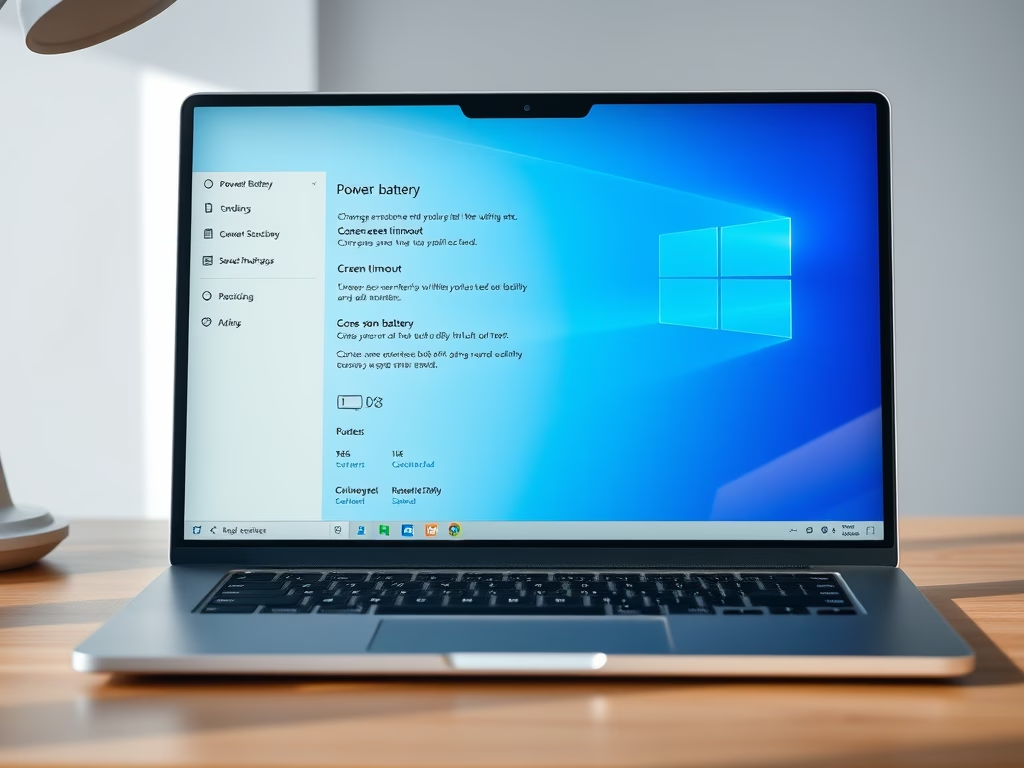
Display panels draw a lot of power, especially when they stay lit while you are away. Set the screen to turn off after a period of inactivity. This saves energy, and it also reduces the risk of burn-in on OLED panels. A shorter timeout saves more power. A longer one means fewer interruptions while you read or watch something.
- Open Settings System Power & battery. On a desktop PC without a battery, this page is called Power.
- Expand Screen, sleep, & hibernate timeouts. The timeout menus appear.
- Next to Turn my screen off after, pick a time. Laptops show separate options for On battery power and When plugged in.
- Optionally, set Make my device sleep after to a longer time than the screen timeout.
The change takes effect immediately and needs no restart. To undo it, return to the same menus and pick a different time or Never.
What is System Restore and how do I use it?
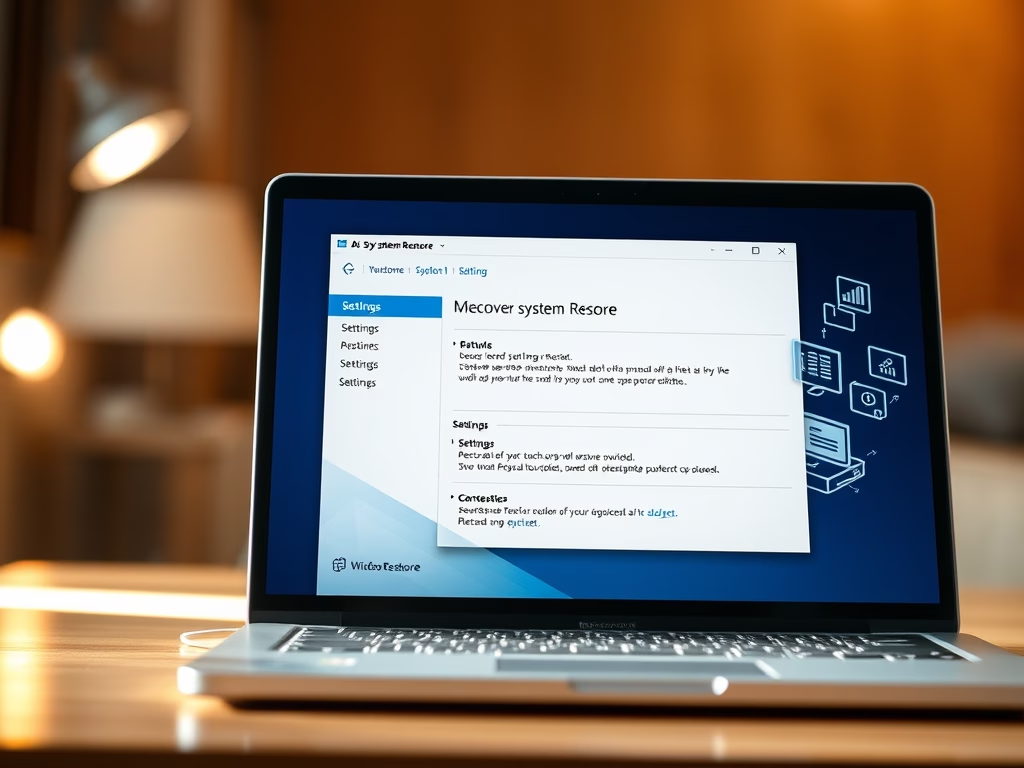
System Restore rolls system files back to an earlier point in time, known as a restore point. It undoes the damage from a broken update, a faulty driver or rogue software that changed system settings. It works on both Home and Pro editions. It does not touch your personal documents and photos, so it is not a backup. Restore points are only created if System Protection is turned on for the drive, and on some PCs it is off by default.
- Click Start, type Create a restore point, and open the result. The System Properties window opens on the System Protection tab.
- Under Protection Settings, select your Windows drive, usually Local Disk (C:), and click Configure.
- Choose Turn on system protection.
- Use the Max Usage slider to set how much disk space restore points may use. A few percent of the drive is enough for most people. Click OK.
- To make a restore point right now, click Create, type a name you will recognize, such as "Before driver update", and click Create again. Wait for the message that the restore point was created successfully.
If a problem shows up later, return to the same tab and click System Restore. Follow the wizard and pick the restore point from before the problem started. The PC restarts during the process, so save your work first. Windows also creates restore points automatically before some updates and installs, but make your own before any big change.
How do I stop Windows from updating automatically?
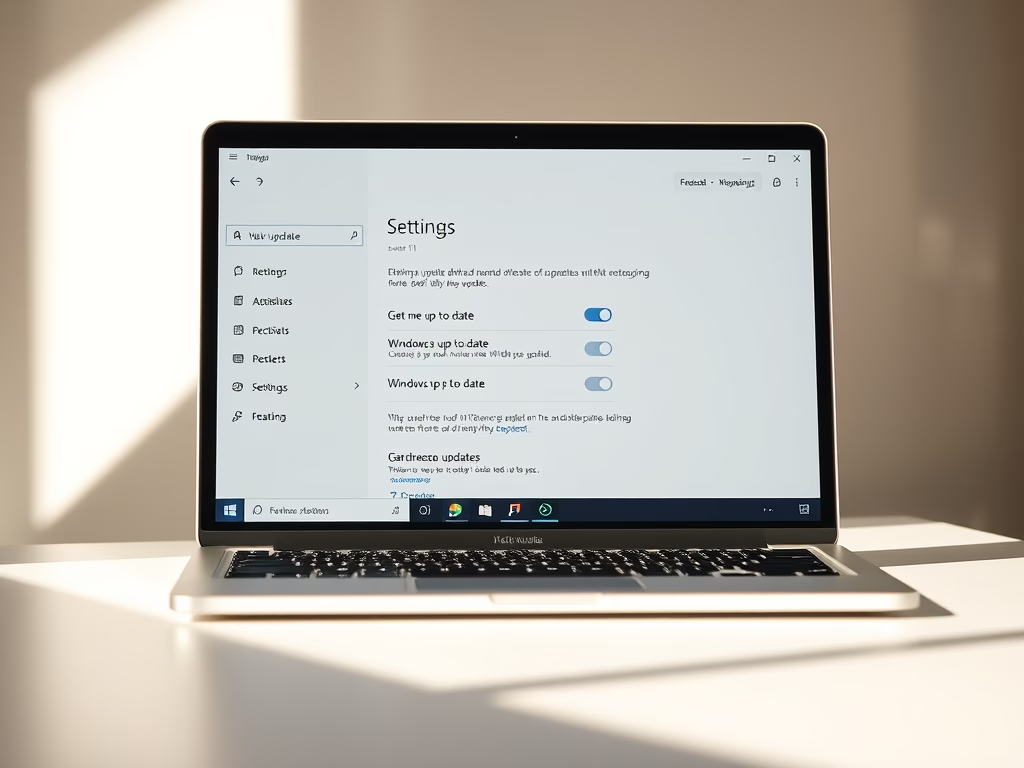
Windows Update needs some management. You can pause updates or change when they install and restart your PC. Staying current on security updates matters, so treat a pause as a short-term measure to avoid interruptions during critical work.
- Open Settings Windows Update The page shows your update status and any pending updates.
- Next to Pause updates, open the dropdown and pick a duration. The default choices start at 1 week, and you can extend the pause in steps up to 5 weeks. A banner appears saying updates are paused until a specific date.
- To end the pause early, click Resume updates. Windows then checks for and downloads what it missed.
- To control restarts, open Advanced options and choose Active hours. Set them manually, or let Windows adjust them automatically based on your usage. Windows avoids restarting during that window.
- If an update is waiting for a restart, use Schedule the restart to pick a convenient time.
The pause limit applies on both Home and Pro. Pro, Enterprise and Education editions also offer Group Policy settings for more detailed control. Once the pause ends, Windows has to install updates before you can pause again.
What is Storage Sense?
Storage Sense reclaims disk space by deleting temporary files and emptying the Recycle Bin for you. You can set a custom schedule, and your drive stays tidy without manual cleanup. It is available on both Home and Pro.
- Open Settings System Storage You see a breakdown of what is using your drive.
- Open the Storage Sense section. Depending on your Windows 11 version, it may sit under Cleanup recommendations or be listed on the page itself.
- Turn on Automatic User content cleanup. The schedule options become available.
- Under Run Storage Sense, choose how often it runs: every day, every week, every month, or during low free disk space.
- Set Delete files in my recycle bin if they have been there for over to the period you want, such as 30 days.
- Set Delete files in my Downloads folder if they have been there for over with care. It is set to Never by default, and anything it deletes there does not come back unless it goes to the Recycle Bin first. Leave it on Never if you keep installers or documents in Downloads.
- To clean up right away, scroll down and click Run Storage Sense now. When it finishes, you see how much space it freed.
To stop automatic cleanups, switch Automatic User content cleanup back off. No restart is needed for any of these changes.
Was this guide helpful?

About the Author
Richard
Tech Writer, IT Professional
Richard is a writer at Geek Rewind who turns complex IT tasks into clear, step-by-step guides. He draws on years of hands-on experience in system administration and enterprise IT operations, focusing on Windows, Linux and WordPress: the problems people actually run into, and the fixes that work. His server and WordPress guides come from systems he runs himself. Richard builds and maintains the platform behind Geek Rewind, from its Ubuntu servers and Nginx configuration to its custom WordPress plugins. Many new tutorials start with readers' questions, and he's always glad to answer them in the comments.
No comments yet — be the first to share your thoughts!