How to Manage Storage in Windows 11: Free Up Space

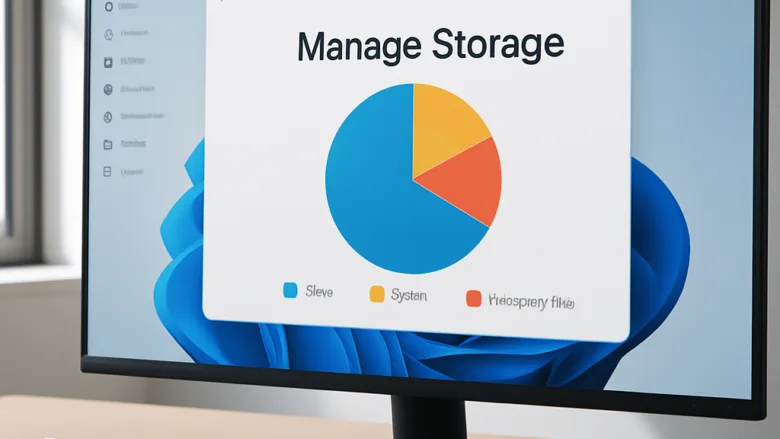
Managing storage in Windows 11 means finding out what fills your drive and deleting what you no longer need, which can win back gigabytes. When a full drive starts to slow your PC down, Storage Sense (a built-in tool that cleans up temporary files and frees up disk space) helps keep it running smoothly. Most of this work happens in one place in Settings, so it is worth knowing where to look first.
Checking your drive space takes less than a minute:
- Open Settings and go to System Storage
- Wait a few seconds while Windows scans the drive. You should see a bar showing how much of the drive is used, followed by a breakdown by category.
- Select Show more categories if you want to see everything. The list usually includes apps and features, temporary files, documents, pictures and other files.
- Select any category to see what is inside it and what you can remove.
Start with the largest category. It is usually where you will free the most space for the least effort.
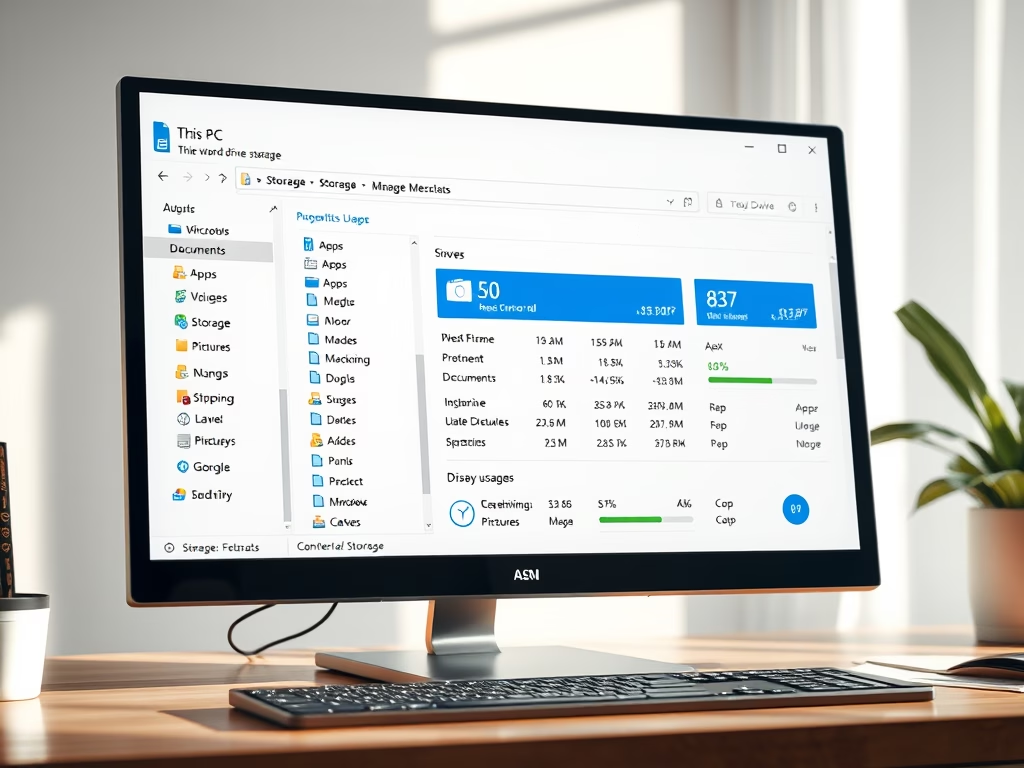
You can check your drive’s storage space in Windows 11 by opening File Explorer , clicking ‘This PC’ on the left, and looking at the drive information shown. This display will clearly indicate how much free space you have available on your drives.
Getting Started with Your Storage
This section covers two things: understanding your current storage situation and preparing new drives. A new computer or an added hard drive needs initial setup before it can hold data. Until then, the drive may not show up in File Explorer at all, even though Windows can see the hardware.
Before you change anything, note which drive holds Windows, and which drives hold your data. That way you will not clean up or reformat the wrong one.
Keeping Your Storage Tidy Automatically
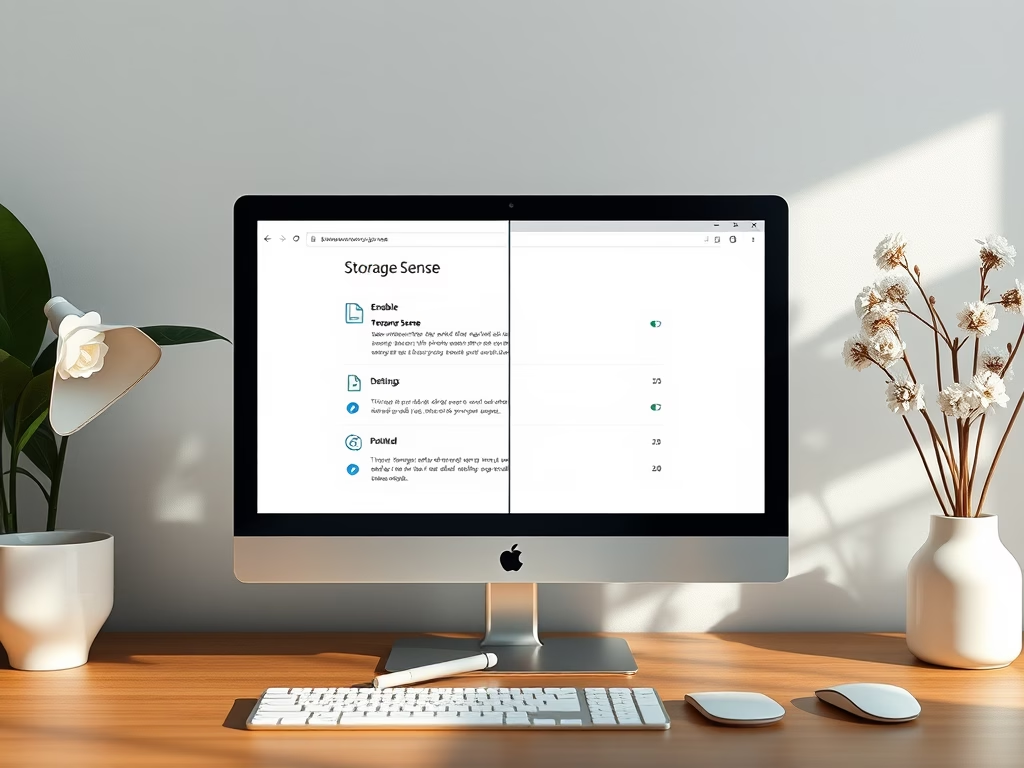
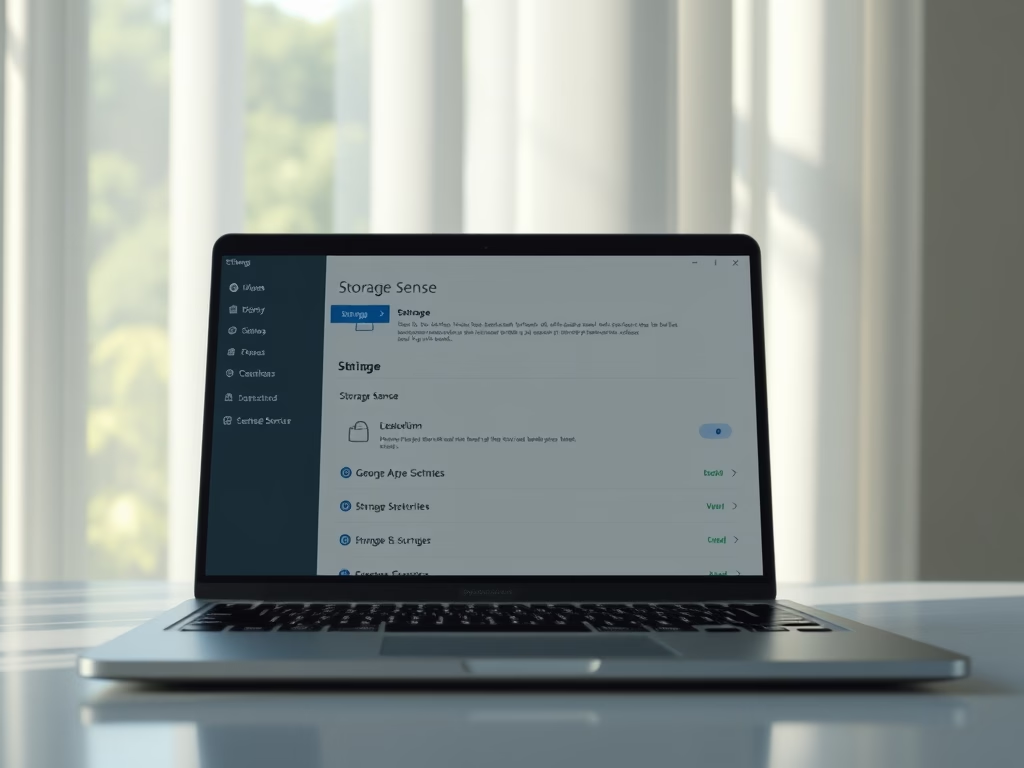
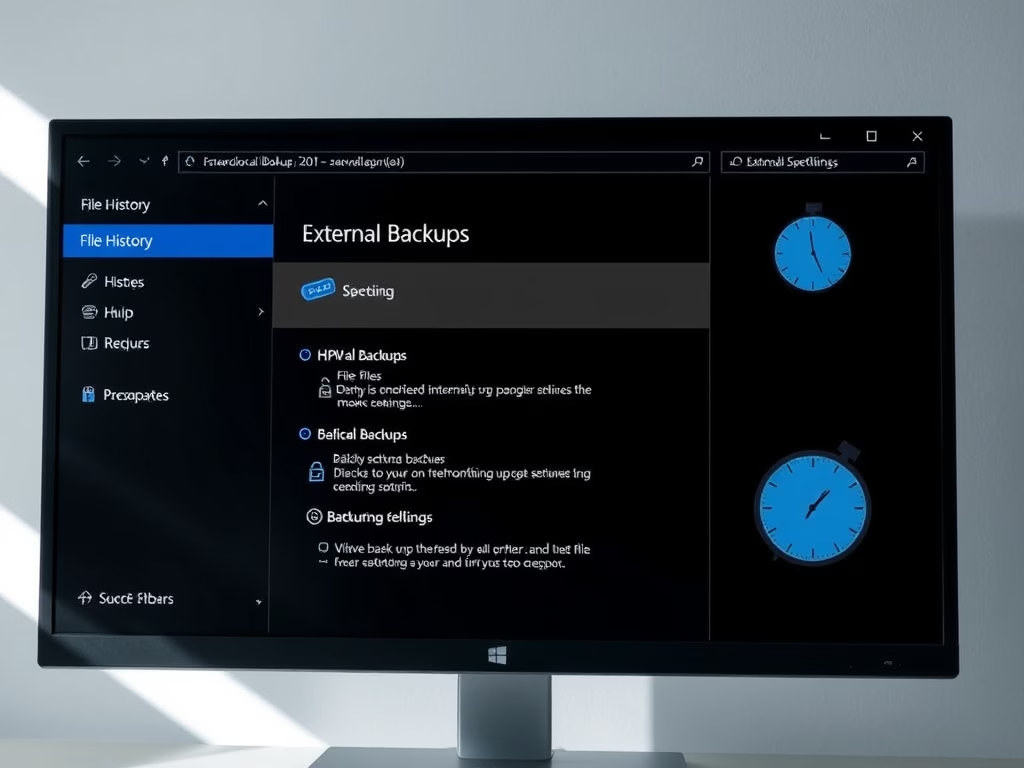
Windows 11 includes utilities that manage and clean up disk space for you. Set them up once and they help keep your drives from filling up completely, without constant manual effort. Most of them live under Settings System Storage, and they work the same way in Windows 11 Home and Pro.
Advanced Storage Organization
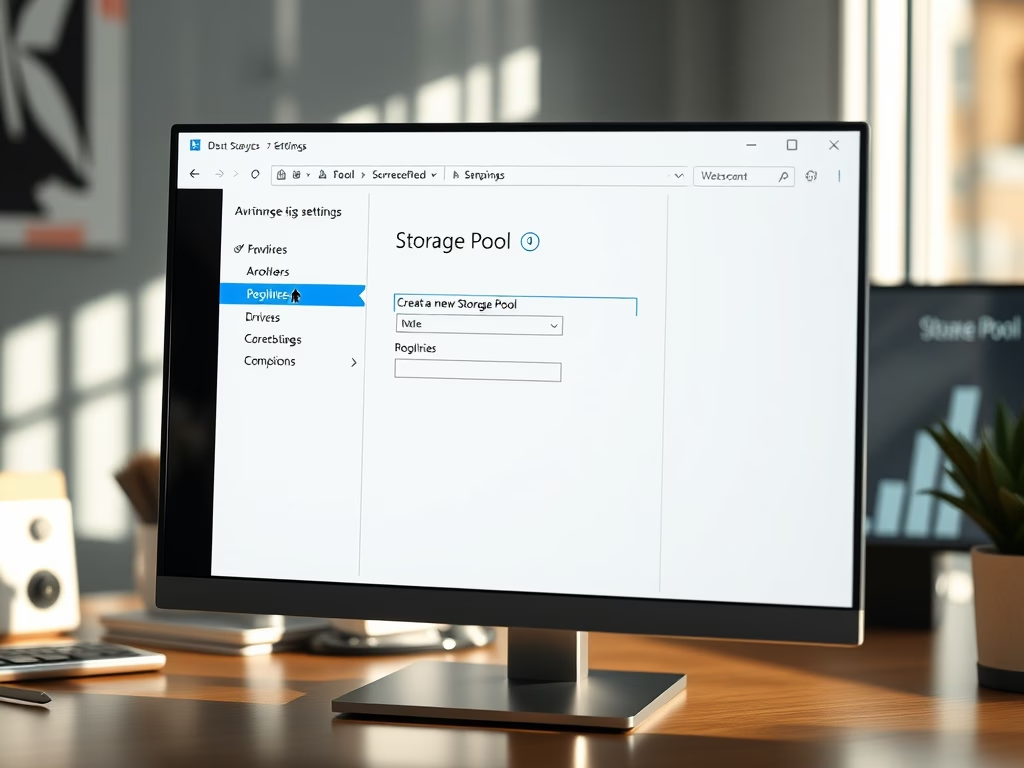
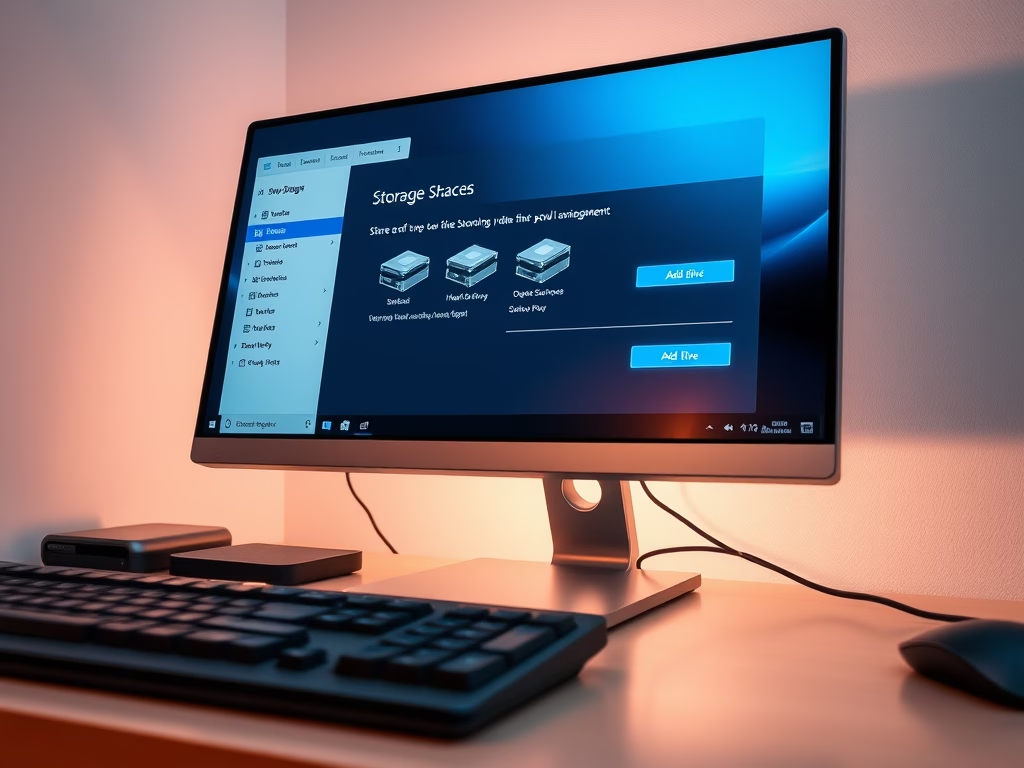
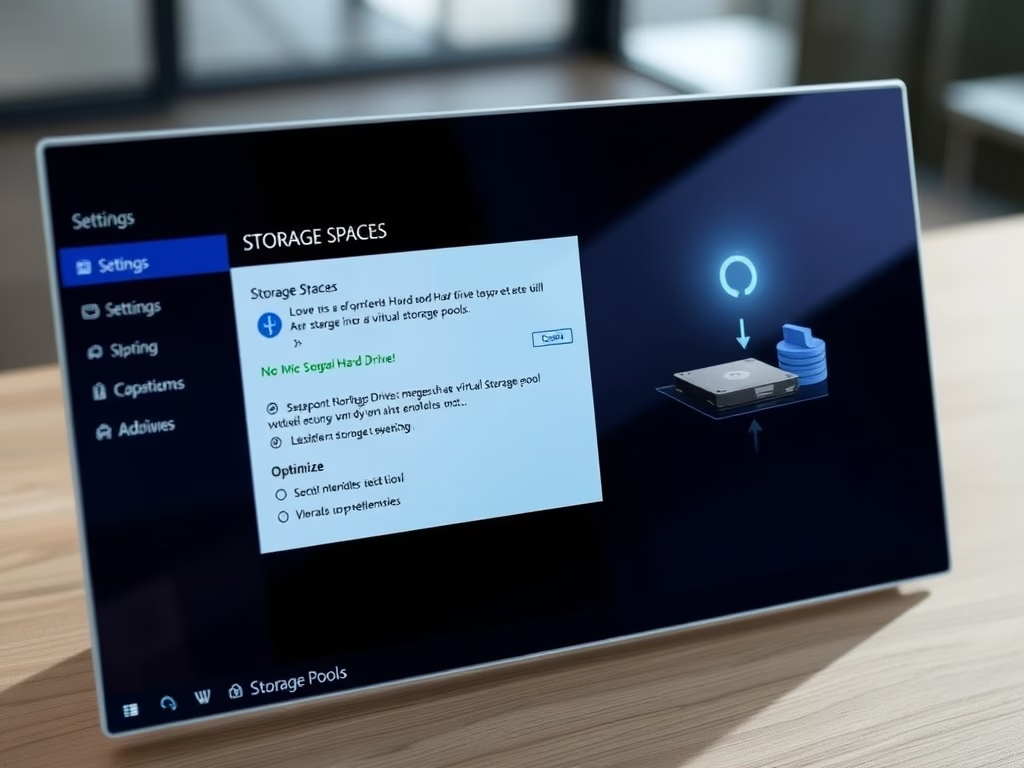
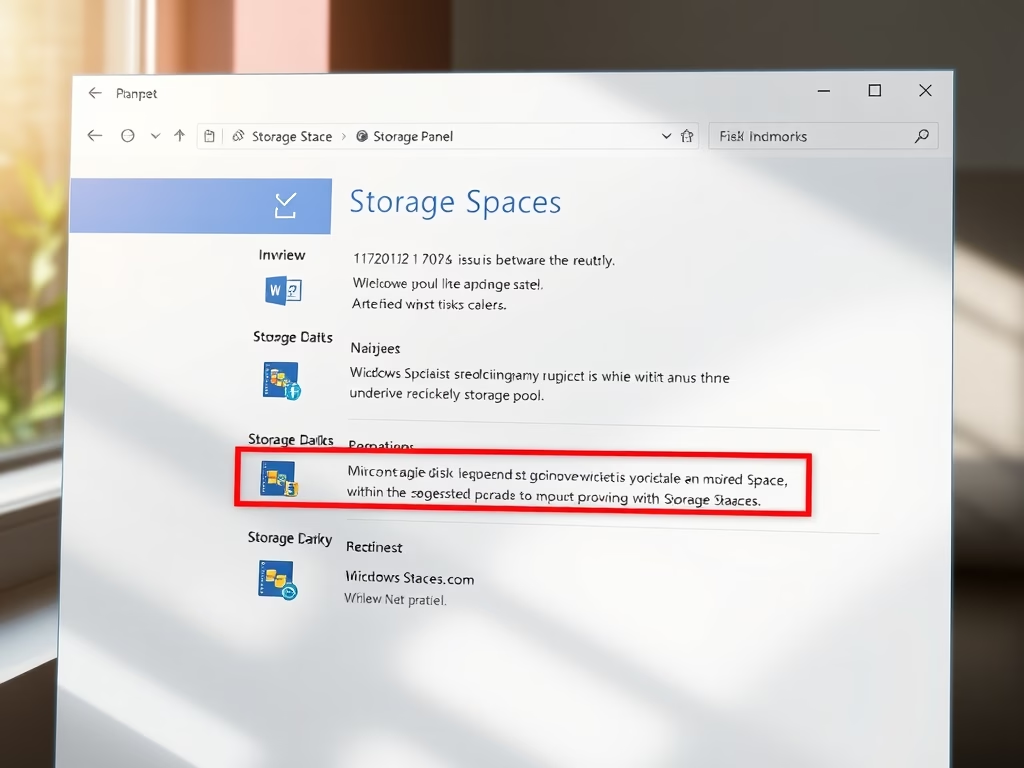
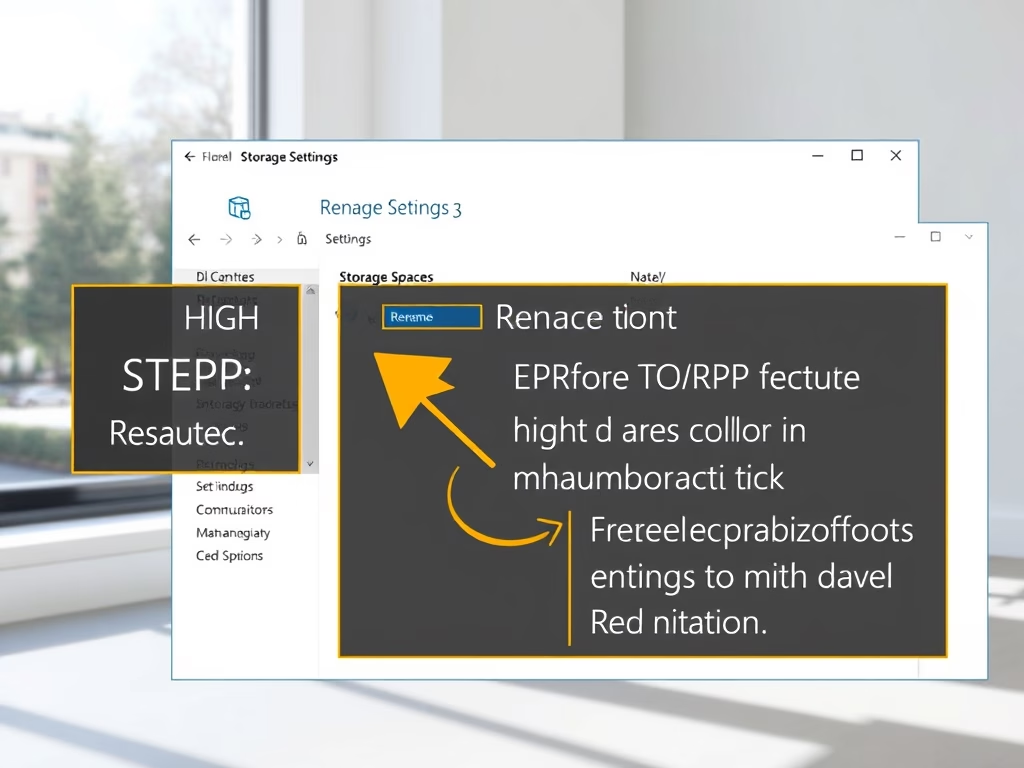
You can combine physical drives into a single volume by using Storage Pools. This makes it easier to organize your files, and depending on the setup you choose, it can also protect your data if one drive fails. Pools are best suited to desktops or small servers with several internal or external drives.
When Things Go Wrong
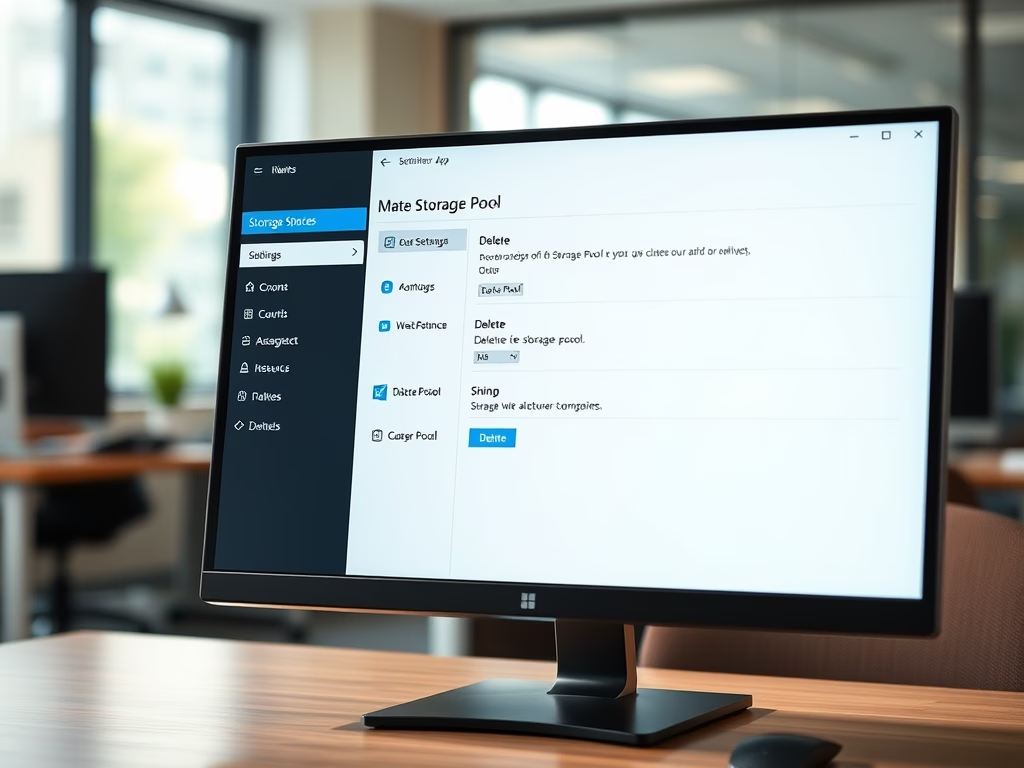
Troubleshooting storage problems or removing an outdated setup takes specific steps. When you work with physical hardware or delete storage configurations, take your time. Deleting a pool, volume or partition erases the data on it, so back up anything you want to keep before you start. Check twice that you have selected the right drive.

More on 🪟 Windows 11 Storage Management
Common questions
How do I see how much space is left on my C: drive?
File Explorer gives you the quickest view of how much capacity each drive has left:
- Open File Explorer. The Windows key + E shortcut does this.
- Click This PC in the left pane.
- Look under Devices and drives. Each drive shows a usage bar and a line such as "X GB free of Y GB".
The bar turns red when a drive is nearly full. If a drive you expect is missing from the list, it may not be initialized or formatted yet. See the last section of this guide.
What is Storage Sense?
Storage Sense (a built-in utility that deletes temporary files and empties the Recycle Bin automatically) keeps disks from filling up over time. You can set it to run on a schedule, or have it run whenever free space drops too low. To configure it:
- Open Settings and go to System Storage
- Select Storage Sense. The settings page for the tool opens.
- Turn on Automatic User content cleanup.
- Under Run Storage Sense, pick how often it runs: every day, every week, every month, or during low free disk space.
- Choose how long files stay in the Recycle Bin and in the Downloads folder before they are deleted. Leave Downloads on Never if you keep installers or documents there.
- Select Run Storage Sense now if you want to clean up straight away.
If you turn Storage Sense off later, nothing is restored. Files it already deleted are gone, so check the Recycle Bin and Downloads settings before you enable it.
What is a Storage Pool?
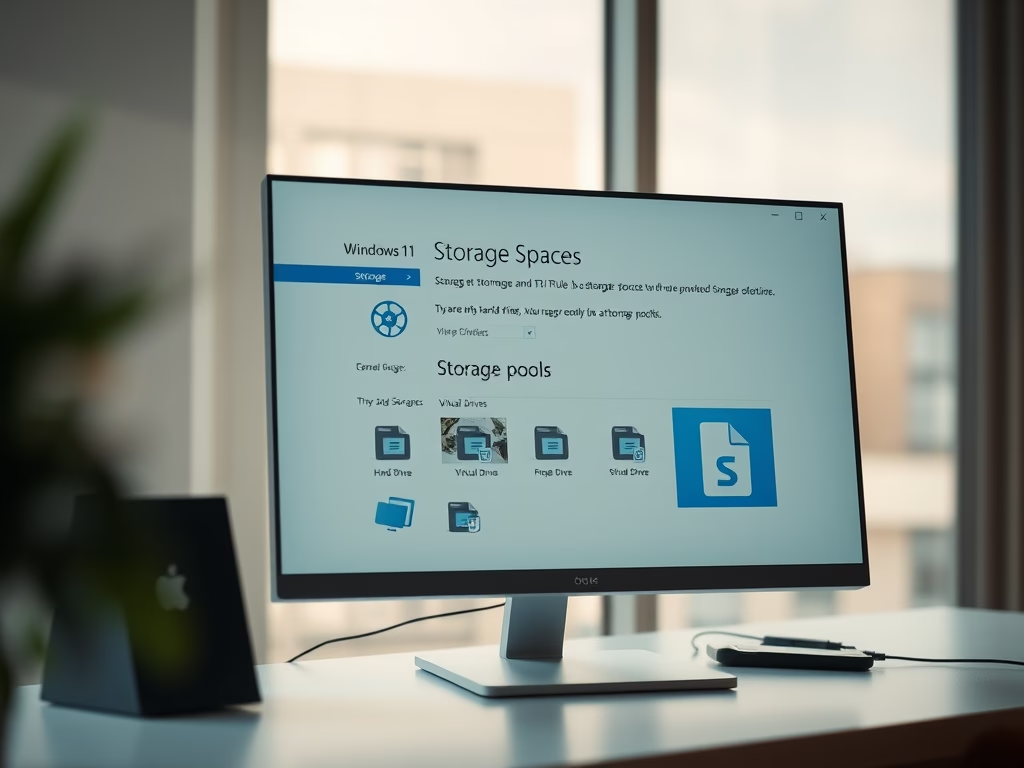
A Storage Pool (a feature that combines multiple physical drives into a single, larger volume) helps you manage large amounts of data. Depending on the resiliency type, it can also protect you against hardware failure. You will find it under Settings System Storage Advanced storage settings Storage Spaces
Keep these points in mind before you create one:
- Any drive you add to a pool is erased, so move your files off it first.
- A simple space offers no protection, so one failed drive loses the data. Mirror and parity spaces survive a drive failure, but they need at least two or three drives and give you less usable space.
- A pool is not a backup. If you delete files by mistake, they are gone from every drive in the pool.
How do I make more space on my 🪟 Windows 11 computer?
To reclaim disk space, work through these steps in order, starting with the easiest:
- Run Storage Sense to clear temporary data. Go to Settings System Storage Temporary files, tick the items you want to remove, and select Remove files. Review the list first, because Downloads may be selected on some systems.
- Uninstall programs you no longer use. Go to Settings Apps Installed apps, select the three-dot menu next to an app, and choose Uninstall. Sort the list by size to find the biggest ones.
- Move large files to external hardware or cloud storage. Videos, photo libraries and old backups are the usual culprits. Copy them first, check that they open from the new location, and only then delete the originals.
After this, go back to the Storage page. The usage bar should show more free space. Some changes only appear once the scan refreshes.
How do I set up a new hard drive?
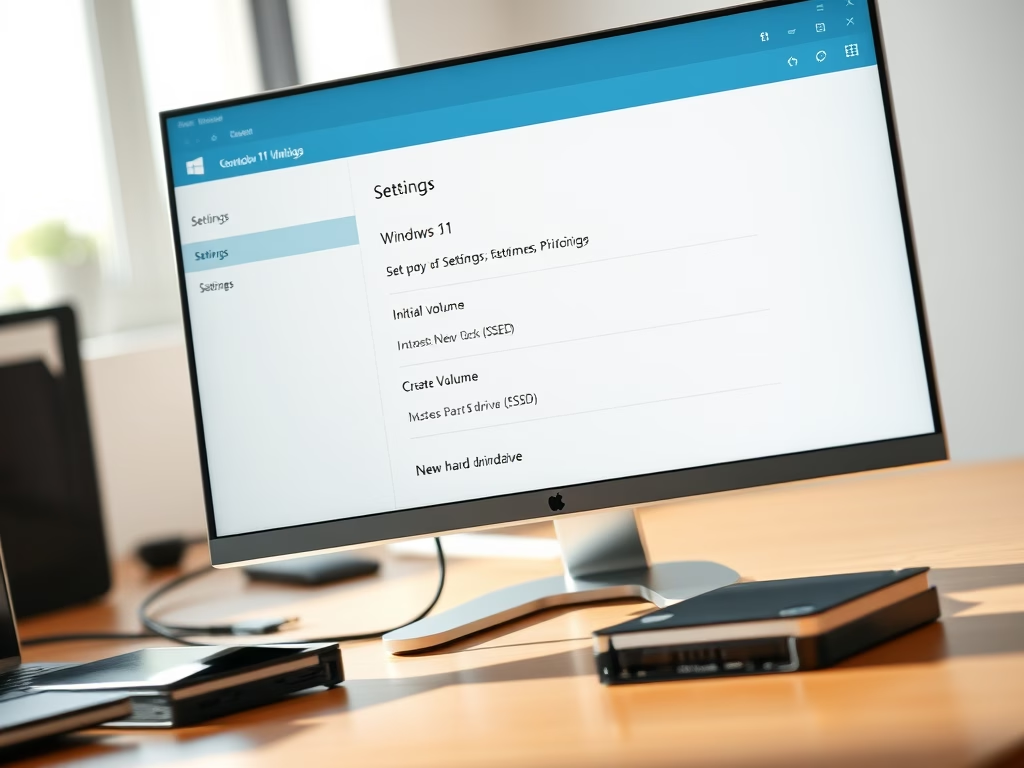
When you connect a new hard drive, Windows 11 may prompt you to initialize it. Creating a simple volume afterward prepares the drive for daily file storage. If no prompt appears, you can do the same thing by hand in Disk Management:
- Right-click the Start button and select Disk Management. You need an administrator account.
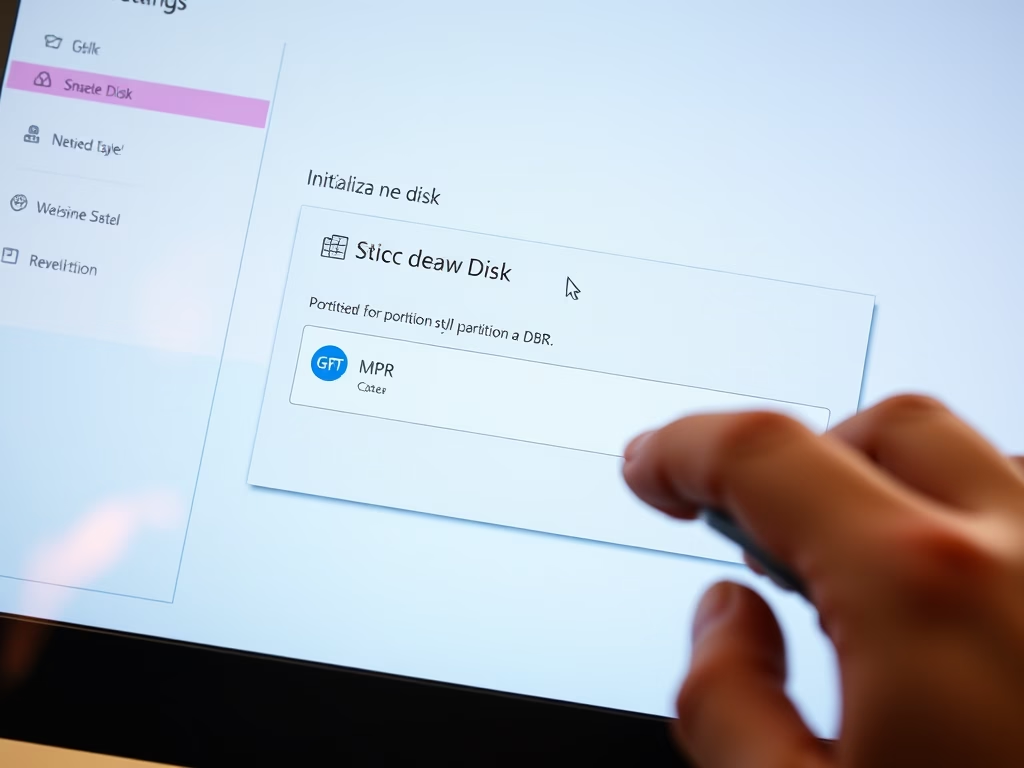
- If the Initialize Disk window appears, choose GPT (GUID Partition Table) and select OK. GPT suits modern PCs and drives larger than 2 TB.
- Find the new disk. It shows as unallocated space.
- Right-click the unallocated space and select New Simple Volume.
- Follow the wizard. Accept the size, assign a drive letter, and choose NTFS as the file system. Give the volume a name.
- Select Finish. The drive should now appear in File Explorer under This PC, ready to use.
Initializing and formatting erase everything on the disk. If the drive already holds files you need, stop and back them up first.
Was this guide helpful?

About the Author
Richard
Tech Writer, IT Professional
Richard is a writer at Geek Rewind who turns complex IT tasks into clear, step-by-step guides. He draws on years of hands-on experience in system administration and enterprise IT operations, focusing on Windows, Linux and WordPress: the problems people actually run into, and the fixes that work. His server and WordPress guides come from systems he runs himself. Richard builds and maintains the platform behind Geek Rewind, from its Ubuntu servers and Nginx configuration to its custom WordPress plugins. Many new tutorials start with readers' questions, and he's always glad to answer them in the comments.
No comments yet — be the first to share your thoughts!