
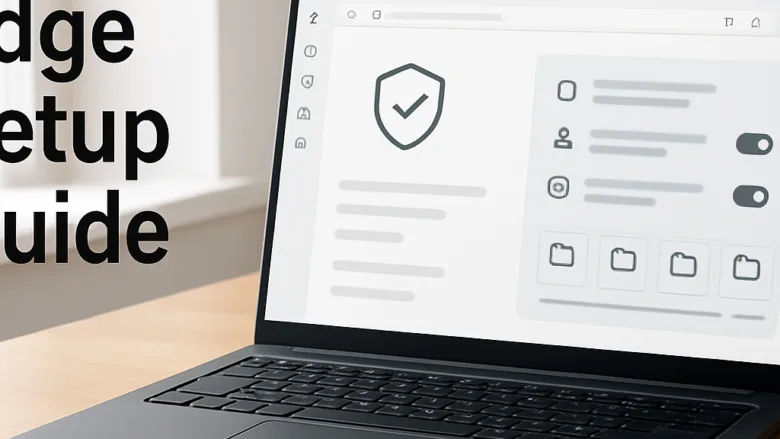
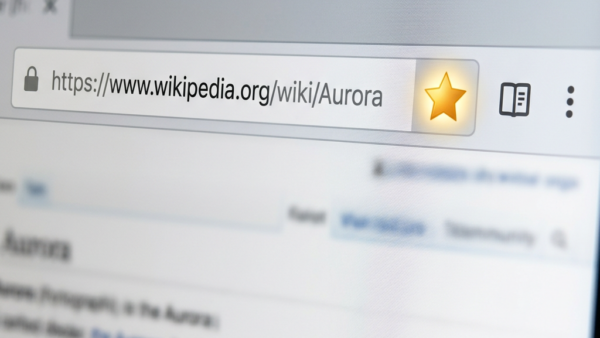
Favorites in Microsoft Edge save web pages so you can open them again with one click. In Edge version 120 and newer, you can bookmark any page by clicking the star icon in the address bar or by pressing Ctrl+D on your keyboard.
This stops you from losing good websites and cuts down your browsing time. You can sort saved pages into folders, keep the favorites bar visible at the top of the window, and reach everything you need without digging through hidden browser menus. The steps in this guide are written for the current Edge on Windows 11. Edge updates often, so a label may differ slightly on an older or newer build.
Microsoft Edge management and customization helps you control your privacy, security, and power settings across Windows 11. You can find these options by opening the Edge settings menu. From there, you can manage your favorites, update website permissions for your camera and microphone, adjust battery options, and set up security filters.
Set up your bookmarks and daily browsing
Save the sites you visit every day and keep your bookmark list tidy. A short, organized list is far more useful than a long one you never look at. Follow these steps to set up your daily essentials.
- Open the page you want to keep.
- Click the star icon in the address bar, or press Ctrl+D. A small box opens with the page name and a folder choice.
- Rename the page if the default title is long or unclear.
- Pick a folder from the folder list. The favorites bar is a good choice for sites you use all day.
- Click Done. The star in the address bar is now filled in, which tells you the page is saved.
To remove a favorite later, open the same page, click the filled star, and choose the remove option in the box.
Control website permissions for your privacy
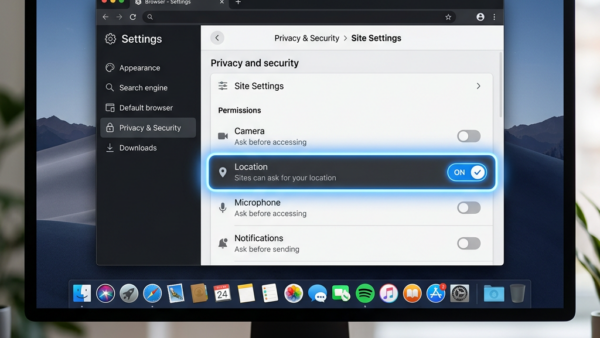
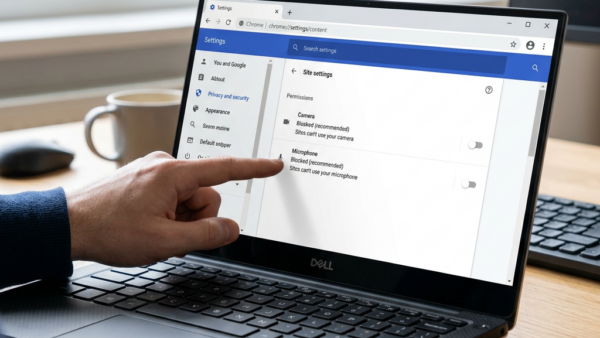
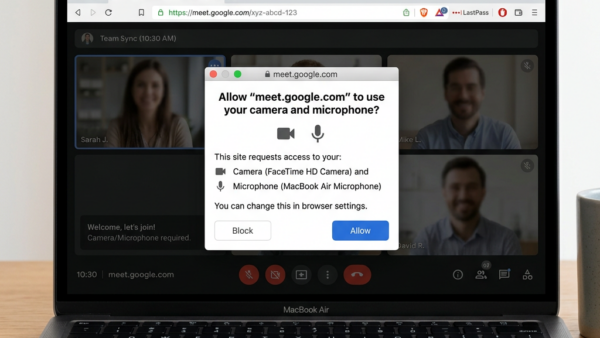
Websites often ask for permission to read your location or use your camera and microphone while you browse. You decide what each site gets. Blocking or allowing these requests protects your privacy, and you can change your mind at any time.
When a site asks, a prompt appears under the address bar. Choosing Allow or Block there saves your answer for that site. The sections below show where to review and change those saved answers in Settings.
Manage advanced security and advertising
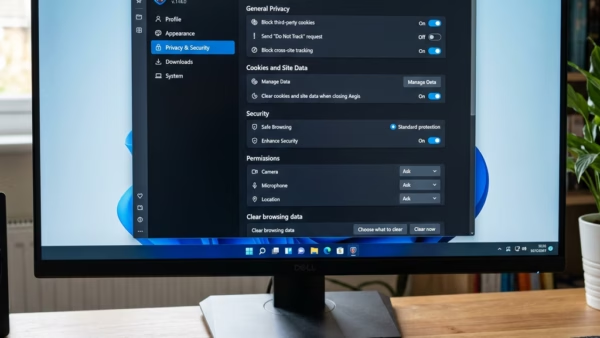
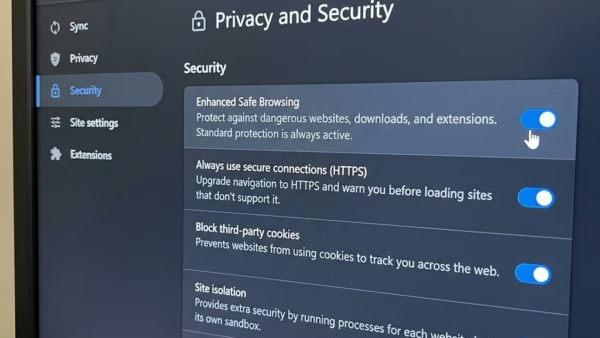
Some of Edge's deeper settings affect your online safety and the ads you see. You can turn off targeted advertising and manage security filters such as Microsoft Defender SmartScreen (called Windows Defender SmartScreen in older articles). Together these protect your data from online threats.
Most of these options are in Settings under Privacy, search, and services. SmartScreen is on by default, so leave it on unless you have a specific reason to turn it off. If you work on a managed PC, your organization may lock some of these options. In that case the setting is greyed out or shows a message that your browser is managed by your organization.

Adjust power use and sign-in settings
A few changes help laptops run more efficiently, and others change how the browser handles account sign-ins. If your laptop loses charge too fast, the battery settings can help. If you use a work account that needs special sign-in rules, the sign-in settings help too.
Before changing anything, check whether your PC is managed by an employer or school. Managed profiles can override these settings, and changes may not stick. Home and Pro editions of Windows 11 both offer the browser settings below, but policies set by an organization only apply on managed devices.
Common questions
How do I stop Microsoft Edge from sharing my location?
You can block location sharing in the Edge settings menu, under Cookies and site permissions. You can set rules for individual sites, or block all sites from asking for your location. Either way, the change takes effect immediately. You do not need to restart Edge.
- Click the three dots at the top right of Edge, then choose Settings.
- Open Settings Cookies and site permissions. The list of permission types appears. On some builds you may need to open All permissions first.
- Select Location.
- To block every site, turn off the option that lets sites ask for your location. Edge then stops showing location prompts.
- To control one site, look under the Allow and Block lists. Use the entry for that site to remove it or move it between lists.
To undo the change, return to the same page and turn the option back on, or remove the site from the Block list.
How do I clear my camera and microphone access in Edge?
Camera and microphone controls are in the site permissions section of Edge settings. Review which websites have hardware access, and remove permission from any page you do not trust.
- Open Settings Cookies and site permissions.
- Select Camera or Microphone.
- Check the Allow list. Every site on it can use that device without asking you again.
- Click the three dots next to any site you do not recognize and choose to remove it. Edge will ask again the next time that site wants access.
If a site that needs your camera for a video call does not work, check this list first. A site may be on the Block list from an earlier prompt. Also check the Windows 11 privacy settings, because turning off camera or microphone access there blocks every app, including Edge.
How do I organize my favorites in Microsoft Edge?
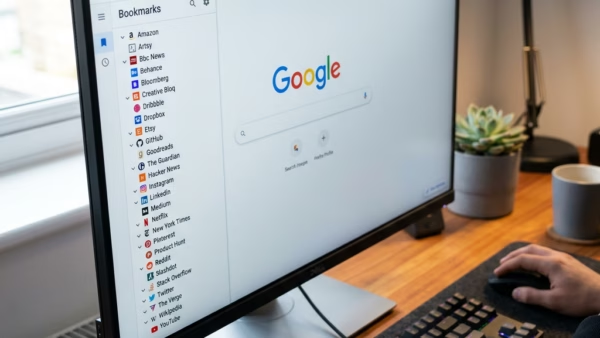
To open the favorites panel, click the star icon with three lines on the toolbar. A panel opens showing your saved sites and folders. If you do not see the icon, it may be hidden. Click the three dots menu and look for Favorites there.
- Click the star icon with three lines on the toolbar.
- Click the three dots at the top of the panel, which opens a menu of options for your favorites.
- Choose the sort option to put your saved sites in alphabetical order.
- Drag any favorite onto a folder to move it into that folder. A line shows where it will land when you drop it.
You can also press Ctrl + Shift + B to show or hide the favorites bar, which keeps your most-used sites one click away.
How does Energy Saver affect Microsoft Edge performance?
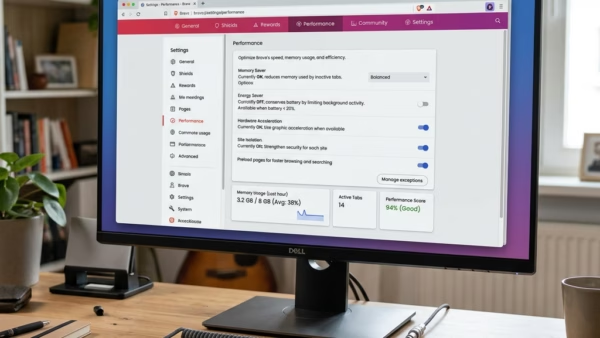
Energy Saver extends laptop battery life by putting inactive browser tabs to sleep and reducing background visual effects. The setting is under System and performance in Edge settings. The name and layout can differ a little between Edge builds, and you may only see it on devices with a battery.
You can change these settings so that certain websites stay active even when the laptop runs on battery power. This helps with sites such as web mail, chat, or a music player, which can misbehave when their tabs sleep.
- Open Settings System and performance.
- Find the Energy Saver options and choose when it turns on, for example when the battery gets low.
- In the performance section, look for the list of sites that should never sleep and click Add.
- Enter the address of the site and confirm. The site now appears in the list.
To undo this, remove the site from the list. If you want Energy Saver off completely, set it to never turn on.
Have a question about this guide?
Answered by AI from this guide. Good questions may be added to this page — please don't include personal details.
Did this guide fix your problem?

About the Author
Richard
Tech Writer, IT Professional
Richard is a writer at Geek Rewind who turns complex IT tasks into clear, step-by-step guides. He draws on years of hands-on experience in system administration and enterprise IT operations, focusing on Windows, Linux and WordPress: the problems people actually run into, and the fixes that work. His server and WordPress guides come from systems he runs himself. Richard builds and maintains the platform behind Geek Rewind, from its Ubuntu servers and Nginx configuration to its custom WordPress plugins. Many new tutorials start with readers' questions, and he's always glad to answer them in the comments.
No comments yet — be the first to share your thoughts!