How to Open the On-Screen Touchpad in Windows 11

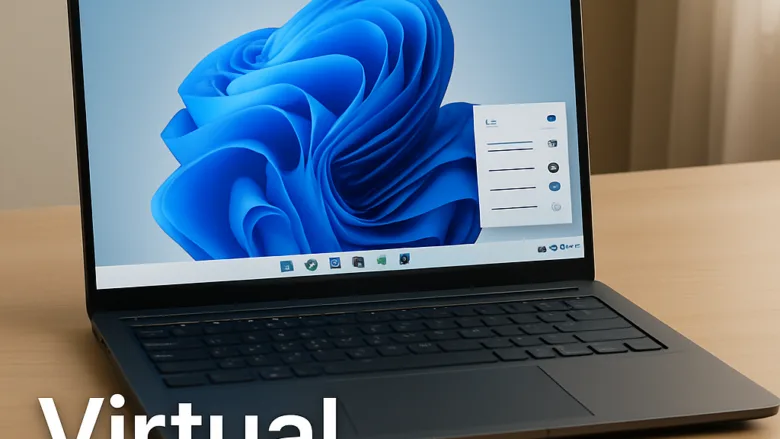
The on-screen touchpad in Windows 11 gives you a virtual trackpad on your display to move the mouse cursor without physical hardware. It is a built-in feature. It helps when your trackpad breaks, or when you use a touchscreen device with a detachable keyboard and no pointing device attached.
The tool is hidden by default. You switch it on once in the taskbar settings, and after that you can open it from the taskbar whenever you need another way to control the cursor. It works the same on Windows 11 Home and Pro.
Right-click the taskbar and select Taskbar settings, scroll to Taskbar corner icons, toggle Touchpad to On, then click the touchpad icon in the bottom right corner of your taskbar to open the virtual touchpad.
Enable the Virtual Touchpad
The virtual touchpad is turned on in Taskbar settings. Once enabled, a trackpad icon stays in the corner of your taskbar , next to the clock, ready to use. The setting is under the taskbar corner icons. Microsoft has changed the wording between Windows 11 builds, so you may see the heading as Taskbar corner icons or Taskbar corner items, and the entry as Virtual touchpad or Touchpad. They are the same switch.
- Right-click any empty space on your taskbar (the horizontal bar at the bottom of your screen) and select Taskbar settings. The Settings app opens on the taskbar page.
- Scroll down to the Taskbar corner icons section (it may be labelled Taskbar corners items on your build). Click the heading if it is collapsed.
- Locate Touchpad (or Virtual touchpad) in the list.
- Click the toggle switch next to it to set it to On.
- Look at the bottom right corner of your taskbar . The new touchpad icon should now appear next to the clock and the other system tray icons.
Older Windows 11 builds put these items in a slightly different place, and the wording differs a little.
Open the Virtual Touchpad
Clicking the touchpad icon in the bottom right corner of your taskbar opens the virtual touchpad right away. A translucent rectangle appears on your desktop. You control the cursor with touch gestures, just as on a physical laptop trackpad. You can move the window around the screen and close it with the X button.
- Click the Touchpad icon in the bottom right corner of your taskbar .
- A translucent rectangle representing the virtual trackpad appears on your screen.
- To reposition it, click and drag within the borders of the virtual touchpad window. If the cursor moves instead of the window, drag from the edge of the window rather than the middle of the pad.
- Place one finger inside the touchpad area and slide it around to move your mouse cursor across the screen.
- Tap the virtual left mouse button or right mouse button at the bottom of the touchpad window to perform clicks.
- Click the X button in the top right corner of the virtual touchpad window when you finish. The window closes, but the icon stays in the taskbar so you can open it again.
Disable the Virtual Touchpad
If you no longer need the on-screen trackpad, you can turn the shortcut off to tidy up your system tray . This only removes the icon. It does not uninstall anything, and you can bring it back at any time by repeating the steps in the first section.
- Right-click an empty area on your taskbar and select Taskbar settings.
- Expand the Taskbar corner icons category (called Taskbar corners items on some builds).
- Find Touchpad (or Virtual touchpad) in the list.
- Click the toggle switch next to it to switch it to Off.
- Check that the touchpad icon disappears from your taskbar corner. This happens immediately, and no restart is needed.
Configure Touch and Mouse Settings
You can change how the cursor and touch input behave in Windows 11 settings. This covers cursor speed, scrolling direction, and touch gesture behavior. The virtual touchpad follows the system's pointer and touch behavior, so these changes affect how it feels to use. All of these options are under Bluetooth & devices.
- Open Settings. The quickest way is to press the Windows key and I together.
- Click Bluetooth & devices in the left sidebar.
- Select Touch to adjust your touchscreen preferences, or select Mouse to change cursor speed and the primary button assignment.
- Change the setting you want. Most of these changes apply immediately, so you can test the result right away. To undo a change, set the option back to its previous value.
Troubleshooting Virtual Touchpad Issues
If the on-screen trackpad will not open or does not respond, damaged system files could be the cause. System File Checker scans Windows and repairs corrupted files. It must be run from an elevated (administrator) Command Prompt. Run it before you try anything more drastic, since it only repairs files and does not change your settings.
- Open the Start menu, type
cmd, right-click Command Prompt in the search results, and select Run as administrator. Click Yes if User Account Control asks for permission. You need an administrator account for this. - Type
sfc /scannowand press Enter on your keyboard. The scan starts and shows a percentage as it works. - Wait for the scan to complete. It can take several minutes, so do not close the window. When it finishes, read the message. It will say that no integrity violations were found, or that files were found and repaired.
- Restart your computer before you try to open the virtual touchpad again.
Managing Precision Touchpad Settings via Registry Editor
This works on both Home and Pro editions. Incorrect changes can cause system instability, so go carefully. Before you edit anything, back up the key you are about to change. In Registry Editor, right-click the key, choose Export, and save the file somewhere safe. Double-clicking that file later restores the saved values.
- Press the Windows key and R on your keyboard at the same time to open the Run dialog box.
- Type
regeditand press Enter to open Registry Editor. Click Yes if User Account Control asks for permission. - Navigate to the following location in the left sidebar:
HKEY_CURRENT_USER\Software\Microsoft\Windows\CurrentVersion\PrecisionTouchPad - Double-click an available DWORD value in the right pane to open it, change its data to match your configuration, then click OK.
- Close the Registry Editor window and restart your computer to apply the changes.
What to do next
You should now see the virtual touchpad icon in your taskbar corner and be able to open the on-screen trackpad whenever you need it. If it ever stops working, come back to the System File Checker steps above. Next, you can look at customizing other input devices or setting up custom touch gestures for your touchscreen display.
Have a question about this guide?
Answered by AI from this guide. Good questions may be added to this page — please don't include personal details.
Did this guide fix your problem?

About the Author
Richard
Tech Writer, IT Professional
Richard is a writer at Geek Rewind who turns complex IT tasks into clear, step-by-step guides. He draws on years of hands-on experience in system administration and enterprise IT operations, focusing on Windows, Linux and WordPress: the problems people actually run into, and the fixes that work. His server and WordPress guides come from systems he runs himself. Richard builds and maintains the platform behind Geek Rewind, from its Ubuntu servers and Nginx configuration to its custom WordPress plugins. Many new tutorials start with readers' questions, and he's always glad to answer them in the comments.
No comments yet — be the first to share your thoughts!