How to Install Windows 11 on VirtualBox

Running Windows 11 on VirtualBox lets you test the operating system inside a window on your PC without touching your main system files. VirtualBox is a free program that creates a software-based computer, so you can run a second operating system alongside your current one. If something breaks inside the virtual machine, your real Windows installation is not affected, and you can delete the virtual machine whenever you like.
The main challenge is that Windows 11 setup checks for TPM 2.0, Secure Boot and enough RAM, and Microsoft enforces these checks strictly for version 22H2 and newer. A virtual machine often fails them. You can get around these hardware checks by adding a few values to the registry during setup. This guide covers that step by step, along with the virtual machine settings you need to get right first.
Before you start, you need VirtualBox installed, a Windows 11 ISO file downloaded from Microsoft, and a virtual machine already created for it. Most of the settings below are greyed out while the virtual machine is running, so make sure it is powered off.
Open VirtualBox, select your Windows 11 virtual machine, and go to Settings System to set Base Memory to at least 4096 MB and Processors to 2 CPUs. Then go to Settings Storage, click the Empty optical drive, select your Windows 11 ISO file, click OK, and click Start to boot the installer.
Setting Up Your Virtual Machine
To install Windows 11 in VirtualBox, give your virtual machine enough memory and processing power before you start the setup. Windows 11 needs at least 4 GB of RAM, 2 CPU cores and 64 GB of storage. If you give it less, setup may refuse to continue or the system will crawl.
- Open VirtualBox and select your Windows 11 virtual machine in the left-hand list.
- Click Settings, then go to Settings System You should see the Motherboard tab with a Base Memory slider.
- Set Base Memory to at least 4096 MB. If your PC has 16 GB of RAM or more, 8192 MB gives a noticeably smoother result. Do not give the virtual machine more than about half of your physical RAM, or your main system will slow down.
- Next, set the number of processors on the Processor tab, as described below.

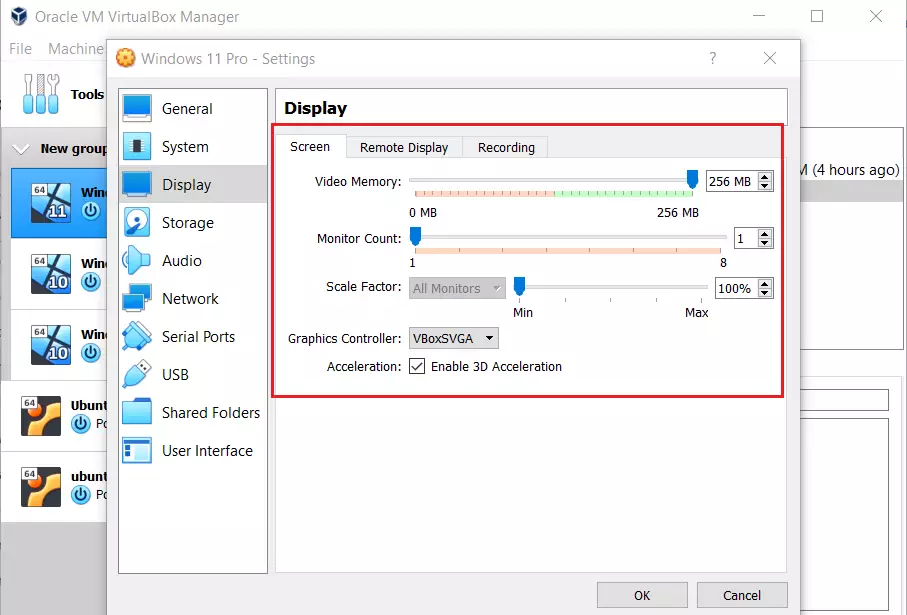
- In the same System window, click the Processor tab.
- Set the Processor(s) slider to at least 2 CPUs. Keep it in the green part of the slider. Going into the red zone means you are assigning more cores than your PC can spare.
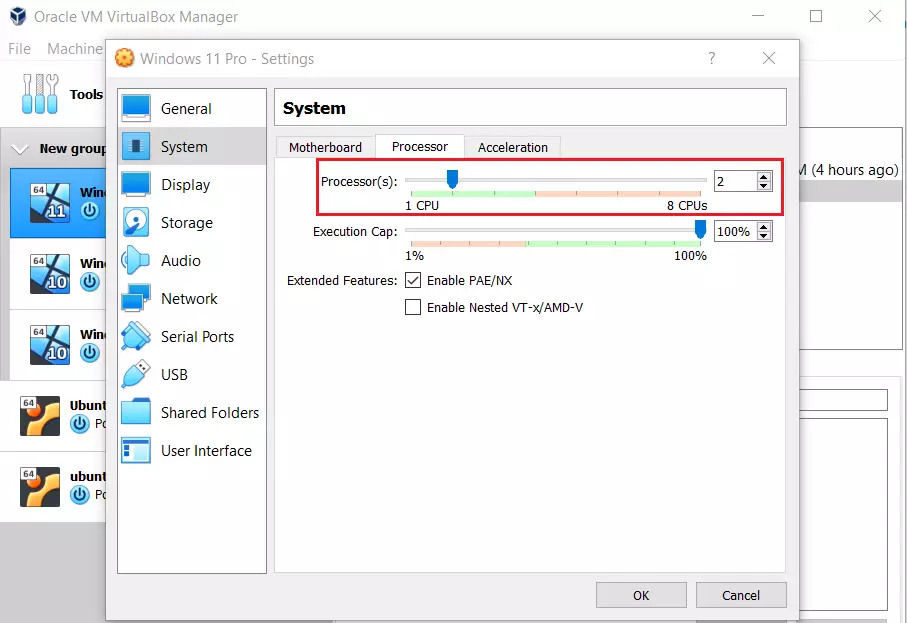
- In the Settings window, click Storage in the left-hand list.
- Select your virtual hard disk, the .vdi file listed under the controller. The details on the right show its virtual size.
- Check that the size is at least 64 GB. The size is fixed when you create the disk, so if it is smaller, the simplest fix is to create a new virtual machine with a larger disk.
The disk does not take all 64 GB from your drive right away if you chose a dynamically allocated disk. It grows as Windows uses space.
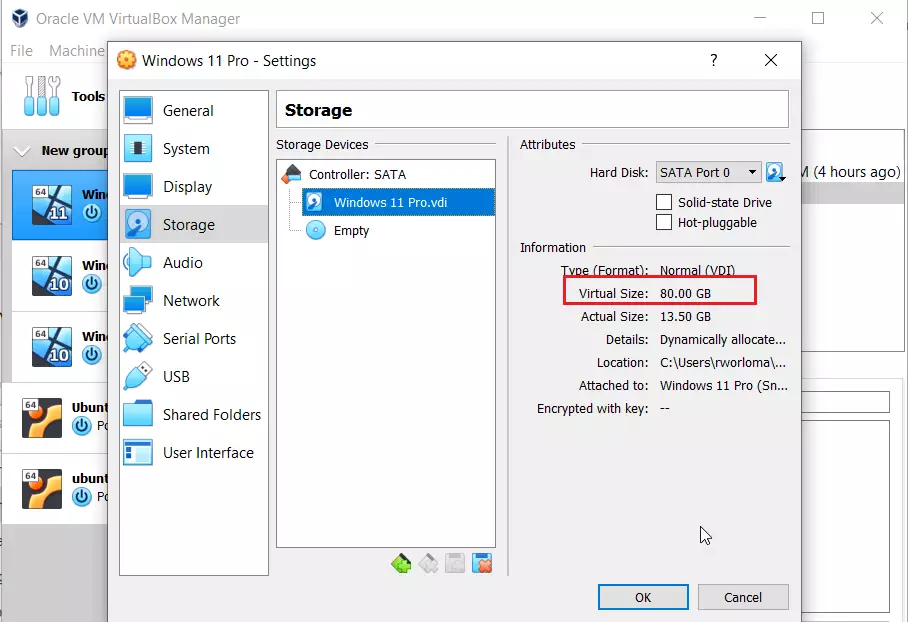
- In the Settings window, click Display in the left-hand list.
- Set Video Memory to 256 MB, the maximum.
- Open the Graphics Controller list and choose VBoxSVGA.
- Tick the box for Enable 3D Acceleration. If the box is greyed out, the virtual machine is still running, or the setting is not available with your current graphics controller.
Click OK to save when you have finished with the settings . You can change any of these values later if the virtual machine feels slow.
Installing 🪟 Windows 11
To install Windows 11 in VirtualBox from a disc image, you need to load your downloaded ISO file into the virtual machine's storage settings. The virtual machine then boots from it as if it were a physical installation disc.
- Select your virtual machine and click Settings, then open Storage.
- Under the controller, click the empty optical drive entry, usually labelled Empty.
- On the right, click the small disc icon next to Optical Drive and choose Choose a disk file.
- Browse to your Windows 11 ISO file and select it. The drive entry should now show the ISO file name instead of Empty.
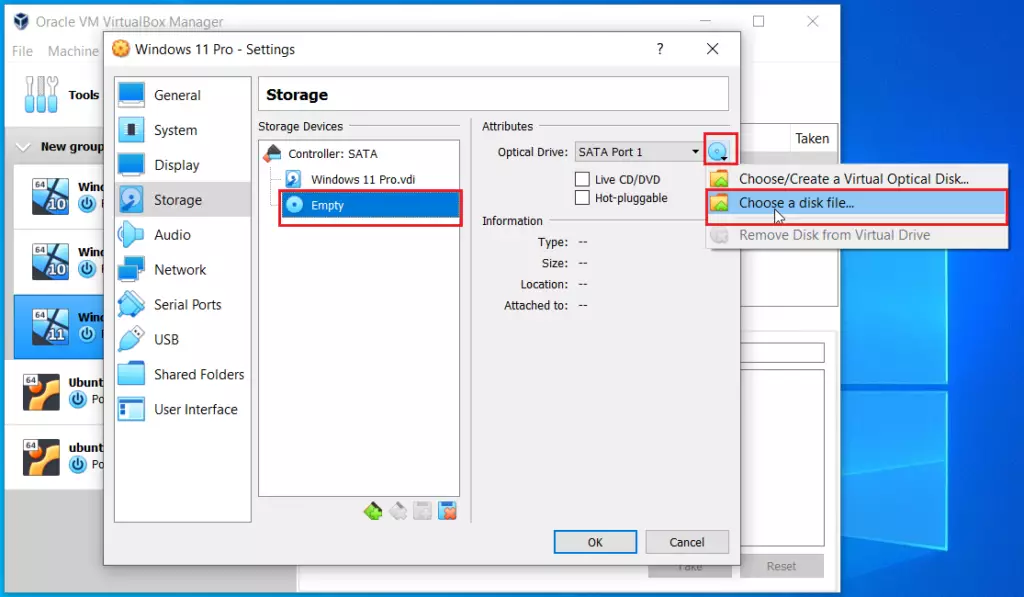
- Click OK to save the change.
- Click the Start button to boot your virtual machine. A new window opens showing the virtual screen.
If the virtual machine boots to a black screen or a UEFI shell instead of the installer, check that the ISO is attached in Storage and start the machine again.

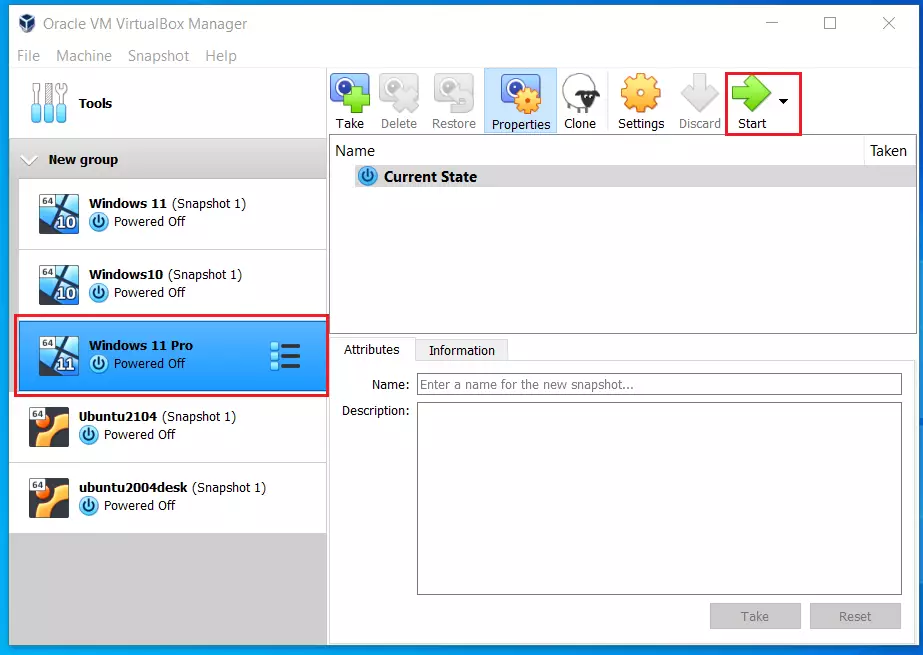
- When the machine starts, click inside the virtual machine window and press any key if you see a "Press any key to boot from CD or DVD" message. You have only a few seconds, so be ready. If you miss it, use Machine Reset in the VirtualBox menu and try again.
- On the first Windows Setup screen, choose your Language to install, Time and currency format and Keyboard or input method.
- Click Next.
Once you click inside the window, VirtualBox captures your mouse. To get the mouse back to your main desktop, press the Right Ctrl key, which is the default host key.
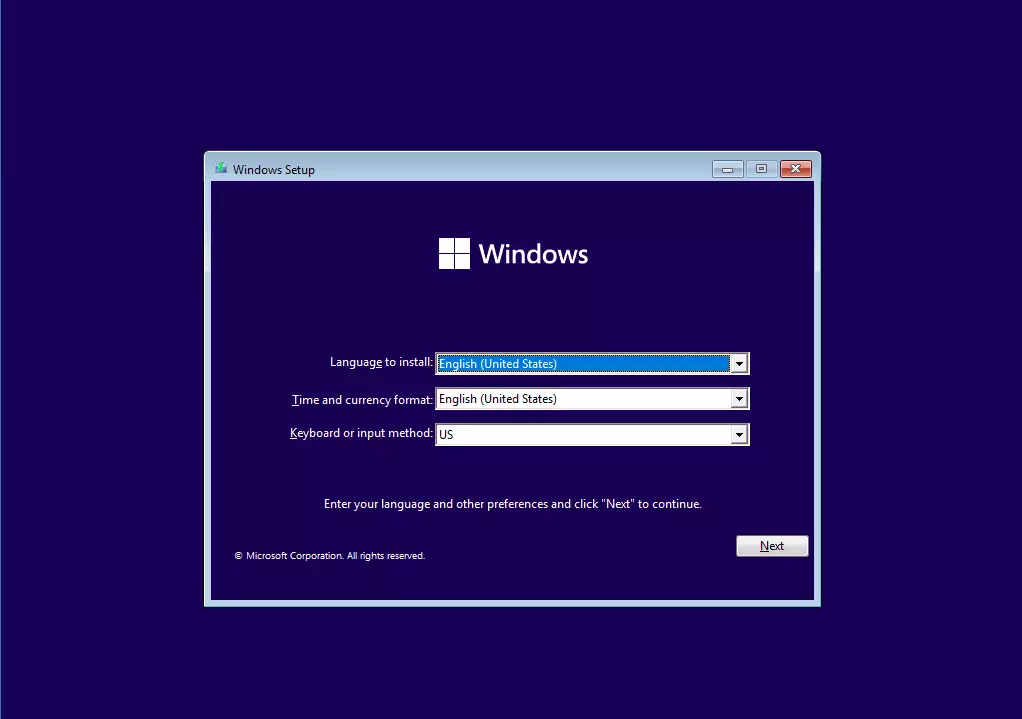
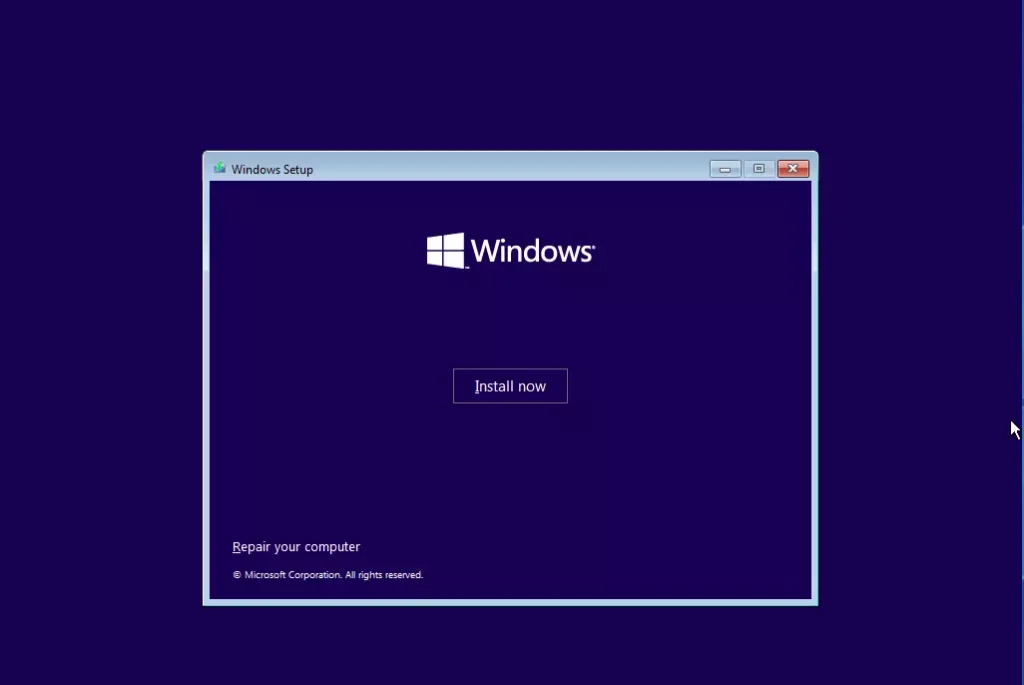
The next screen shows an Install now button. Do not click it yet. This is the point where you add the bypass values.
- With the Install now screen showing, press SHIFT + F10 on your keyboard. If nothing happens, click inside the virtual machine window first, and on some laptops hold Fn as well.
- A black command prompt window opens on top of the setup screen. It already runs with administrator privileges, so you do not need to do anything extra.
Type the following command into the black box and press Enter:
regedit
The Registry Editor should open in a new window. Everything you change here applies only to the setup session inside the virtual machine, not to your real PC.

In the Registry Editor window, use the folder tree on the left to navigate to this path:
HKEY_LOCAL_MACHINE\SYSTEM\Setup
- Right-click the Setup folder.
- Select New Key.
- Name the new key
LabConfigand press Enter. It should appear as a new folder under Setup.
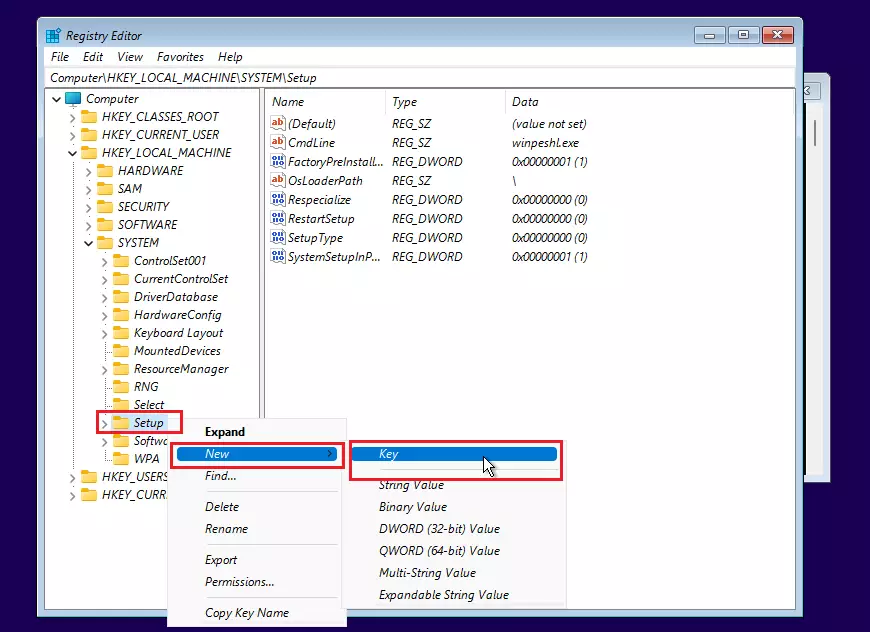
- Right-click the LabConfig folder.
- Select New DWORD (32-bit) Value.
- Name the new value exactly as listed below, then double-click it.
- Set the Value data to 1 and click OK.
- Repeat for each of the three items:
BypassTPMCheckBypassRAMCheckBypassSecureBootCheck

Check that all three values show 1 in the right-hand pane. A typo in a name means that check will not be bypassed.
- Close the Registry Editor, then close the command prompt window. You should be back at the Windows Setup screen.
- Click Install now to continue.
- If asked for a product key, enter one, or click the link to skip it. You can activate Windows later.
These guides may help with the choices that follow: country or region, keyboard layout or input method, name of your computer, Microsoft online account.
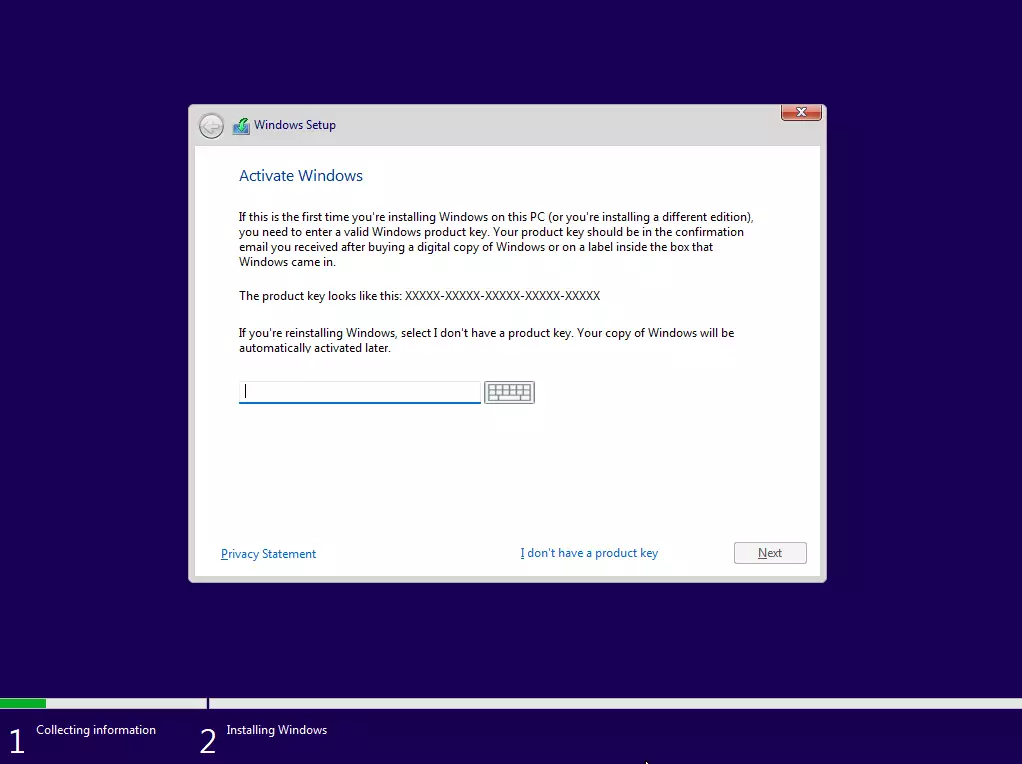
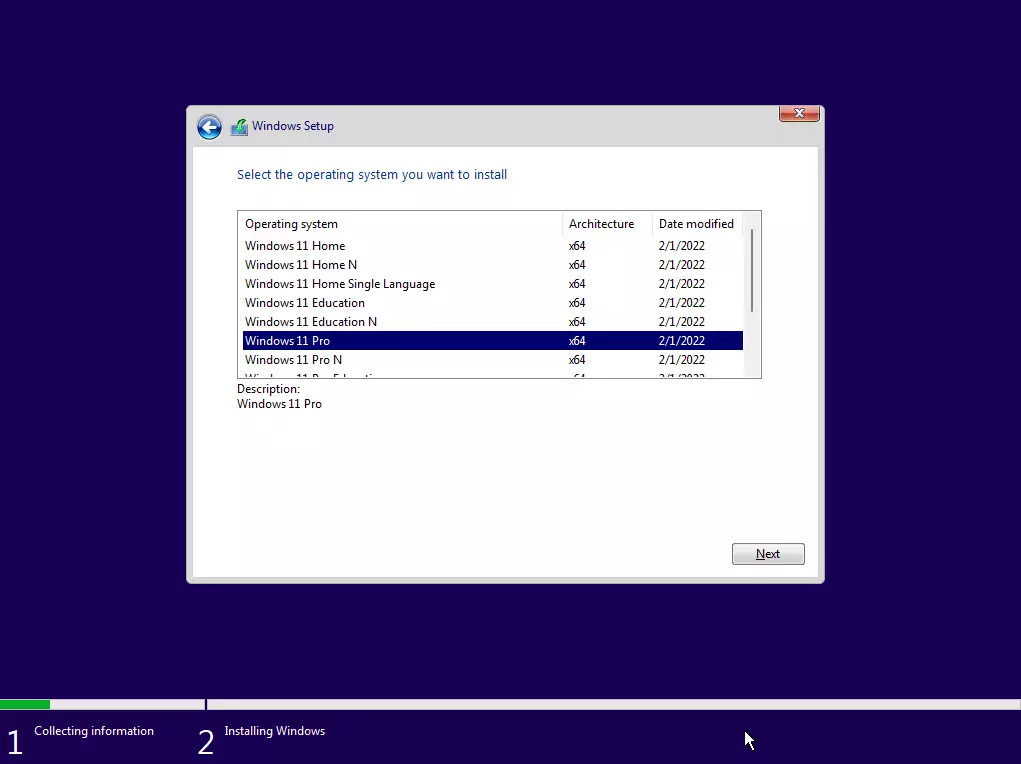
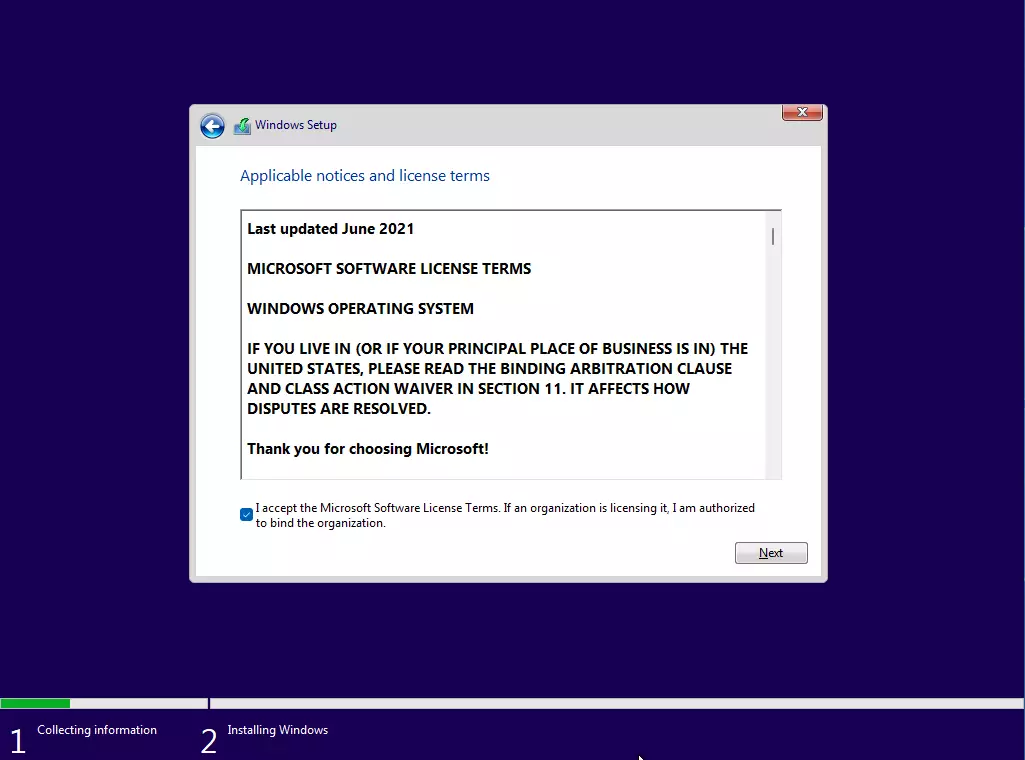

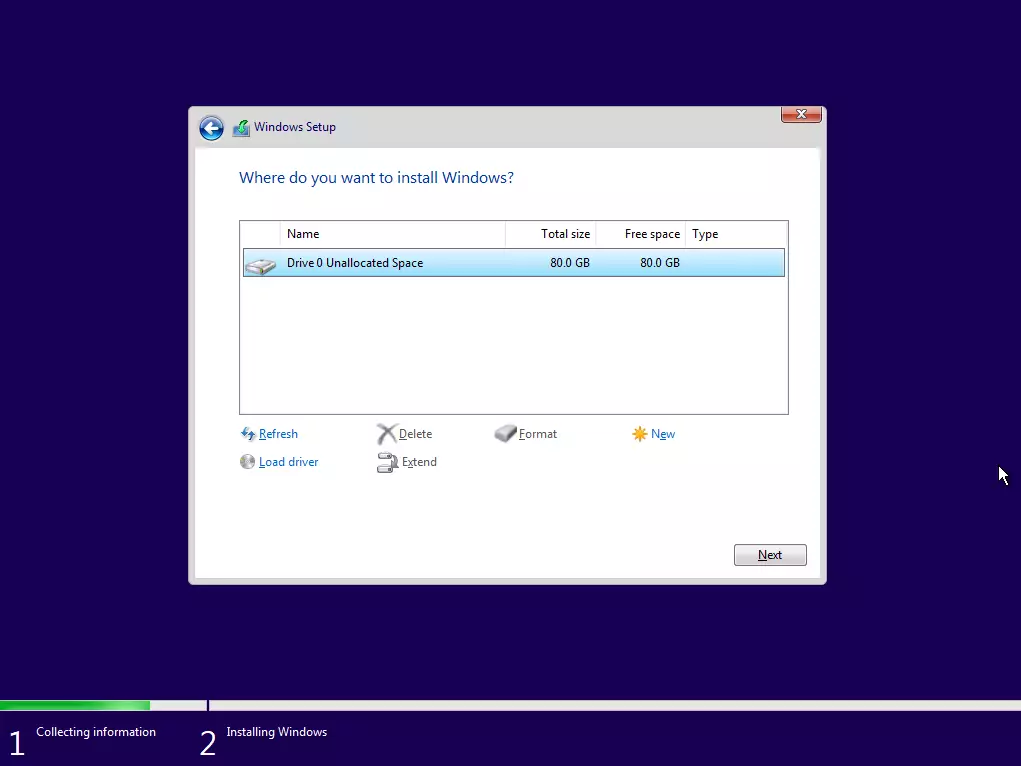

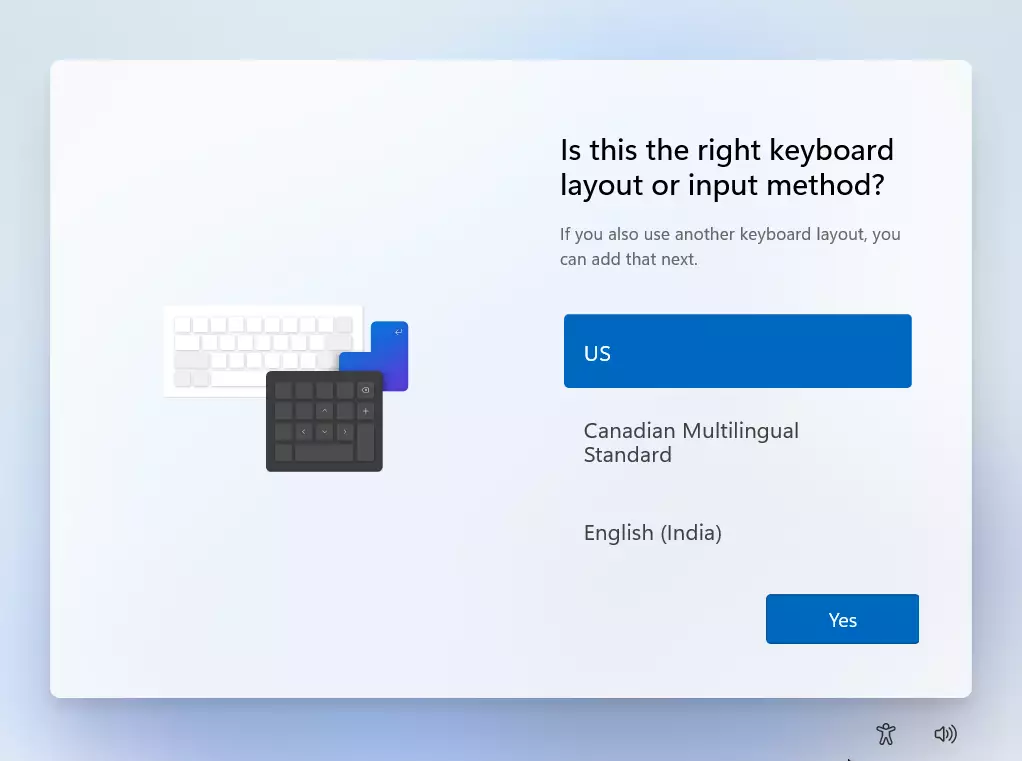

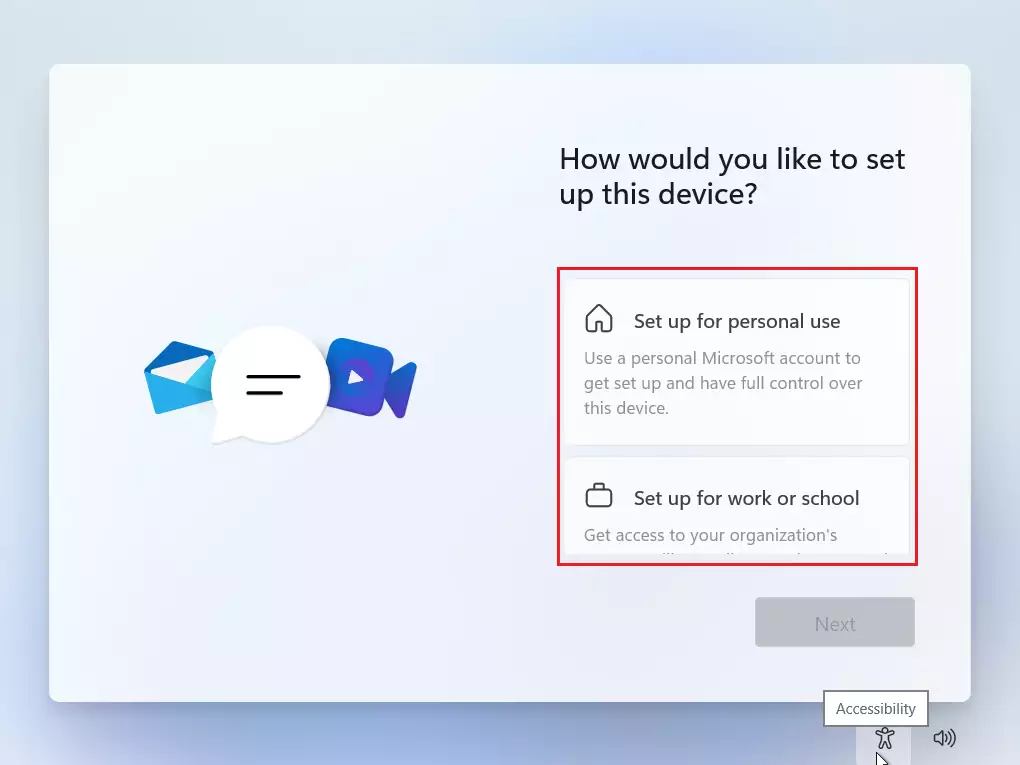
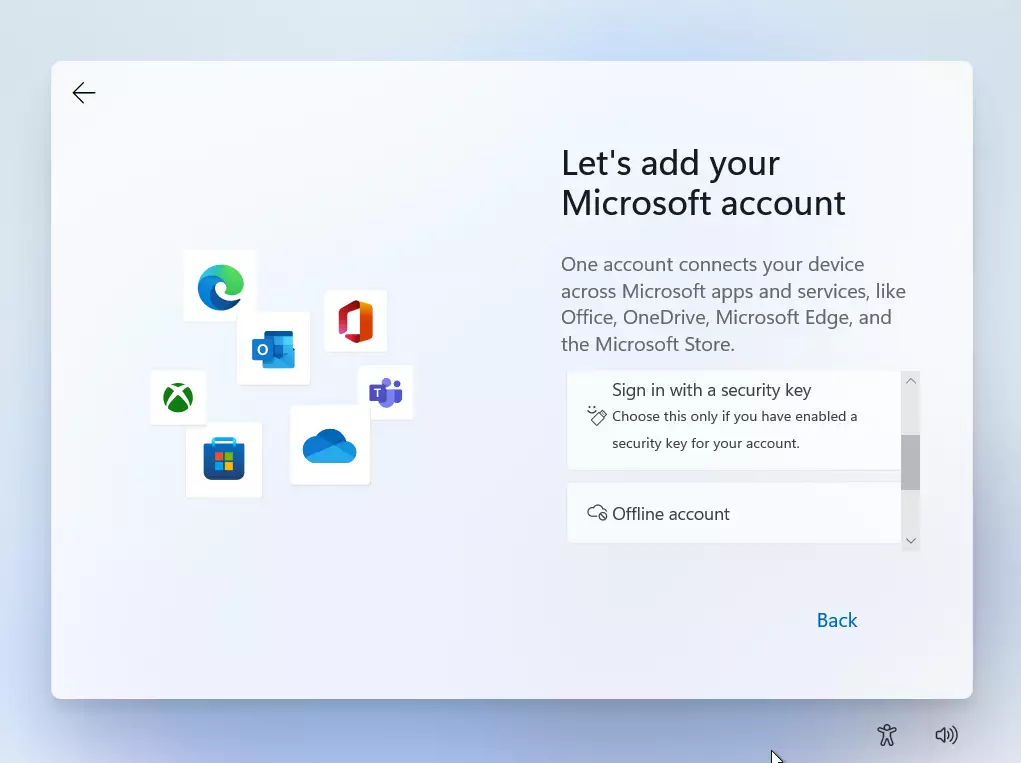

Once the setup steps are complete, your virtual computer will restart. This can happen several times, and the installation can take a while, so let it run without interrupting it. You can now log in to your new Windows 11 desktop.

Summary
Before you start, verify that your virtual machine has at least 4 GB of RAM, 2 processors and 64 GB of storage. Be prepared to use the Registry Editor to bypass checks like TPM and Secure Boot. If setup stops with a "This PC can't run Windows 11" message, the usual cause is a misspelled value name or a value not set to 1 in the LabConfig key.
Was this guide helpful?

About the Author
Richard
Tech Writer, IT Professional
Richard is a writer at Geek Rewind who turns complex IT tasks into clear, step-by-step guides. He draws on years of hands-on experience in system administration and enterprise IT operations, focusing on Windows, Linux and WordPress: the problems people actually run into, and the fixes that work. His server and WordPress guides come from systems he runs himself. Richard builds and maintains the platform behind Geek Rewind, from its Ubuntu servers and Nginx configuration to its custom WordPress plugins. Many new tutorials start with readers' questions, and he's always glad to answer them in the comments.


No comments yet — be the first to share your thoughts!