How to Install Windows 11 on VirtualBox
VirtualBox lets you install Windows 11 inside your current computer, creating a separate digital space for it. This process involves setting up a virtual machine and getting around Windows 11’s specific hardware rules, like needing TPM 2.0.
VirtualBox is free software that lets you run other operating systems, like Windows 11, without needing to buy a new computer. It’s great for trying out new software or testing new features safely.
The main trick is to trick the Windows 11 installer into thinking your virtual machine meets the requirements. Once you bypass checks like the TPM 2.0 requirement, you’ll have Windows 11 running in a window on your screen.
Install Windows 11 on VirtualBox by creating a new virtual machine with sufficient RAM, CPU, and storage. During installation, press Shift+F10 to open a command prompt, run regedit, and create specific registry keys to bypass TPM, RAM, and Secure Boot checks. Then, proceed with the Windows 11 setup.
Setting Up Your Virtual Machine
Setting up your virtual machine is the first step to install Windows 11 VirtualBox. Giving your virtual computer enough power, especially RAM (Random Access Memory), is crucial. Open VirtualBox, go to your virtual machine’s Settings, then System, and on the Motherboard tab, set the RAM to at least 4096 MB (4 GB) so Windows 11 can run smoothly.
Open VirtualBox and go to Settings > System. Under the Motherboard tab, set the RAM to at least 4096 MB (4 GB).

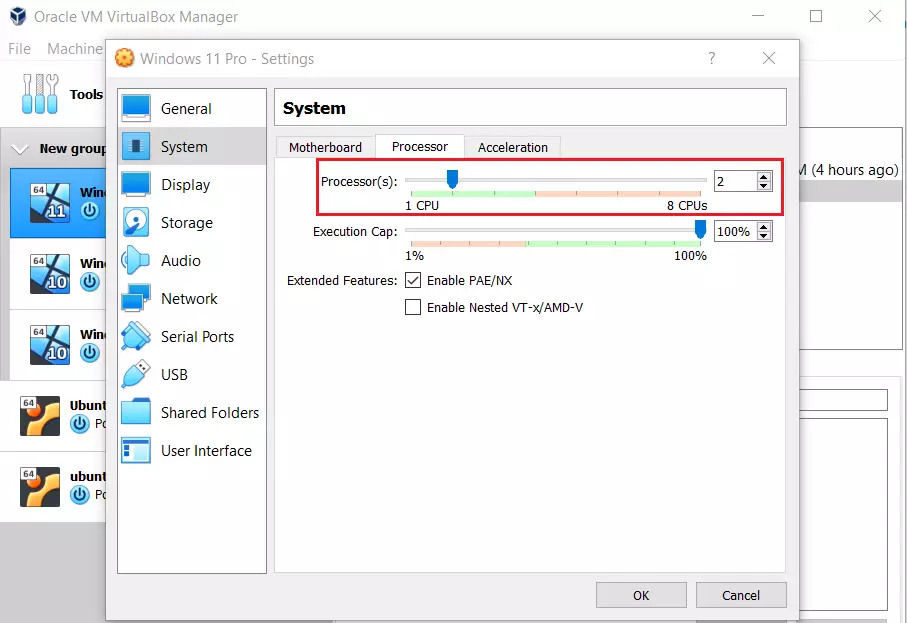
Under the Processor tab, ensure you have selected at least 2 CPUs.
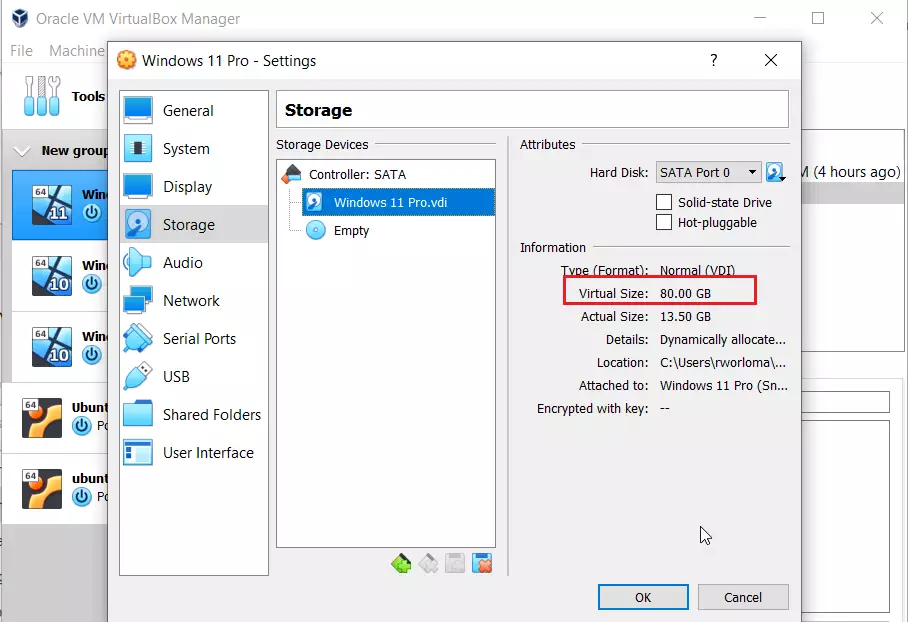
Go to the Storage tab and ensure your virtual hard drive is at least 64 GB.
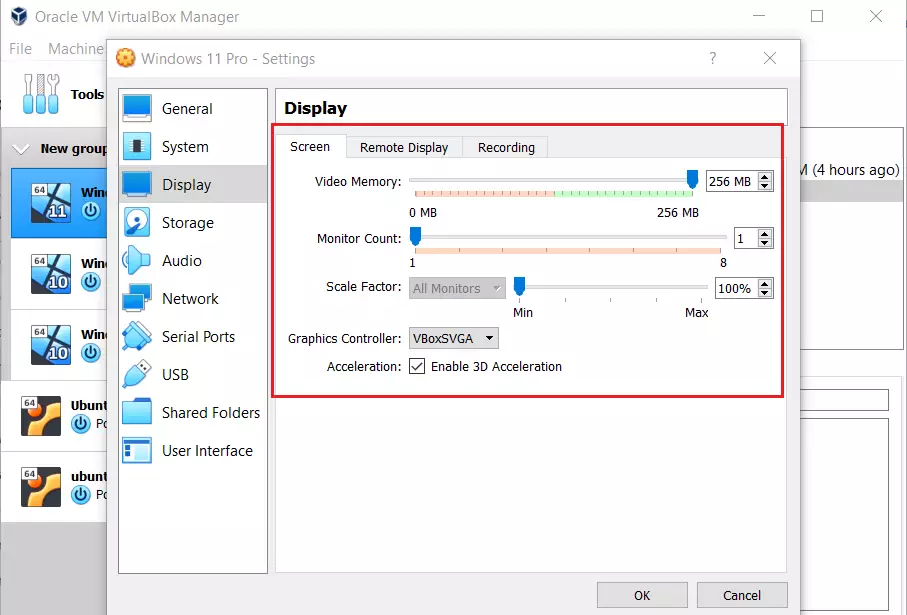
In the Display window, set Video Memory to 256 MB. For the Graphics Controller, choose VBoxSVGA and then check the box for 3D Acceleration.
Installing 🪟 Windows 11
Installing Windows 11 on VirtualBox involves loading its setup files from an ISO image. This is done by going to your virtual machine’s storage settings and selecting the Windows 11 ISO file you downloaded. Once the ISO is attached, click OK. Then, press the Start button to begin the Windows 11 installation process.
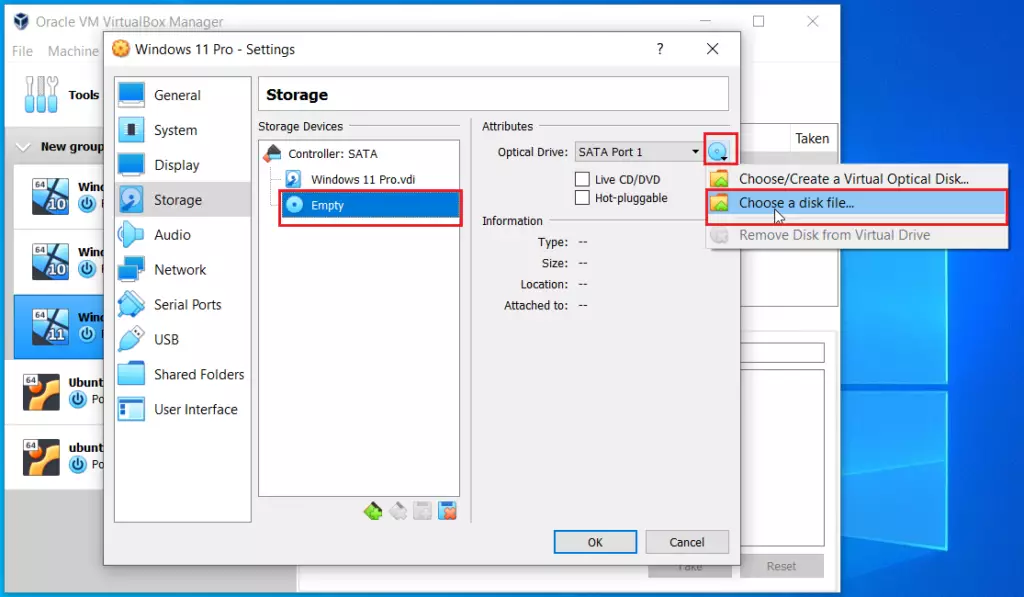
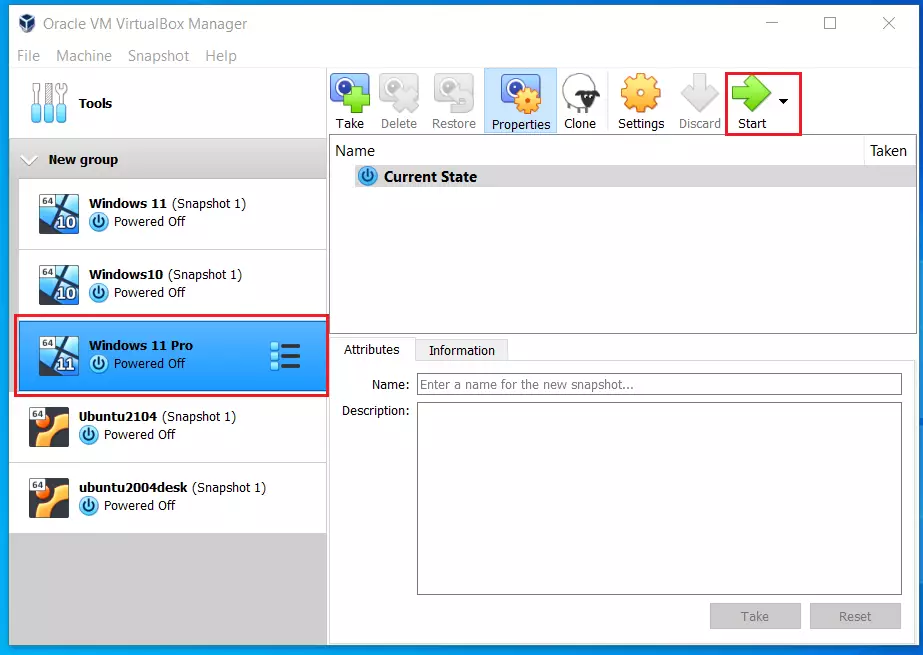
Once selected, click OK. Now, click the Start button to boot your virtual machine.

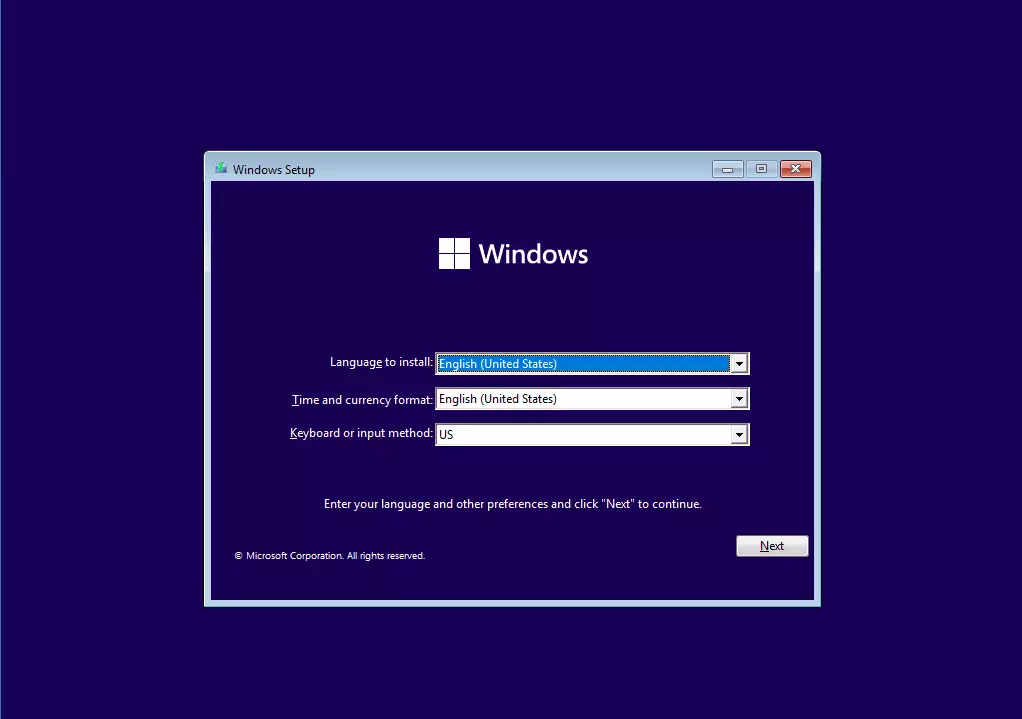
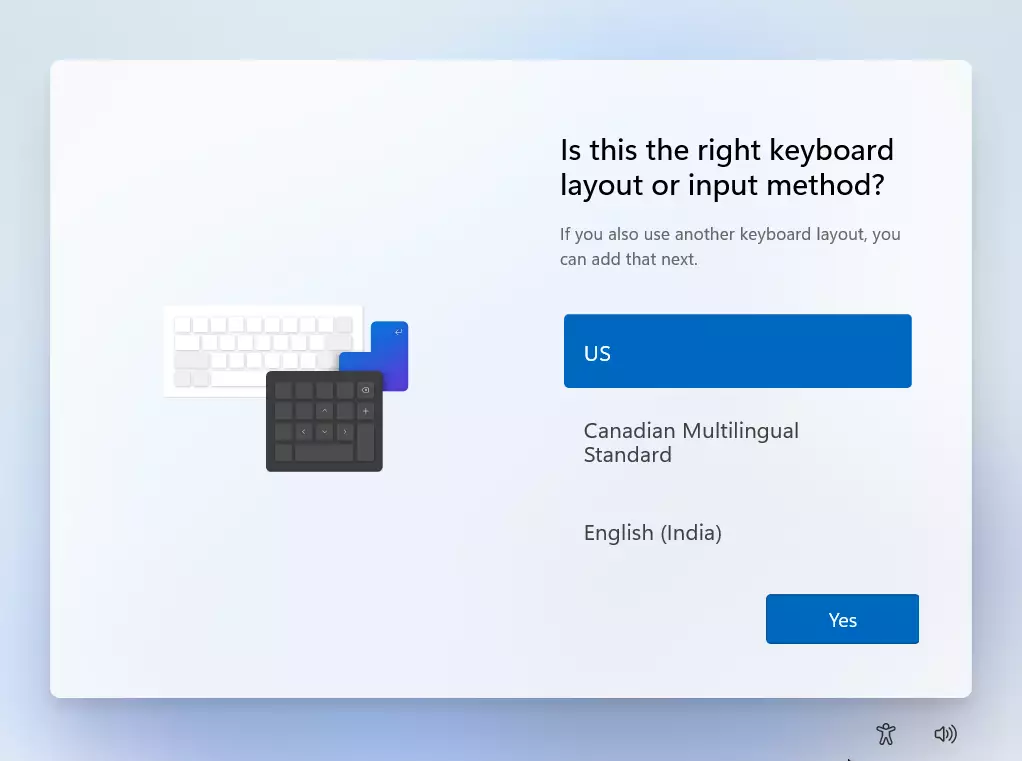
When the machine starts, press any key if prompted. Choose your language and time settings, then click Next. This includes your language, time and currency format, and keyboard input method.
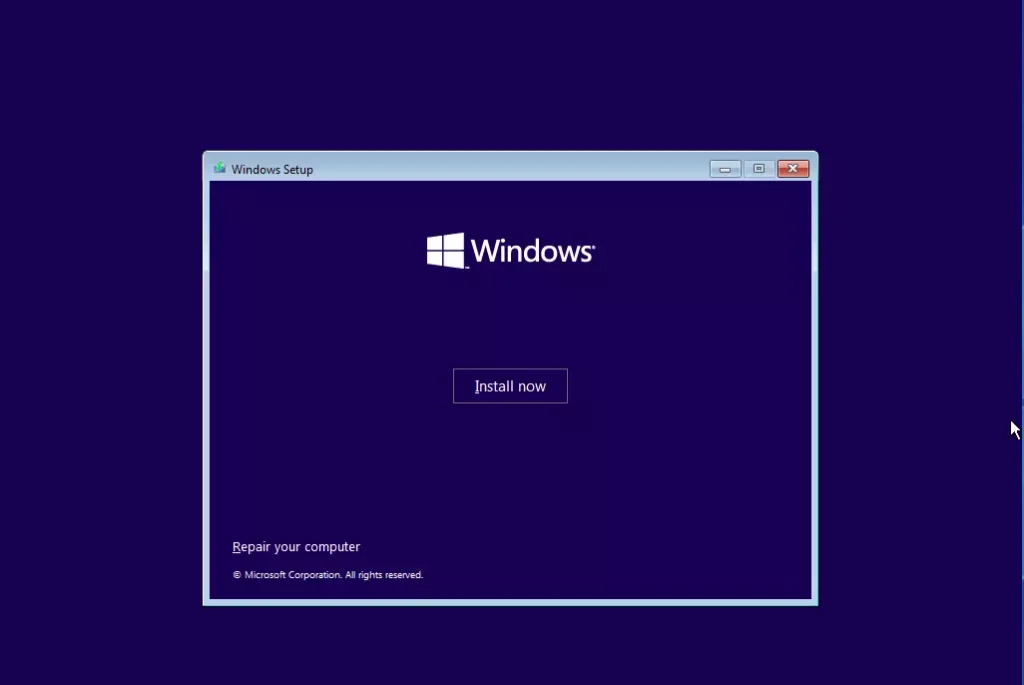
On the “Install Now” screen, press Shift+F10 on your keyboard. This opens a command prompt window, which requires administrator privileges.
Type the following command into the black box and press Enter:
regedit

In the window that opens, navigate to this path:
HKEY_LOCAL_MACHINE\SYSTEM\Setup
Right-click the Setup folder, select New > Key, and name it LabConfig.
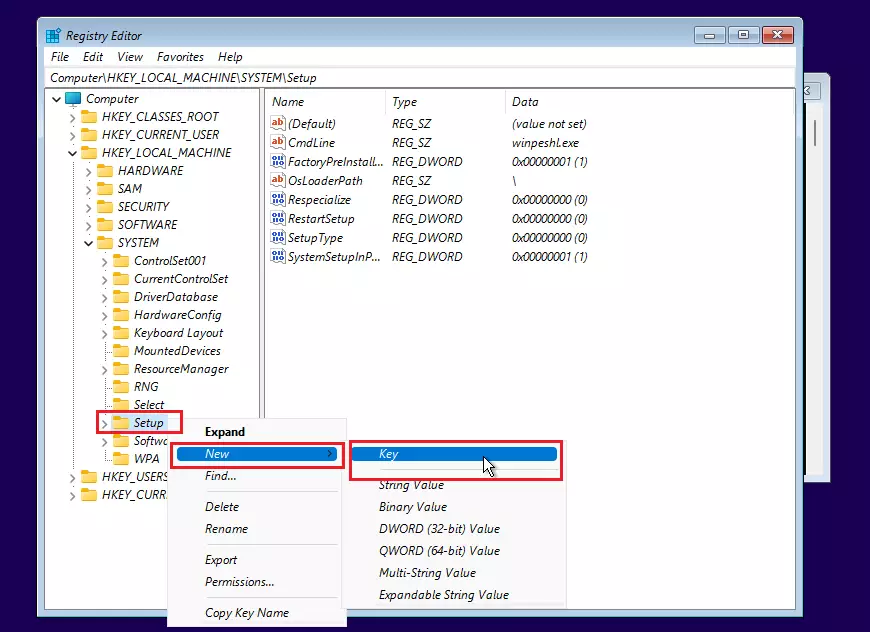
Now, right-click the LabConfig folder. Select New > DWORD (32-bit) Value. Create these three items, one by one. For each, set the ‘Value data’ to 1:
BypassTPMCheckBypassRAMCheckBypassSecureBootCheck

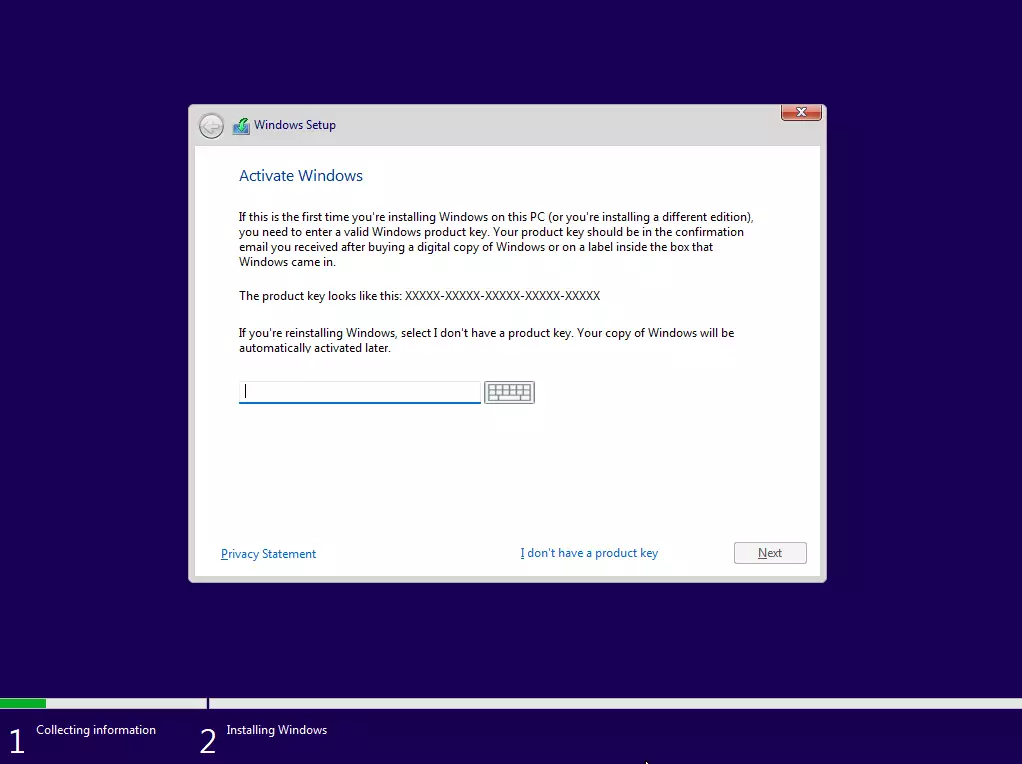
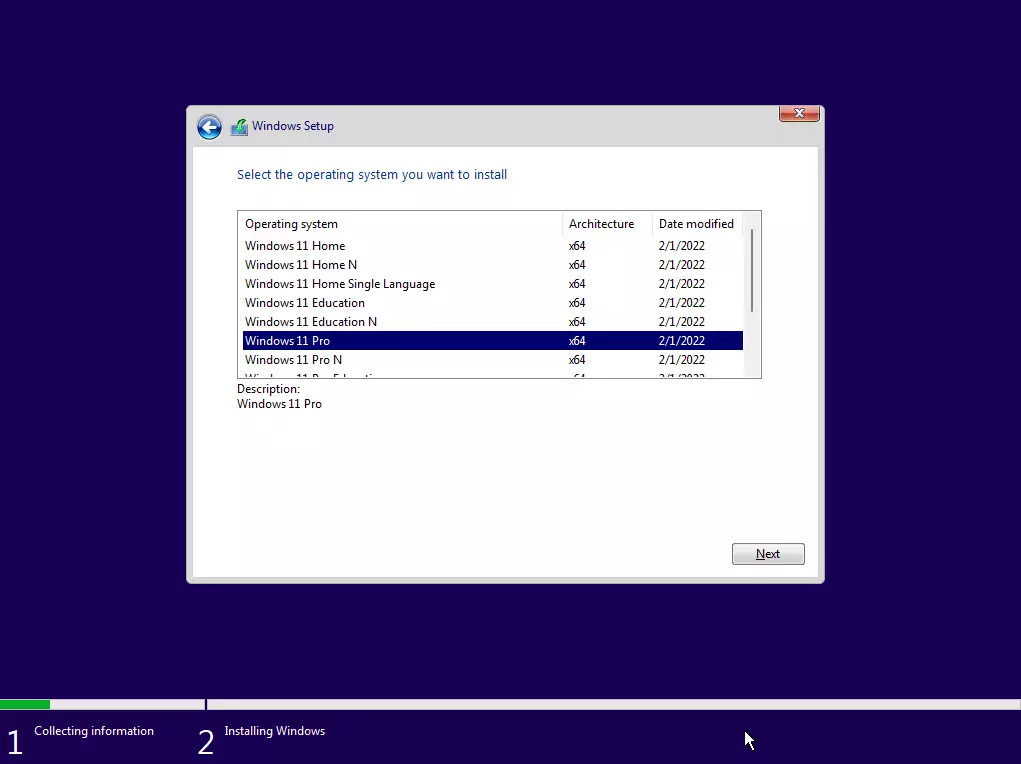
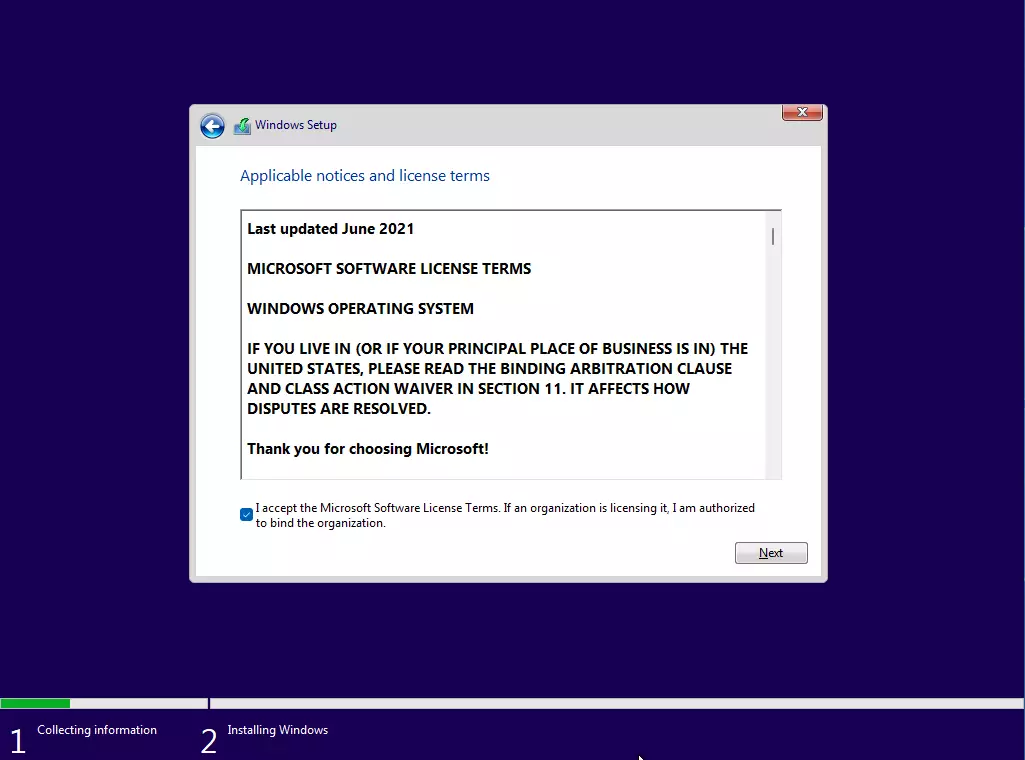
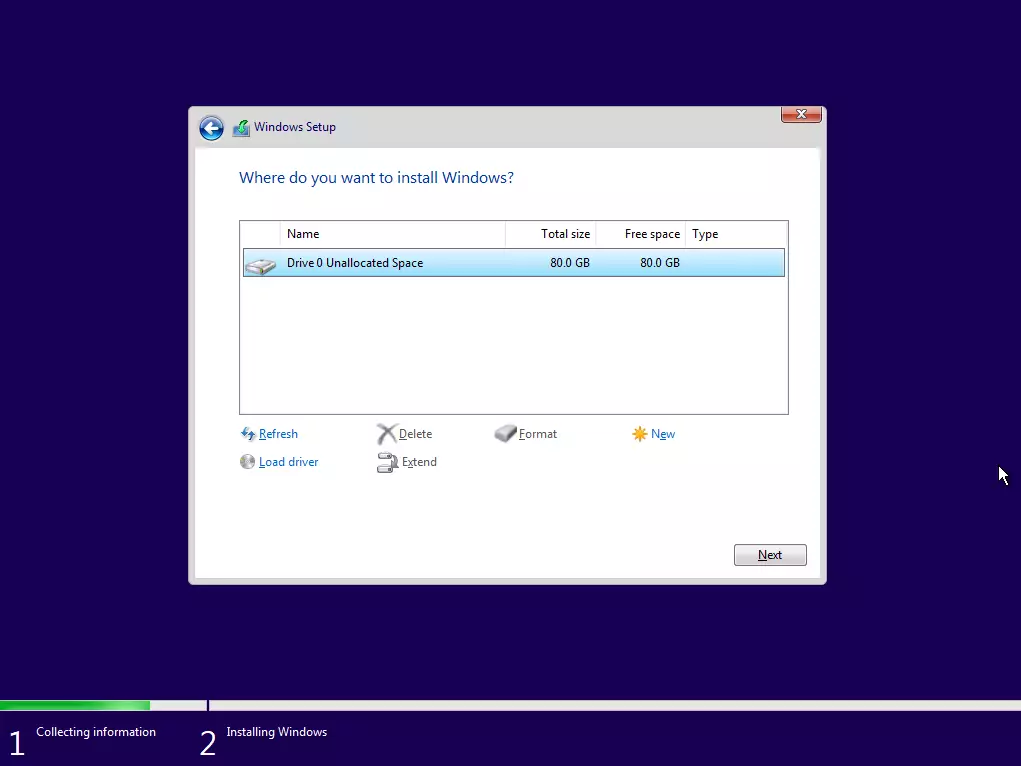
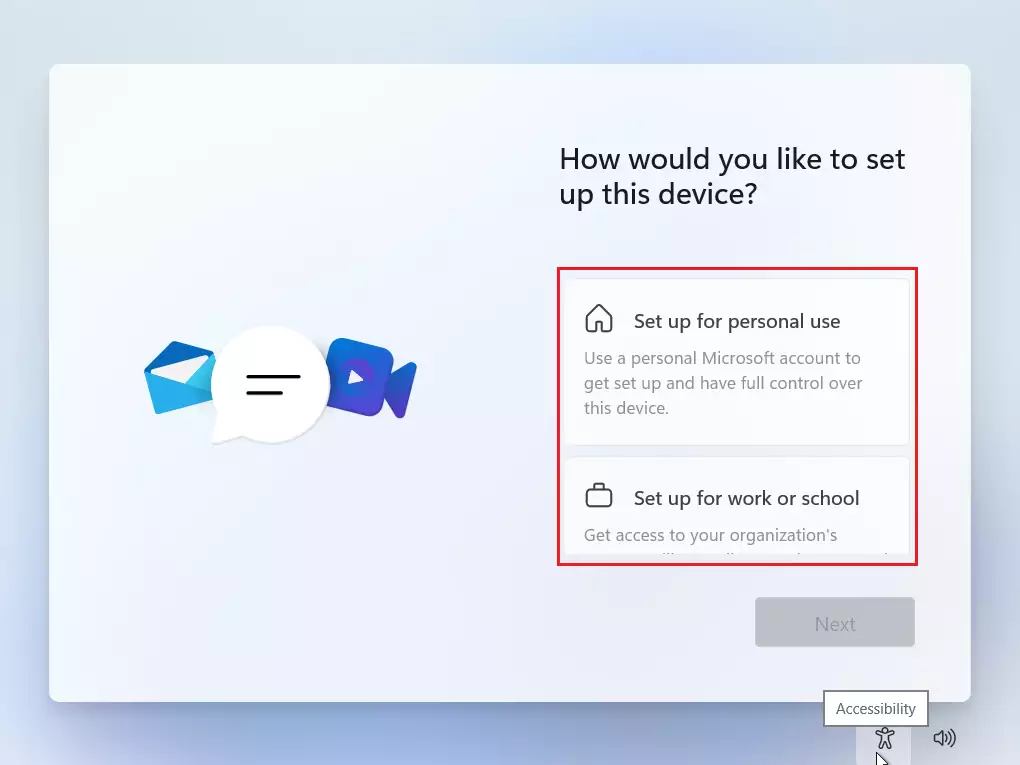
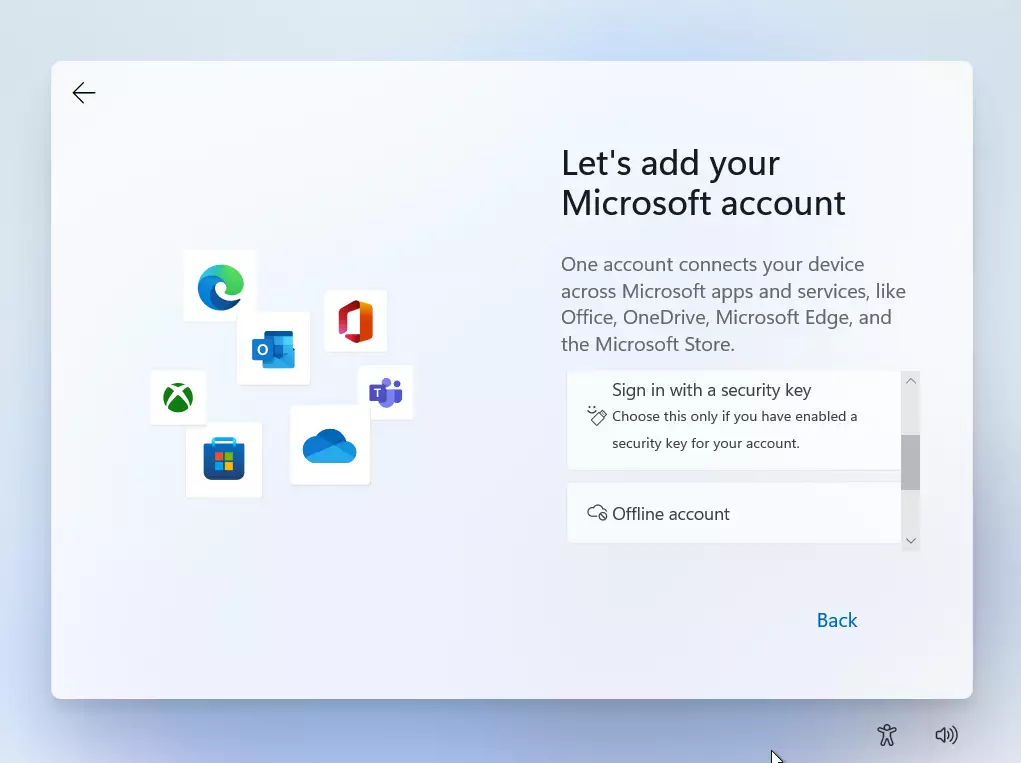
Close the Registry Editor and the command prompt. Click Install now to continue. If asked for a product key, enter one or click the link to skip it. country or region, keyboard layout or input method, name of your computer, Microsoft online account.


Once the setup steps are complete, your virtual computer will restart. You can now log in to your new Windows 11 desktop.

Summary
To successfully install and run Windows 11 on VirtualBox, ensure your virtual machine has at least 4 GB of RAM, 2 processors, and 64 GB of storage. Be prepared to use the Registry Editor to bypass security checks like TPM and Secure Boot.
Is VirtualBox safe for 🪟 Windows 11?
Yes, you can definitely run Windows 11 in VirtualBox, with some tweaking and adjustments. It’s a bit of a journey, but if you enjoy tinkering and experimenting with operating systems, you’ll find it a joy.
Was this guide helpful?

About the Author
Richard
Tech Writer, IT Professional
Richard, a writer for Geek Rewind, is a tech enthusiast who loves breaking down complex IT topics into simple, easy-to-understand ideas. With years of hands-on experience in system administration and enterprise IT operations, he’s developed a knack for offering practical tips and solutions. Richard aims to make technology more accessible and actionable. He's deeply committed to the Geek Rewind community, always ready to answer questions and engage in discussions.


No comments yet — be the first to share your thoughts!