How to Show the Language Bar on Your Desktop or Taskbar in Windows 11

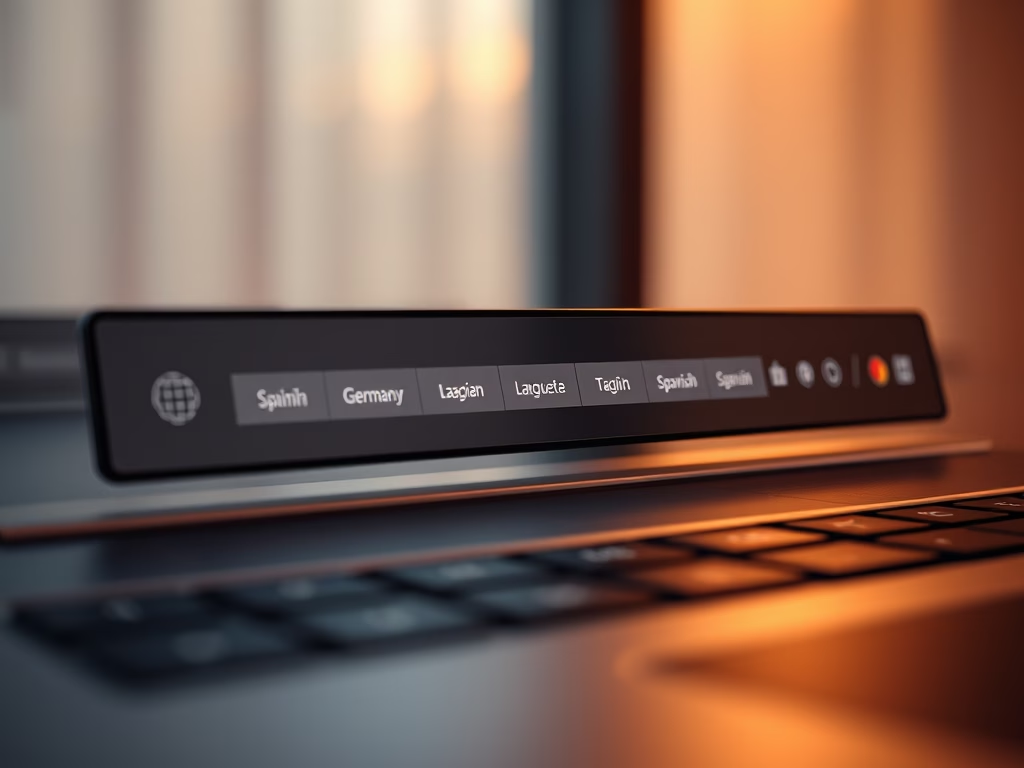
The Language Bar in Windows 11 lets you switch between keyboard layouts and input languages with a single click. Windows hides it by default, but you can turn it on from the Settings app in under 30 seconds.
You can leave the Language Bar on the taskbar, or let it float on your desktop so it stays in view while you type. This tutorial covers both options, first through Settings and then through PowerShell.
Open Settings Time & language Typing Advanced keyboard settings. Tick “Use the desktop language bar when it’s available” to show it floating on your desktop, or leave it unticked for the taskbar . The Language Bar appears immediately if you have multiple input languages installed.
What is the Language Bar?
The Windows 11 Language Bar is a small switcher that lets you change keyboard layouts and input languages while you type. It is useful when you write in more than one language or need characters that your main layout doesn’t offer. It can sit on the taskbar or float on the desktop.
Windows adds the matching keyboard layout automatically whenever you add a new language. You can also set up more than one layout per language.
You don’t need the mouse to switch. Press Win + Spacebar and Windows cycles through your active keyboard layouts. A small pop-up appears each time, so you can see which layout is selected.
If you see nothing on the taskbar and only one language is installed, that is the reason. Add a second language or layout first, then follow the steps below.
Option 1Show Language Bar Using Windows Settings
This method works on both Windows 11 Home and Pro. The Settings app is the quickest way to choose between the desktop bar and the taskbar.
- Press Win + I to open Settings.
- Click Time & language in the left-hand list. The language and region options appear on the right.
- Click Typing on the right side.
- Scroll down and click Advanced keyboard settings.
- Tick the box for Use the desktop language bar when it's available if you want the bar to float on the desktop. It should appear on screen straight away.
- Untick the box if you want the language switcher on the taskbar instead. This is the default setting.
- Close Settings. You don't need to restart. If the bar doesn't change, sign out and back in.
Both choices are in the Advanced keyboard settings page. The desktop bar floats freely, and you can drag it wherever you like. The taskbar version stays docked next to the clock in the notification area. To undo the change, go back to the same page and flip the checkbox.
If Advanced keyboard settings doesn't show the checkbox, or the desktop bar doesn't appear, check that you have more than one input language installed. You can add one under Time & language Language & region.
Option 2Show Language Bar Using PowerShell
If you prefer the command line, you can configure the Language Bar with PowerShell. You don't need to open it as administrator for these changes, because they only affect your own user account.
- Right-click the Start button and choose the terminal entry. It is labelled Terminal or Windows Terminal, depending on your Windows 11 build. Windows Terminal opens.
- Make sure the Windows PowerShell tab is selected. If another shell opens by default, click the small down arrow next to the tab bar and choose Windows PowerShell.
- Copy and paste one of the commands below, depending on what you want, then press Enter.
Show Desktop Language Bar
Run this command to show the language bar on your desktop:
Set-WinLanguageBarOption -UseLegacyLanguageBarAlternatively, use this command to show the desktop language bar and also allow a different input method for each app window. With this option on, each program remembers its own language, so switching apps can also switch your keyboard layout:
Set-WinLanguageBarOption -UseLegacyLanguageBar -UseLegacySwitchModeShow Taskbar Language Bar (Default)
To restore the default taskbar language bar and turn off the extra settings, use this command:
Set-WinLanguageBarOptionTo hide the desktop bar while still allowing a different input method for each app window, use this command:
Set-WinLanguageBarOption -UseLegacySwitchModeIf the change doesn't show up straight away, sign out and back in. You can also check the result in Settings Time & language Typing Advanced keyboard settings.
PowerShell shows the result of these configurations like this:
Summary
- The Language Bar makes it easy to switch between keyboard languages on your Windows 11 PC. It only appears when more than one language or layout is installed.
- Changing your keyboard layout lets you type special letters and characters from other languages.
- You can switch languages with the Language Bar or with the shortcut Win + Spacebar.
- You can show the Language Bar on the desktop or on the taskbar, using either Settings or PowerShell. Neither needs a restart, and both are easy to reverse.
- This helps if you use more than one language and want to type comfortably.
The Windows 11 Language Bar gives you a fast way to switch keyboard layouts, so you can type in several languages and use special characters. Choose the desktop or taskbar placement in the Advanced keyboard settings page, or use the keyboard shortcut to change languages while you type.
Was this guide helpful?

About the Author
Richard
Tech Writer, IT Professional
Richard is a writer at Geek Rewind who turns complex IT tasks into clear, step-by-step guides. He draws on years of hands-on experience in system administration and enterprise IT operations, focusing on Windows, Linux and WordPress: the problems people actually run into, and the fixes that work. His server and WordPress guides come from systems he runs himself. Richard builds and maintains the platform behind Geek Rewind, from its Ubuntu servers and Nginx configuration to its custom WordPress plugins. Many new tutorials start with readers' questions, and he's always glad to answer them in the comments.

No comments yet — be the first to share your thoughts!