How to Install Windows 11 from a Bootable USB

- 15 steps
- Needs administrator rights
- Includes a restart or sign-out
Installing Windows 11 from a bootable USB puts a fresh copy of the operating system on your computer. A clean install removes your old files and settings. People do it to fix slow performance, clear glitches that won’t go away, or set up a new PC.
You need a USB flash drive with at least 8GB of space and a working internet connection to build the installer. Microsoft’s free Media Creation Tool downloads the setup files and writes them to the flash drive for you. Back up anything you want to keep before you start. The tool erases the USB drive, and the install itself can erase the disk you install onto.
Install Windows 11 by creating a bootable USB with the Media Creation Tool, then restart your PC and select the USB drive from the boot menu. Follow the on-screen prompts to complete the installation.
What happens when done?
When you finish, you will have a portable USB drive that can start a computer and install a brand-new copy of Windows 11. The target drive is reset to a factory-fresh state. Previous software and personal data on the partition you install to are removed, so only do this once your backup is safe.
Hardware Requirements and Compatibility
Before you begin, make sure your PC meets the minimum requirements for Windows 11. The system must support TPM 2.0 and Secure Boot. Microsoft also lists 4GB of RAM and 64GB of storage as minimums. You can check all of this with Microsoft’s PC Health Check app.
If your PC does not meet the requirements, setup may stop with an error. Many newer PCs meet them but have TPM or Secure Boot switched off in the BIOS/UEFI settings. If PC Health Check reports a problem, look there before you assume the hardware is too old. Intel systems often call the TPM option PTT, and AMD systems call it fTPM.
Creating the Installation USB
To make the installation USB you need a blank USB drive with at least 8GB of space and Microsoft’s free Media Creation Tool. You download the tool on a working computer, run it, and select your USB drive. The tool then downloads the setup files and prepares the drive automatically, so you can install Windows 11 from it.
Use a drive with nothing important on it. The tool formats the drive, and everything already on it is lost. The download is several gigabytes, so allow some time on a slow connection.
Download the official Microsoft Media Creation Tool for Windows 11 from Microsoft’s website. It runs on a working Windows computer and builds the bootable USB drive. That computer does not have to be the one you are going to reinstall.
If you are signed in with a standard account, Windows will ask for an administrator password. %📂%SC0%%
- Run the downloaded tool and click Yes if User Account Control asks for permission. After a short wait, the license terms page appears.
- Select Accept if you agree to the license terms. The tool then checks your PC and shows the language and edition page.
- Choose Create installation media for another PC and click Next. On some versions of the tool, this option is part of a longer label that mentions USB flash drive, DVD or ISO file.
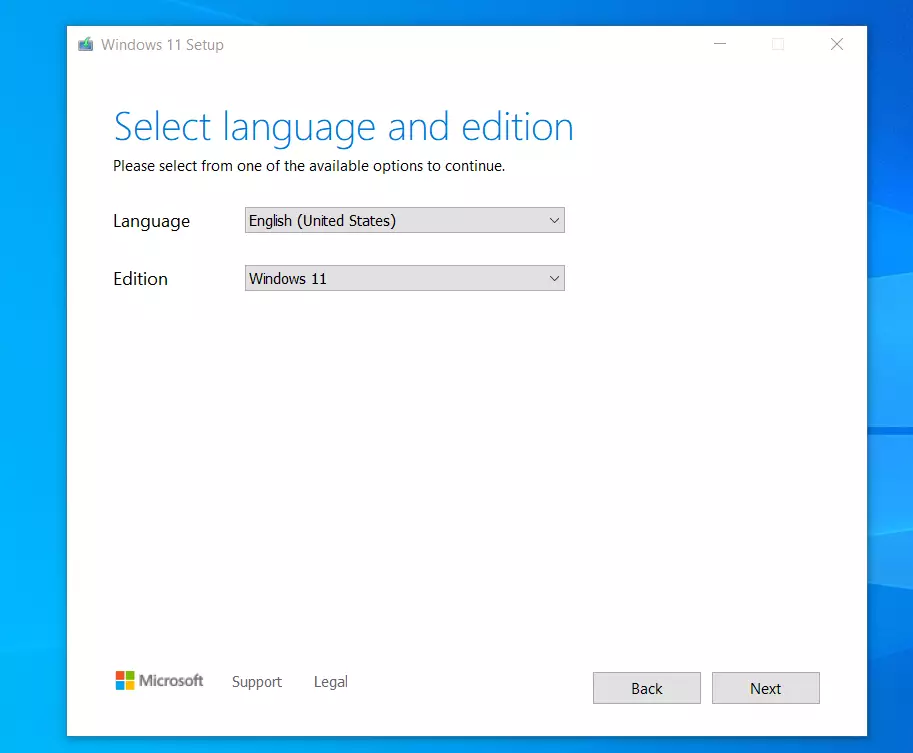
- Pick your language and the 64-bit version of Windows 11. Windows 11 only comes in 64-bit, so there is no 32-bit option. If the choices are greyed out, clear the Use the recommended options for this PC check box to change them. Click Next to continue.
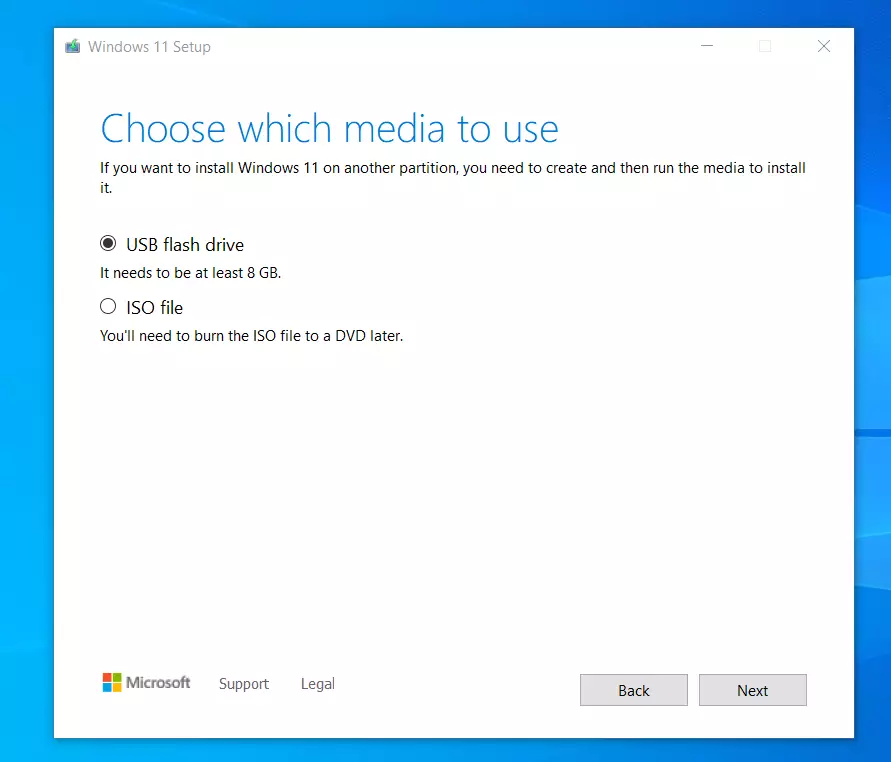
Next, choose your media. The tool offers two options:
- USB flash drivePlug in your 8GB (or larger) drive. This is the option for this guide. It makes a drive you can boot from directly.
- ISO fileThis saves a disc image file to your PC that you can burn to a DVD later. It does not create a bootable USB drive by itself.
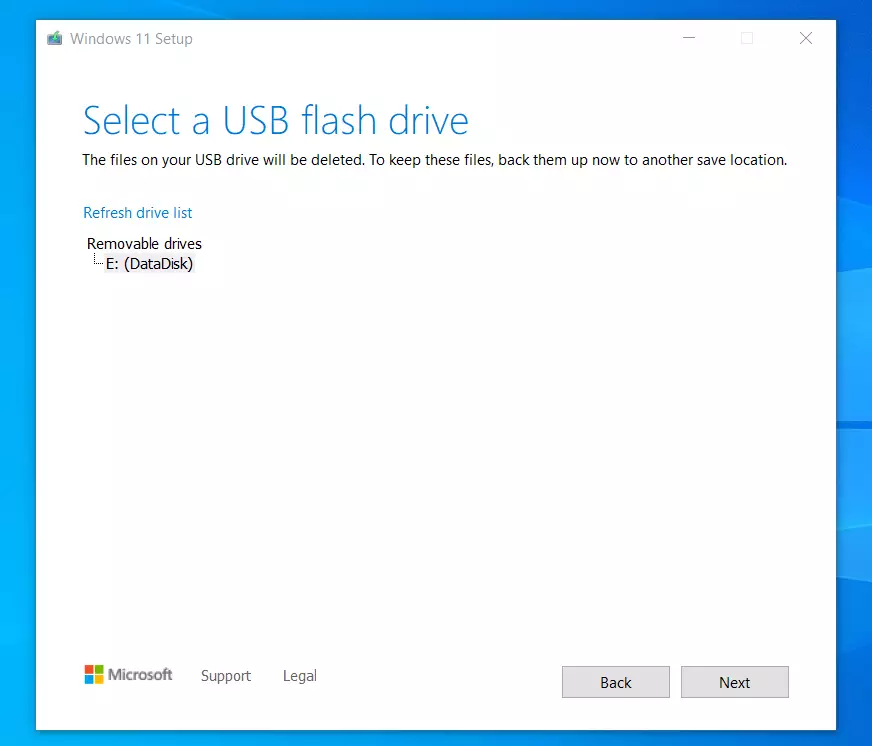
- Select your USB drive from the list. If the drive is not listed, make sure it is plugged in and then click Refresh drive list. Check the drive letter and size carefully, because everything on the selected drive will be erased.
- Click Next to start the download. The tool downloads Windows 11, checks the download, and prepares the bootable USB drive for you. A progress percentage shows on screen while it works.
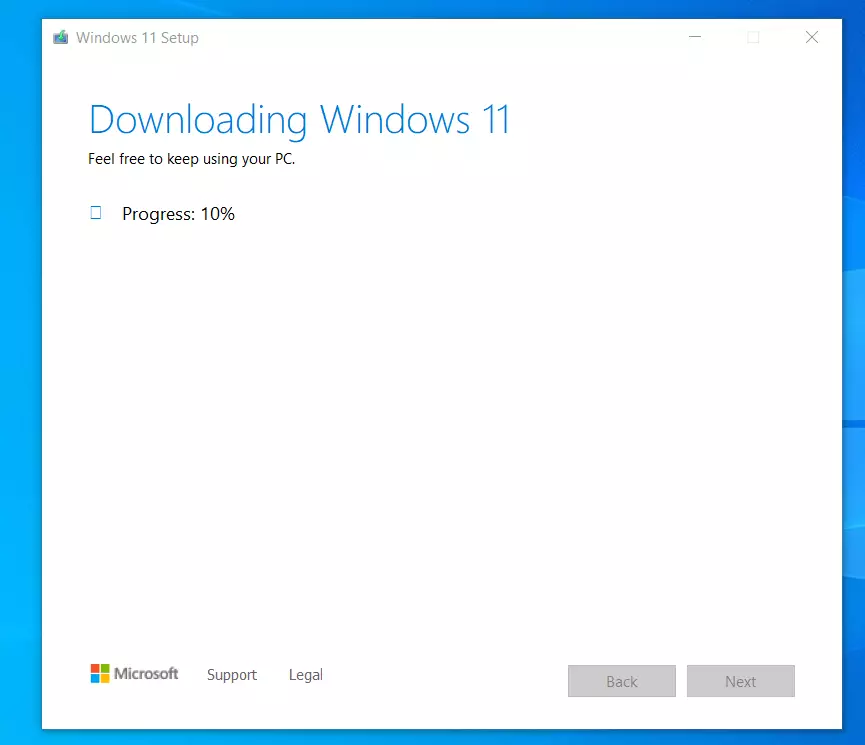
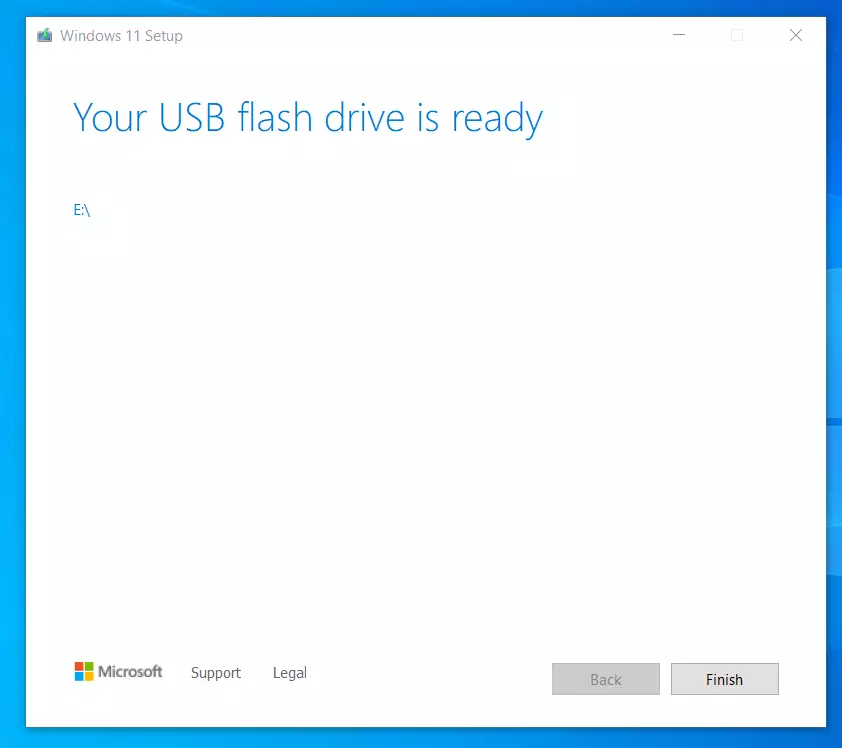
- Wait for the process to finish. This can take from 10 minutes to over an hour, depending on your connection and the drive’s speed. Don’t unplug the drive or let the PC sleep. When you see a message that your USB flash drive is ready, click Finish and safely eject the drive.
How to Install 🪟 Windows 11
To install Windows 11 from the USB drive, plug it into the target computer, restart, and press your PC’s boot menu key (for example F12 or Del) to start from the USB. When the setup screen opens, follow the prompts to choose a drive and finish the install. The boot menu key depends on the manufacturer. It is usually shown for a second or two on the startup logo screen, or you can find it in the PC’s manual.
- Plug the USB drive into the computer. A port directly on the PC, rather than a hub or front-panel port, is the most reliable choice.
- Restart the computer. If it is off, turn it on instead.
- Access the Boot Menu. You may need to press a key like F2, F12, Delete, or Esc immediately after turning the power on. Tap the key repeatedly until a menu or the BIOS screen appears. If the PC loads Windows instead, restart and try again. Some PCs open the BIOS/UEFI settings rather than a boot menu, and in that case you change the boot order there.
- Select the USB drive from the boot list. If it appears twice, pick the entry that starts with “UEFI”. Setup begins loading, and you will see the Windows logo.
- Follow the on-screen instructions for language and keyboard settings. Check the language, time and currency format, and keyboard layout, then click Next.
- Select Install Windows. The button may read Install now. If setup asks for a product key and Windows was already activated on this PC, choose I don’t have a product key. Windows should activate itself once you’re online. Then pick the edition that matches your license and accept the license terms.
- Choose the disk partition where you want to install Windows. Select Custom: Install Windows only (advanced) for a clean install. Pick the partition that holds your old Windows, or the unallocated space on a new drive, and click Next. Whatever is on the partition you format or delete is gone for good. Setup then copies files and restarts the PC several times.
- Once finished, remove the USB drive and log in to your new system. If the PC comes back to the Windows Setup screen after a restart, unplug the drive and restart it so it boots from the new install. Windows then walks you through region, network and account setup. Windows 11 Home needs an internet connection and a Microsoft account during this step. Pro offers a local account option in some builds.
Troubleshooting Installation Errors
If the installation fails, make sure your BIOS is set to UEFI mode rather than Legacy BIOS. Check that Secure Boot is enabled in your BIOS settings. Also check that TPM (shown as PTT or fTPM on some PCs) is switched on. If you see a disk error, ensure your drive is formatted correctly during the installation setup. Deleting the old partitions on that disk in the setup screen and letting Windows recreate them often clears it. Do this only after backing up your data.
If the USB drive does not show up in the boot menu, try a different USB port, preferably a USB 2.0 port. If it still doesn't show up, rebuild the drive with the Media Creation Tool, or try a different flash drive.
Summary
This guide showed you how to install Windows 11 using a bootable USB, for a clean and trouble-free start. Once you're on the desktop, run Windows Update to pull in the latest drivers and patches. Then restore your files from your backup.
Have a question about this guide?
Answered by AI from this guide. Good questions may be added to this page — please don't include personal details.
Did this guide fix your problem?

About the Author
Richard
Tech Writer, IT Professional
Richard is a writer at Geek Rewind who turns complex IT tasks into clear, step-by-step guides. He draws on years of hands-on experience in system administration and enterprise IT operations, focusing on Windows, Linux and WordPress: the problems people actually run into, and the fixes that work. His server and WordPress guides come from systems he runs himself. Richard builds and maintains the platform behind Geek Rewind, from its Ubuntu servers and Nginx configuration to its custom WordPress plugins. Many new tutorials start with readers' questions, and he's always glad to answer them in the comments.
love it is cool like a lot windows 11 .