How to Create a Windows Recovery Drive for Windows 11

A Windows Recovery Drive is a special USB stick that helps fix your PC when Windows 11 won’t start.
This tool contains startup repair options, system restore features, and the ability to reinstall Windows. You don’t need an installation disc to use it.
Creating this drive requires a USB flash drive with at least 16GB of space. Having a recovery drive ready can save you from major data loss or expensive repair bills.
Search for “Create a recovery drive” in the Windows search bar and open the tool. Plug in a USB drive, check “Back up system files to the recovery drive,” select your USB, and click “Create.
What is a Recovery Drive?
A Windows recovery drive is a special USB stick that holds the files needed to fix big problems if your computer won’t start. It contains important system files and troubleshooting tools, like Startup Repair and System Restore, to help get Windows running again.
Here’s why it’s useful:
- System Files: It has important Windows files needed to start and use the recovery tools.
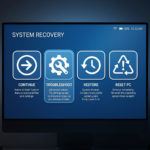
- Troubleshooting Tools: It gives you access to advanced tools like Startup Repair, System Restore, Command Prompt, and options to reset or reinstall Windows.
- Manufacturer Tools: If your computer maker added special recovery tools or drivers, they might also be copied to the drive.
A Windows recovery drive does not save personal files, such as photos or documents. Separate backup methods are necessary for these files. The recovery drive's sole purpose is to fix the Windows system itself.
How to Create a Windows Recovery Drive
Creating your computer's safety net begins now. You'll need a USB flash drive with at least 16GB of space. Make sure it's empty, because this process will erase everything on it. Seriously, double-check that there's nothing important on that USB drive before you start!
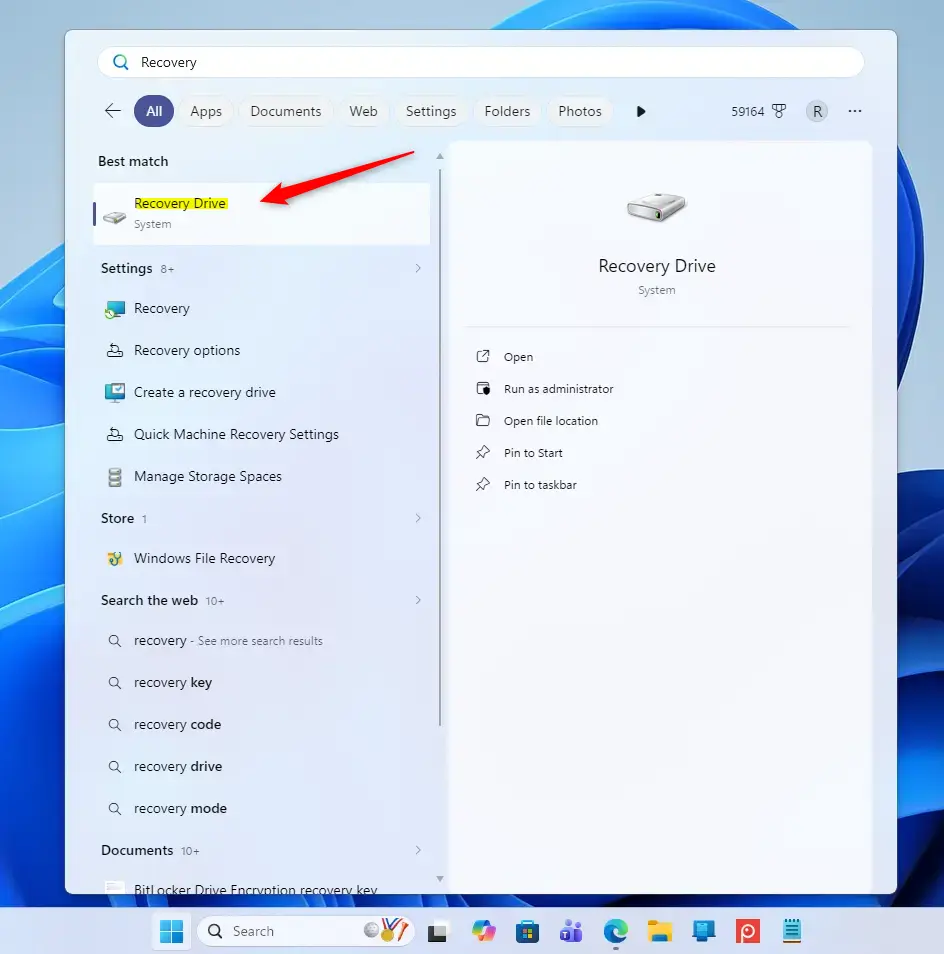
Search for the Recovery Drive Tool
The fastest way to start is by using the Windows search bar. Click the Start button (that's the Windows icon in the bottom-left corner) and then type 'Recovery Drive.' You'll see an option called 'Create a recovery drive.' Click it to open the tool.
Connect Your USB Drive
Now, plug your empty USB flash drive into an available USB port on your computer. Make sure it's connected securely.
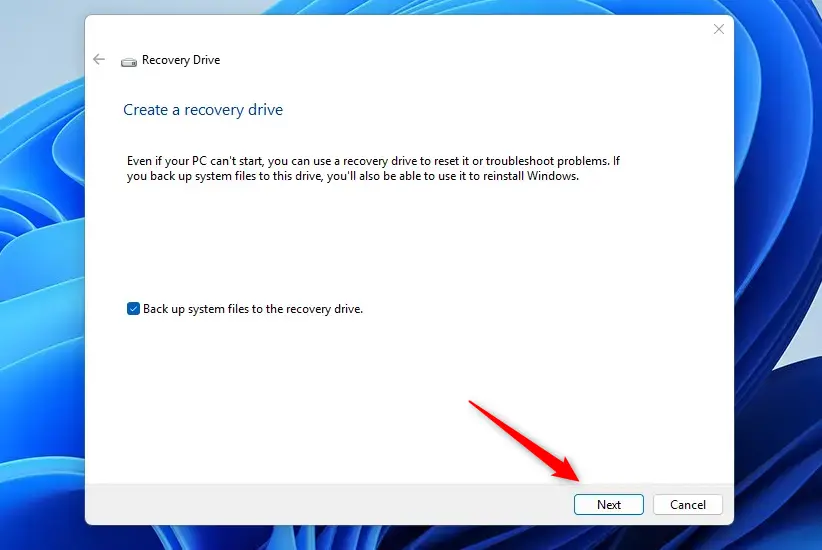
Set Up the Recovery Drive
When the Recovery Drive tool opens, check the box labeled “Back up system files to the recovery drive.” This ensures you can fully reinstall Windows later if needed.
Once you've confirmed that box is checked, click ‘Next.’
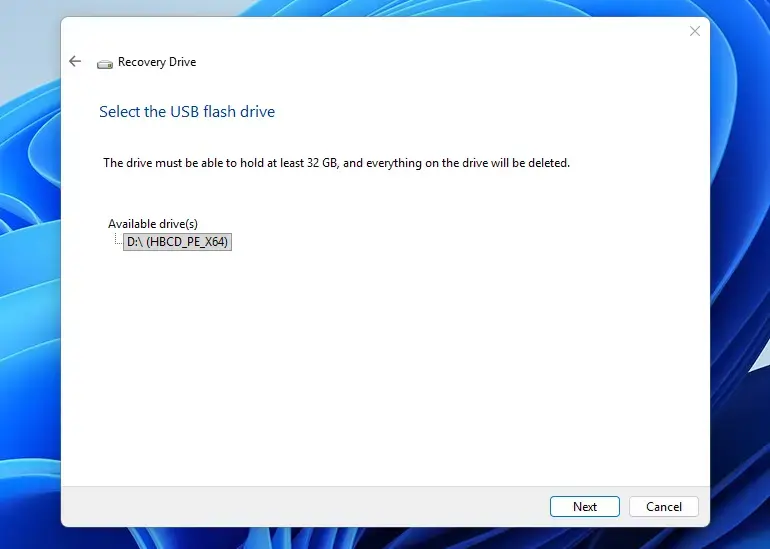
Choose Your USB Drive
Click ‘Next’ to move forward.
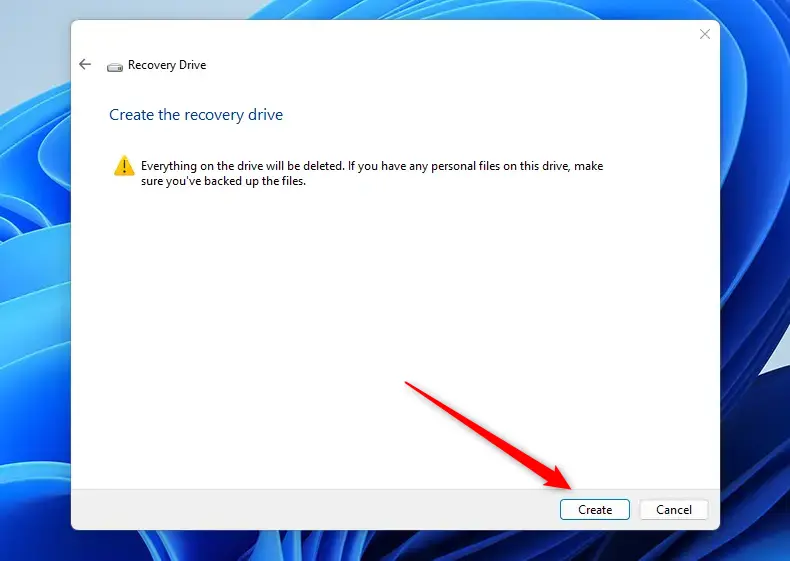
Start Creating the Drive
To start creating your Windows recovery drive, click 'Create' after reviewing the warning that all data on the USB will be erased. This process copies necessary files to the USB, which can take from 20 minutes to over an hour depending on your computer's speed.
The process of creating your Windows recovery drive now begins copying files to the USB stick. This file transfer can take 20 minutes to over an hour, based on computer speed and the number of system files. The computer may run slower while Windows copies files.
Finish and Store Safely
When the recovery drive creation finishes, you'll get a confirmation message and can click 'Finish' to complete the setup. Your recovery drive is now ready to be stored safely for future use when needed to troubleshoot Windows issues.
Click “Finish.” Your recovery drive is now created!
Reference:
https://support.microsoft.com/en-us/windows/recovery-drive-abb4691b-5324-6d4a-8766-73fab304c246
A Windows Recovery Drive is a bootable USB stick that fixes startup problems, resets, or reinstalls Windows. A 16GB USB drive is necessary. To create the drive, search for "Create a recovery drive," follow the on-screen instructions, and select "Back up system files to the recovery drive." This action will erase all data on the USB drive. To use the drive, start your computer using the USB stick and select recovery options. Recreating the drive each year is advised for the most recent updates.
Was this guide helpful?

About the Author
Richard
Tech Writer, IT Professional
Richard, a writer for Geek Rewind, is a tech enthusiast who loves breaking down complex IT topics into simple, easy-to-understand ideas. With years of hands-on experience in system administration and enterprise IT operations, he’s developed a knack for offering practical tips and solutions. Richard aims to make technology more accessible and actionable. He's deeply committed to the Geek Rewind community, always ready to answer questions and engage in discussions.


… liked this!