How to Adjust Google Chrome Settings for Better Browsing

Google Chrome settings control how the browser handles your privacy, speed, and saved data across every website you visit. Adjusting them cuts down on slow page loads and keeps personal information from piling up in the browser.
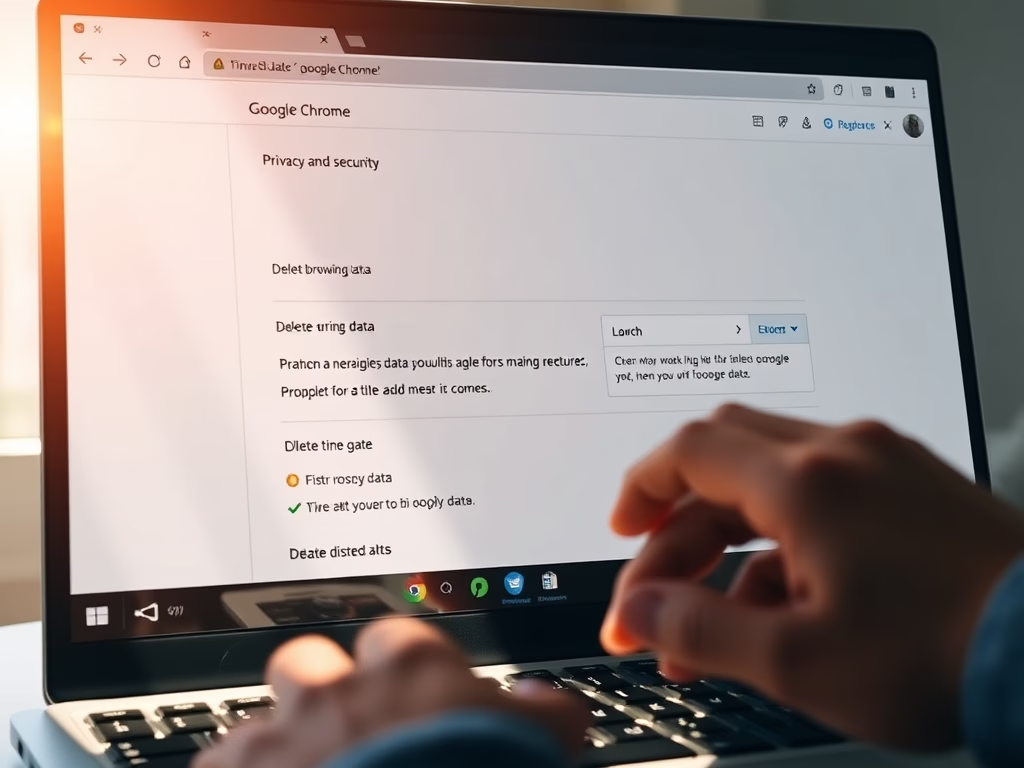
The fastest way in is the keyboard shortcut. Here is how to wipe old cache files, cookies, and history in under 60 seconds:
- Press Ctrl+Shift+Del while Chrome is the active window. The clear browsing data dialog opens, either in a small window or on a Settings tab, depending on your version.
- Pick a time range from the drop-down. Options run from Last hour to All time.
- Tick the types of data to remove, such as browsing history, cookies and other site data, and cached images and files.
- Click Delete data. Older versions label this button Clear data. The dialog closes and the data is gone.
Open Chrome, press Ctrl+Shift+Del to launch the clear browsing data dialog, pick your time range, check the data types to remove like history and cookies, then click Del data. Your selected data is removed immediately.
Control Your Browsing Privacy and History
Web history tracking can pile up quickly, but a few adjustments keep your searches private. Clearing your tracks regularly matters most on shared machines, because anyone who opens Chrome after you can otherwise see your history, autofill suggestions, and sites you are still signed in to.
Clearing the cache is harmless. The next visit to a site may load a little slower while Chrome downloads the files again.
Manage Your Chrome Identity and Access
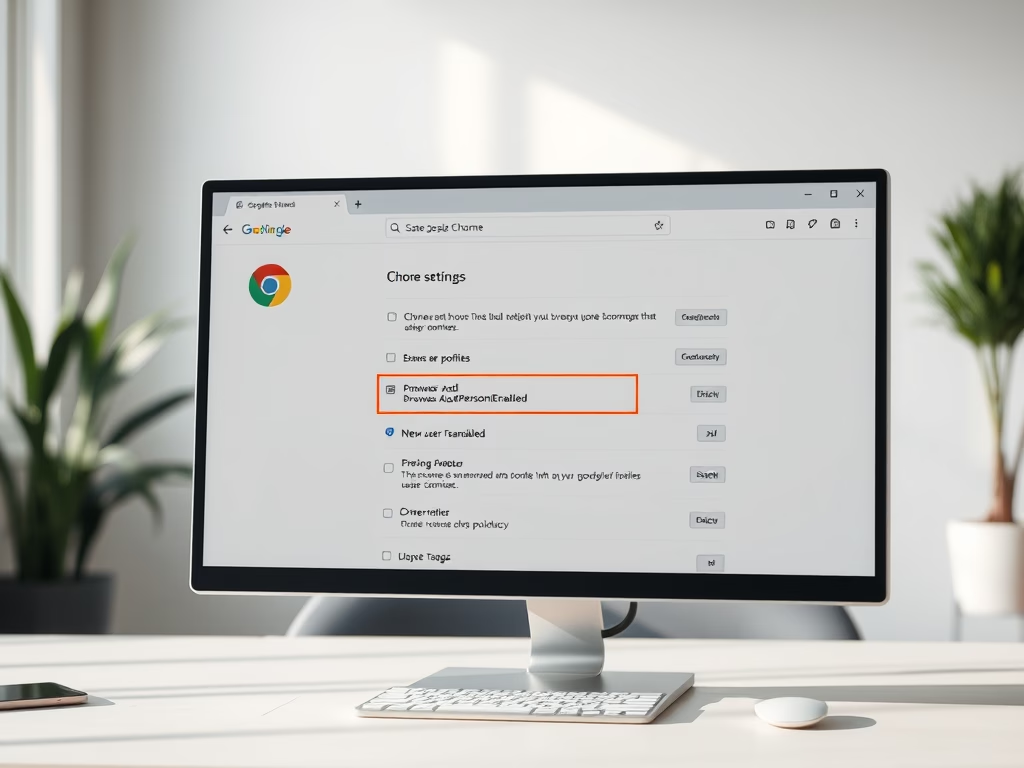
Profile options dictate who signs in and how the application behaves for multiple users. Shared computers benefit greatly from keeping distinct accounts separated. Each Chrome profile has its own history, bookmarks, passwords, and extensions, so one person’s habits never show up in another person’s suggestions.
To add a profile, click the profile icon at the top right of the Chrome window and choose the option to add a new profile. Chrome opens a separate window for it. Sign-in and sync are optional for a new profile. You can use it without a Google account.
Customize Chrome's Appearance and Features
Visual layouts and performance adjustments reshape the interface to fit personal workflows. Disabling heavy features prevents resource hogging, while managing bookmarks keeps navigation fast.
Three places are worth checking:
- Appearance: in Settings, this holds themes and the toolbar options, such as showing the Home button and the bookmarks bar.
- Performance: in current versions of Chrome, Settings has a Performance page. It includes Memory Saver, which frees memory from tabs you are not using. If you don't see it, update Chrome.
- Extensions: each one uses memory. Remove any you no longer use. If Chrome feels slow, turn extensions off one at a time to find the culprit.
Ensure Safe Browsing
Security barriers block malicious web pages and stop dangerous downloads before they start. Establishing safe browsing habits protects households from digital threats.
The main control is Safe Browsing, found in Settings under Privacy and security > Security. It offers Enhanced protection, Standard protection, and No protection. Standard is the default and is fine for most people. Enhanced checks sites and downloads more aggressively but shares more browsing data with Google. Leave it off No protection unless you have a specific reason.
Keep Chrome updated as well. Updates install most security fixes, and restarting the browser when Chrome asks is what applies them.
Common questions
How do I clear my browsing history in Chrome?
To clear your data from the Settings page instead of using the shortcut:
- Open Chrome's settings from the three-dot menu at the top right of the window.
- Click Privacy and security in the left-hand list.
- Click Clear browsing data. Newer versions call this Delete browsing data. A dialog opens.
- Choose the time range.
- Choose the types of data you want to remove. The dialog may have Basic and Advanced tabs. Advanced adds items such as saved passwords and autofill form data, so check those boxes carefully.
- Click Clear data (or Delete data). The dialog closes and the selected data is removed.
If you are signed in with sync on, deleted history may also be removed from your other signed-in devices.
How do I stop Chrome from saving my passwords?
If you would rather not have Chrome store logins, turn off password saving:
- Open Chrome's settings.
- Click Autofill and passwords.
- Open Google Password Manager, then its settings.
- Turn off Offer to save passwords. In current versions the wording may read Offer to save passwords and passkeys. The toggle turns grey when it is off.
This only stops new prompts. Logins already saved stay in the list until you delete them there. To undo the change, switch the toggle back on.
What's the difference between Guest Mode and a regular profile?
Guest Mode lets someone use Chrome without accessing your saved data like history, bookmarks, or passwords. A regular profile is linked to your Google account and syncs your settings across devices.
To start a guest session, click the profile icon at the top right of the Chrome window and choose the Guest option. A new window opens that is not signed in. Browsing in it is not saved to your profile. Close all guest windows when the person is done.
Can I disable autofill for addresses?
Autofill for addresses can be disabled completely to prevent data hoarding. To do it:
- Open Chrome settings.
- Click Autofill and passwords.
- Select Addresses and more.
- Turn off the option to save and fill addresses. It is labelled Save and fill addresses in current versions.
Chrome stops offering to save addresses. Addresses you already saved stay on that page, where you can edit or remove them individually.
How do I turn off the bookmark bar?
To hide or show the bookmarks bar, press Ctrl+Shift+B. The bar appears or disappears below the address bar straight away.
The same option lives in Chrome's main menu (the three dots at the top right) under Bookmarks. Newer versions call that submenu Bookmarks and lists. Choose Show bookmarks bar there to toggle it. Press the shortcut again or untick the menu item to undo.
Did this guide fix your problem?

About the Author
Richard
Tech Writer, IT Professional
Richard is a writer at Geek Rewind who turns complex IT tasks into clear, step-by-step guides. He draws on years of hands-on experience in system administration and enterprise IT operations, focusing on Windows, Linux and WordPress: the problems people actually run into, and the fixes that work. His server and WordPress guides come from systems he runs himself. Richard builds and maintains the platform behind Geek Rewind, from its Ubuntu servers and Nginx configuration to its custom WordPress plugins. Many new tutorials start with readers' questions, and he's always glad to answer them in the comments.
No comments yet — be the first to share your thoughts!