Disable Autofill Addresses in Chrome

Disabling autofill addresses in Chrome stops the browser from automatically filling in your saved personal details on websites.
Chrome’s autofill feature helps you fill out forms faster by remembering things like your name, address, and email. You control exactly what it remembers and when it fills things in.
You can find the settings to manage your saved addresses within Chrome’s settings menu, under the “Autofill and passwords” section. This is a good privacy move if you share your computer or just don’t want old addresses popping up.
To disable autofill addresses in Chrome, go to Settings Autofill and passwords > Addresses and more. Use the toggle switch to turn off “Save and fill addresses.” This stops Chrome from saving and suggesting your contact information on websites.
Enable/Disable Saving Addresses in Chrome
Chrome’s autofill address feature saves and suggests addresses you have previously entered. To stop Chrome from saving and suggesting these addresses, change a specific setting within the browser. This method disables Chrome autofill addresses for your personal use, preventing the browser from storing new addresses you enter.
Follow these steps to change your settings:
- Open the Google Chrome browser.
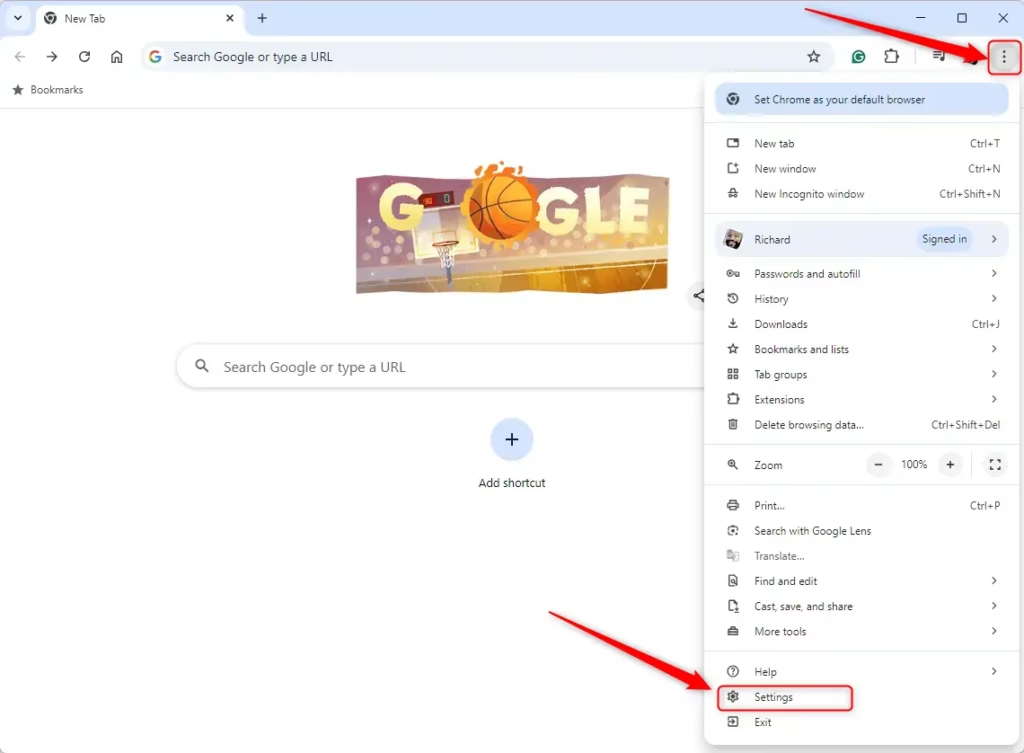
- Click the Customize and control icon (three vertical dots) in the top right corner.
- Select Settings.
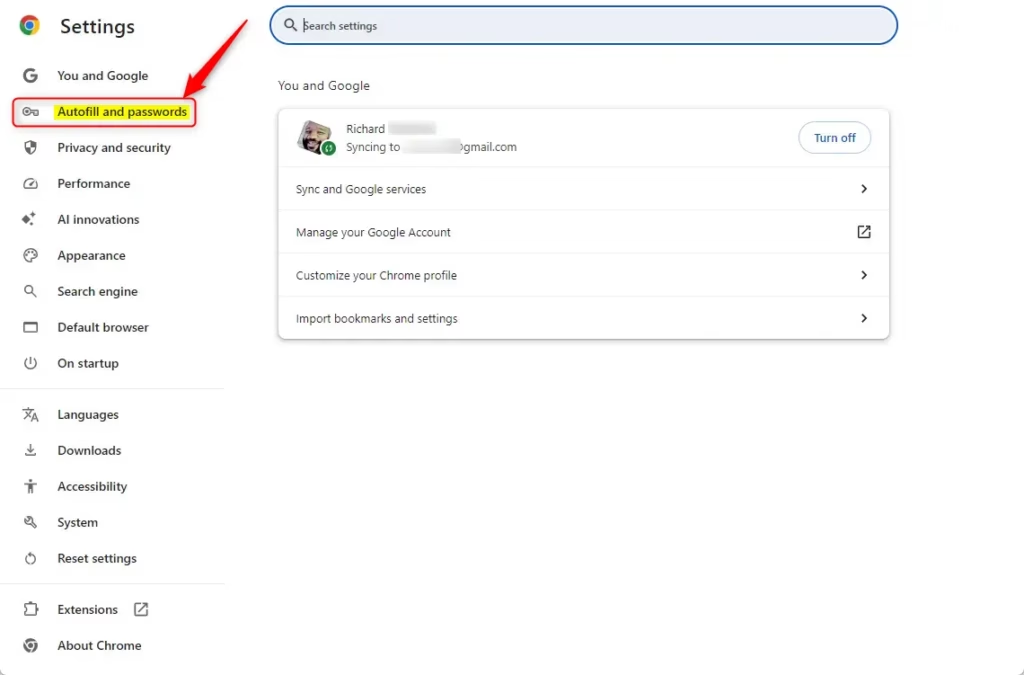
- Click on Autofill and passwords in the left-hand menu.
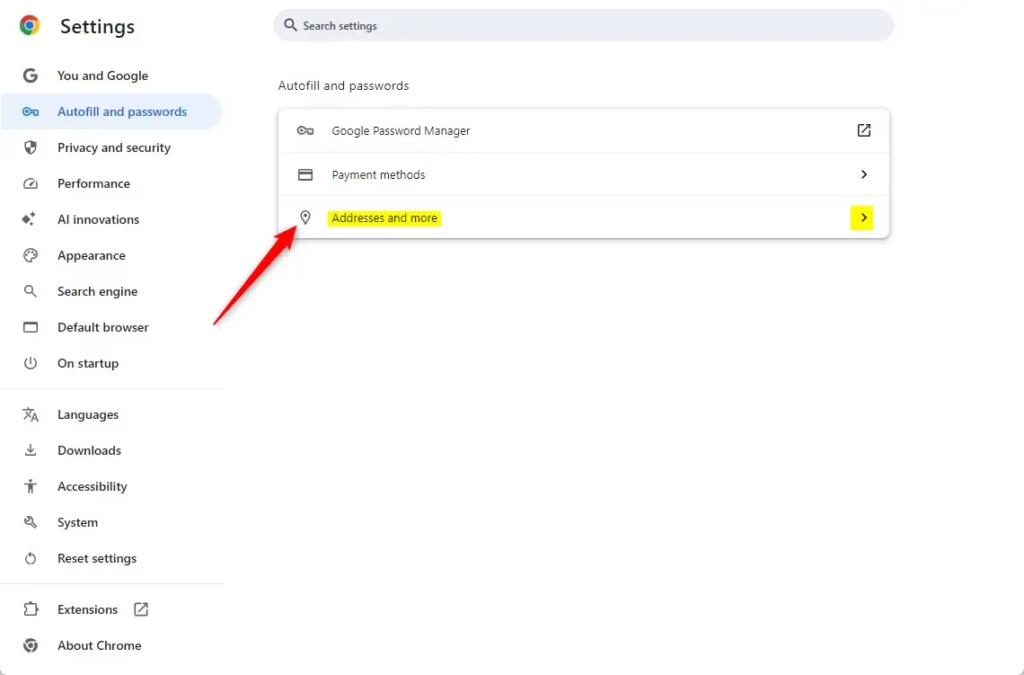
- Click on the Addresses and more tile.
- Use the toggle switch to enable or disable Save and fill addresses.
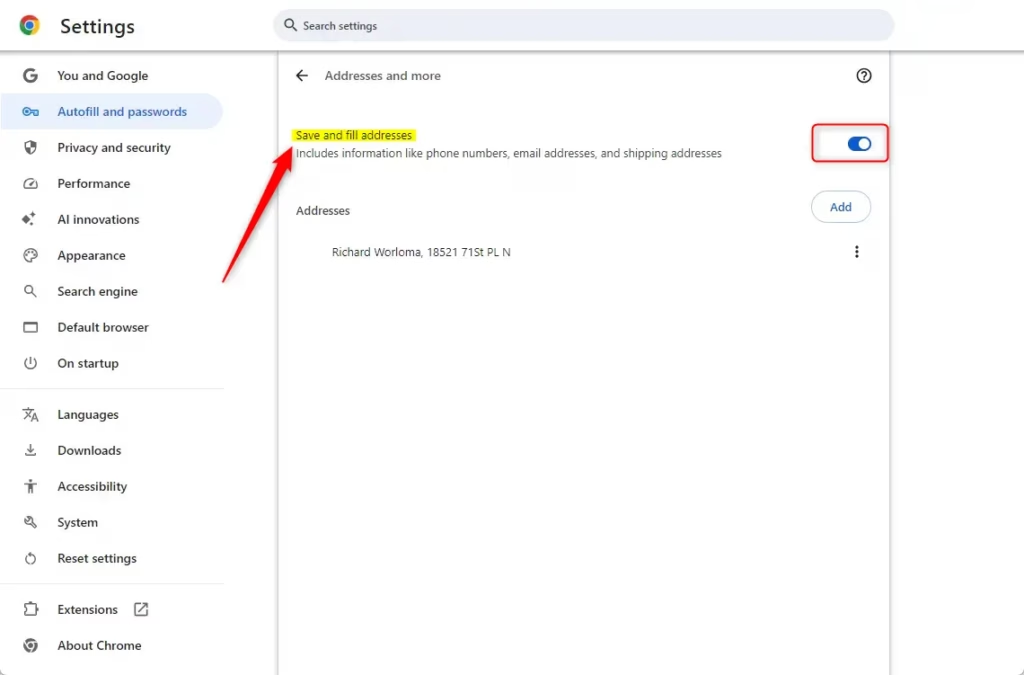
Close the settings tab once you are done.
Enable / Disable save and fill addresses in Chrome using the Registry
For computer managers, you can stop Chrome from saving and filling addresses for everyone on a network by making a specific change in the Windows Registry. This method lets you disable Chrome autofill addresses centrally. Access the Windows Registry and navigate to a specific path to make this change.
To use this method, open the Windows Registry and go to the following path:
Computer\HKEY_LOCAL_MACHINE\SOFTWARE\Policies\Google\Chrome
Chrome's autofill for addresses requires creating specific settings within the Windows Registry (the Windows Registry is a hierarchical database that stores low-level settings for the operating system and for applications that opt to use it). To disable autofill, users must first create 'Google' and 'Chrome' folders in the registry if they are not already present. Next, within the 'Chrome' folder, create a new 'DWORD (32-bit) Value' (a type of data entry in the Windows Registry) and name it 'AutofillAddressEnabled'.
Set the value to 0 to turn the feature off, or 1 to turn it on. To apply the changes, restart Chrome, or type chrome://restart into the address bar.
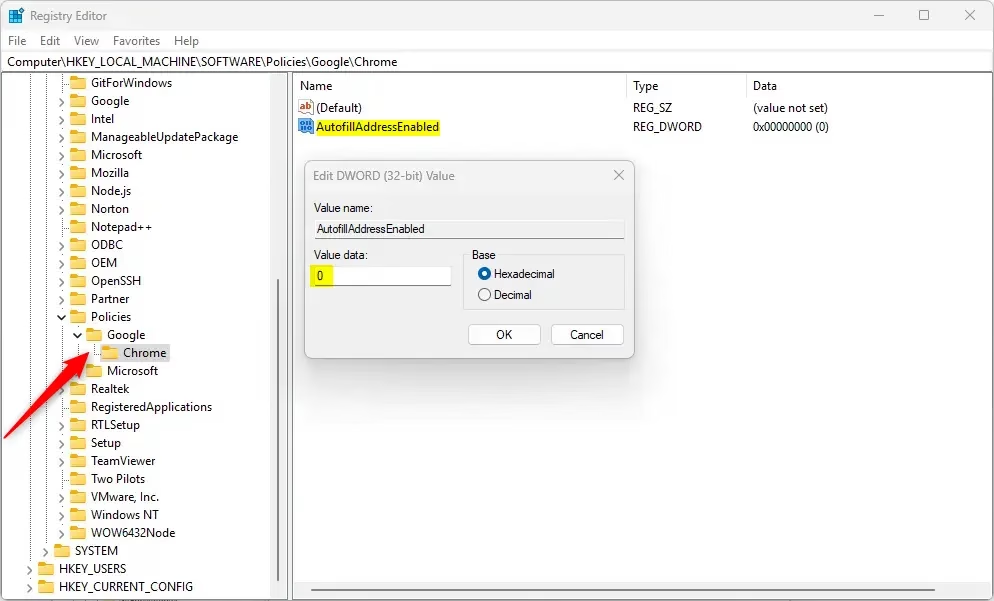
To revert to the default, delete the AutofillAddressEnabled entry.
Reference:
Conclusion
Keeping control over how Chrome saves and uses your address information is important for privacy and a tidy browser experience.
How do I remove an address from auto fill?
Tap edit, then tap to select the address you want to delete. Tap delete, and those addresses will be removed and will no longer be available for autofill in Google Chrome.
How do I turn off autofill on specific sites?
Google Chrome: Select the Chrome menu icon (three dots at the top right). Select Settings. Expand the Autofill and passwords section for the category you want to disable. Toggle the setting off.
How do I stop Chrome from saving addresses?
Open Chrome and click the three dots in the top-right corner to open the menu. Select Settings. Navigate to Autofill and Passwords. Toggle off the option for Save and fill addresses.
Was this guide helpful?

About the Author
Richard
Tech Writer, IT Professional
Richard, a writer for Geek Rewind, is a tech enthusiast who loves breaking down complex IT topics into simple, easy-to-understand ideas. With years of hands-on experience in system administration and enterprise IT operations, he’s developed a knack for offering practical tips and solutions. Richard aims to make technology more accessible and actionable. He's deeply committed to the Geek Rewind community, always ready to answer questions and engage in discussions.


No comments yet — be the first to share your thoughts!