How to Back Up and Restore Windows 11 Registry
Backing up and restoring the Windows 11 Registry lets you create a safety net before you make important system changes.
The Windows Registry is like your PC’s central control panel. It’s a special database holding key settings for Windows and the programs you use.
You make a backup to save a copy of this database. This is smart to do before editing the Registry directly or installing software that changes system settings. For example, a Registry backup in Windows 11 can stop your PC from crashing or refusing to start if a change goes wrong.
If your computer has problems after a Registry edit, you can use this backup to undo the changes and get your system working again like it was before.
Back up the Windows 11 Registry by opening Registry Editor (Regedit.exe), clicking File Export, choosing a location and name, and selecting All for a full backup. Restore by opening Registry Editor, clicking File Import, and selecting your backup file.
How to Back Up the Windows Registry
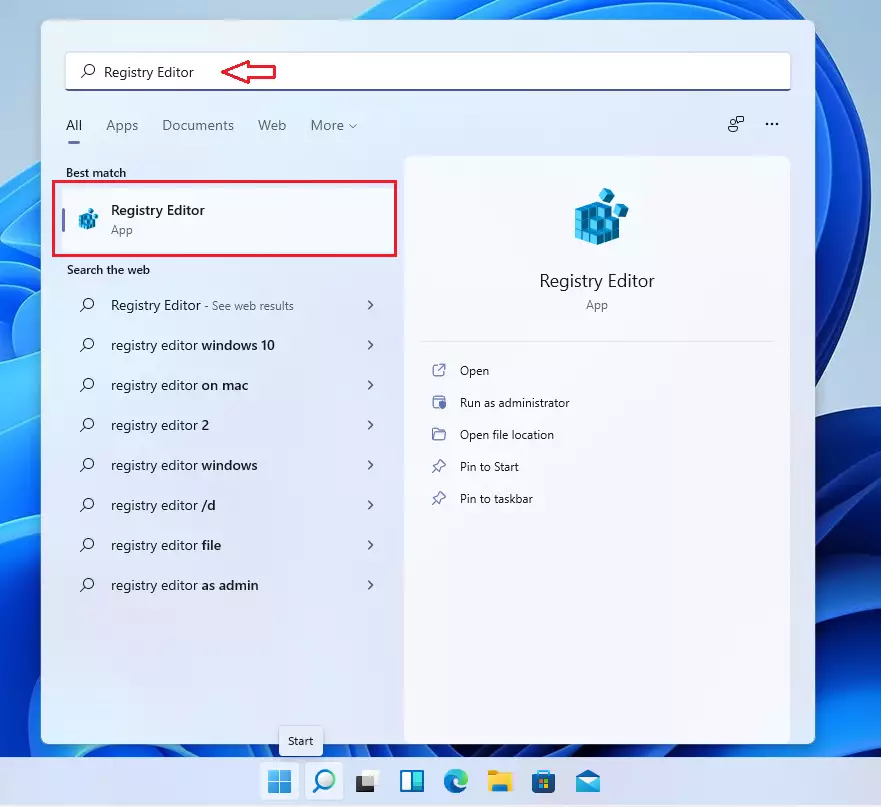
Backing up your Windows 11 registry creates a safety copy of your system’s settings, so you can easily put things back if a mistake happens. From the Start menu, type Regedit.exe and select the app from the search results to open it.
- Click the Start menu and type Regedit.exe.
- Select the app from the search results to open it.
The Registry Editor window will appear. 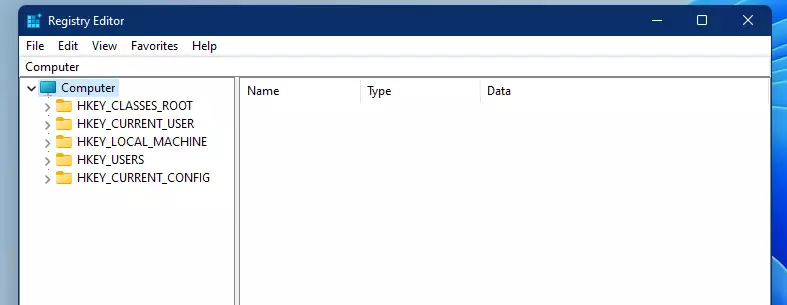
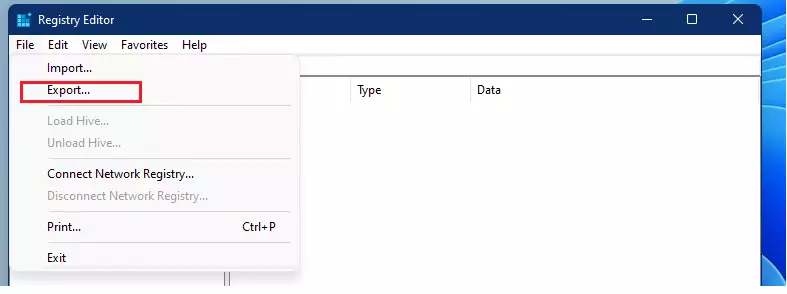
- Click File in the top menu, then select Export.
- Choose a folder where you want to keep your backup file.
- Type a name for the file. Using today's date helps you stay organized.
- At the bottom, choose All to back up everything, or Selected Branch to save only one specific folder.

- Click the Save button. It may take a moment to finish the process.
How to Restore the Windows Registry
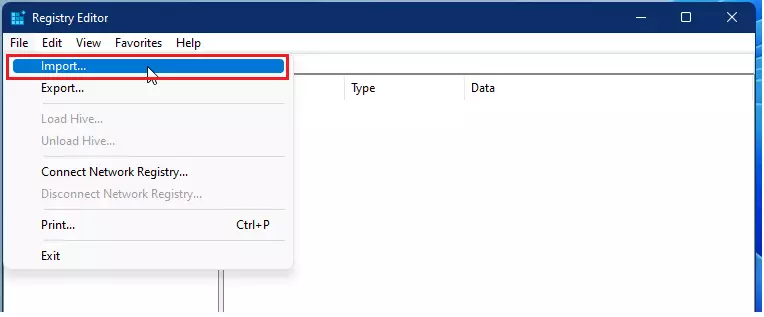
Restoring your Windows 11 registry lets you go back to a previous state of your computer's settings using a backup file you saved. This is helpful if you need to undo recent changes or fix a problem. To begin, open the Registry Editor from the Start menu, click File, and then choose Import.
- Open the Registry Editor from the Start menu.
- Click File in the top menu and select Import.
- Find the backup file you saved earlier on your computer.
- Select the file and click Open.
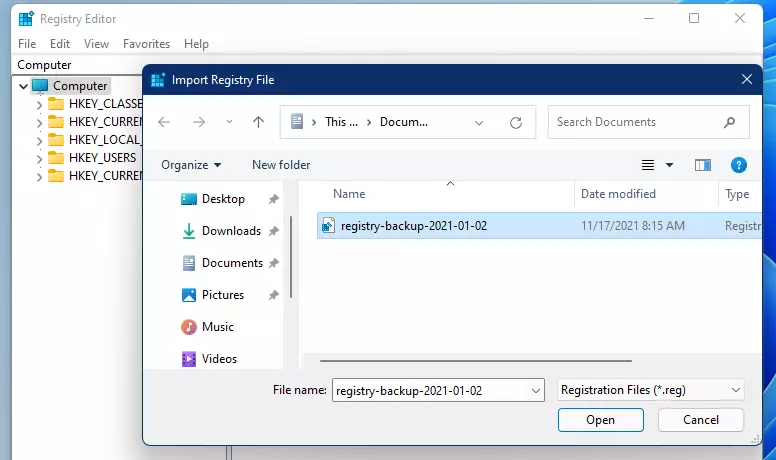
Your settings will be restored to the state they were in when you created that backup file.
Registry Backup vs. System Restore Points
| Feature | Manual Registry Backup | System Restore Point |
|---|---|---|
| Scope | Specific keys or entire registry | System files, drivers, and registry |
| Ease of Use | Manual export/import | Automated via Windows recovery |
| Safety | High risk if file is corrupted | Very safe, managed by Windows |
For more information, visit the official Microsoft System Restore documentation.
Summary
Backing up your Windows 11 registry is the best way to protect your computer from accidental errors, letting you save and restore settings easily.
Does 🪟 Windows 11 automatically back up the registry?
Windows 11 does not perform a full manual registry backup automatically. However, it creates automatic System Restore points before major updates or software installations. These points include a snapshot of the registry, which can be used to revert changes if your system becomes unstable after an edit.
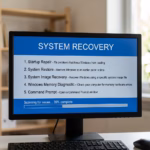
What should I do if I cannot boot into Windows after a registry edit?
If your computer won't start after a registry edit, you can use System Restore within the Windows Recovery Environment to fix it.
Is it safe to import a registry backup from a different Windows version?
No, it is not safe. Registry structures change between Windows versions. Importing a backup from an older version into Windows 11 23H2 can cause severe registry corruption, system crashes, or boot failures. Always use a backup created on the exact same version of Windows you are currently running.
What is the difference between exporting a specific key vs the entire registry?
Exporting a specific registry key saves only a small portion of your settings, making it safer and quicker for edits focused on a particular area. Exporting the entire registry saves everything.
Was this guide helpful?

About the Author
Richard
Tech Writer, IT Professional
Richard, a writer for Geek Rewind, is a tech enthusiast who loves breaking down complex IT topics into simple, easy-to-understand ideas. With years of hands-on experience in system administration and enterprise IT operations, he’s developed a knack for offering practical tips and solutions. Richard aims to make technology more accessible and actionable. He's deeply committed to the Geek Rewind community, always ready to answer questions and engage in discussions.


All most works– I tested the above procedures. Exports with out error reported, However import gave the following error message “Cannot import (filename) Not all data was successfully written to the registry. some keys are open by the system or other processes, or you have insufficient privileges to perform this operation.” I am using windows 11 pro.