How to Clear Chrome Browsing Data on Exit
Clearing Chrome browsing data automatically when you exit the browser is possible by turning on a specific setting.
This feature deletes your browsing history, cookies, and cached files every time you close Chrome, helping to protect your online privacy.
You can find this setting within Chrome’s privacy options, and it’s available in Chrome version 114 and later.
Once you switch this on, Chrome removes chosen data, like site settings and download history, the moment you close its window.
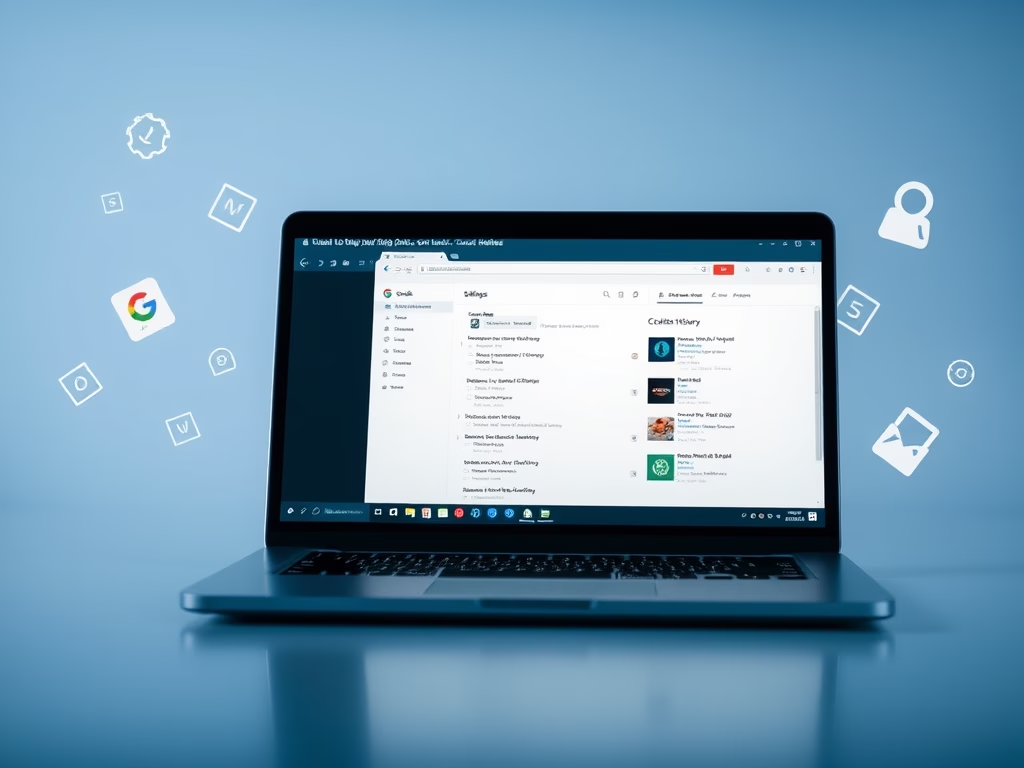
Open Chrome, go to Settings > Privacy and security. Under “Site settings” or “Clear browsing data,” find and enable the “On exit” feature to choose what data clears automatically when you close the browser.
Delete browsing data on exit in Chrome
The Native Chrome Method
Chrome can be set to clear your browsing data automatically every time you close the browser. It’s a way to clear your Chrome browsing data on exit without extra tools, helping keep your activity private.
- Open Chrome and click the three-dot menu in the top right.
- Select Settings.
- Go to Privacy and security.
- Click on Site settings or Clear browsing data.
- Look for the On exit feature to select which data types to wipe automatically.
Using Group Policy (Advanced)
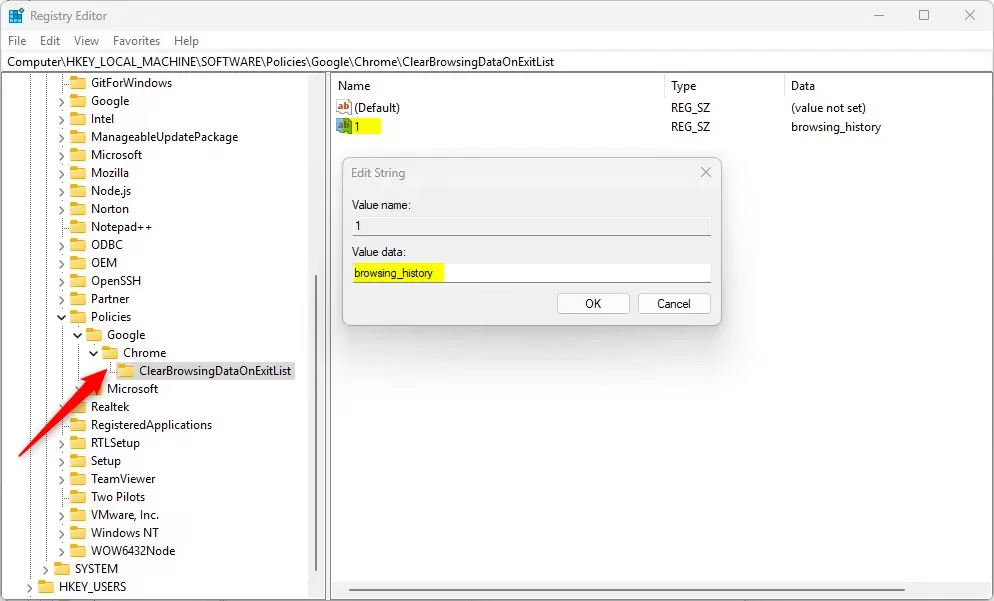
If your work computer is managed by IT, you can use the Group Policy Editor to automatically clear Chrome browsing data on exit for everyone. This method lets you manage the ClearBrowsingDataOnExitList policy for Chrome, ensuring data is cleared consistently across user accounts.
- Press ⊞ Win+R, type gpedit.msc, and press Enter.
- Navigate to Computer Configuration > Administrative Templates > Google > Google Chrome.
- You can manage the ClearBrowsingDataOnExitList policy here.
Be careful: registry edits can cause system issues if done incorrectly. Always back up your data first.
Reference:
Conclusion:
Setting up Chrome to clear your data automatically is a great way to protect your privacy. By using the native settings menu, you ensure that your browser remains stable and secure. Always check if a company policy is already managing these settings before you try to change them yourself.
Was this guide helpful?

About the Author
Richard
Tech Writer, IT Professional
Richard, a writer for Geek Rewind, is a tech enthusiast who loves breaking down complex IT topics into simple, easy-to-understand ideas. With years of hands-on experience in system administration and enterprise IT operations, he’s developed a knack for offering practical tips and solutions. Richard aims to make technology more accessible and actionable. He's deeply committed to the Geek Rewind community, always ready to answer questions and engage in discussions.


No comments yet — be the first to share your thoughts!