How to Roll Back to a Previous Windows Version

- 17 steps
- Needs administrator rights
- Includes a restart or sign-out
Windows 11 lets you revert to a previous Windows version with the Go back option in Settings System Recovery. It restores the earlier version that Windows keeps on your drive after an upgrade or feature update (a larger update that adds new features to Windows). You get your personal files back in place, but apps installed after the upgrade are removed.
The option has a time limit. It works for 10 days after the upgrade by default, and only while the old system files are still on the drive. This guide covers the steps, why the button goes missing, and how to extend the window.
To roll back to a previous Windows version, open Settings System Recovery and select Go back. This restores the earlier Windows install kept in the Windows.old folder after a feature update, keeping your personal files but removing apps installed since. The option works only for 10 days after the upgrade.
What Go back does and when it works
When Windows upgrades, it stores the previous installation in a folder called Windows.old. Go back uses that folder to restore the earlier version. It does not download anything.
Go back is available only when all of these are true:
- The upgrade happened within the last 10 days.
- The Windows.old folder is still on the drive.
- The PC was upgraded, not reset or clean installed.
- You are signed in with an administrator account.
Home and Pro work the same way.
Before you start
- Back up your documents, photos and anything else you cannot replace. The guide to backing up and restoring with Windows Backup in Windows 11 covers the built-in option. To copy specific folders instead, see how to back up and restore files in Windows 11 Settings.
- Plug a laptop into a wall socket. Do not rely on the battery.
- Make a list of the apps you installed since the upgrade. You will need to reinstall them afterwards.
- If the drive uses BitLocker (Windows drive encryption), keep a copy of the recovery key. Here is how to back up your BitLocker recovery key in Windows 11.
How to Roll Back to a Previous Windows Version
These steps revert to a previous Windows version using the Go back option in Settings. The whole process takes from several minutes to around an hour, depending on the PC and how much data it holds. The PC restarts at least once.
- Back up your important files. Copy them to an external drive or OneDrive. The rollback keeps personal files, but a backup protects you if something fails.
- Connect your PC to power. Keep it plugged in until the rollback finishes and you reach the sign-in screen.
- Sign in with an administrator account. Go back requires administrator rights. A standard account does not show the option, or the rollback fails.
- Open Settings. Press the Win+I, or right-click the Start button and select Settings.
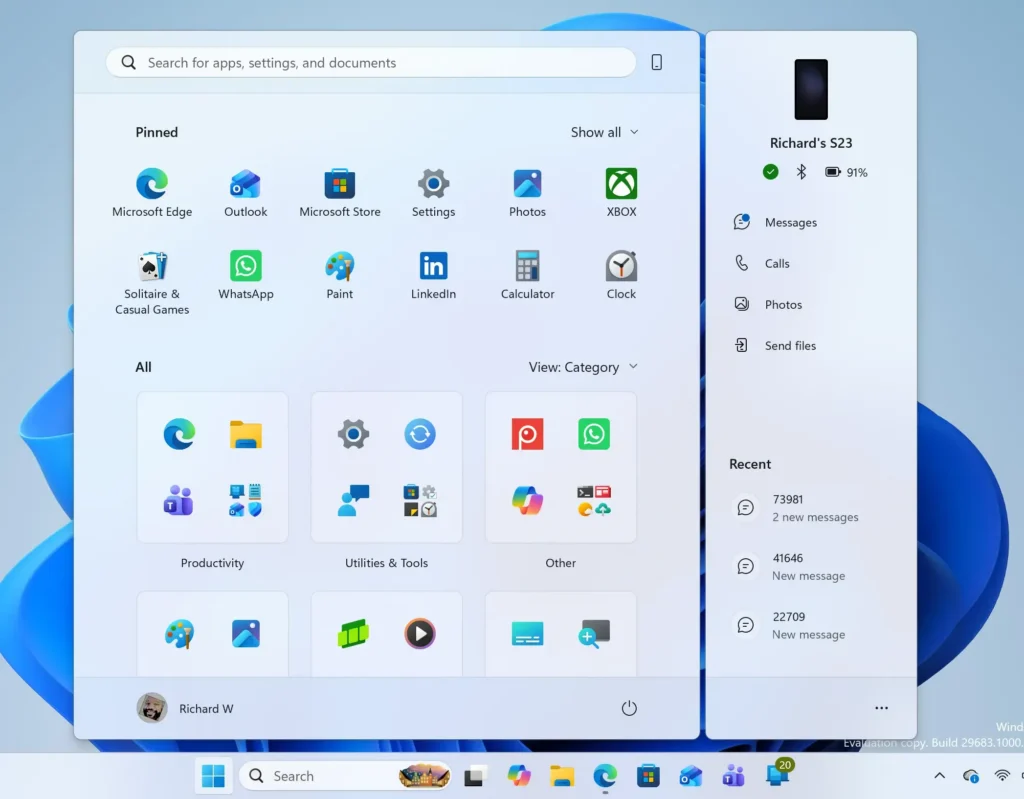
Windows 11 Start menu search panel for opening OpenSSH Client settings - Select System. It is the first item in the left-hand list.
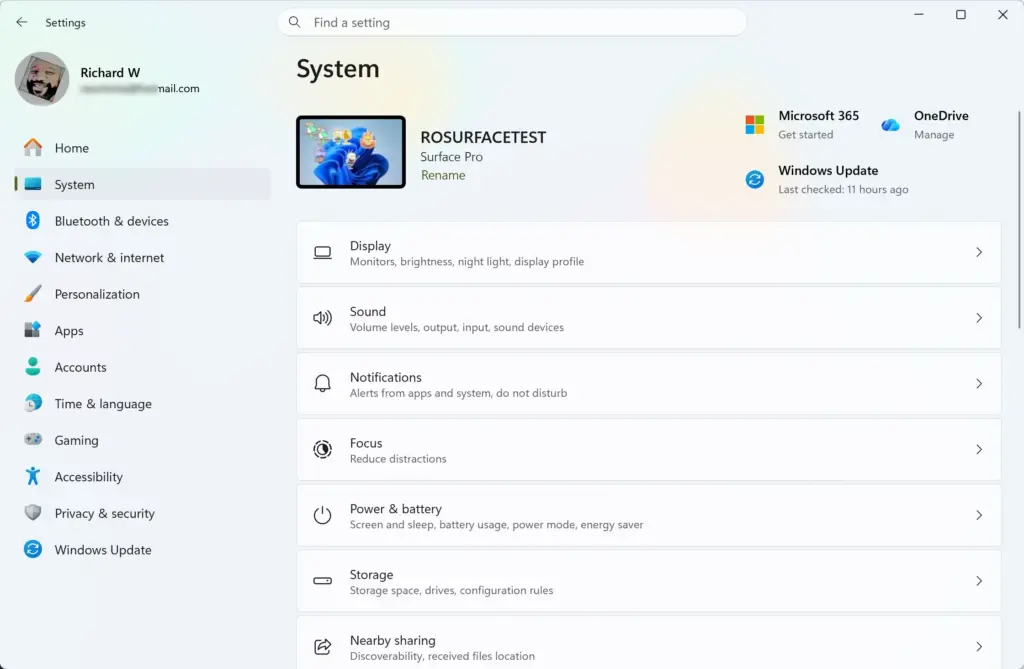
Settings › System - Select Recovery. Scroll down the System page if you do not see it. The page lists a group of options under Recovery options.
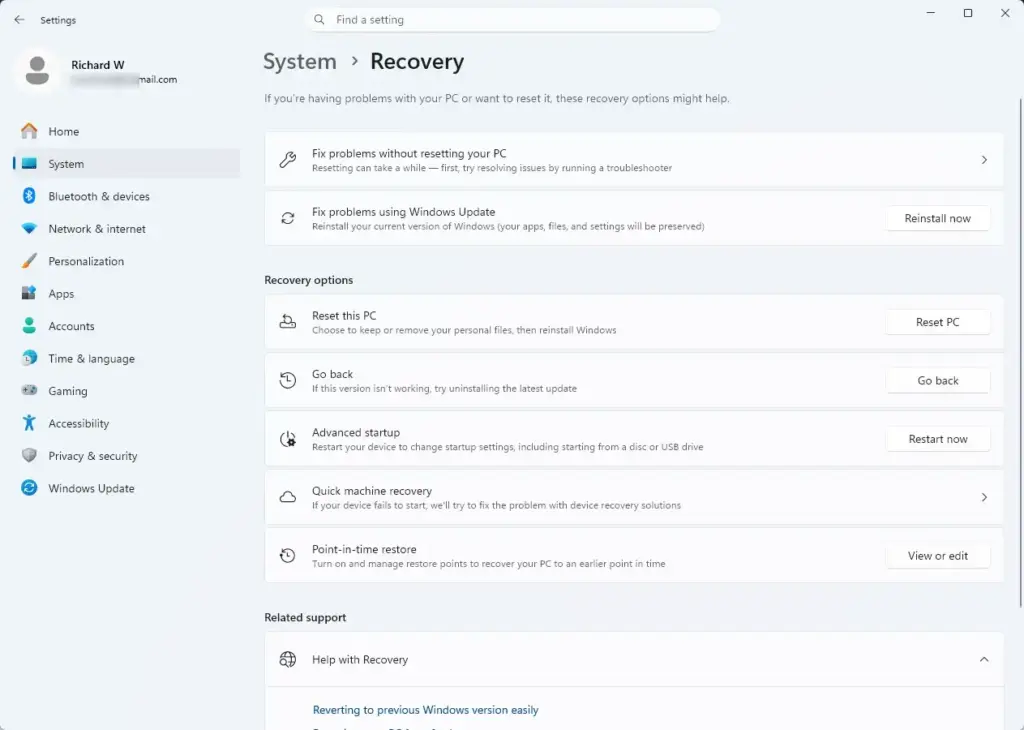
Settings › System › Recovery - Select Go back. The button sits in the Recovery options group, next to the Go back label. If you do not see it, read the next section. A window opens and asks why you are going back.
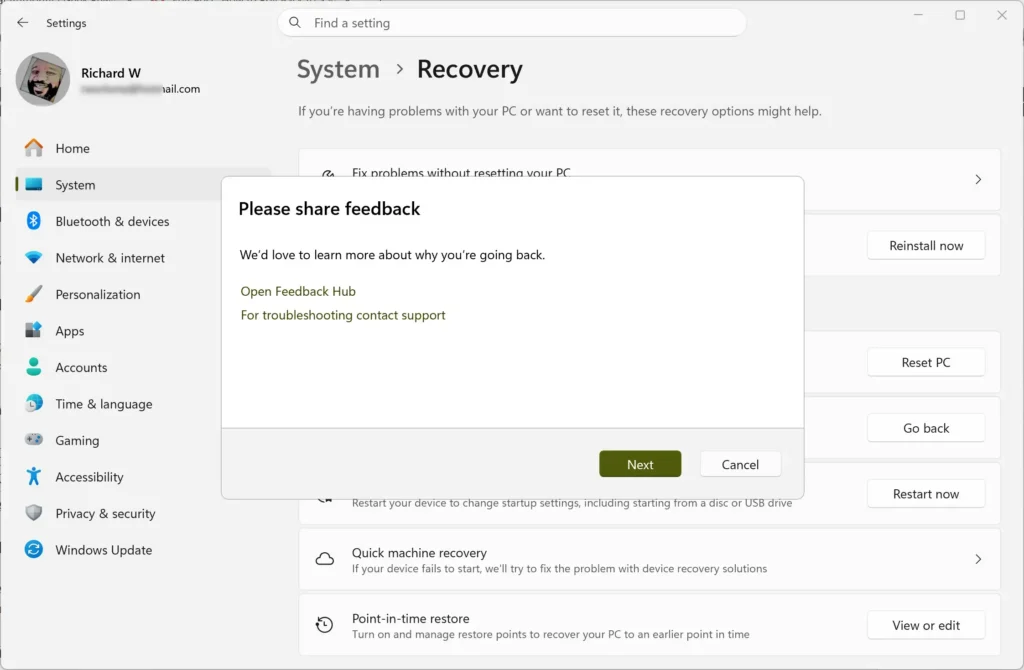
- Choose a reason, then select Next. Pick the answer that fits. The choice does not change how the rollback works. It only feeds back to Microsoft.
- Select No, thanks. Windows offers to check for updates that might fix the problem. If you select Check for updates, the rollback stops. Use that only if you want to try a fix first.
- Read the warning screen, then select Next. It reminds you that apps and settings changed since the upgrade will be lost.
- Confirm you know your old password, then select Next. If you changed the password after the upgrade, the earlier version expects the old one. Make sure you can recall it before you continue.
- Select the final Go back button. Its label names the earlier version you are returning to. The PC restarts and shows a progress screen.
- Wait for the restart cycle to finish. The screen may go black or restart several times. Do not press the power button or unplug the PC.
- Sign in and check the version. Open Settings System About and look under Windows specifications. The Edition and Version lines show the Windows version now running.
If the progress screen stops moving, wait. Disk activity on a slow drive can look like a freeze. Turn the PC off with the power button only if there has been no activity at all for several hours.
If the Go back button is missing or greyed out
Windows hides or disables Go back when it cannot guarantee a safe rollback. Work through these causes in order.
The 10-day window has passed
Windows removes the old installation files automatically after 10 days. Once they are gone, the button disappears. This is the most common reason.
Windows.old was deleted
Cleaning tools remove the old installation on purpose. Storage Sense (the Windows feature that frees up space automatically), Disk Cleanup and third-party cleaners all list it as Previous Windows installation(s) or similar. If you ran one after the upgrade, the files are gone. Our guide on how to safely delete your old Windows version explains what the folder holds, so you know what you give up when it is cleared.
The PC was reset or clean installed
A reset or clean install (wiping the drive and installing Windows from scratch) replaces the system and removes the old copy, so there is nothing to go back to. The same applies if you installed the new version from a USB drive and wiped the drive.
You are not signed in as an administrator
Sign out and sign in with an account that has administrator rights, then check Settings System Recovery again.
No other option remains
If the button is gone for good, Windows cannot restore the earlier version from Settings. You have two realistic choices. Restore a full backup if you made one before upgrading, or do a clean install of the older version from installation media (a USB drive or disc with the Windows setup files) and then restore your files. Both wipe the current installation, so back up your files first.
Extend the 10-day rollback window
If you are still inside the 10 days and want more time to decide, you can lengthen the window. This step requires administrator privileges. Run it before the window closes, because it cannot bring back files that have already been deleted.
- Open Terminal with administrator rights. Right-click the Start button and select Terminal (Admin). Select Yes at the User Account Control prompt.
- Check the current window. Type the command below and press Enter. The output shows how many days are left.Command Prompt
DISM /Online /Get-OSUninstallWindow - Set a longer window. Type the command below and press Enter. Windows accepts a value from 2 to 60 days. This example sets 30 days.Command Prompt
DISM /Online /Set-OSUninstallWindow /Value:30
A longer window means the Windows.old folder stays on the drive longer, so it keeps taking up several gigabytes of space. Check your free space in Settings System Storage before you extend it.
What happens after the rollback
The earlier version starts with your files in place. Expect to do some cleanup.
- Reinstall apps you added after the upgrade.
- Recheck personalisation and system settings you changed after the upgrade.
- If a device misbehaves, check its driver. Some drivers come back as older versions, and a newer one may be needed. If a newer driver causes problems instead, see how to roll back device drivers in Windows 11.
Windows Update will likely offer the newer version again. To stop that while you decide, open Settings Windows Update and select a Pause updates option. Pausing is temporary, and Windows resumes updates when the pause period ends.
Undo the rollback
Going back to the newer version is not a one-click step. To return to the newer version, run Windows Update from Settings Windows Update and select Check for updates. If Windows offers the feature update, install it, and the upgrade runs again from scratch. Keep in mind that the new upgrade creates a fresh Windows.old folder and a new 10-day window.
If you only need to remove one update
Going back a whole version is a big step. If a single cumulative update (the monthly update that bundles fixes) caused the problem, removing only that update is gentler and leaves your apps alone. In Windows 11, open Settings Windows Update Update history and look for Uninstall updates under Related settings. Our guide on rolling back a Windows 11 update when it causes problems walks through that route.
What to do next
Once the earlier version is running, leave Windows.old alone until you are sure you do not want to move forward again. If you plan to upgrade later, take a full backup first so you have a second way back after the 10 days expire. When you are ready to free the disk space the old files used, follow the guide to safely delete your old Windows version.
Have a question about this guide?
Answered by AI from this guide. Good questions may be added to this page — please don't include personal details.
Did this guide fix your problem?

About the Author
Richard
Tech Writer, IT Professional
Richard is a writer at Geek Rewind who turns complex IT tasks into clear, step-by-step guides. He draws on years of hands-on experience in system administration and enterprise IT operations, focusing on Windows, Linux and WordPress: the problems people actually run into, and the fixes that work. His server and WordPress guides come from systems he runs himself. Richard builds and maintains the platform behind Geek Rewind, from its Ubuntu servers and Nginx configuration to its custom WordPress plugins. Many new tutorials start with readers' questions, and he's always glad to answer them in the comments.
No comments yet — be the first to share your thoughts!