How to Clear File Explorer Address Bar History in Windows 11 Advanced Settings

File Explorer ’s address bar in Windows 11 keeps a list of the folder paths you type into it. Anyone who shares your PC can click the drop-down arrow and see the private folders and files you opened recently.
Clearing that history stops other people from seeing your activity, which matters most on shared devices. Windows 11 stores this data in the folder history cache and in the Registry, so you need specific settings or advanced tweaks to wipe it. This guide covers five methods, from the quick one-click clear to a policy that blocks tracking for every user.
Open File Explorer , click the three dots menu at the top, select Options, go to the General tab, find the Privacy section, and click Clear next to “Clear File Explorer history.” Windows deletes all typed paths and recent searches from the address bar immediately.
Why Clear Your File Explorer Address Bar History?
Clearing the history hides personal folders, private projects and recent searches from anyone else who uses your computer. It also tidies your suggestions by removing old or deleted locations you no longer need to see when you type an address.
- Better Privacy: Keep your personal browsing habits, private projects and secret folders hidden from other users.
- Less Clutter: Stop old, outdated or deleted folder paths from showing up when you start typing a new address.
- Improved Organization: Make your drop-down suggestions relevant only to the folders you use today.
Method 1Use File Explorer Options to Clear History
File Explorer Options is the quickest way to clear the history, and it needs no advanced tools. It works on Windows 11 Home and Pro, and you don’t need administrator rights. The Clear button wipes your recent searches and typed paths in one go.
- Open File Explorer by pressing Win+E, or by clicking the folder icon on your taskbar . A File Explorer window opens.
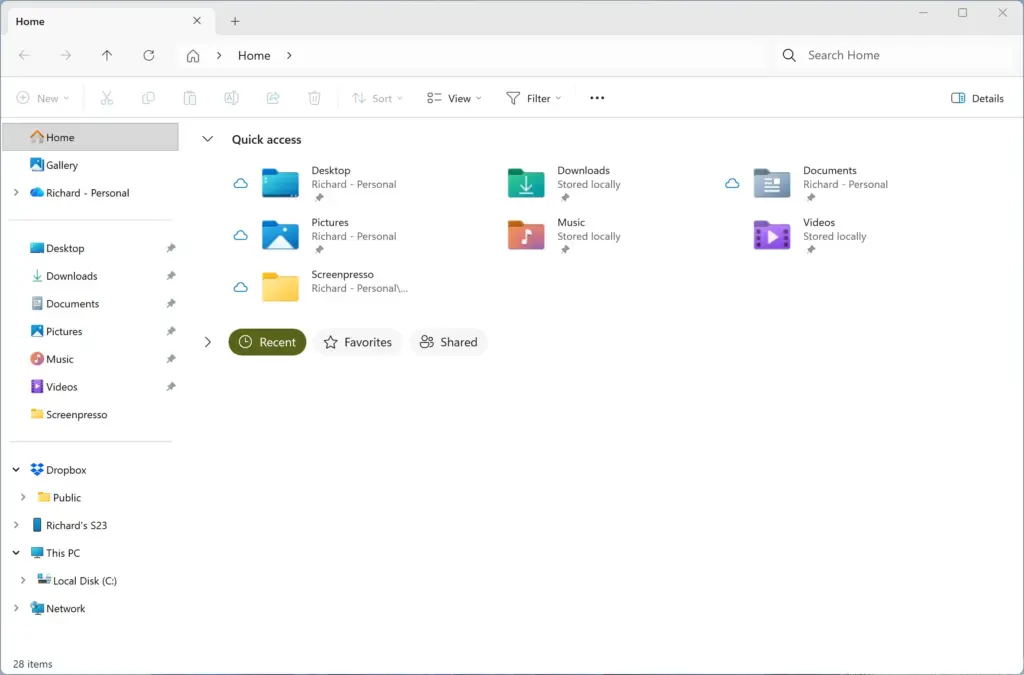
File Explorer - Look at the top command bar and click the three horizontal dots (…). An overflow menu opens.
- Select Options near the bottom of the list. A window called Folder Options opens.
- Stay on the General tab and look toward the bottom for the Privacy section.
- Find the Clear button next to the text “Clear File Explorer history.”
- Click Clear. Windows deletes the history straight away and shows no confirmation pop-up, so you won’t see anything change in the window. Check by opening the address bar drop-down later.
- Click Apply, then OK to close the window.
New paths you type afterwards are saved again, and there is no undo, so use it only when you are sure.
Method 2Remove Individual Entries from the Address Bar
If you only want to get rid of one or two entries, you can remove them individually and leave the rest of your history alone. You open the address bar drop-down, highlight the unwanted suggestion and press Del. The entry is removed for good.
- Open File Explorer by pressing Windows Key + E.
- Click once inside the address bar at the top of the window.
- Type a letter, or click the drop-down arrow, to display your list of history entries.
- Highlight the folder path or web link you want to remove. Use the keyboard arrow keys, or hover over it with the mouse. Do not click it, because that would open the location.
- With the item highlighted, press the Delete key. The entry disappears from the list immediately.
- Repeat for any other entries you want to erase.
If pressing Delete does nothing, make sure the item is actually highlighted in the list and not just the text you typed. Only entries from your typed history can be removed this way.
Method 3Manage Recent Files and Folders in Start Settings
The Settings app lets you stop Windows from tracking recent items in the first place. Turning off this privacy toggle stops it from saving newly opened items to the Start menu, Jump Lists and File Explorer. It works the same on Home and Pro, and no restart is needed.
- Click the Start menu and then the Settings gear icon, or press Windows Key + I. The Settings app opens.

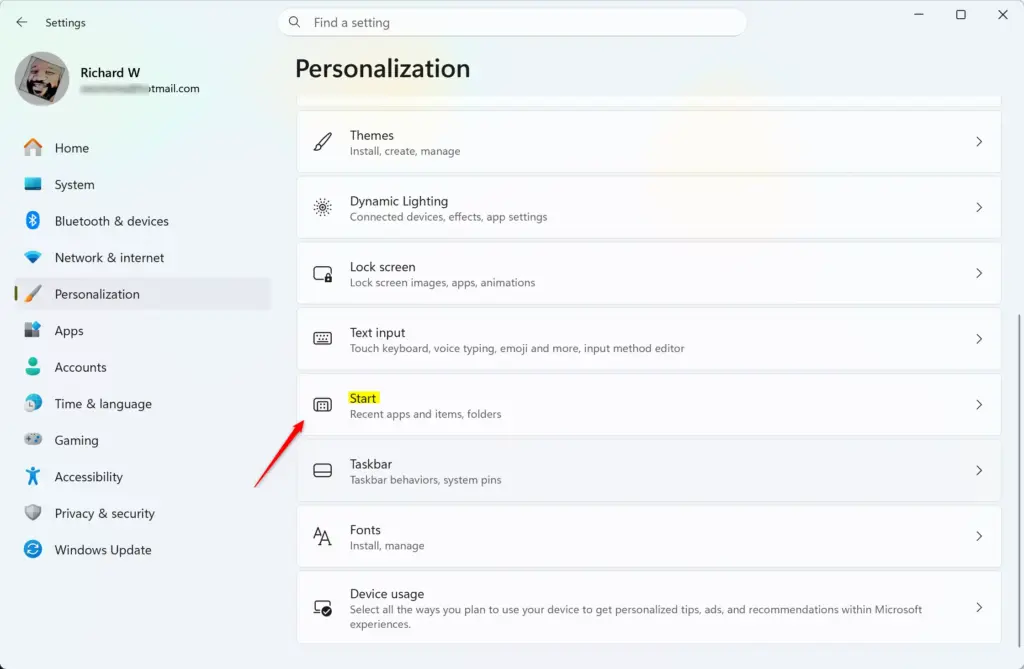
Settings - Click Personalization in the left-hand menu.
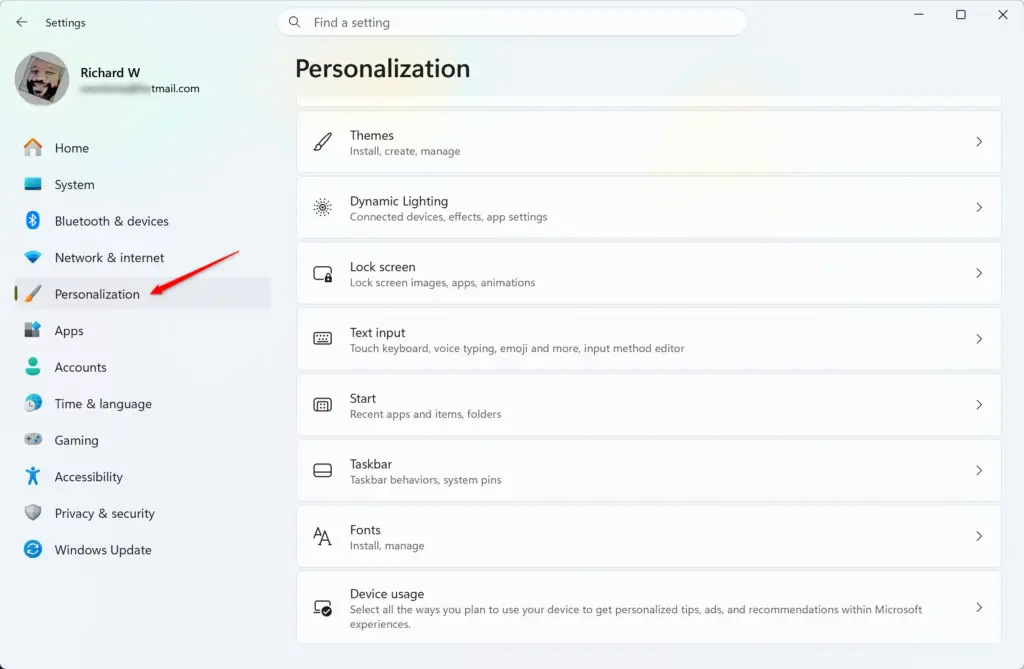
Settings › Personalization - Scroll down the right side of the screen and click Start.
- Find the toggle labeled Show recently opened items in Start, Jump Lists, and File Explorer.
- Click the toggle so it shows Off.
From that moment Windows stops recording new locations, so recent items stay out of those lists automatically. To undo it, flip the toggle back to On.
This toggle stops new recent items from being recorded but does not erase entries that are already saved. Run the Clear button from the File Explorer Options method as well, to remove the existing history.
Method 4Modify the Registry for Advanced Control (Per User)
The registry gives you advanced, per-user control over how Windows handles File Explorer history. The relevant settings for your account sit under HKEY_CURRENT_USER\SOFTWARE\Microsoft\Windows\CurrentVersion\Explorer. A wrong edit in the registry can cause problems, so treat this method with care.
If Windows asks for administrator approval, sign in with an Administrator account before you continue.
If you would rather avoid editing the registry, the File Explorer Options window in Control Panel clears the same history through a menu. That is safer because you can't mistype a value and break File Explorer. The steps below are for when you want to work in the registry directly.
- Press Windows Key + R to open the Run dialog box.

Run dialog - Type regedit into the box and press Enter. Click Yes if a User Account Control window asks whether you want to allow the app to make changes to your device. The Registry Editor opens.
- Before you change anything, click File, then Export, and save a backup of the registry. If something goes wrong you can restore it by double-clicking the saved file.
- In the left-hand sidebar, expand HKEY_CURRENT_USER, then Software, Microsoft, Windows, CurrentVersion and Explorer. Then click RecentDocs.
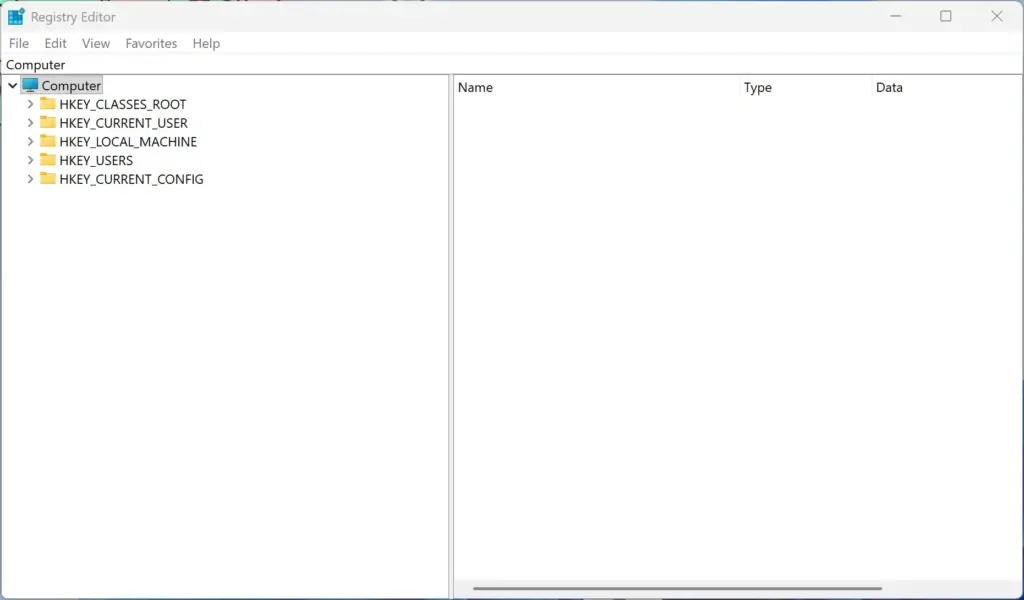
Registry Editor - Look at the entries in the right-hand pane. These are the stored records of recent items. Right-click an entry you want to remove and choose Delete, confirming when asked. Only delete entries you recognise as history records.
- Close the Registry Editor when you finish. If File Explorer is open, close it and reopen it, or sign out and back in, so it reads the updated values.
Method 5Use Group Policy for System-Wide Control
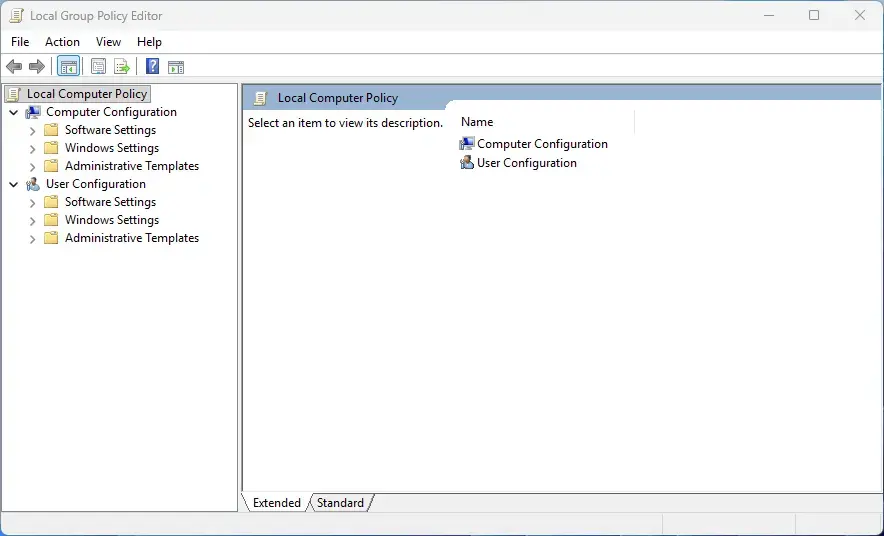
The Local Group Policy Editor lets an administrator block File Explorer from keeping history for every user account on a shared computer. The rule applies across the whole machine, so you don't have to change settings for each user one by one.
⚠️ Admin Privilege Warning: This method requires admin privileges. You must be signed in as an administrator to access and change these system policies.
The Local Group Policy Editor is only included in Windows 11 Pro, Enterprise and Education. On Windows 11 Home, gpedit.msc will not open, so use one of the other methods.
- Press Windows Key + R to open the Run dialog box.
- Type gpedit.msc into the box and press Enter. The Local Group Policy Editor opens.
- In the left-hand column, expand User Configuration.
- Expand Administrative Templates, then select Start Menu and Taskbar. A list of policies appears on the right.
- Find the policy named Do not keep a history of recently opened documents.
- Double-click the policy to open its settings window.
- Select the Enabled radio button to turn on the rule.
- Click Apply, then OK.
Turning this policy on stops Windows from recording recent files and clears existing history across the system. That helps when you share a computer, because sensitive documents and folders no longer appear in Quick Access. The policy may not take effect until each user signs out and back in, or you restart the PC. To undo it, open the policy again and select Not Configured.
Unique Angle: Dealing with Cloud Files and OneDrive History
Cloud files and OneDrive history need their own attention. Microsoft syncs your data across devices, which can make deleted folder paths and cloud shortcuts reappear in your address bar. Changing a few cloud settings and clearing cached items stops them coming back in your recent searches.
To stop cloud files from cluttering your File Explorer address bar and history:
- Open File Explorer, click the three dots (...) and choose Options.
- On the General tab, look in the Privacy section and uncheck the options for showing files from Office.com or other cloud providers.
- Click Apply, then OK.
- Open your OneDrive settings from the taskbar notification area, go to the Sync and backup tab, and manage which folders sync to your local machine so that deleted files do not reappear.

Taskbar
If you don't see the OneDrive icon in the notification area, check the hidden icons arrow, because OneDrive may not be running or signed in. You can recheck the boxes you unticked at any time to bring cloud suggestions back.
Summary
Keeping your PC private and tidy is easy once you know how to clear File Explorer address bar history in Windows 11. You can wipe everything with the built-in settings, delete single entries by hand, or block tracking entirely, and that gives you full control over what Windows remembers about you.
Have a question about this guide?
Answered by AI from this guide. Good questions may be added to this page — please don't include personal details.
Did this guide fix your problem?

About the Author
Richard
Tech Writer, IT Professional
Richard is a writer at Geek Rewind who turns complex IT tasks into clear, step-by-step guides. He draws on years of hands-on experience in system administration and enterprise IT operations, focusing on Windows, Linux and WordPress: the problems people actually run into, and the fixes that work. His server and WordPress guides come from systems he runs himself. Richard builds and maintains the platform behind Geek Rewind, from its Ubuntu servers and Nginx configuration to its custom WordPress plugins. Many new tutorials start with readers' questions, and he's always glad to answer them in the comments.
No comments yet — be the first to share your thoughts!